Victoria Findlay Wolfe

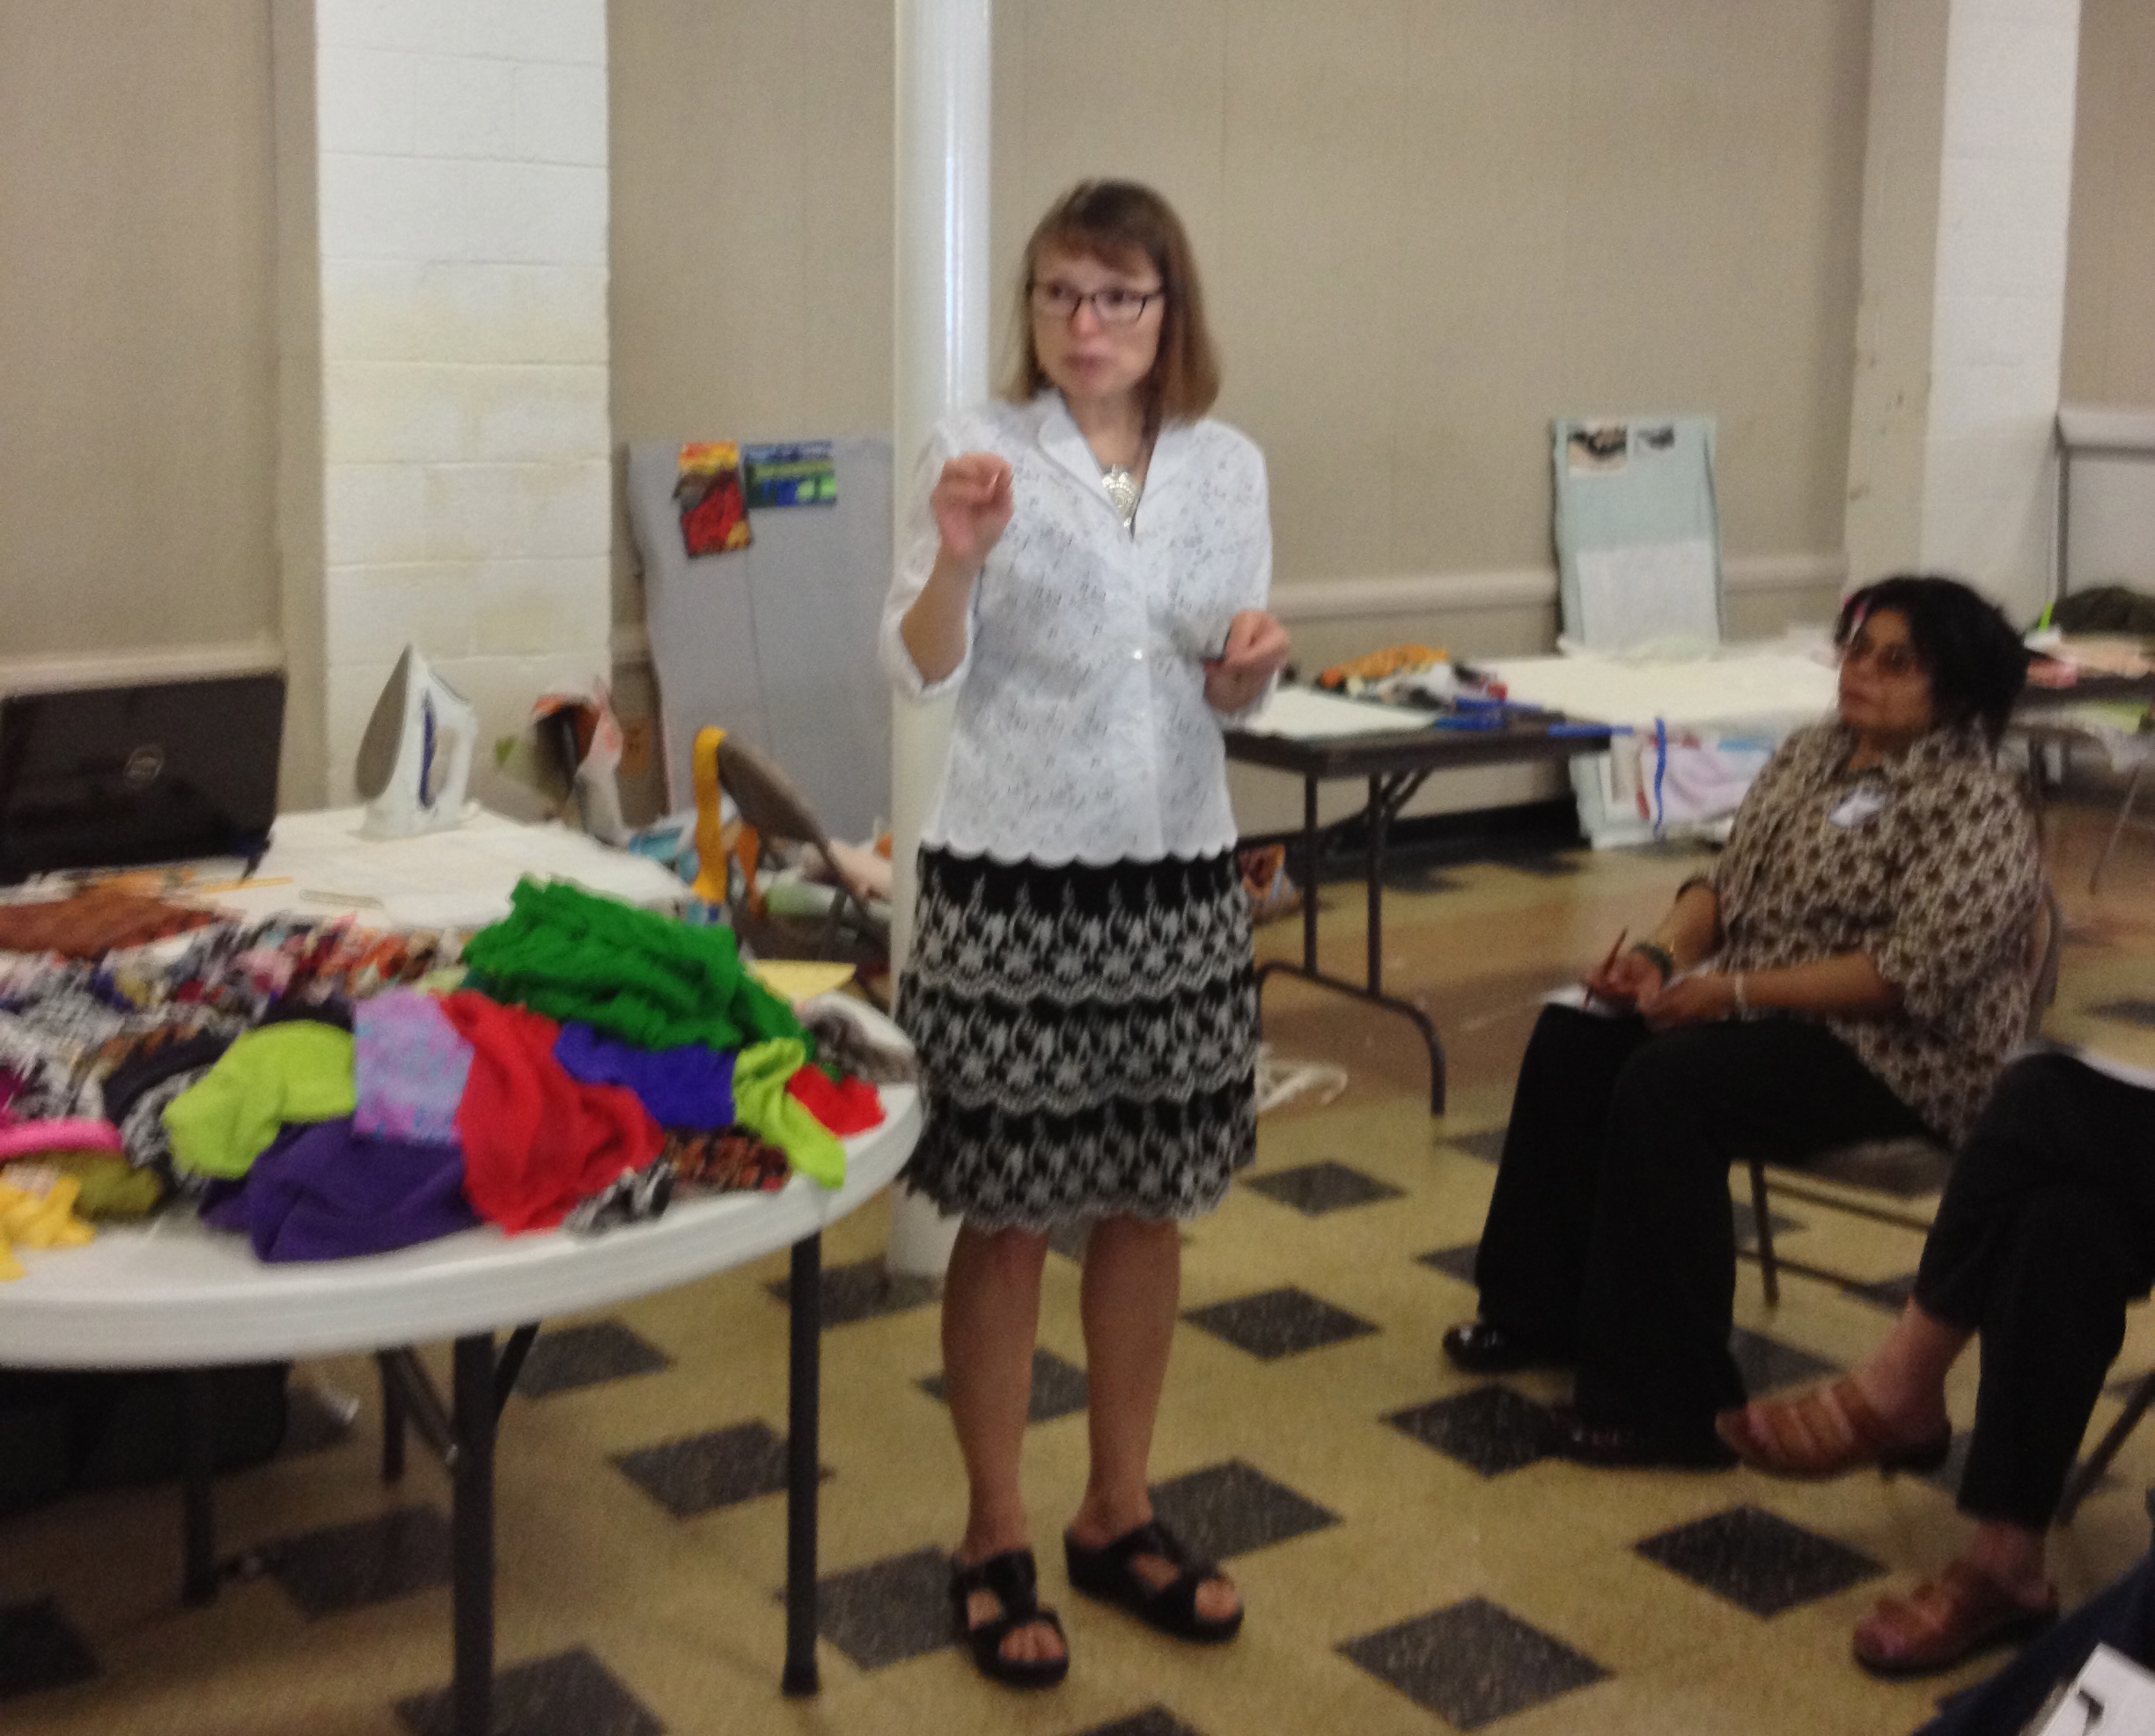
The Needlechasers of Chevy Chase hosted Victoria Findlay Wolfe this past week. She drove to the DC area from NYC where she lives and talked to our guild on Wednesday and taught a 6 hour workshop on Thursday. She is amazing!

xx

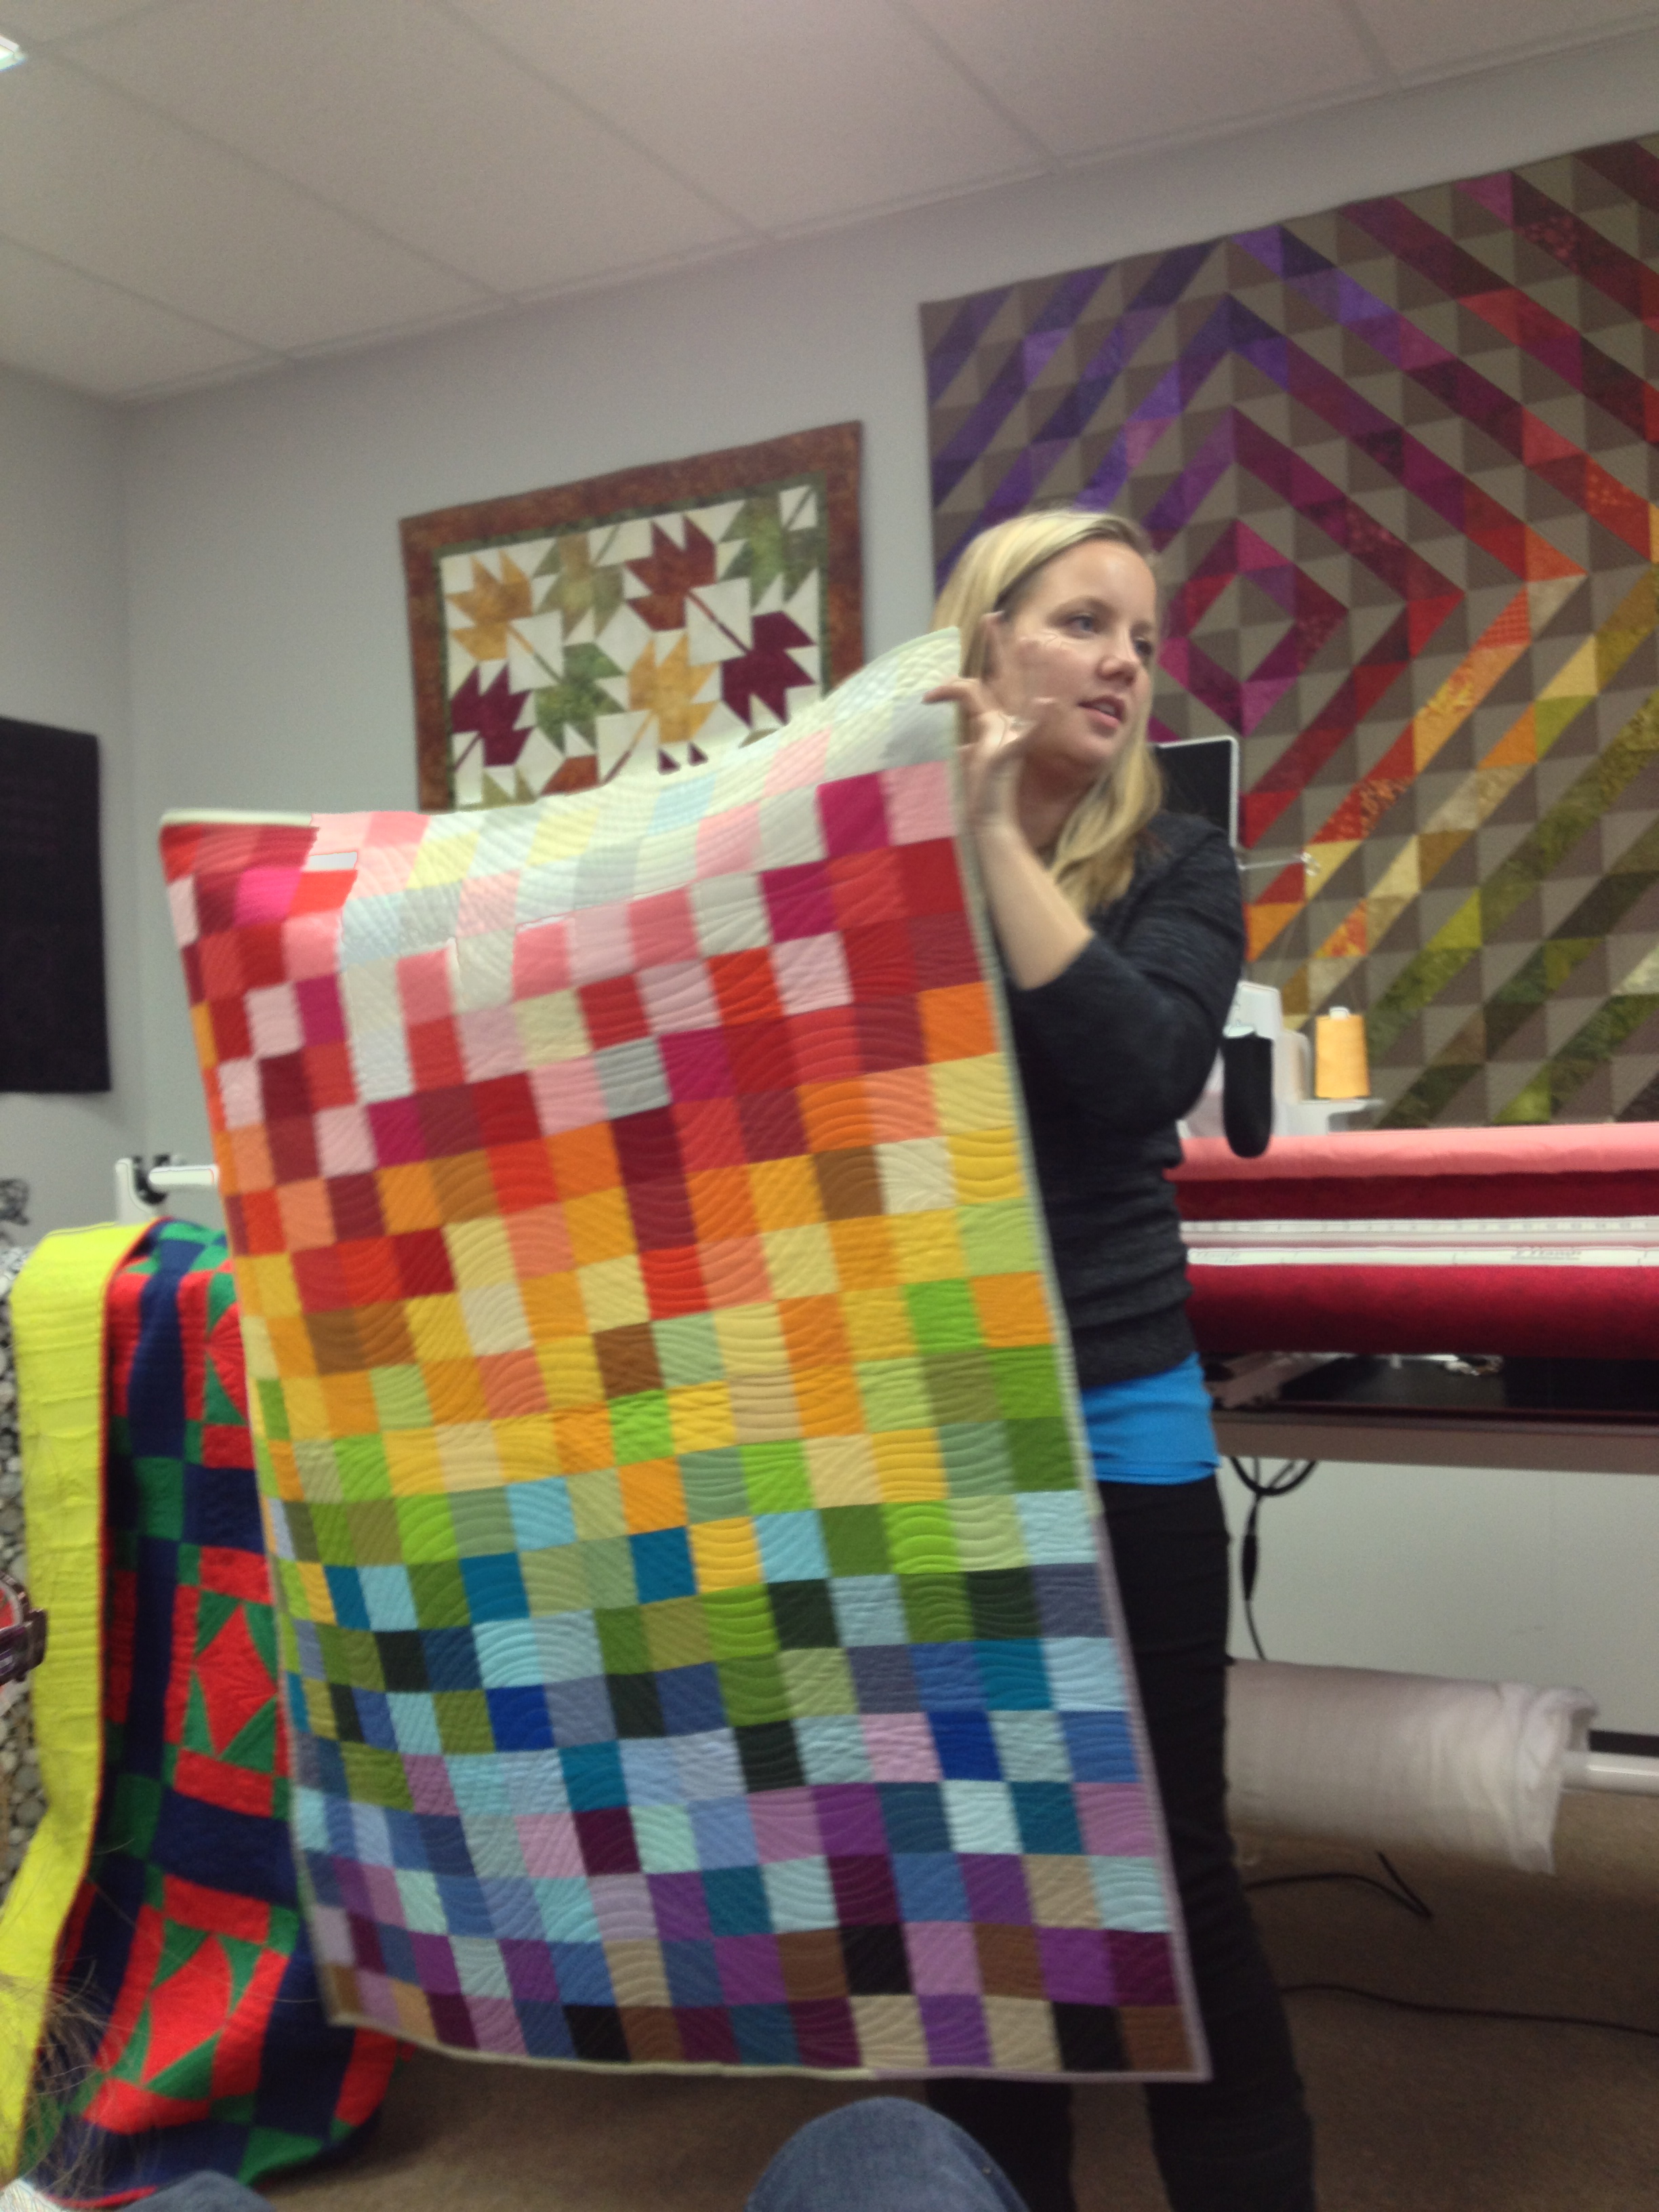
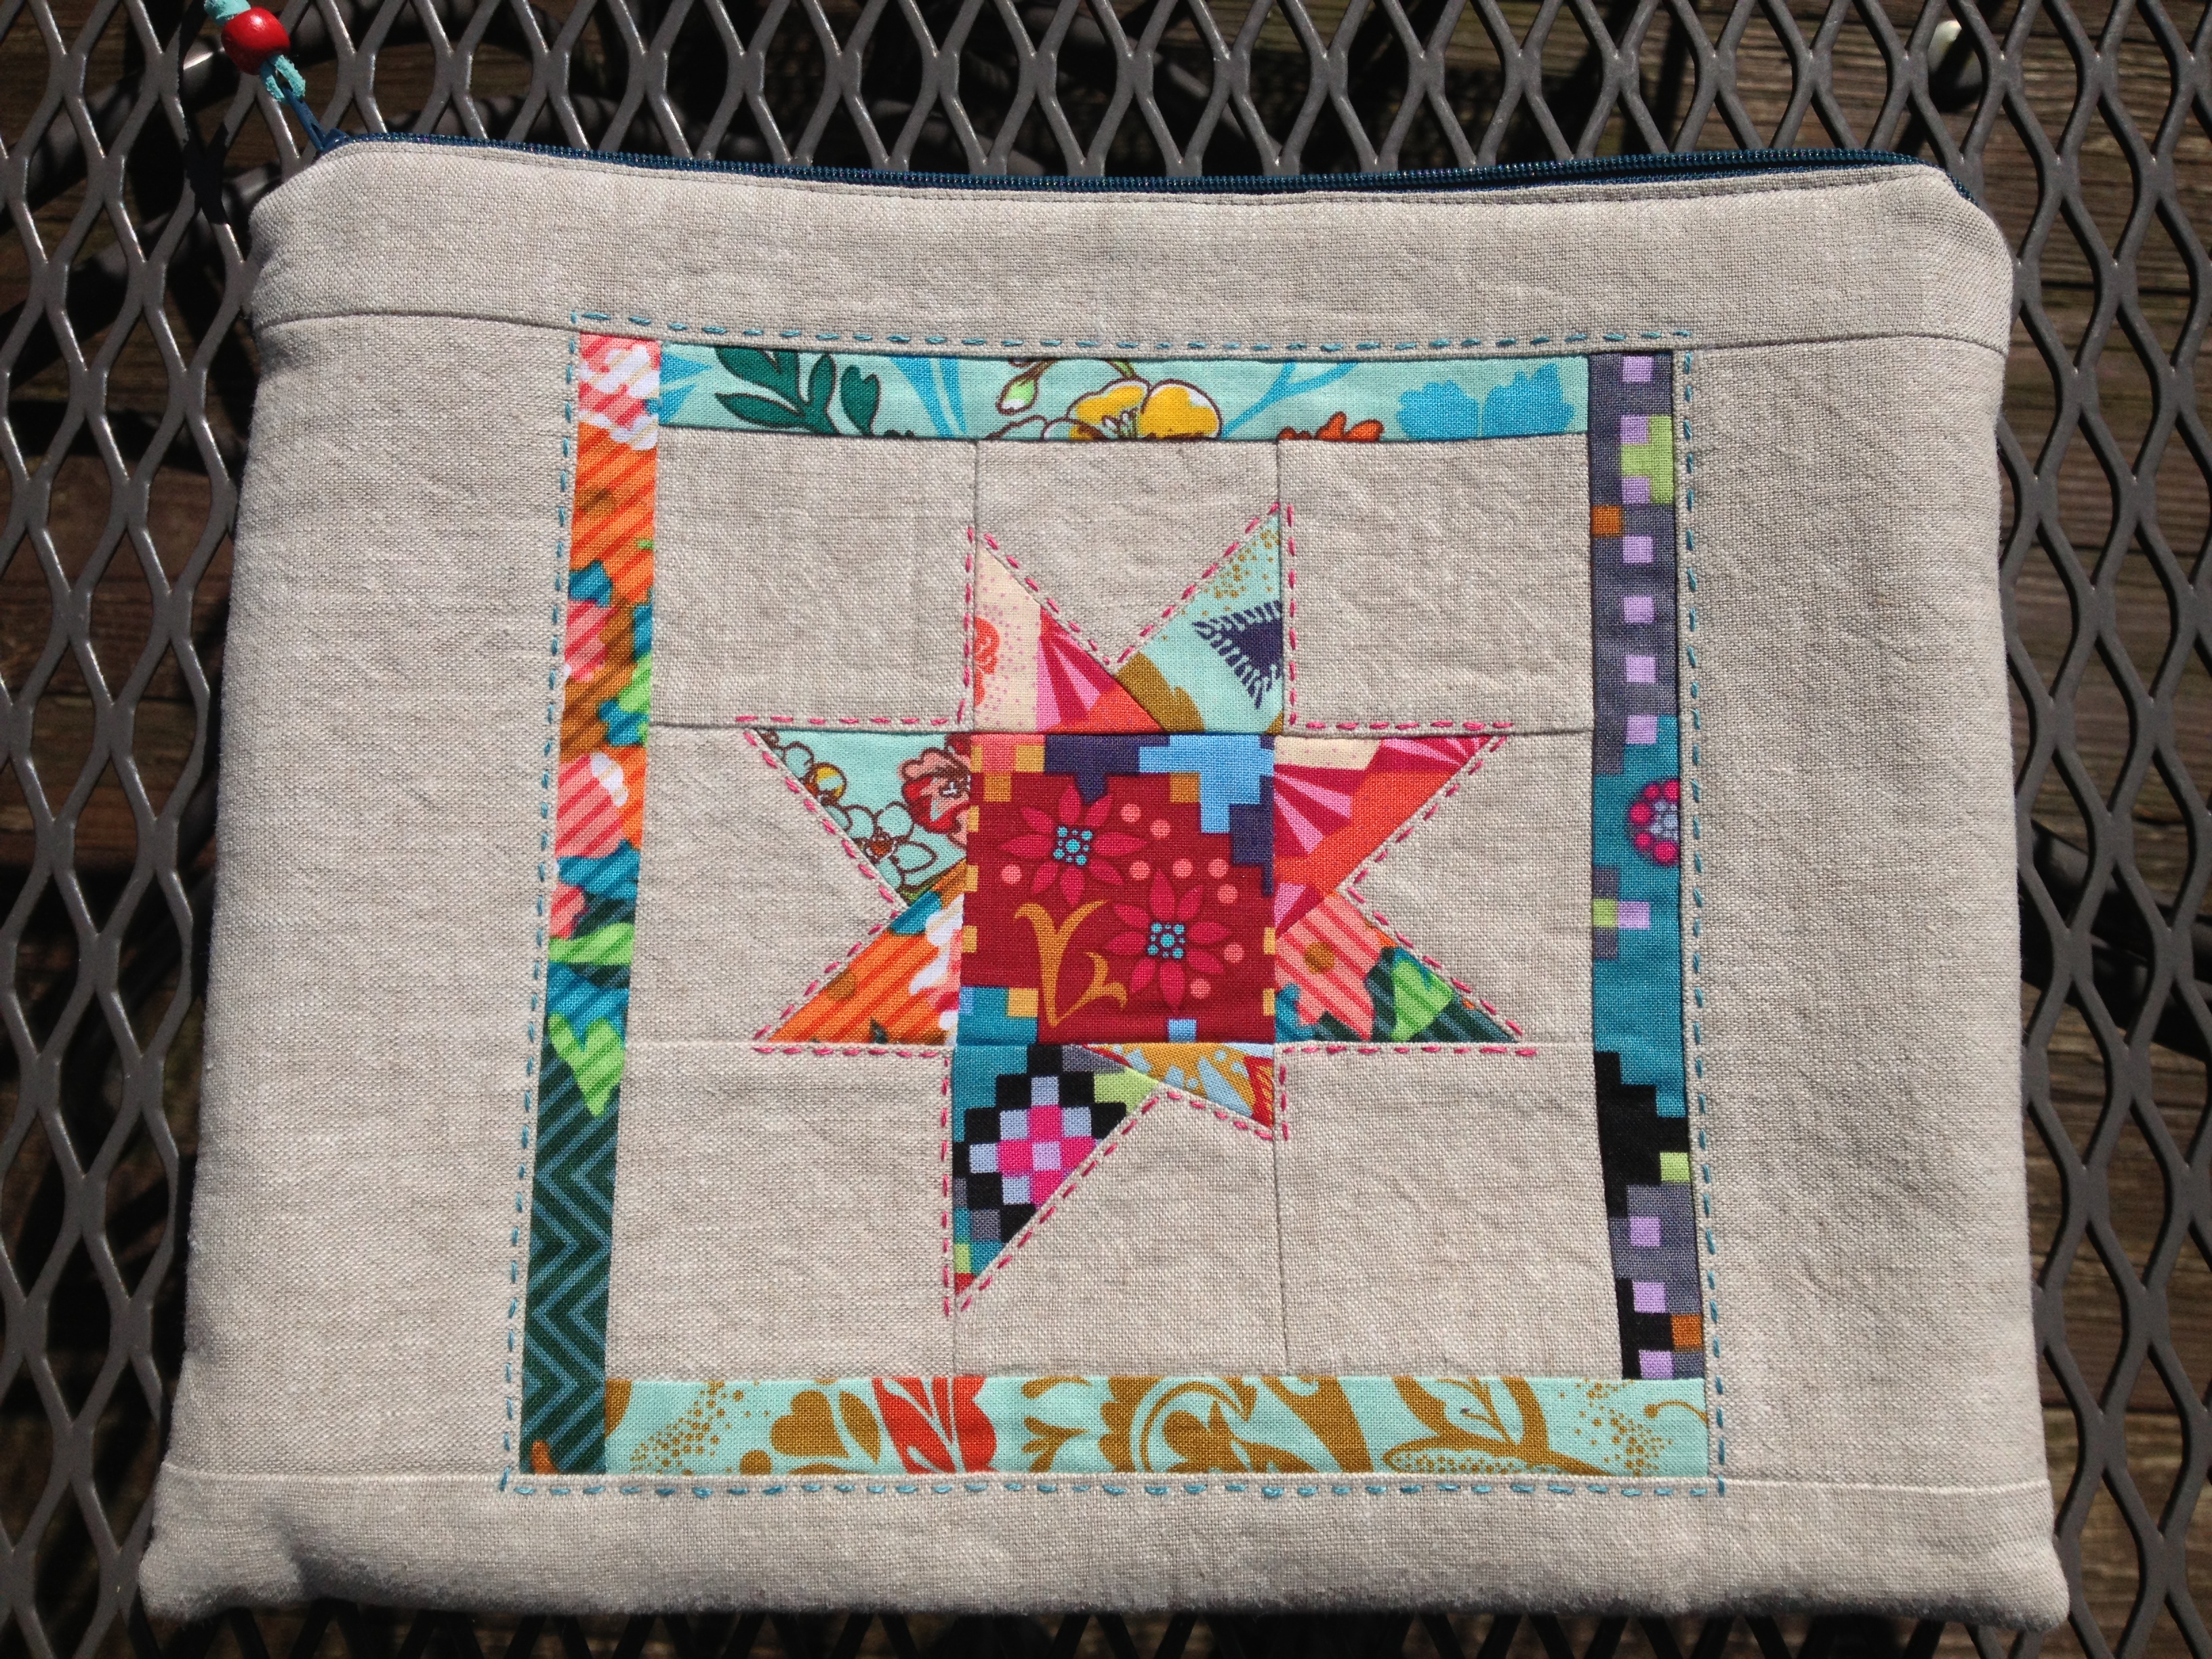
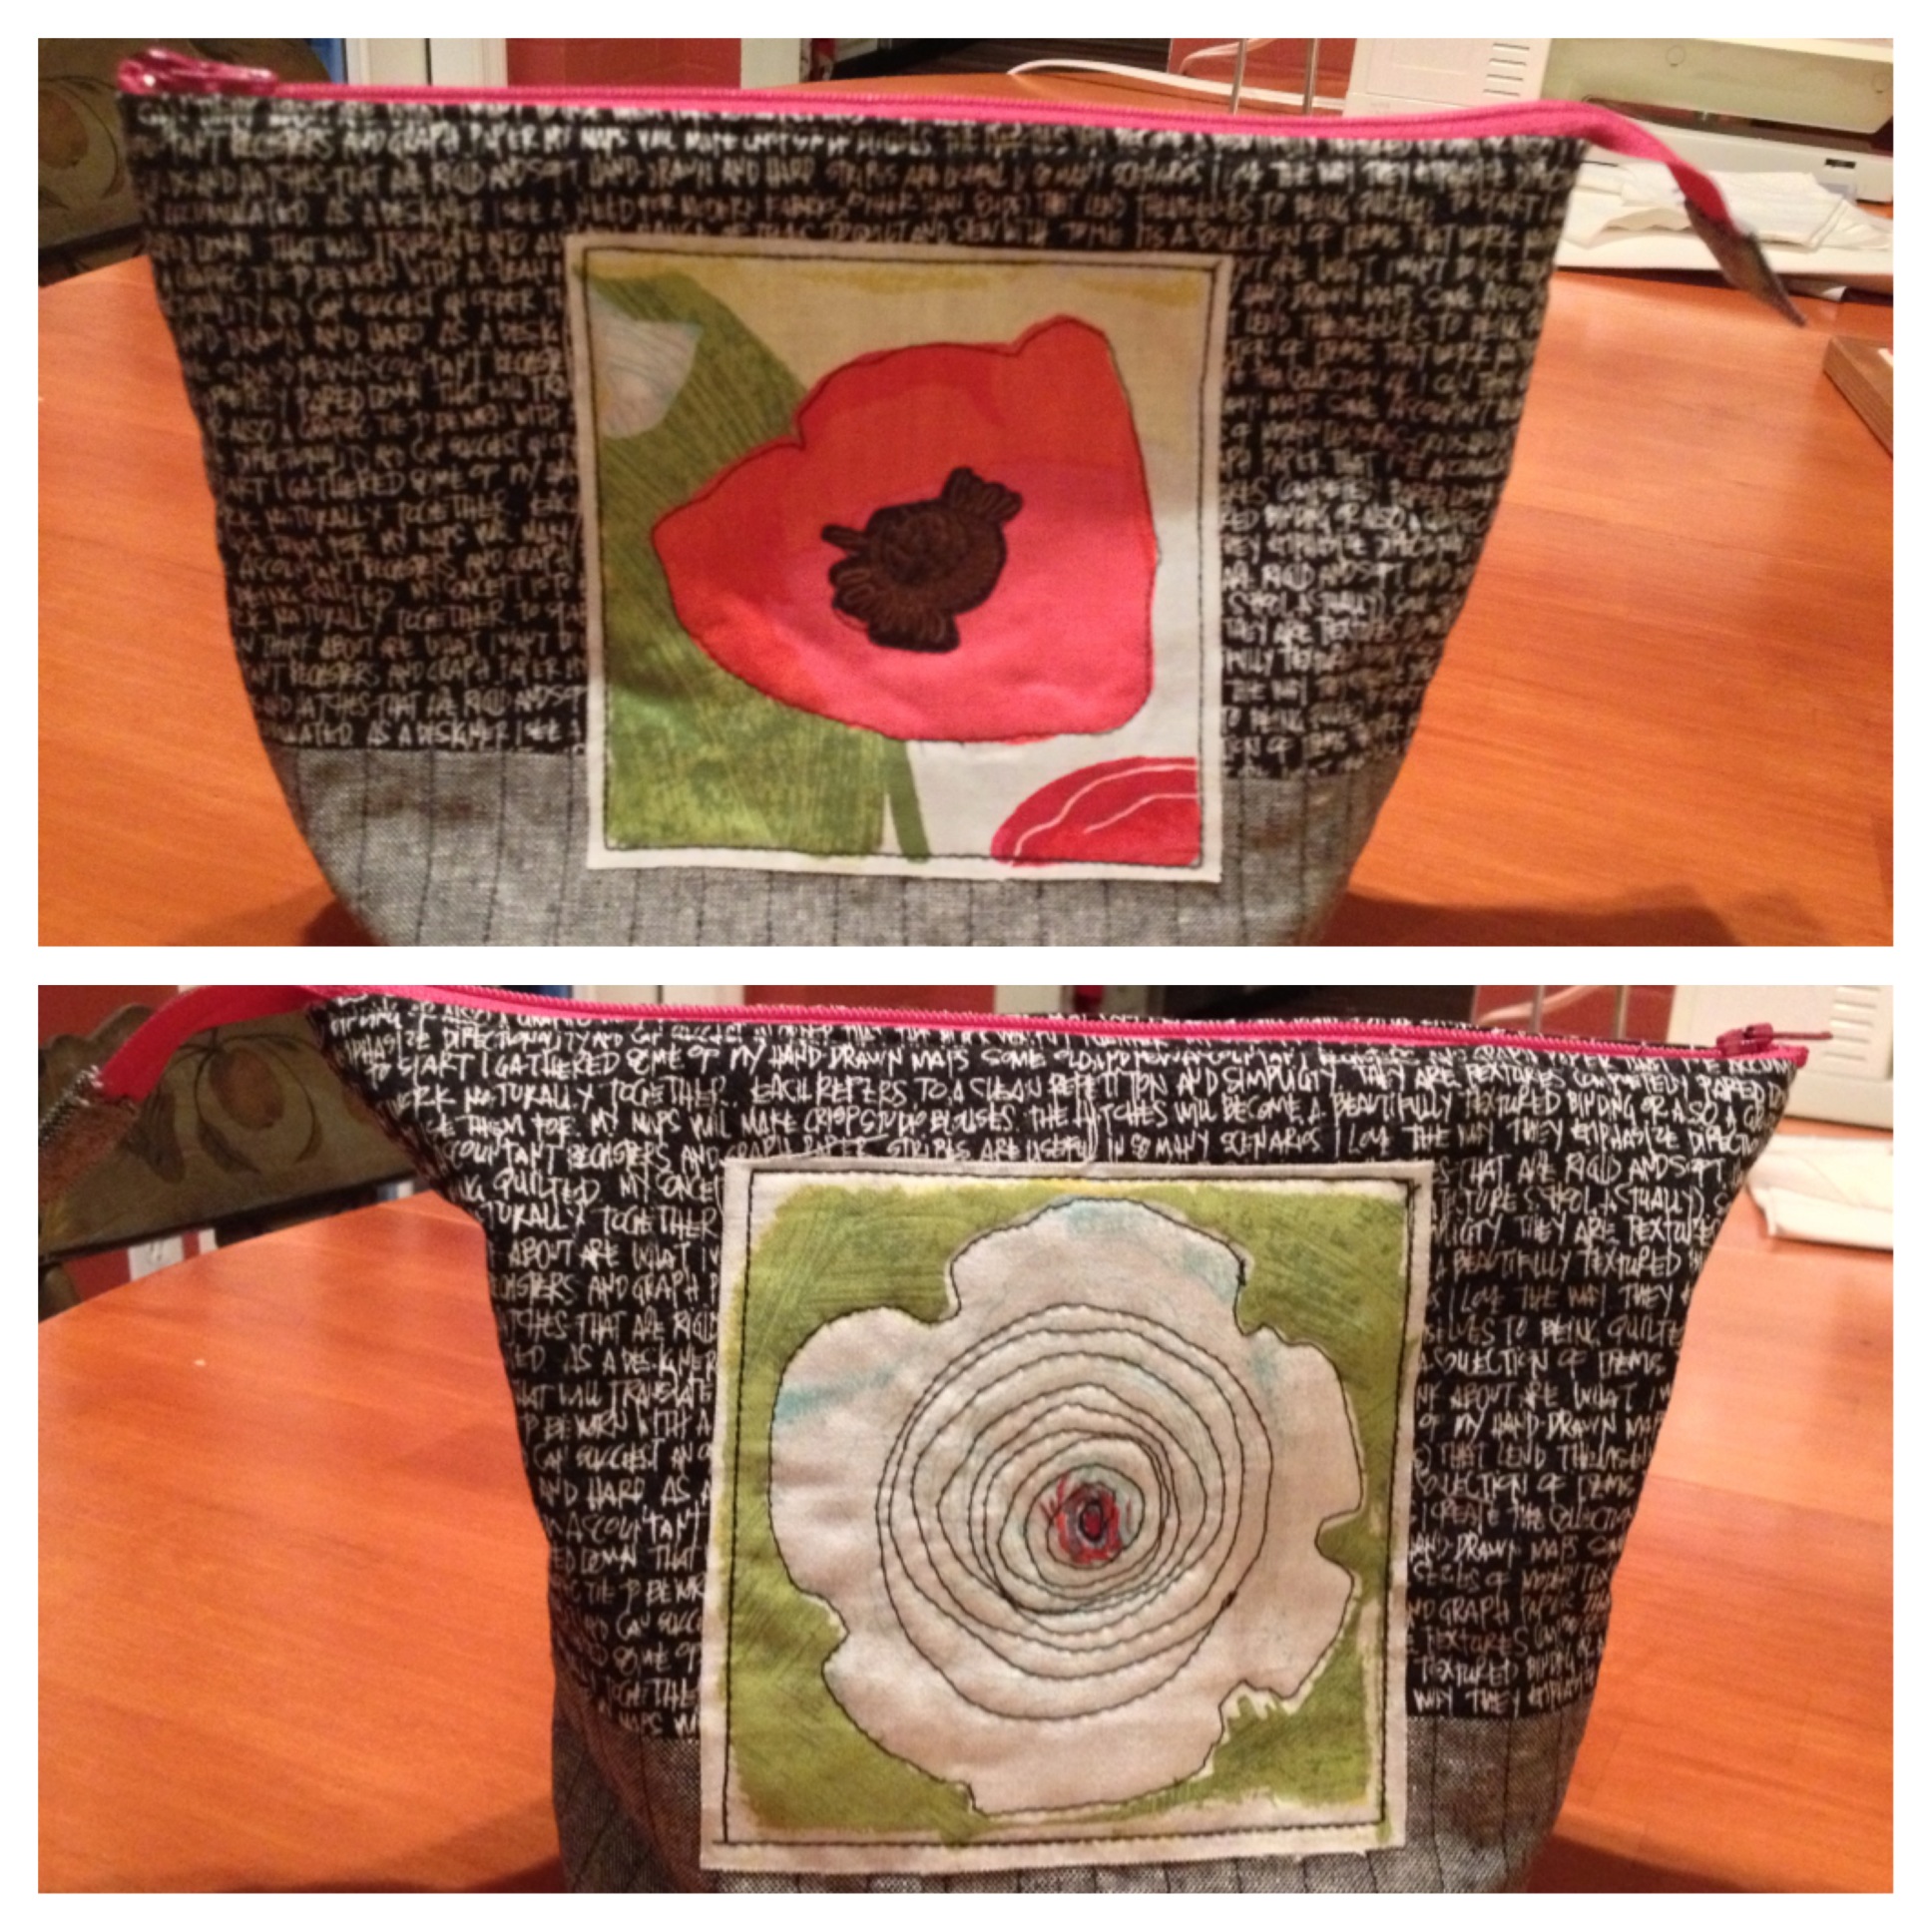
She showed many bright and beautiful quilts which included pieced-together scraps.

Her lecture on Wednesday was about “15 Minutes of Play”. This is the title of her first book and also describes what she tries to find time for every day in her sewing studio.

Image 5

She told us about growing up on a farm with a beloved grandmother who sewed (polyester!) scraps together into quilts. Victoria ended up going to art school and eventually fell in love with quilting and used this technique of playing with sewing scraps together to incorporate them into her own quilts.

xx

She changed into several polyester jackets during her lecture.

Victoria encouraged our group to try anything and never to think you’ll never make a certain design because someday you might want to. Her example of this was her Cow Quilt

The quilt she thought she'd "never" make.

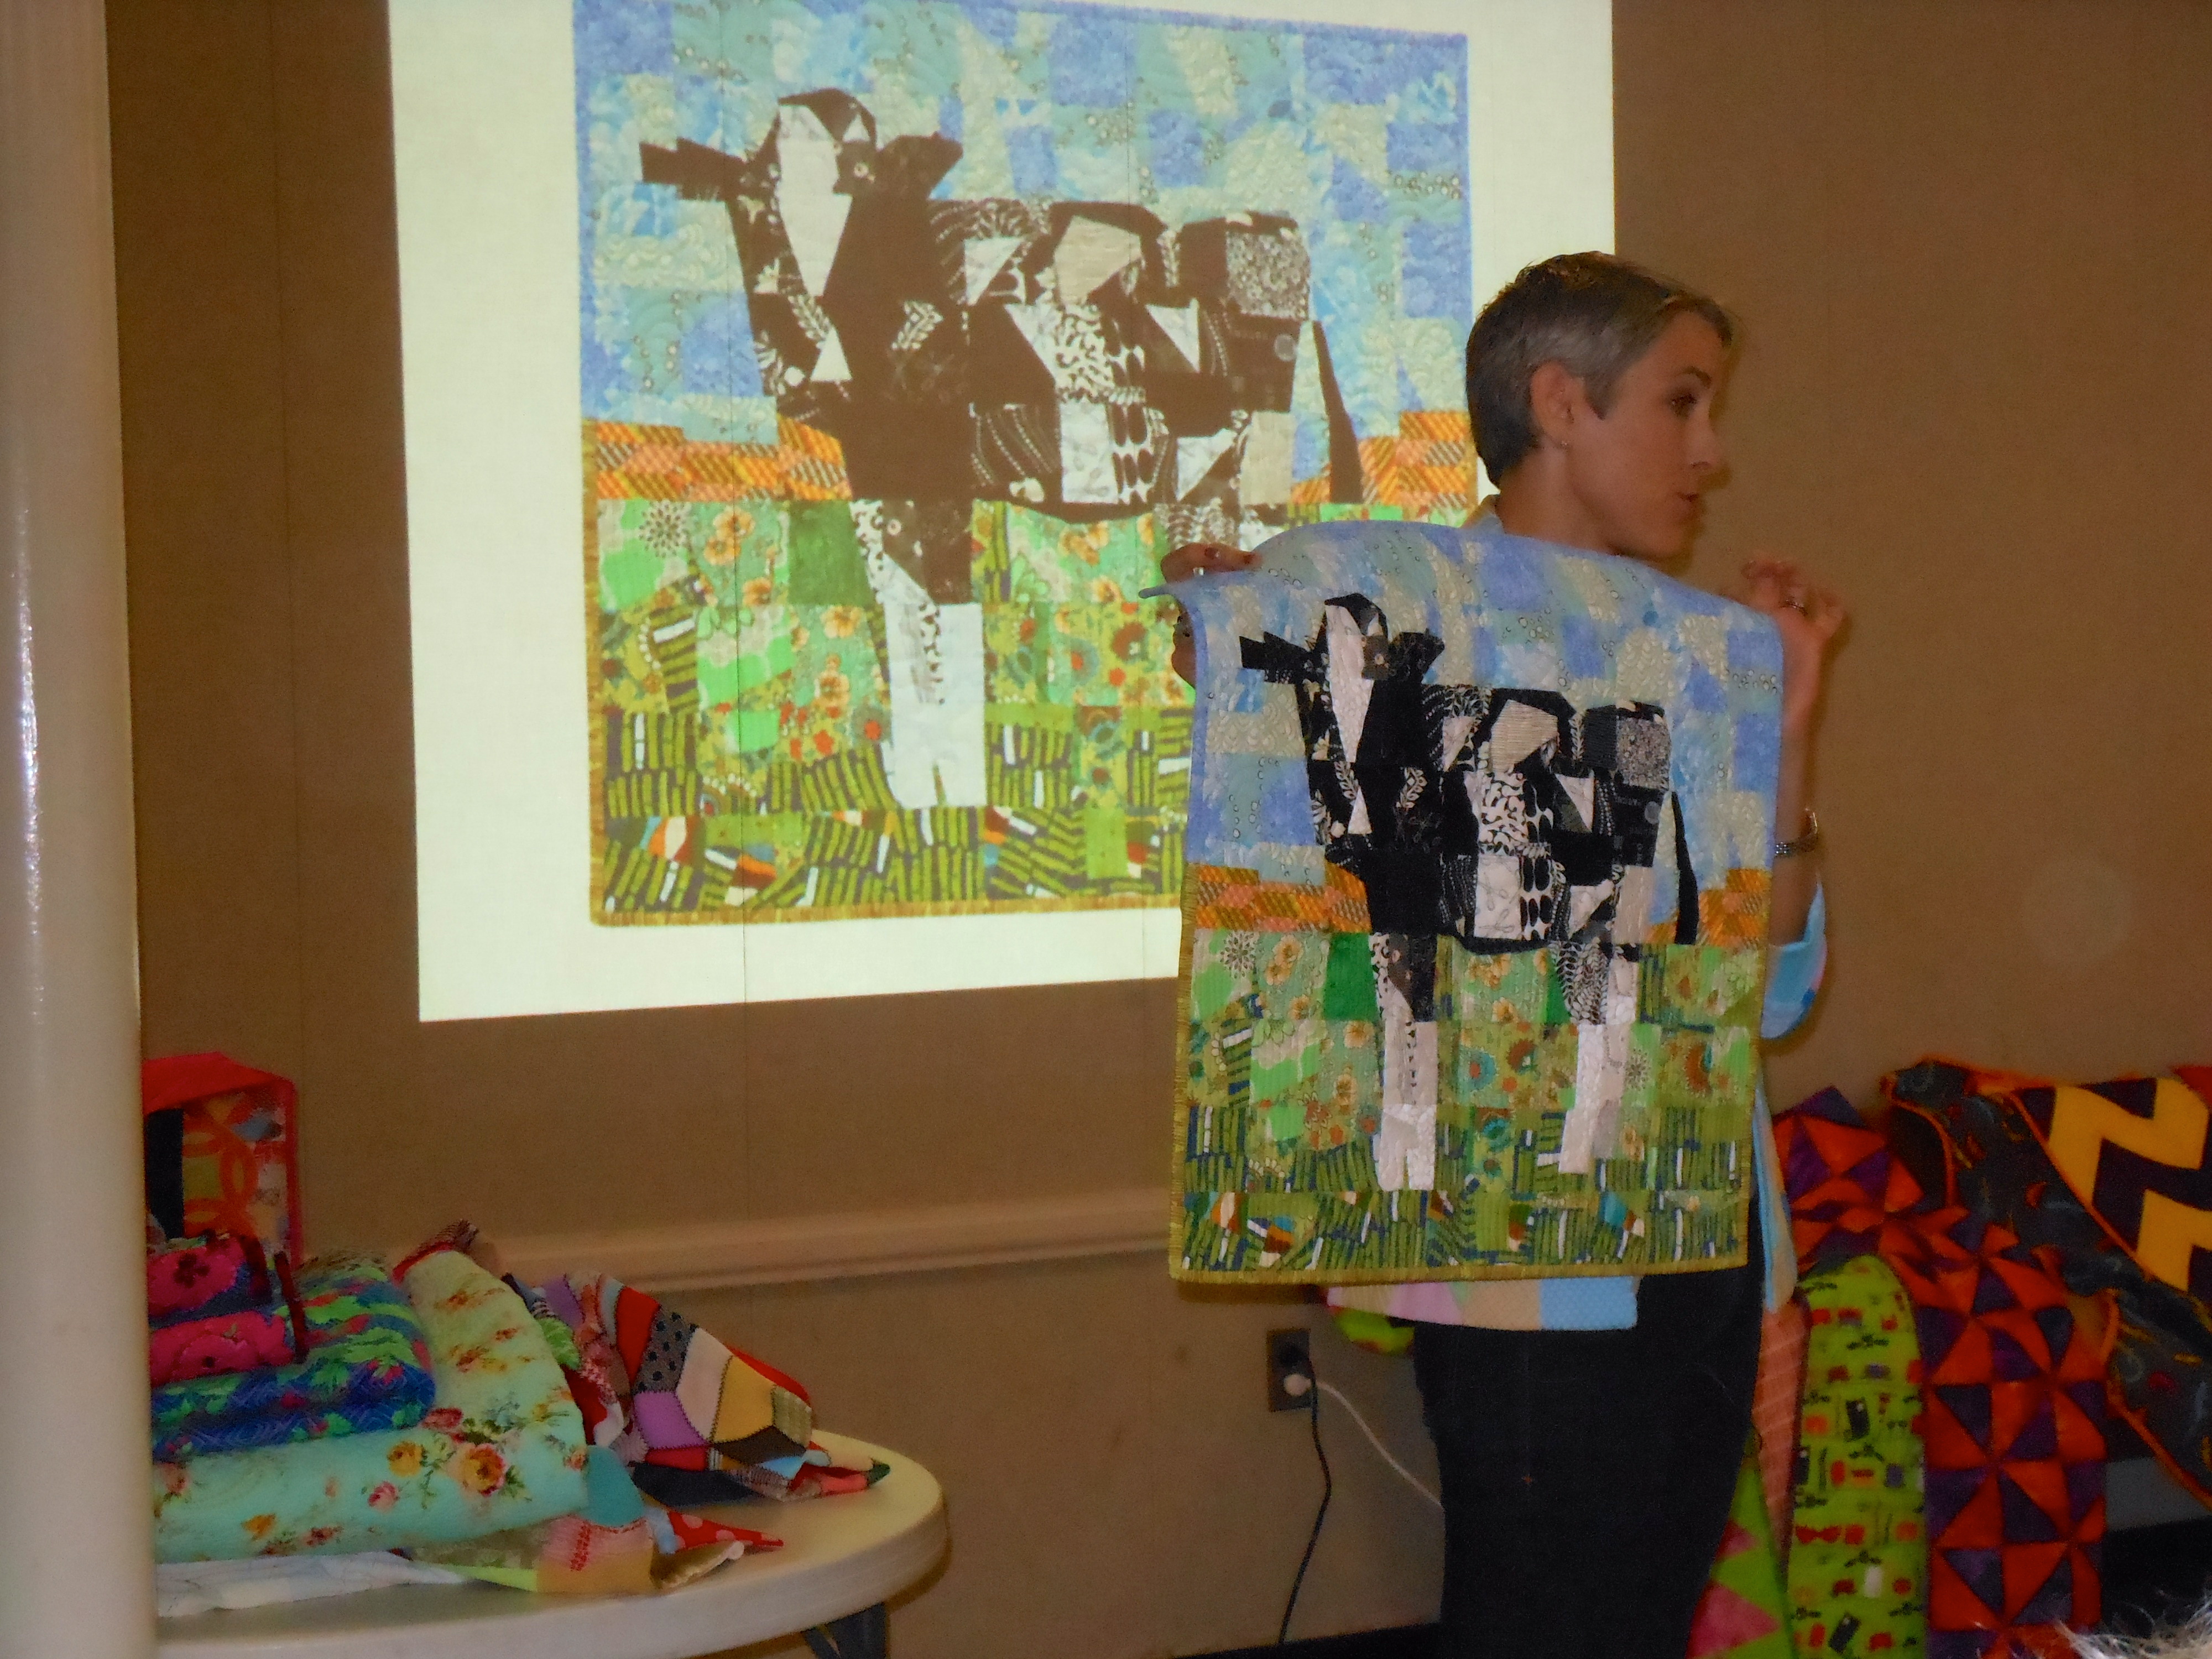
The quilt she thought she’d “never” make.

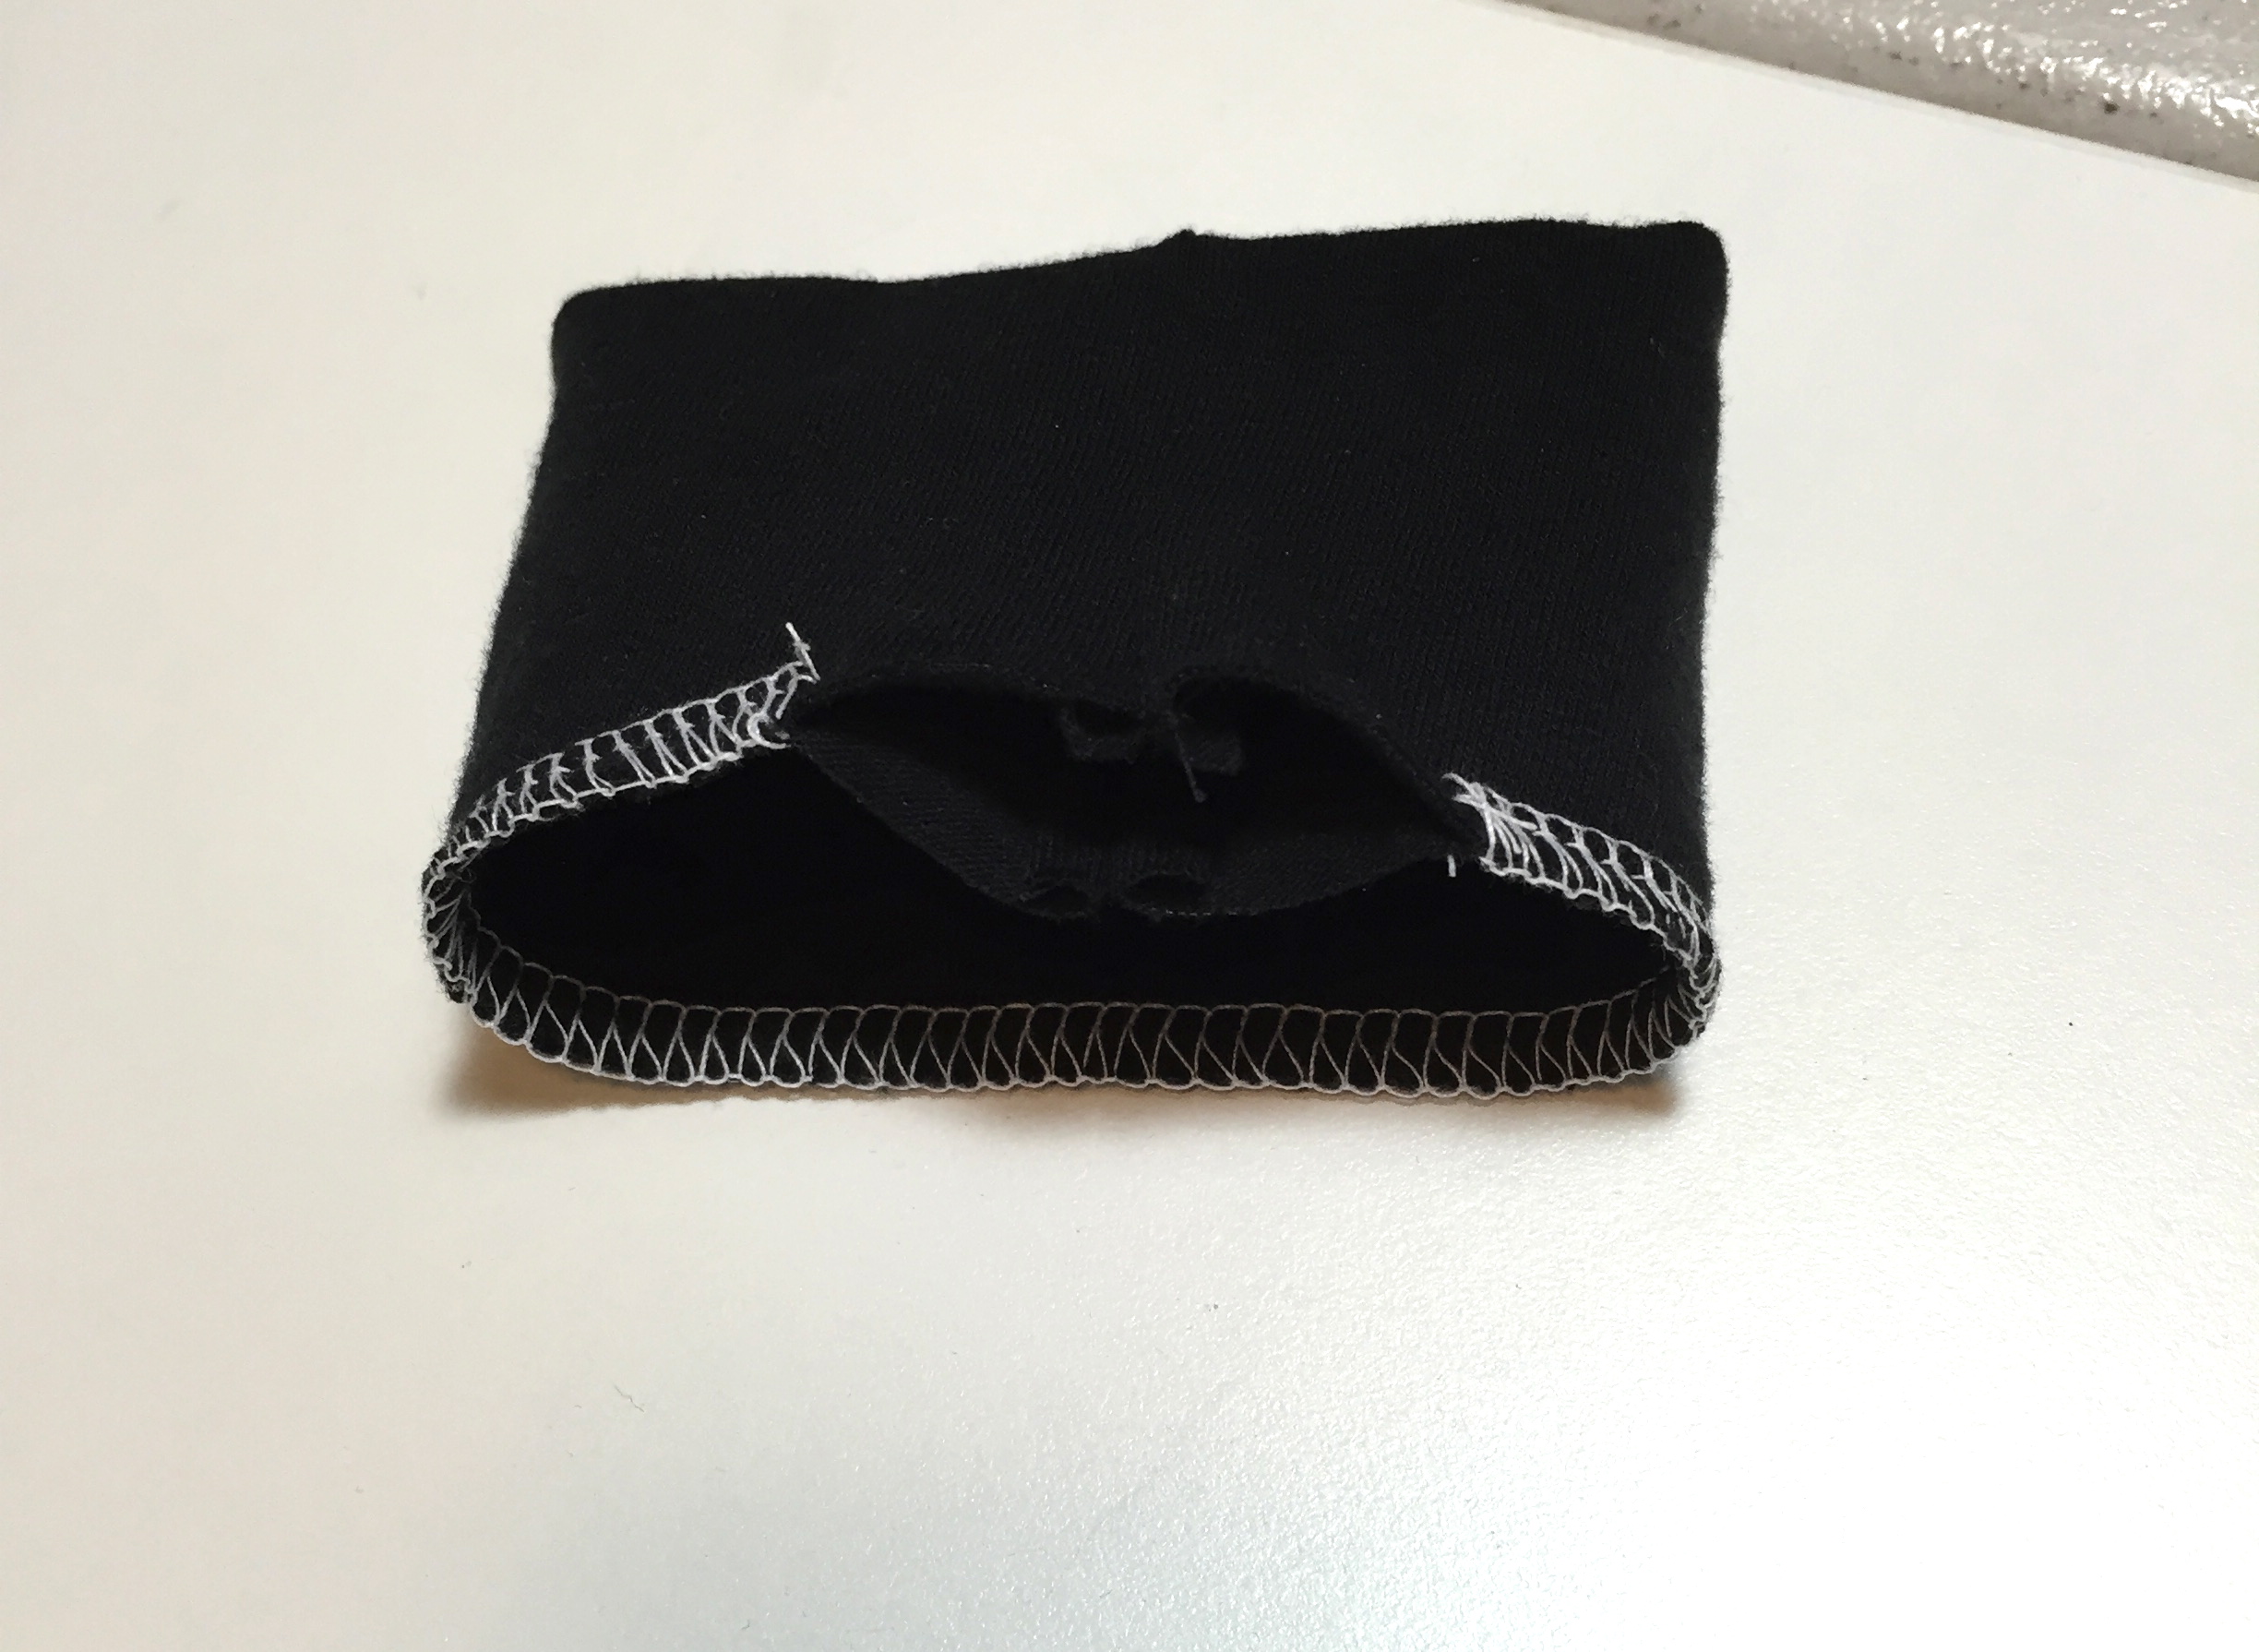
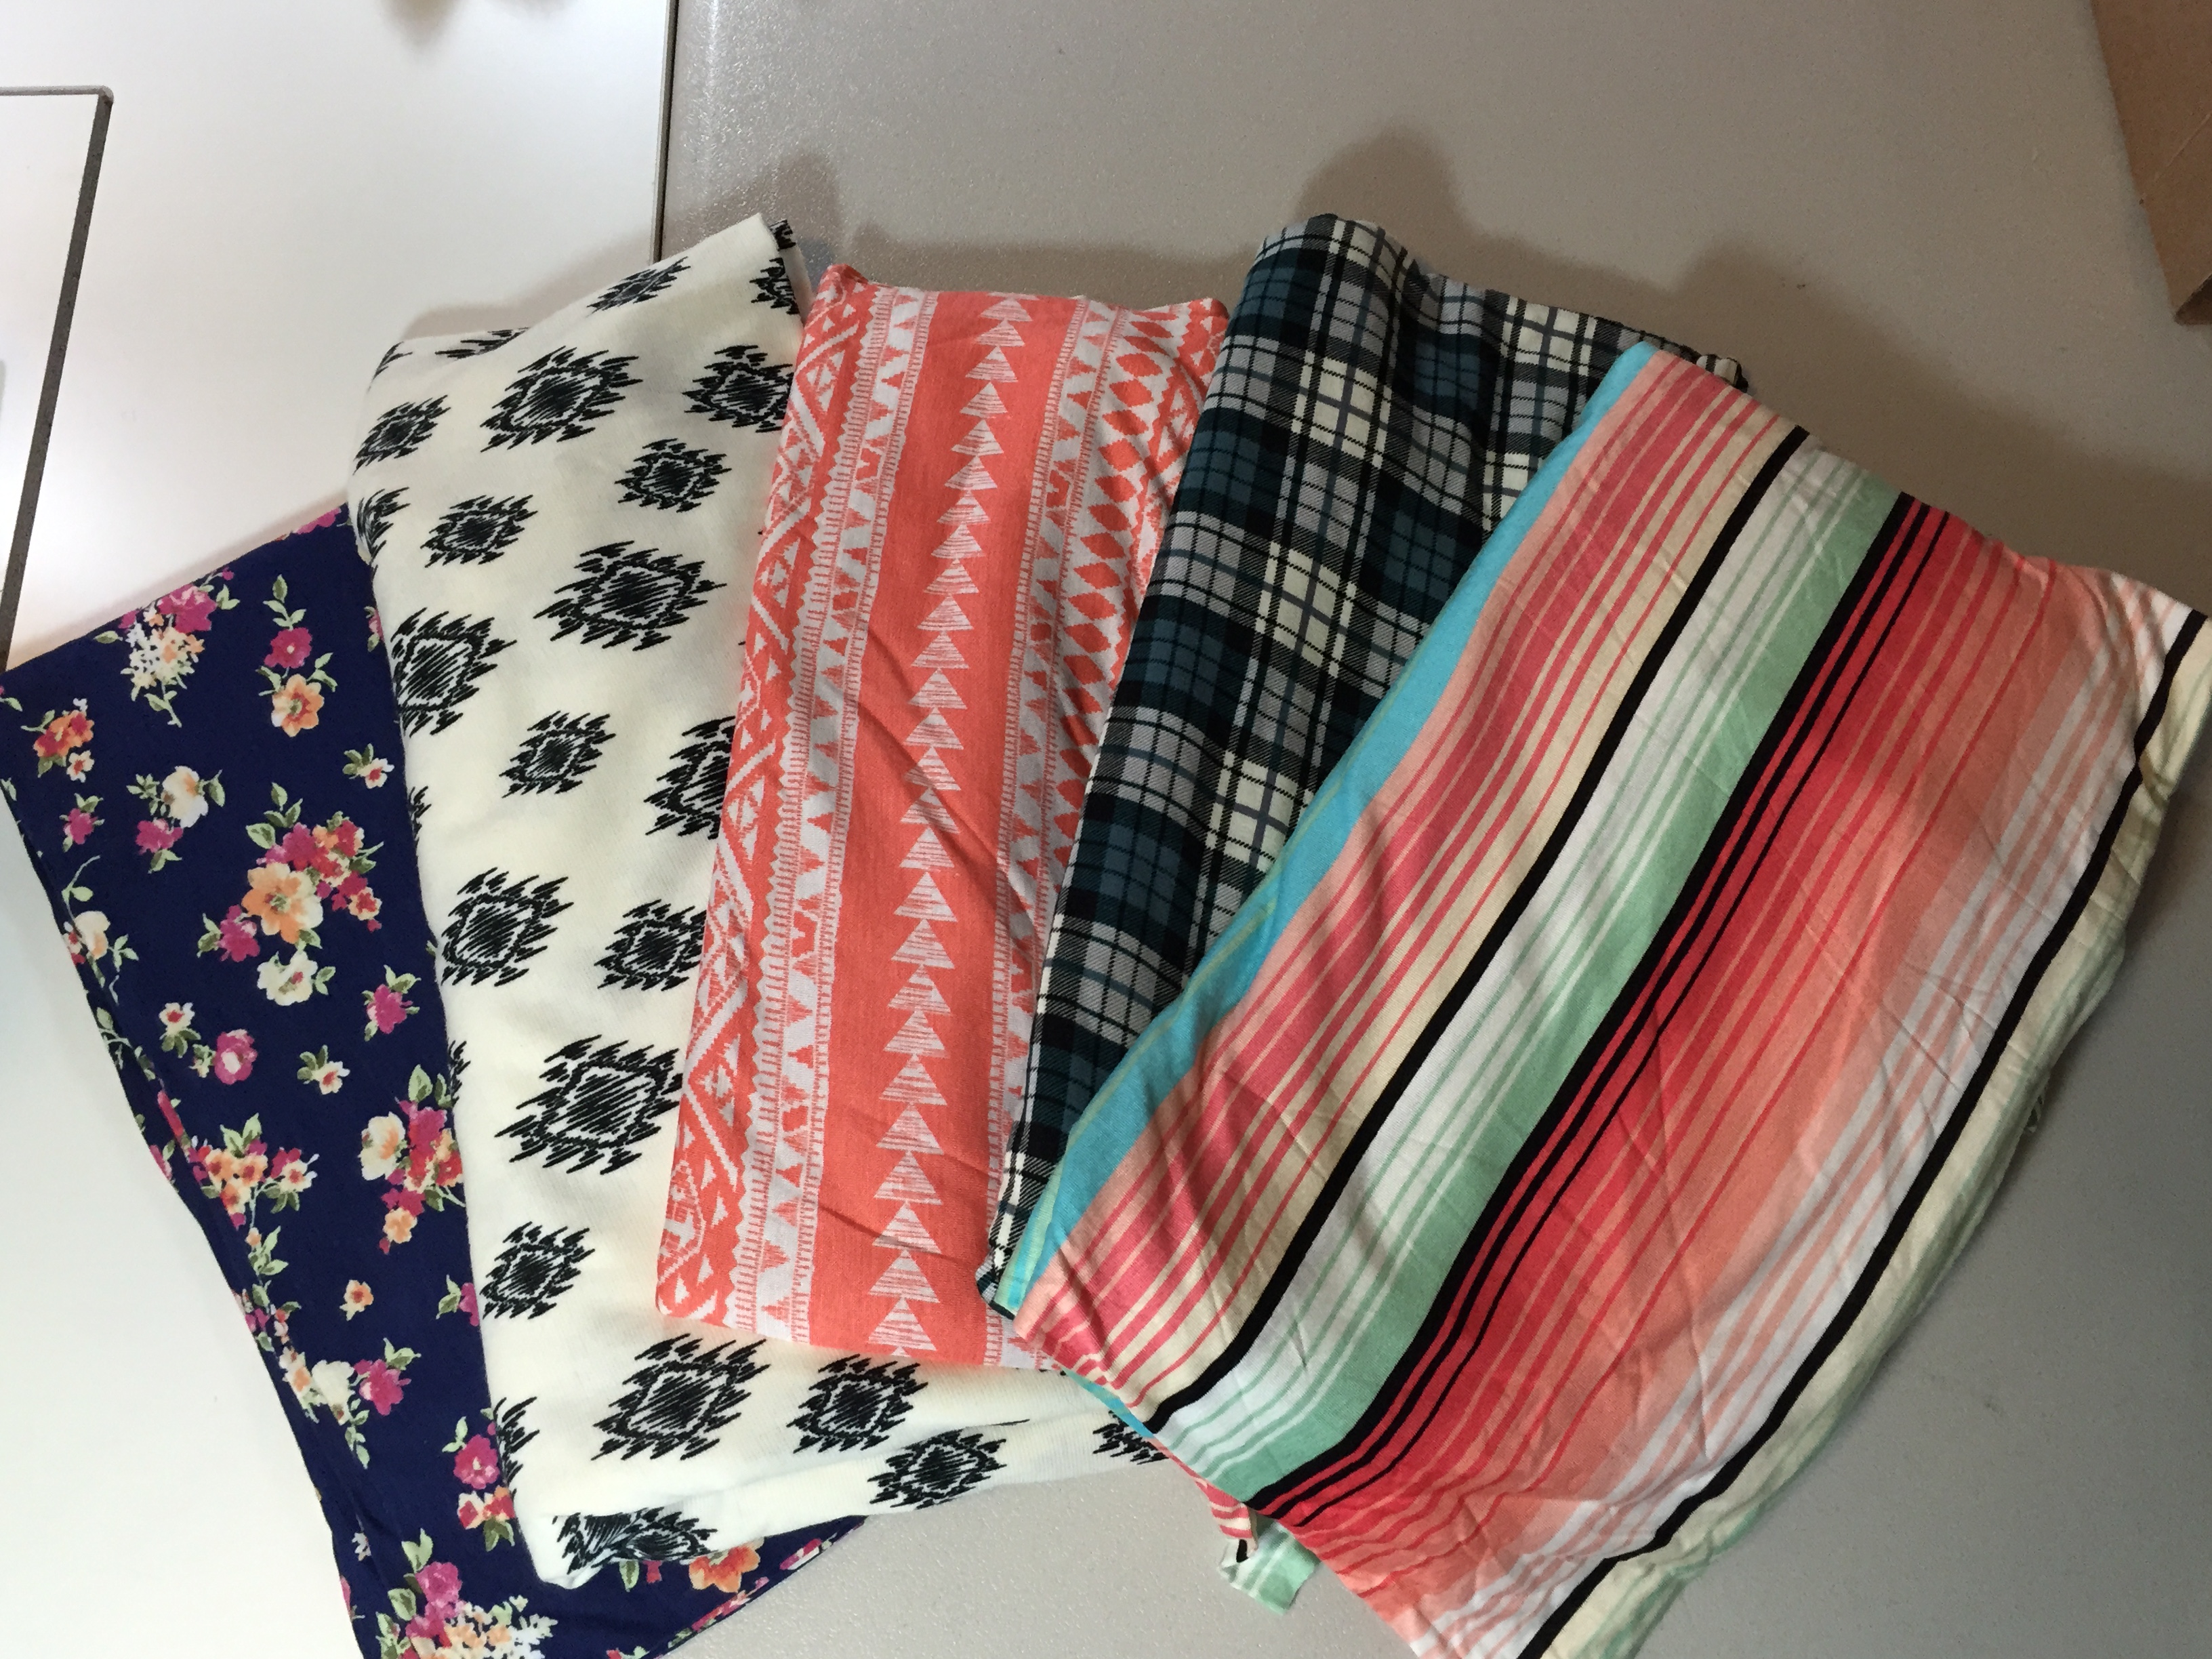
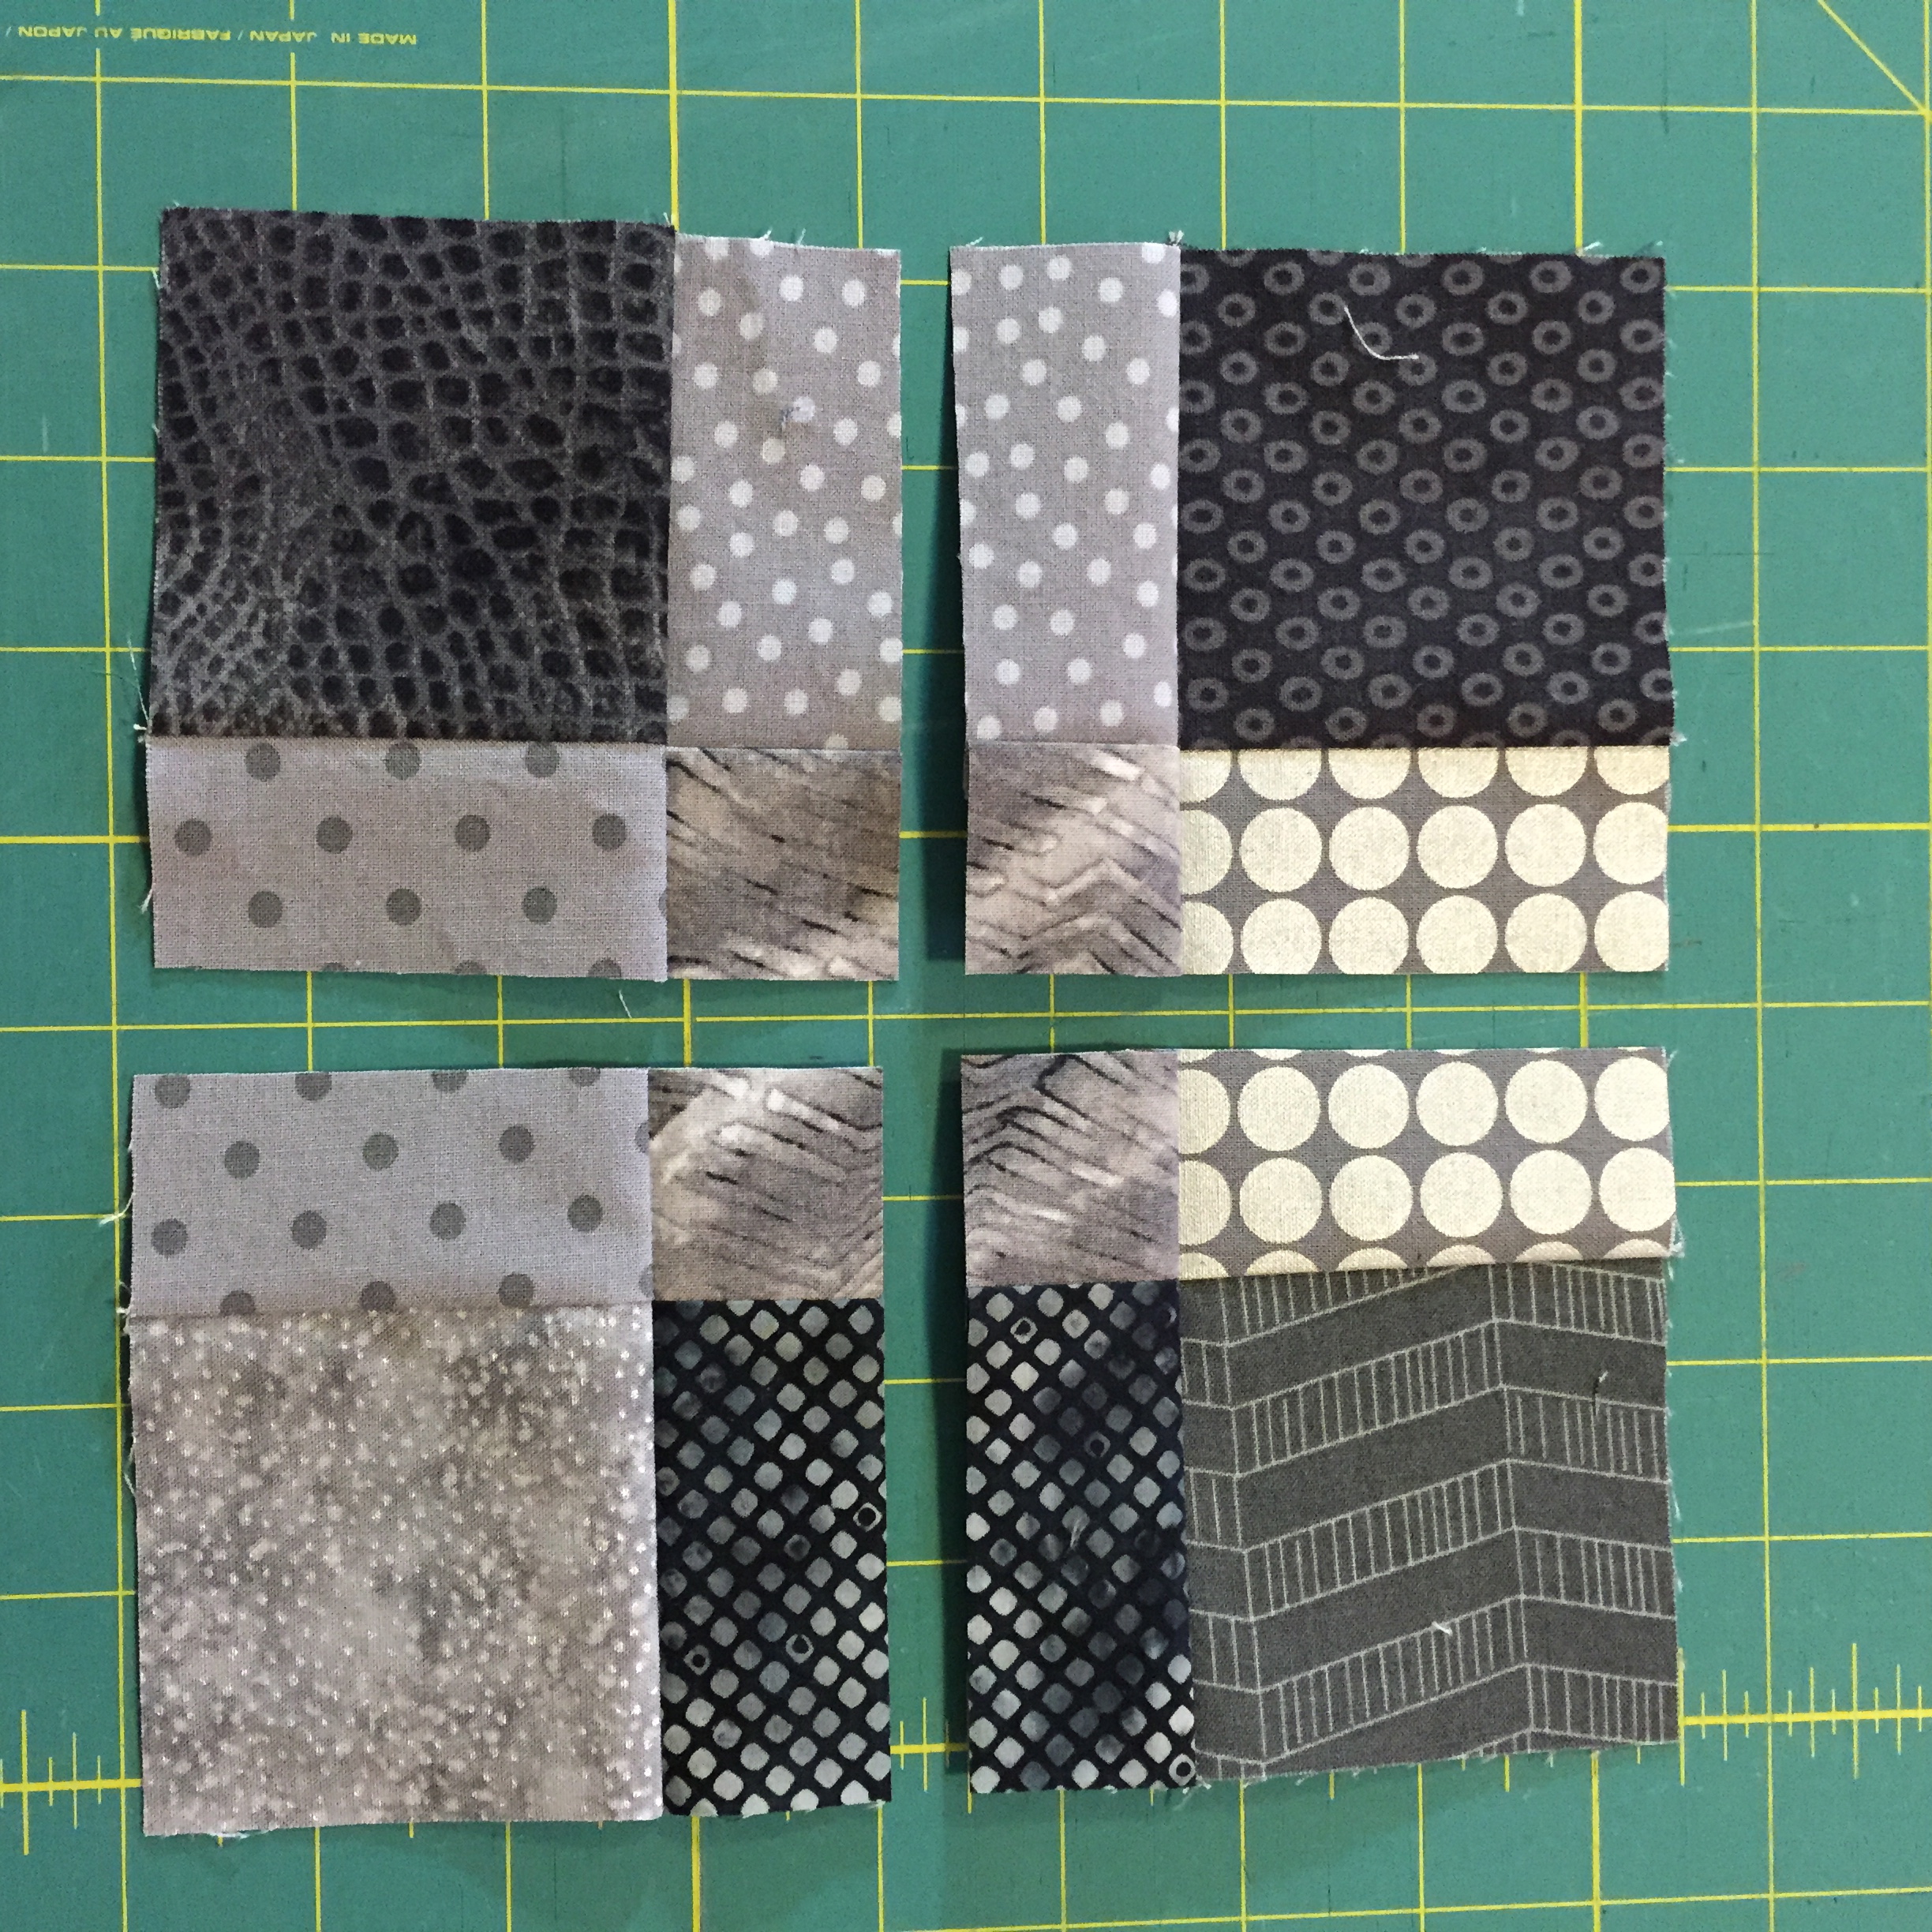
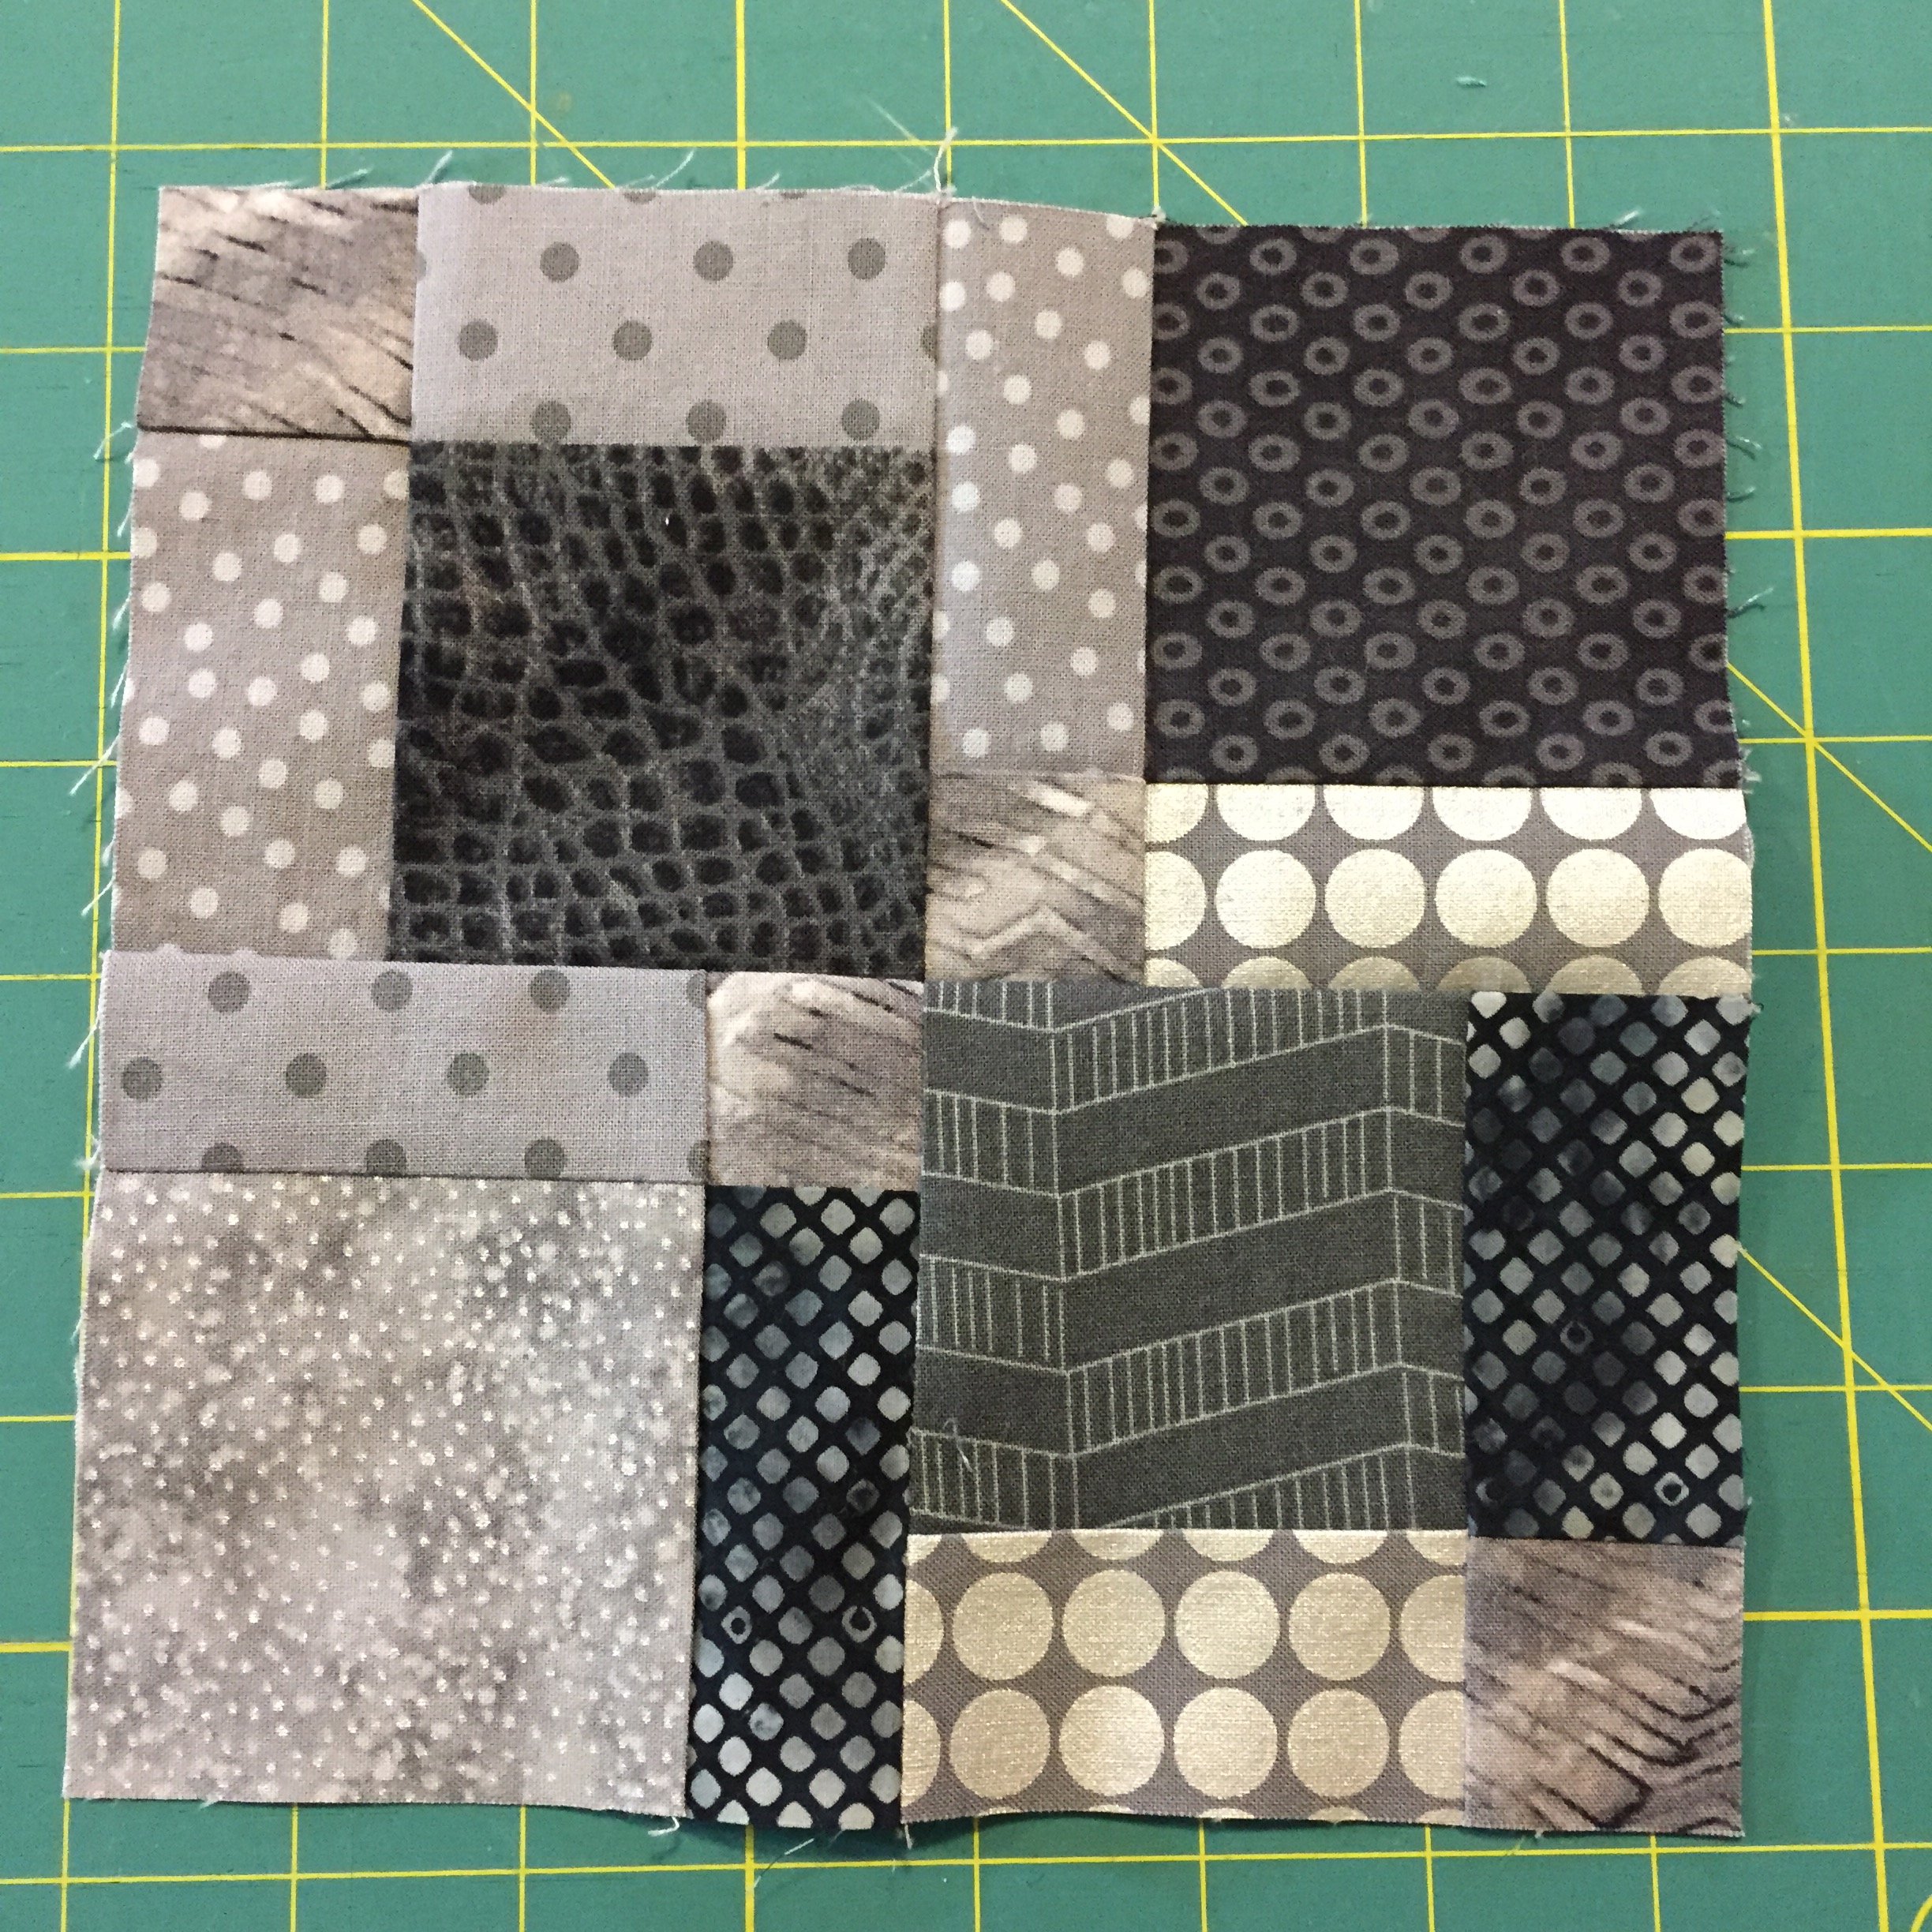
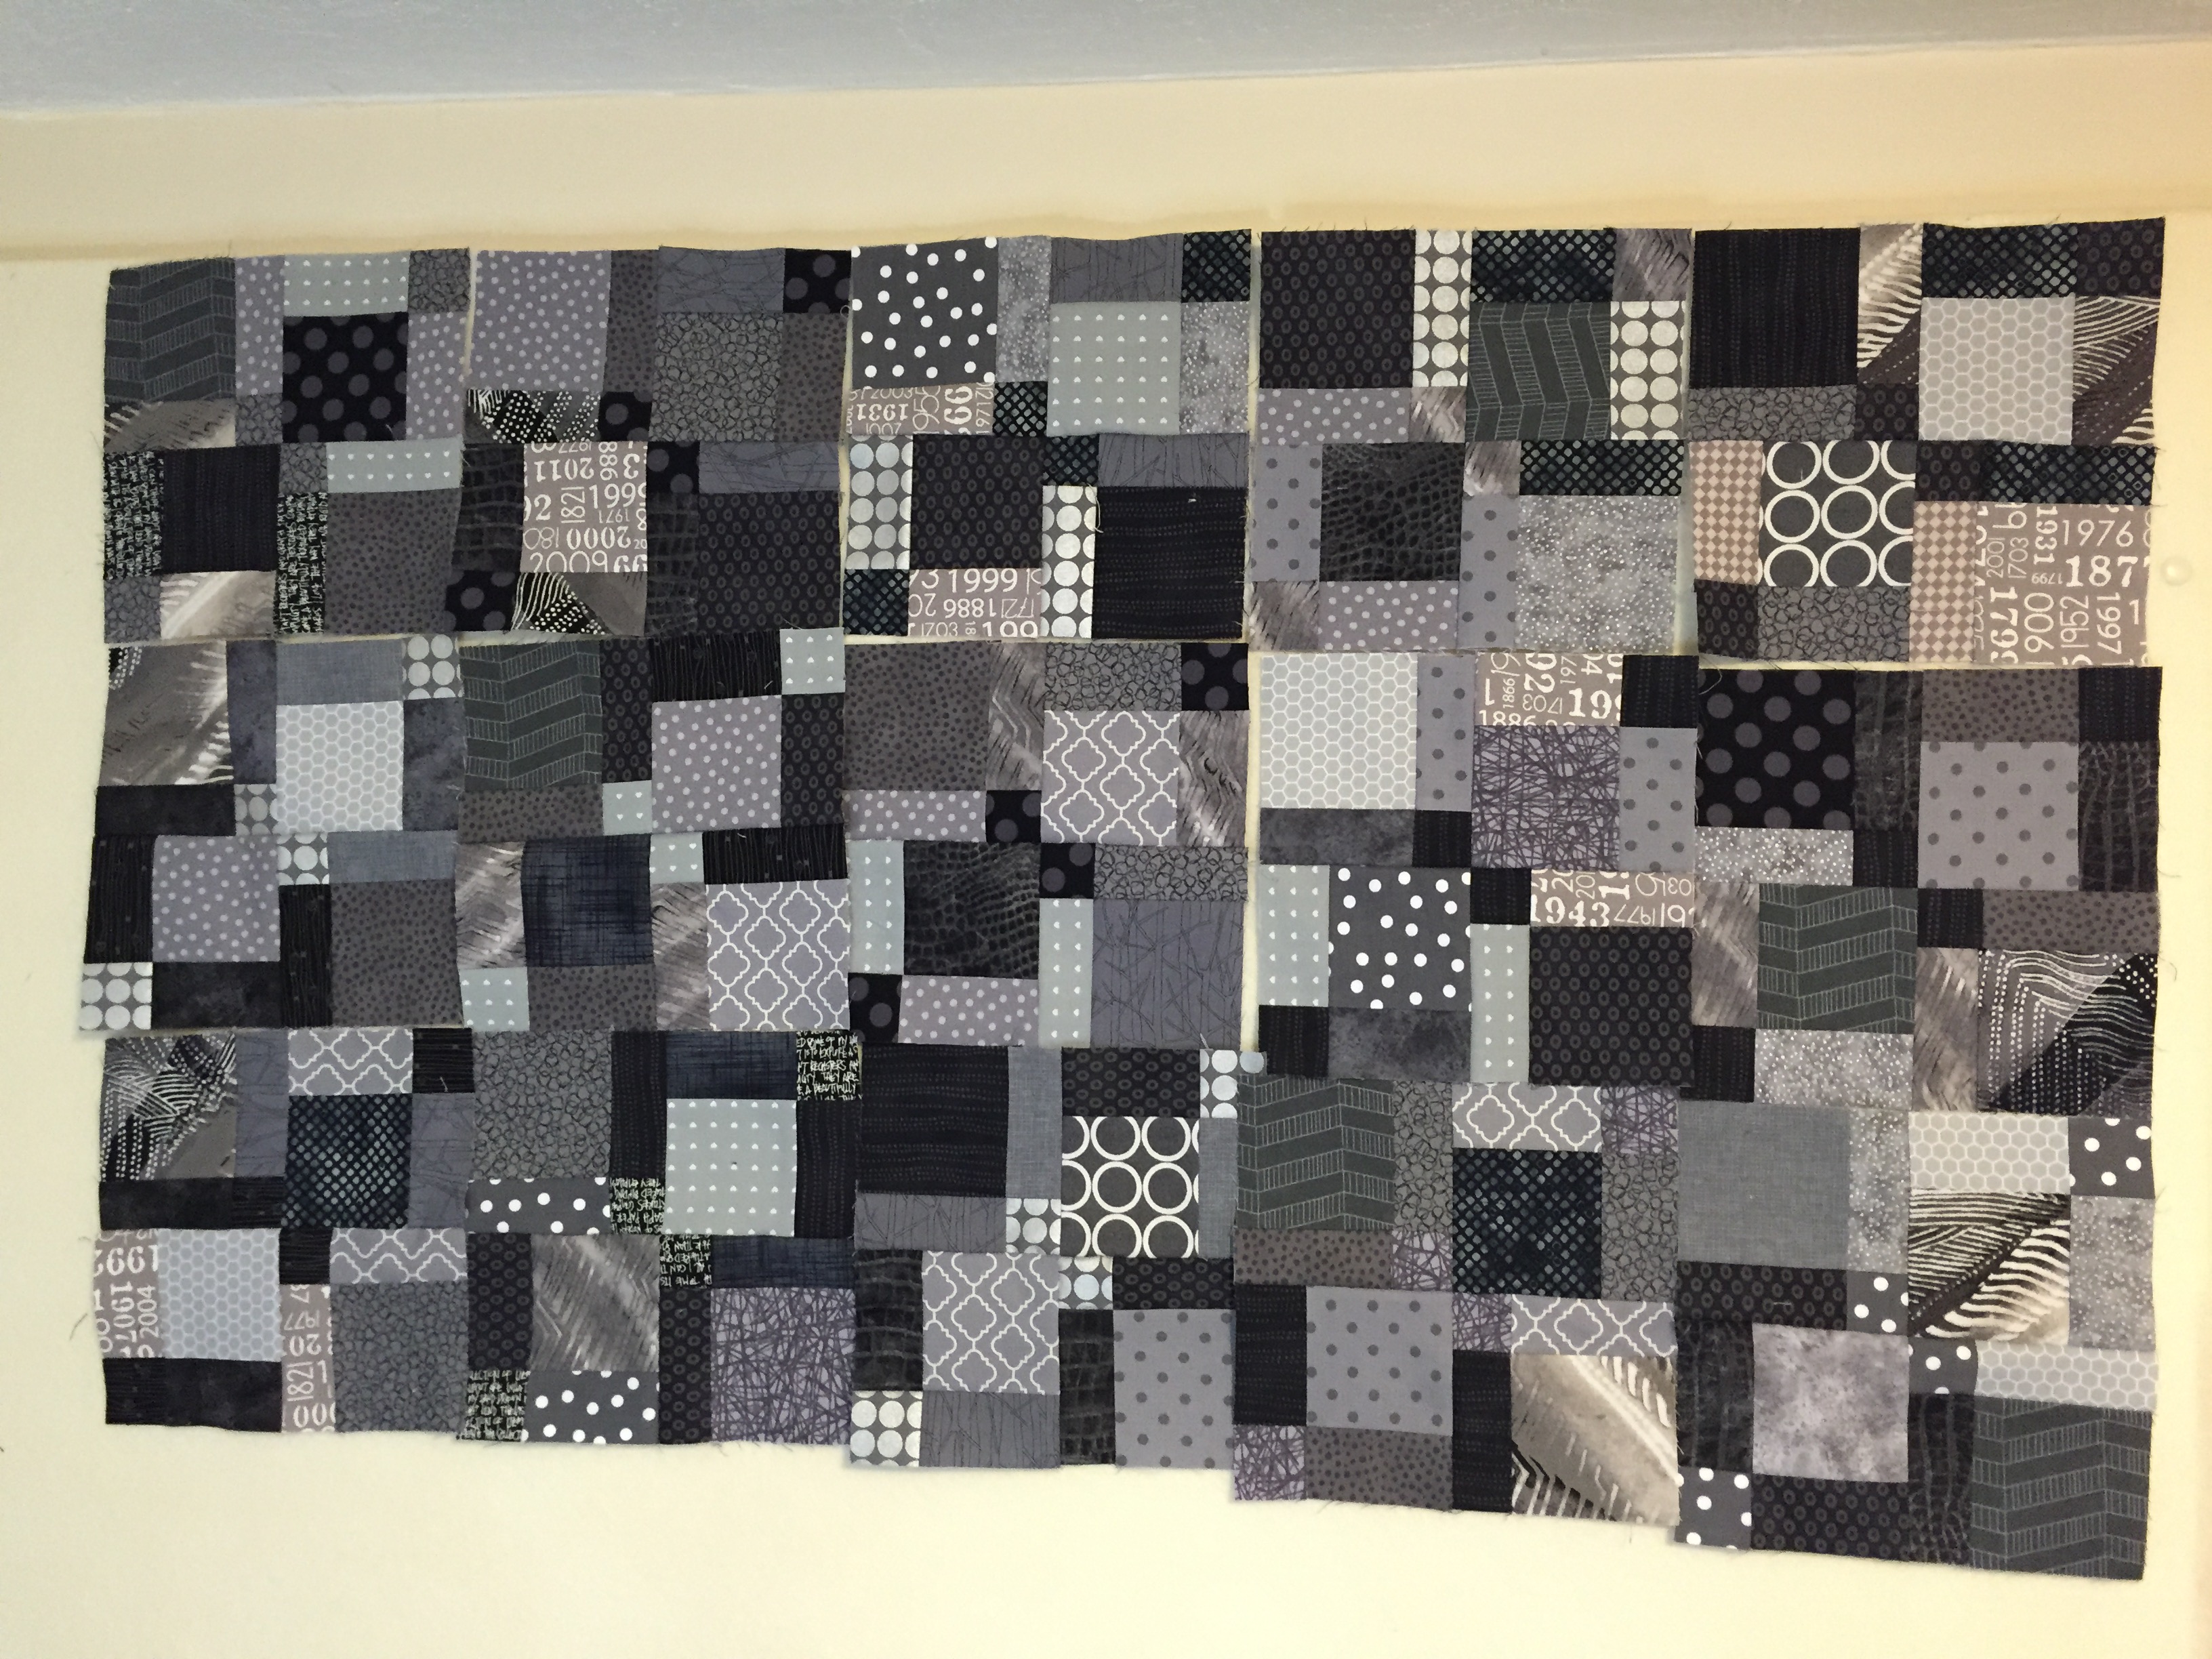
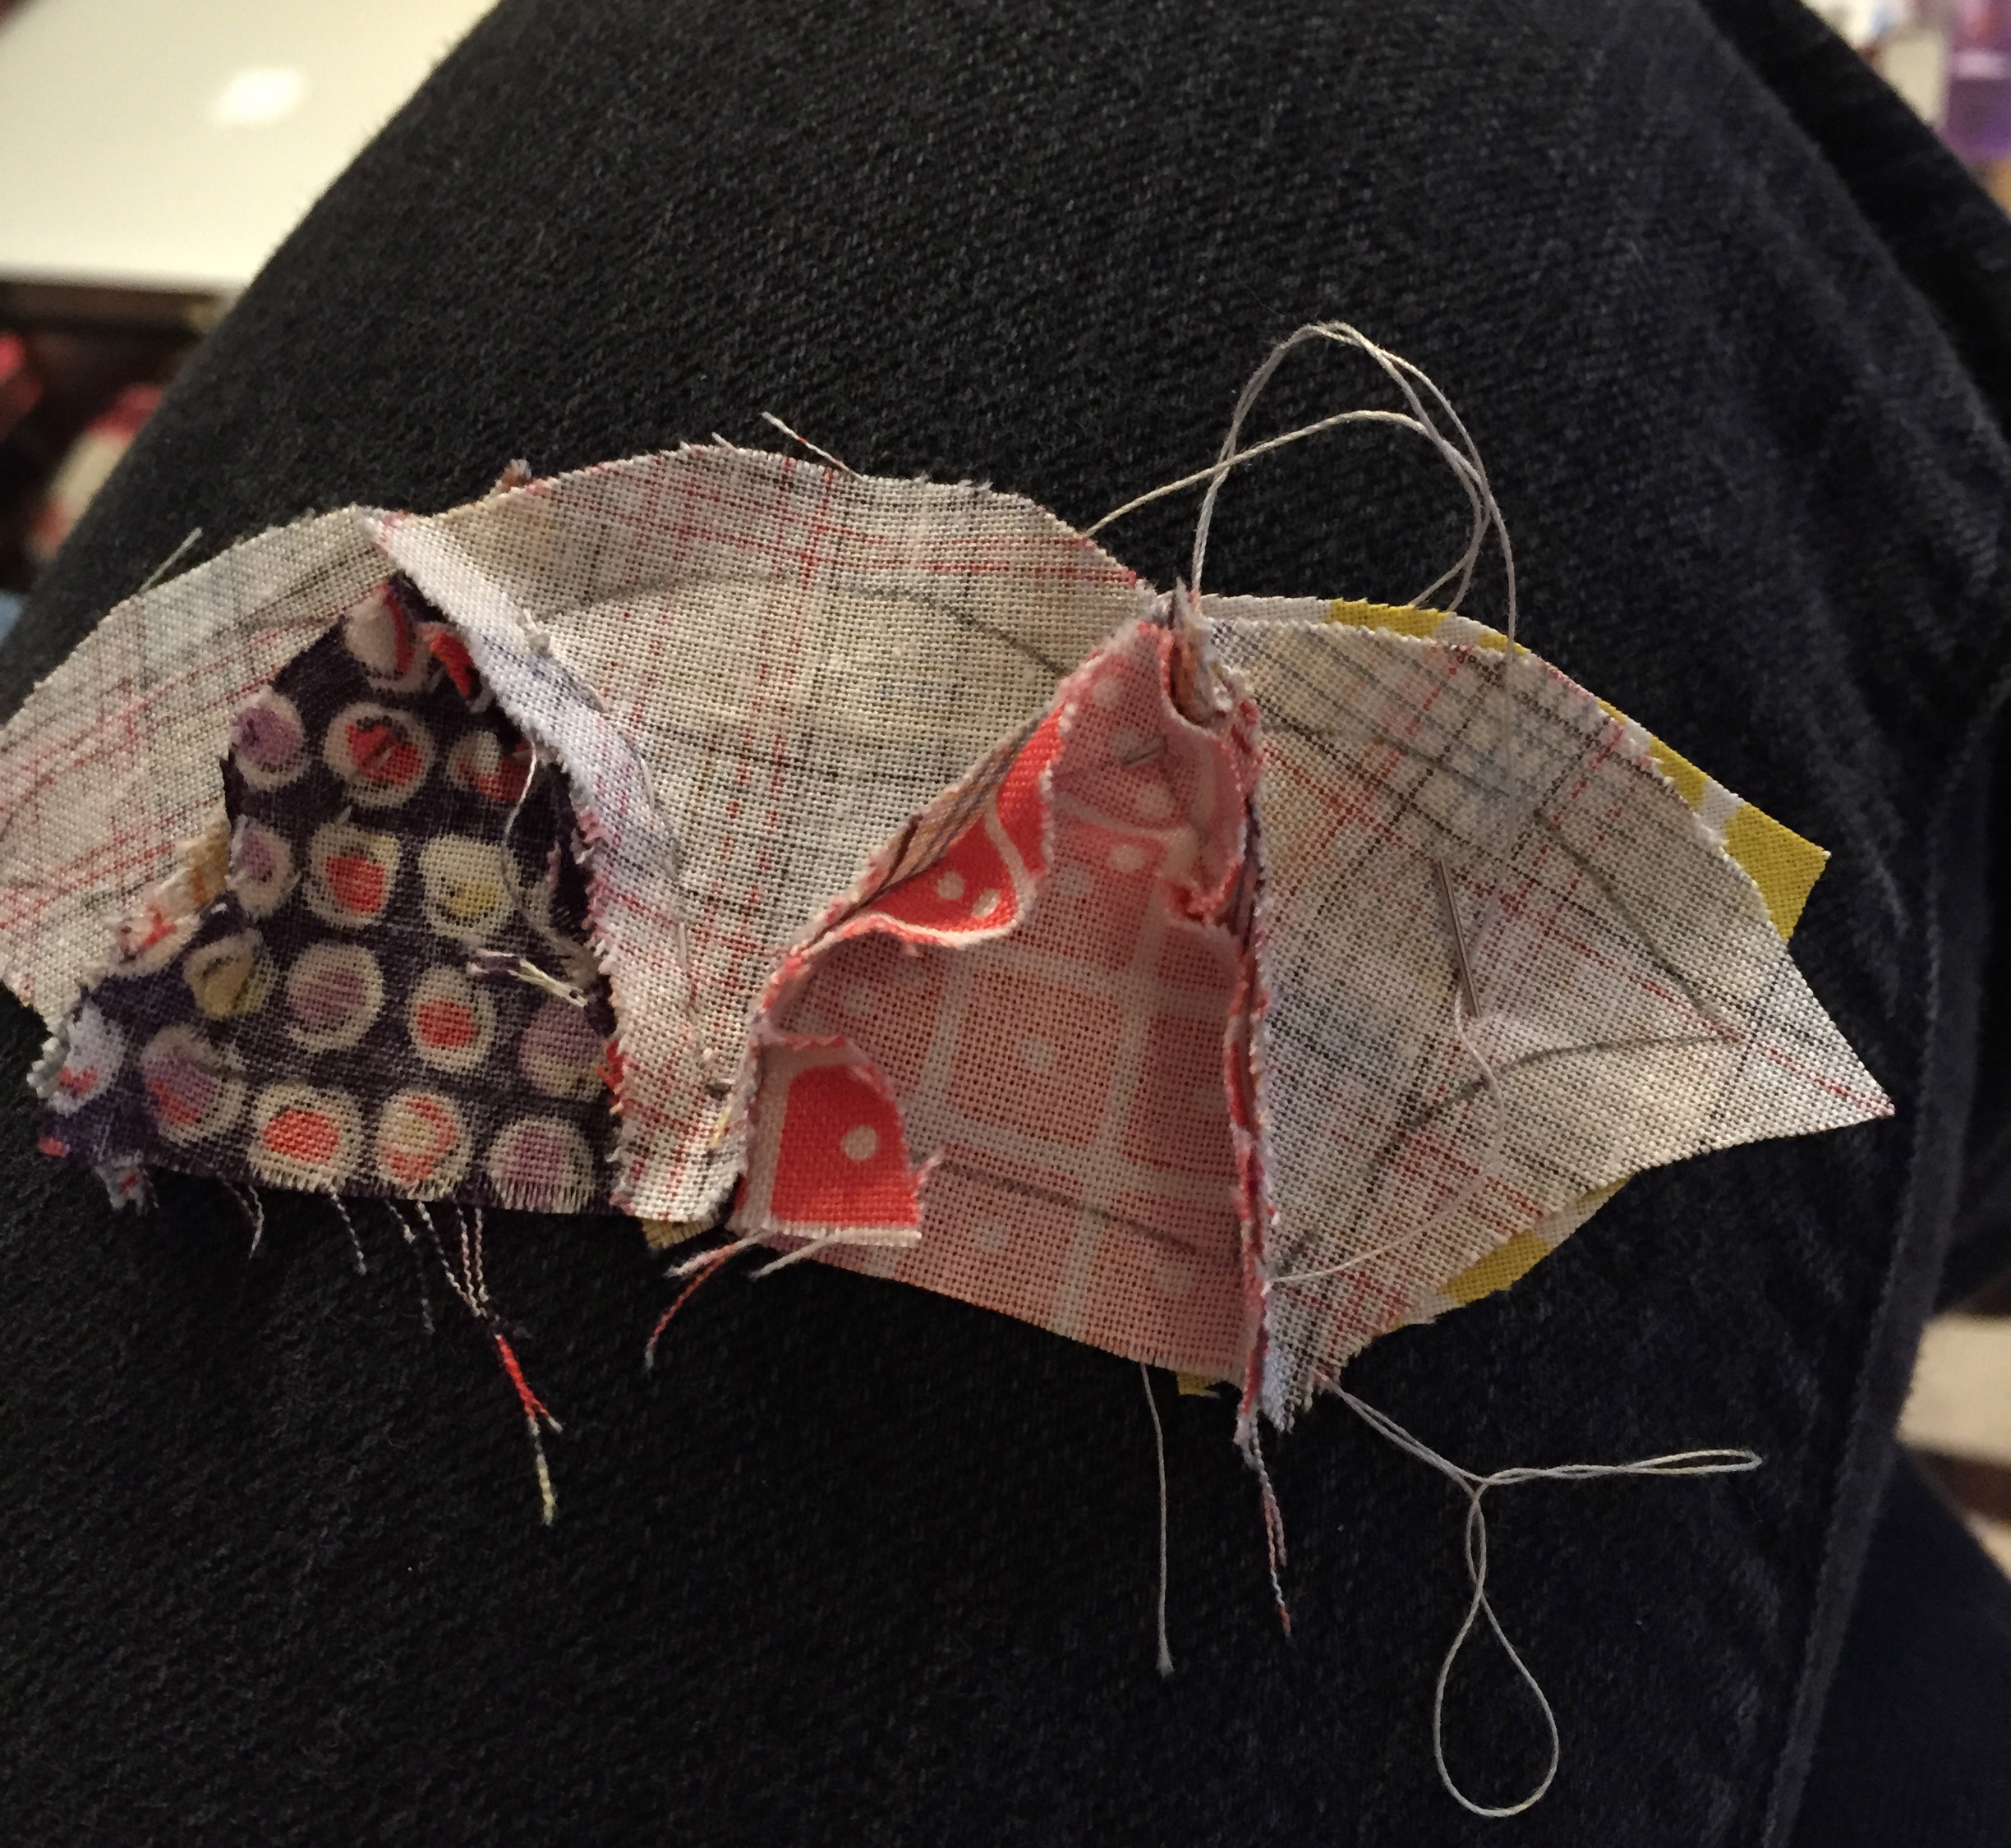
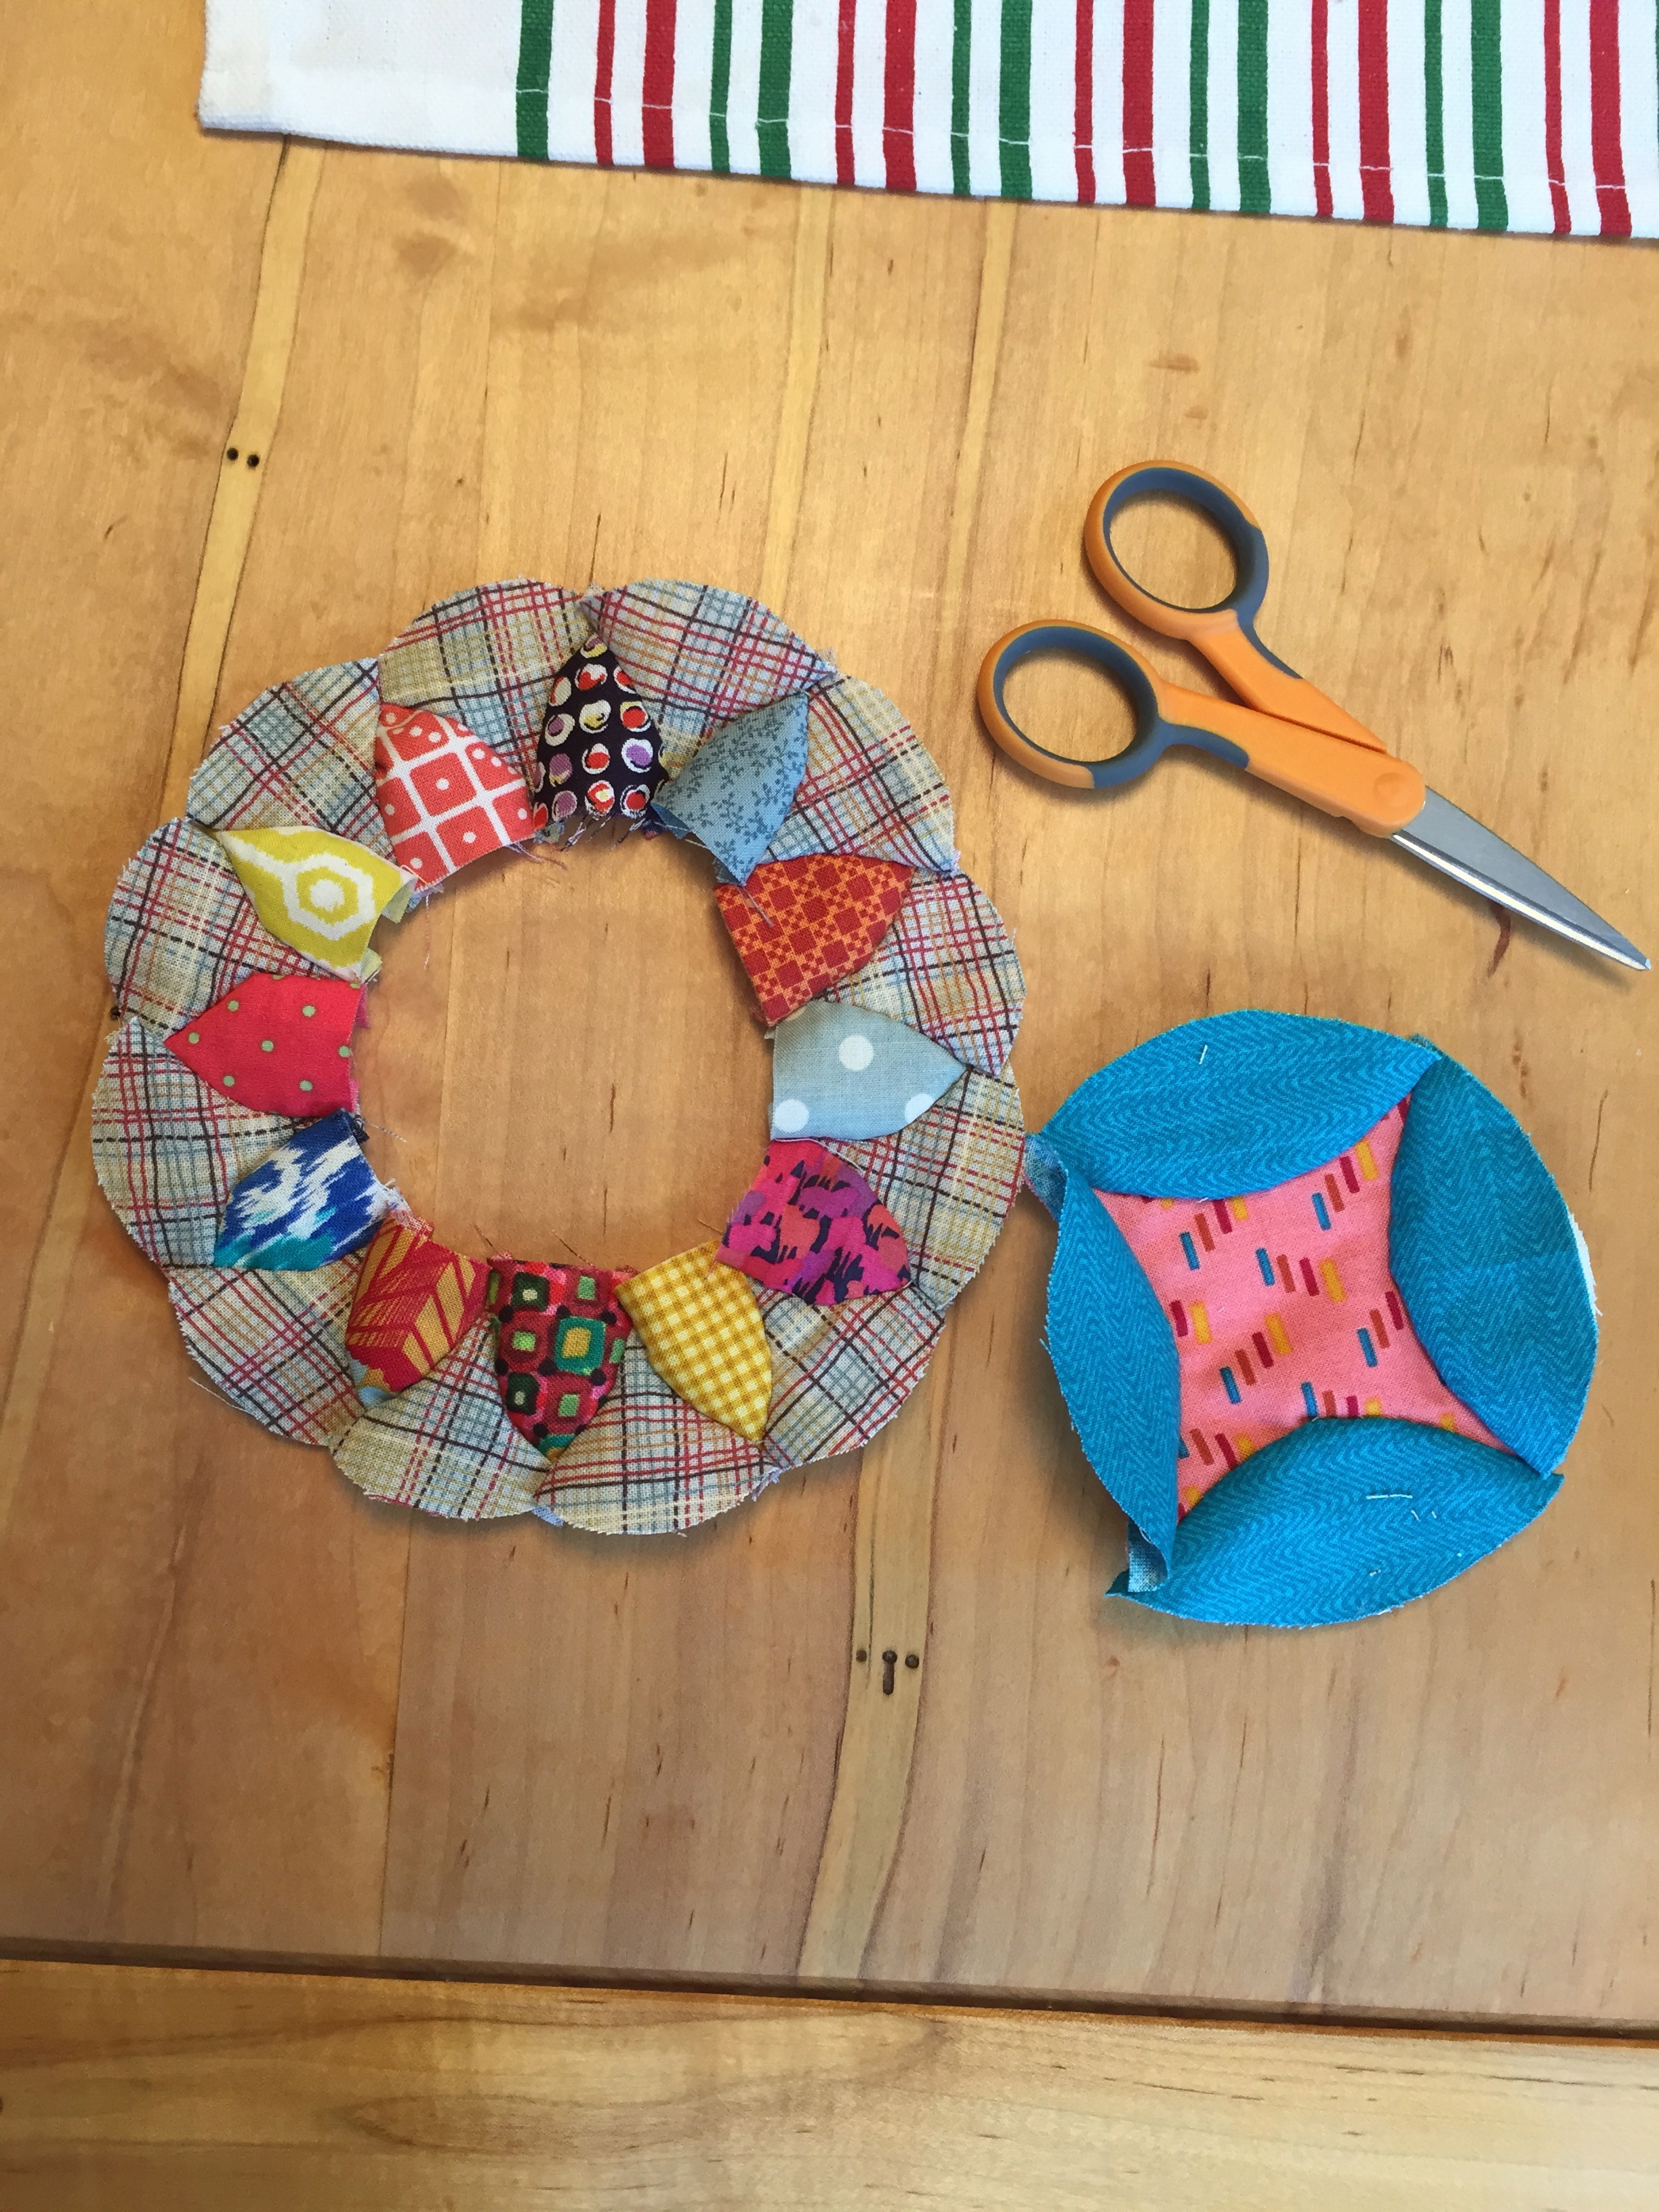
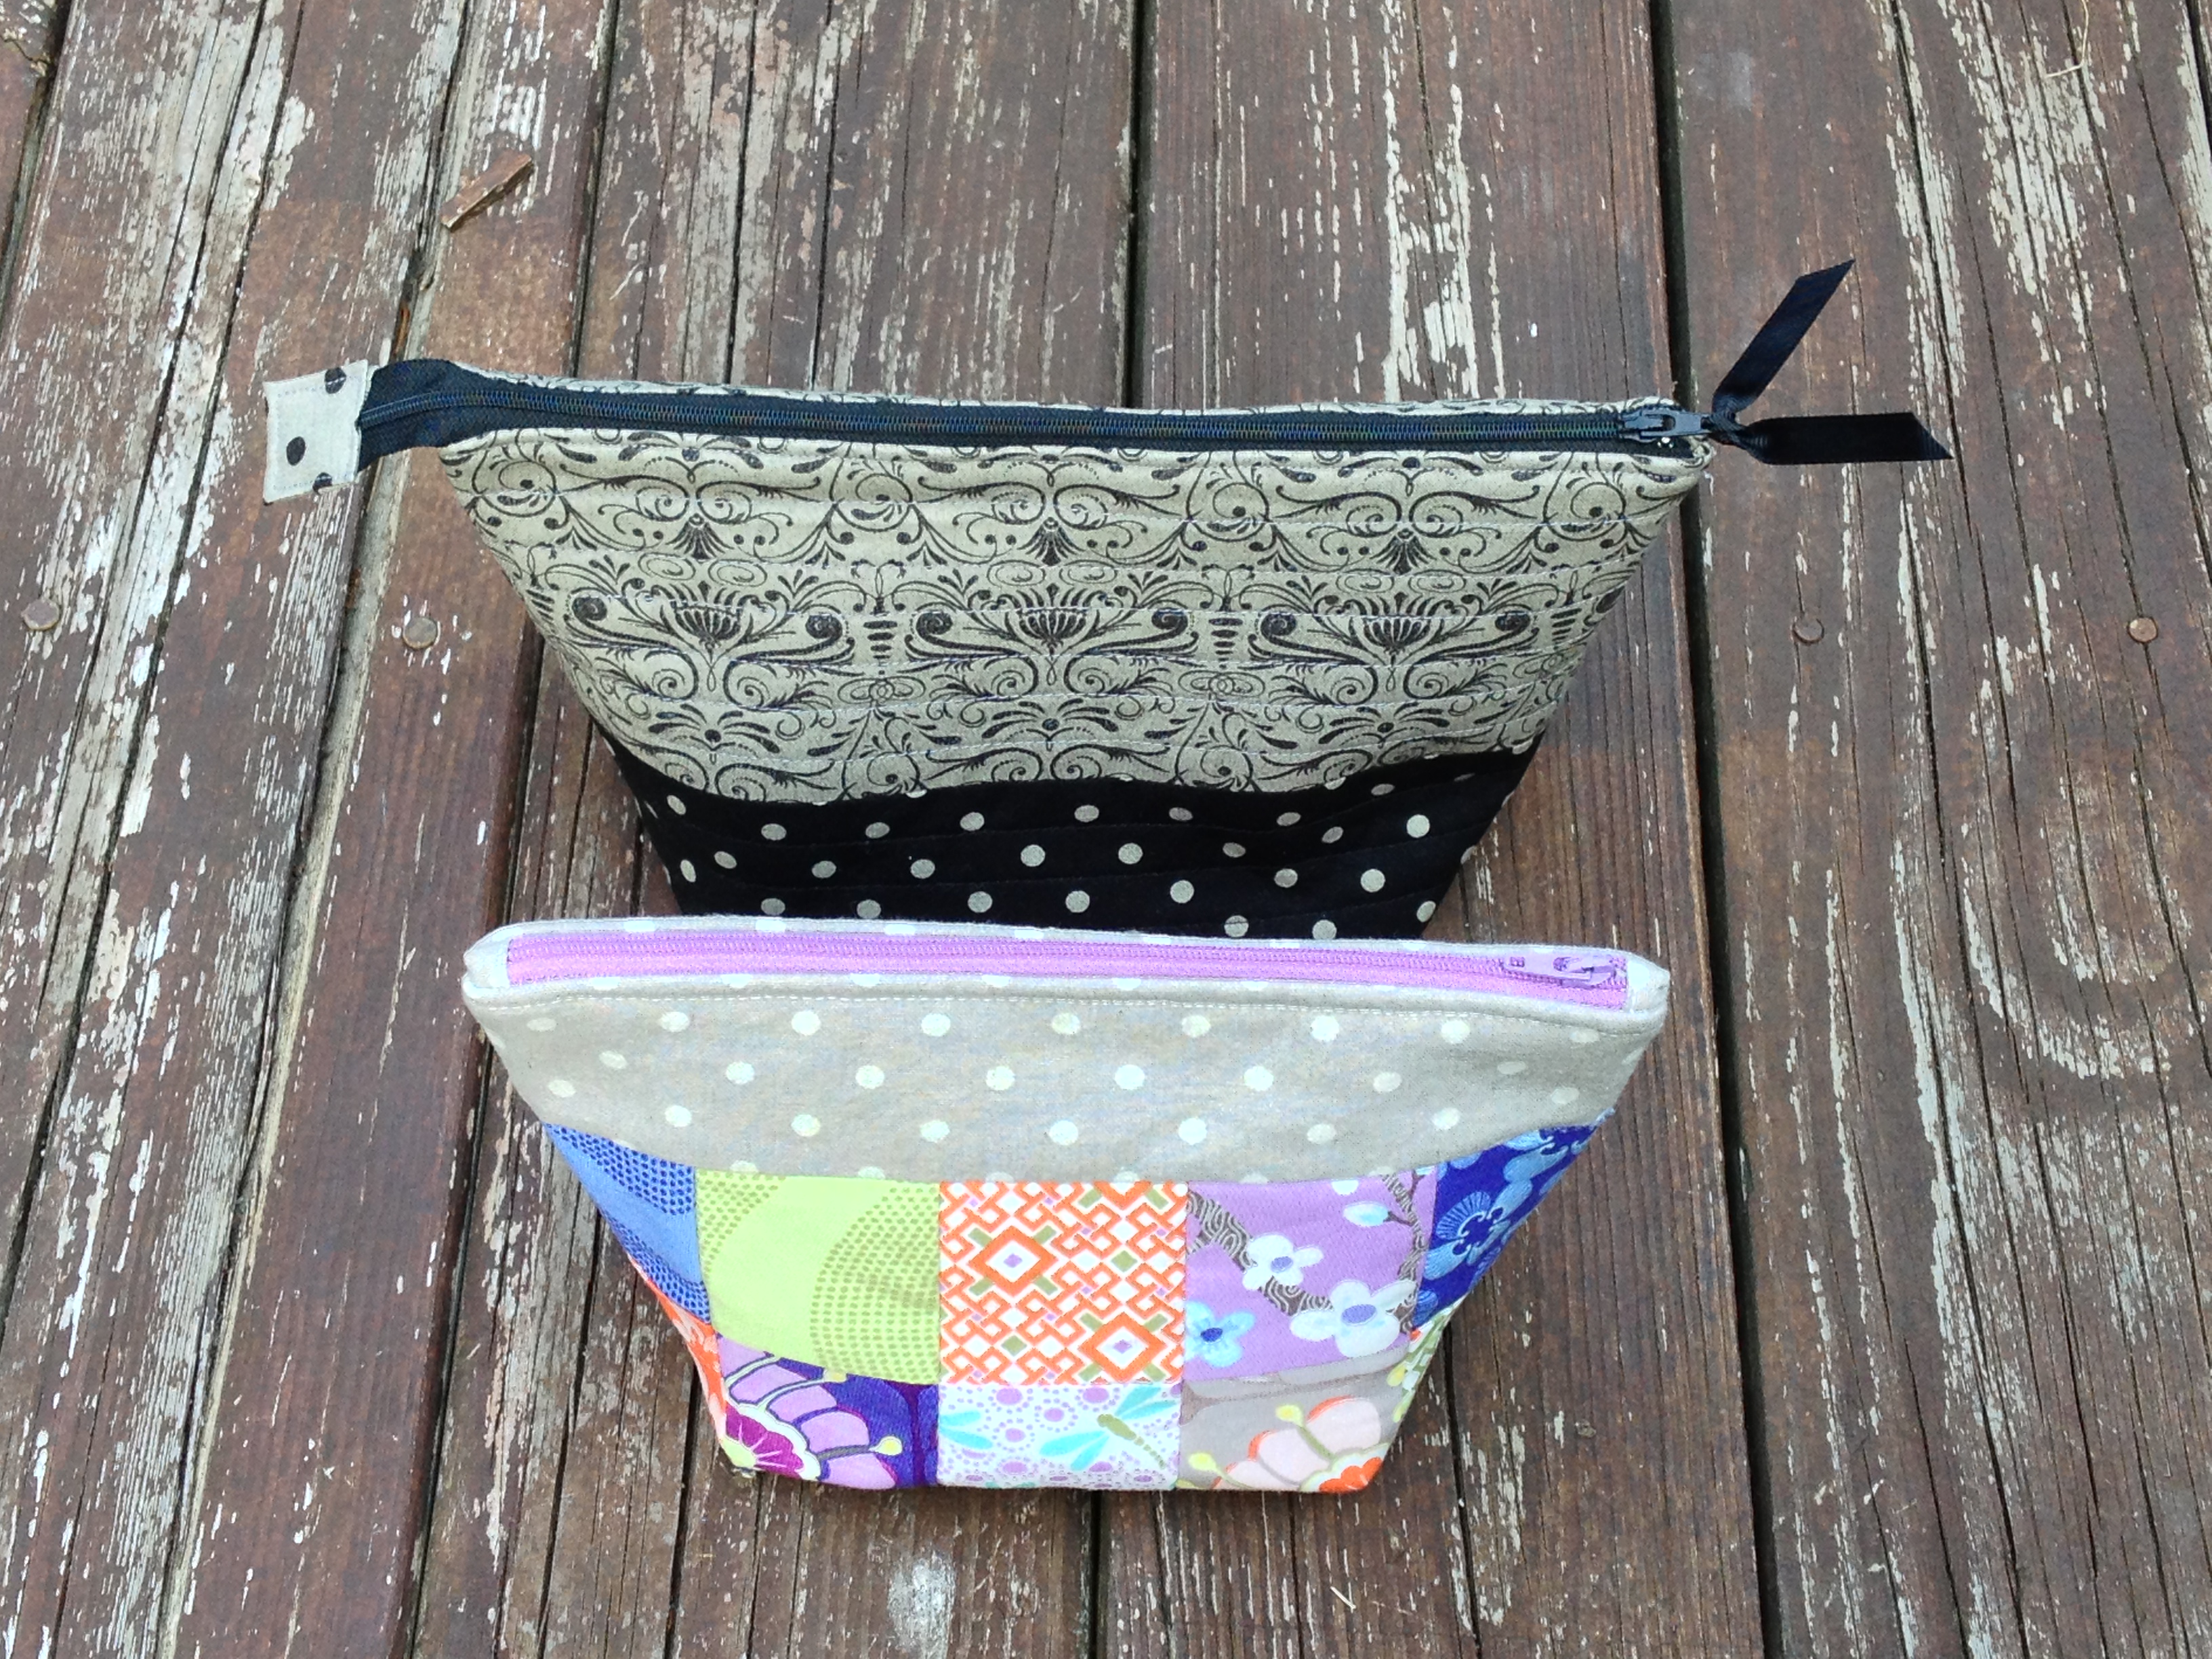
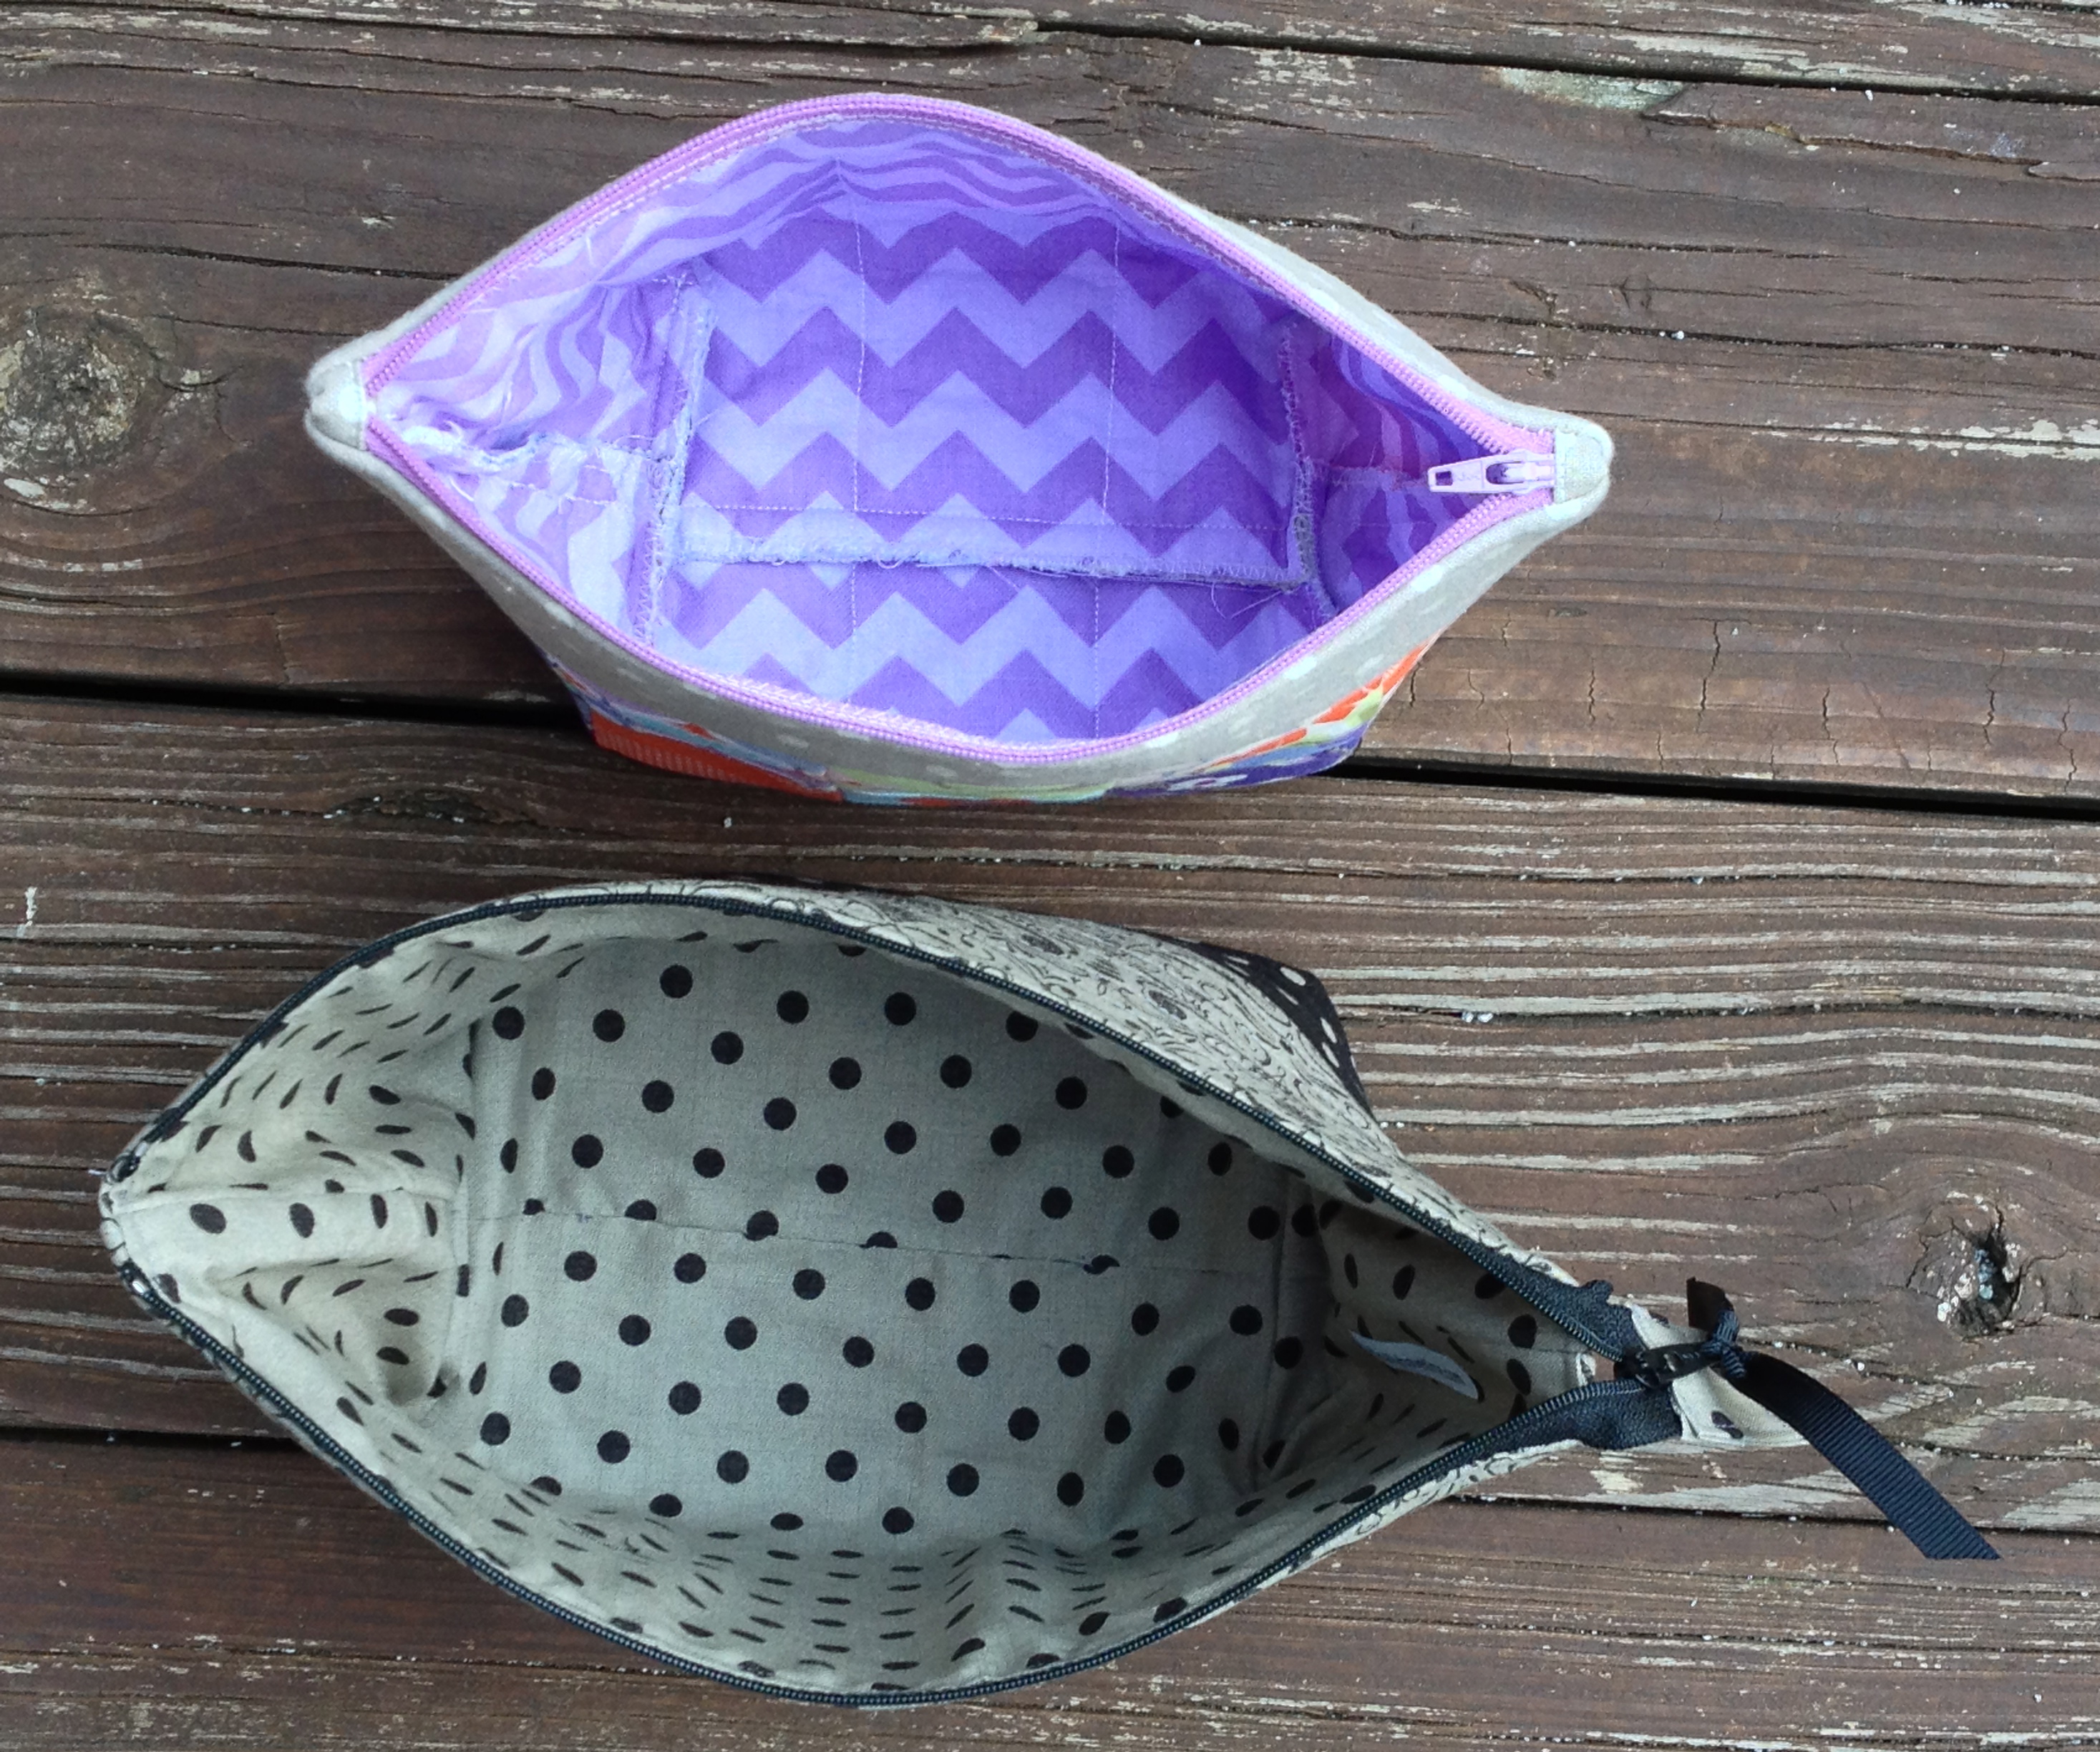
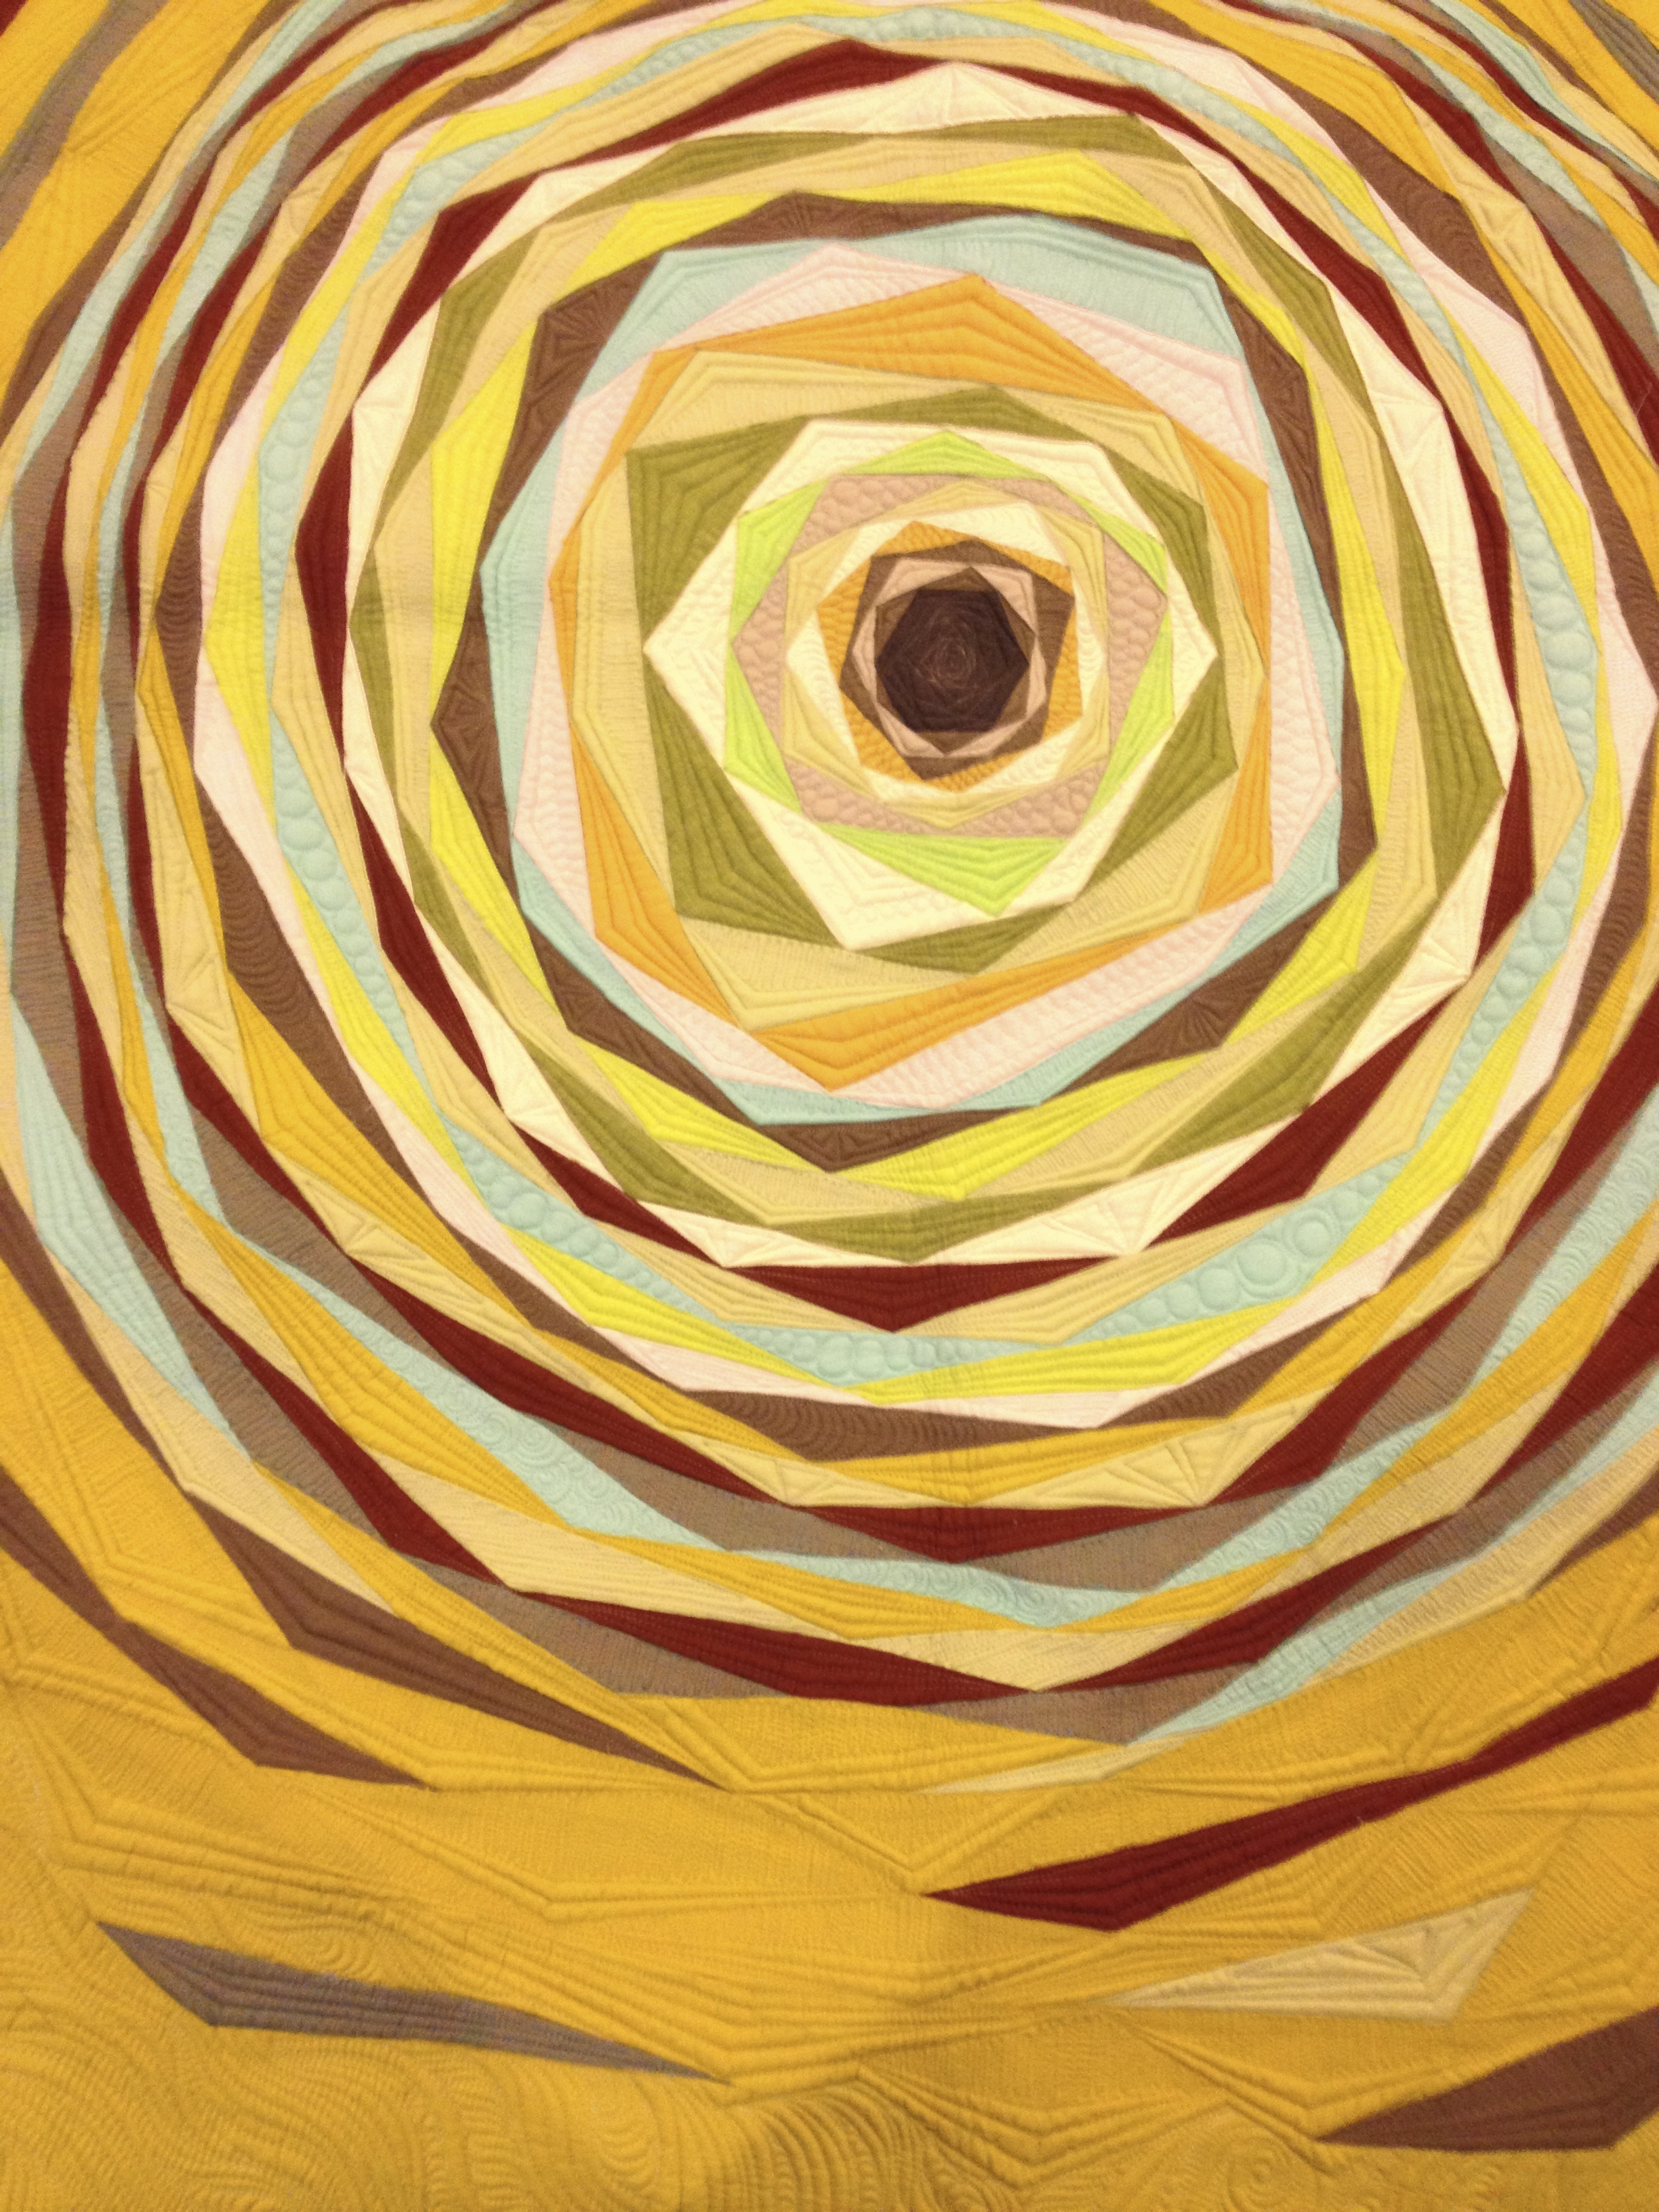
On Thursday we came with our sewing machine, rotary cutter/mat, and a bag of scraps and she showed us an easy method of making fabric by piecing the scraps together in a way that they could then be cut (again) into usable pieces. (Thereby making more scraps!)

xx

Thursday workshop

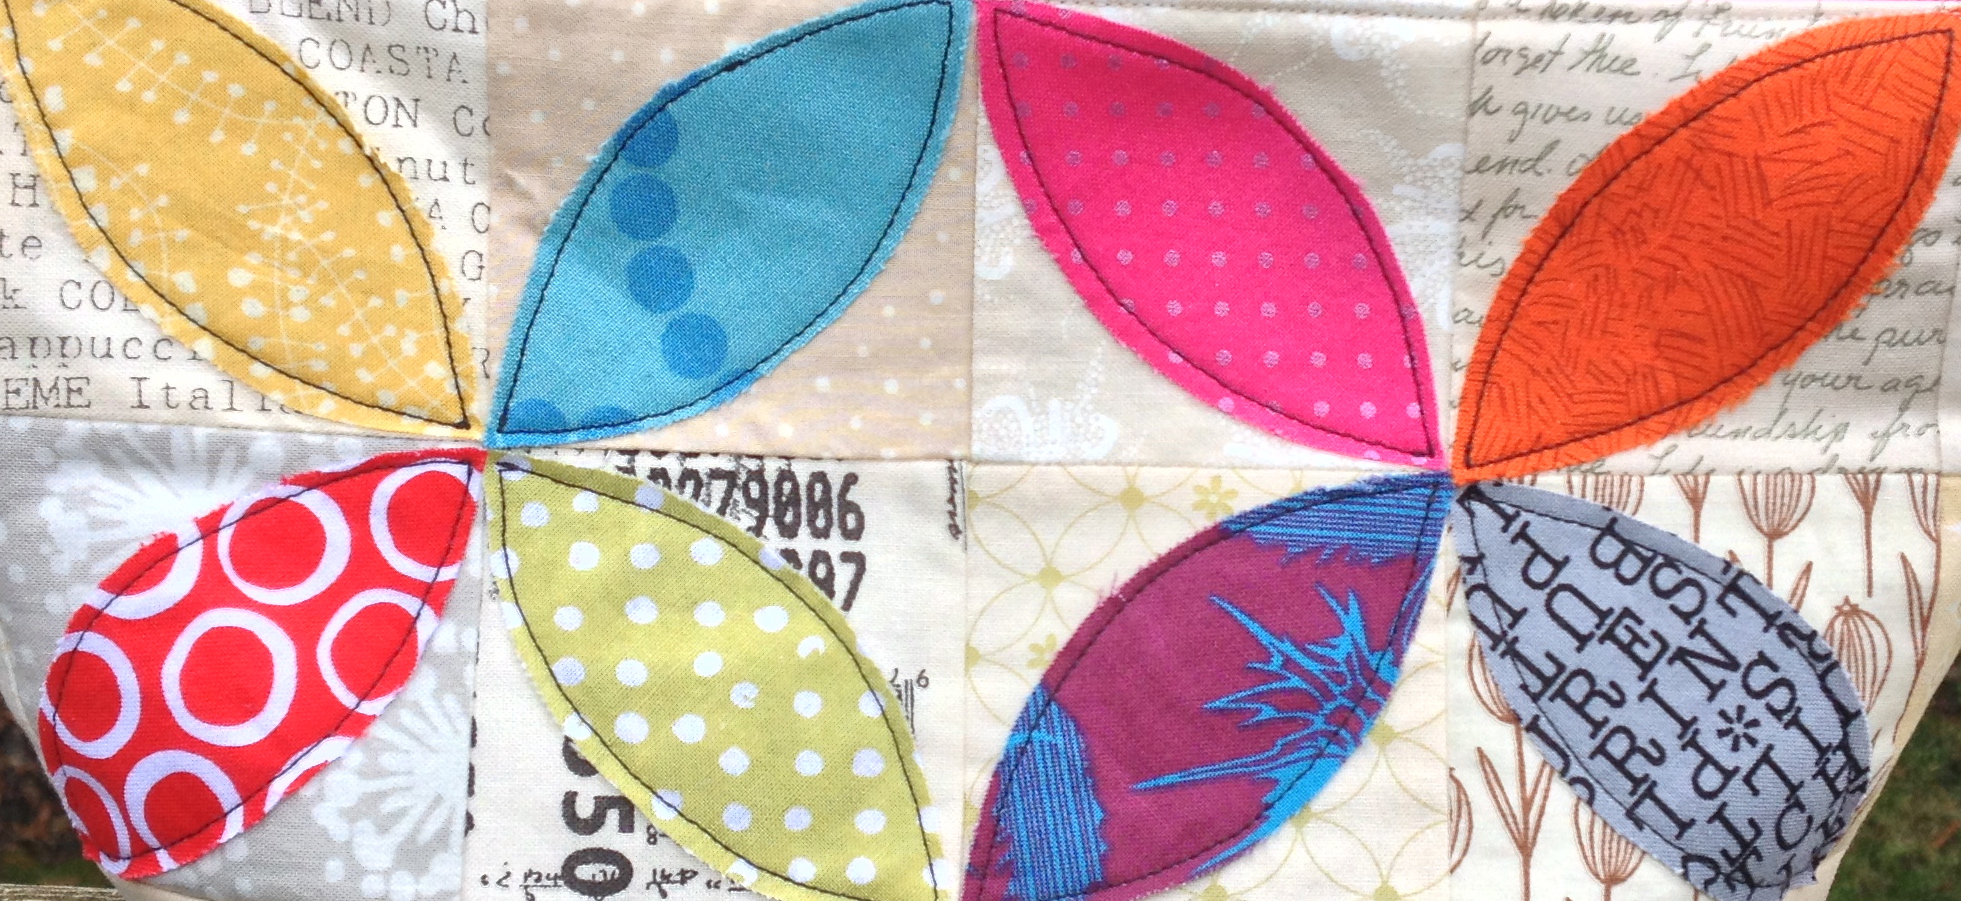
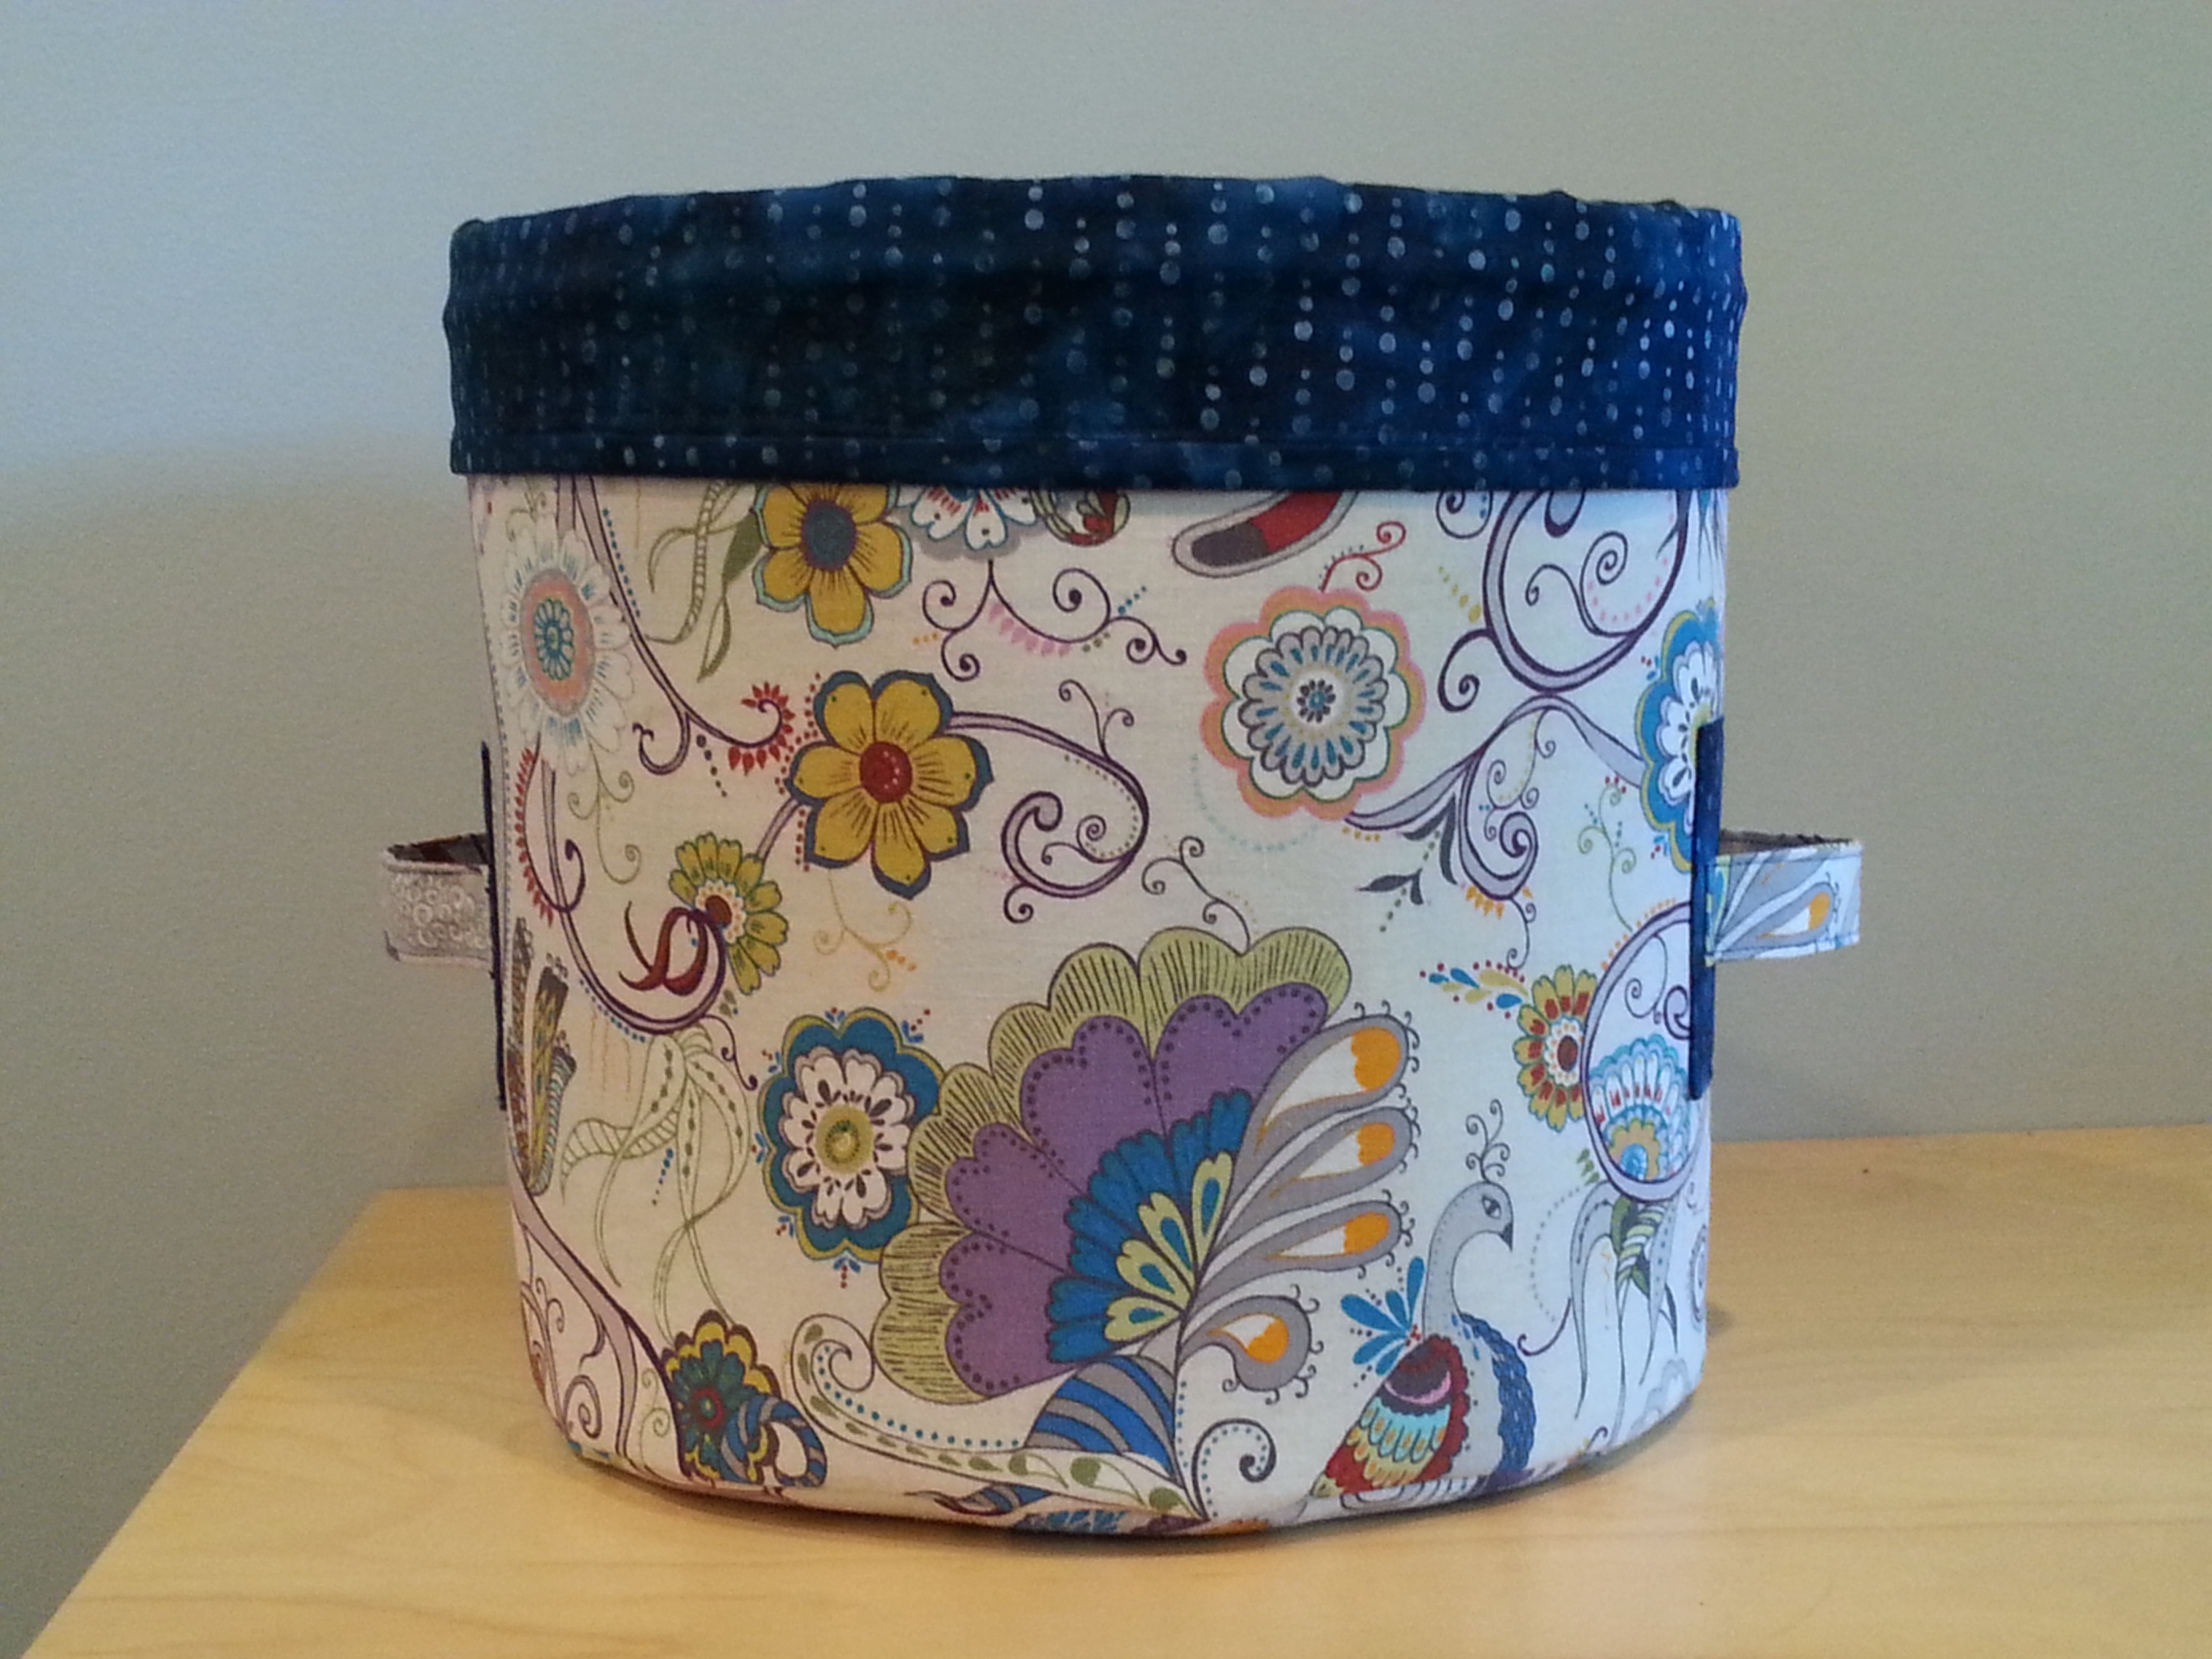
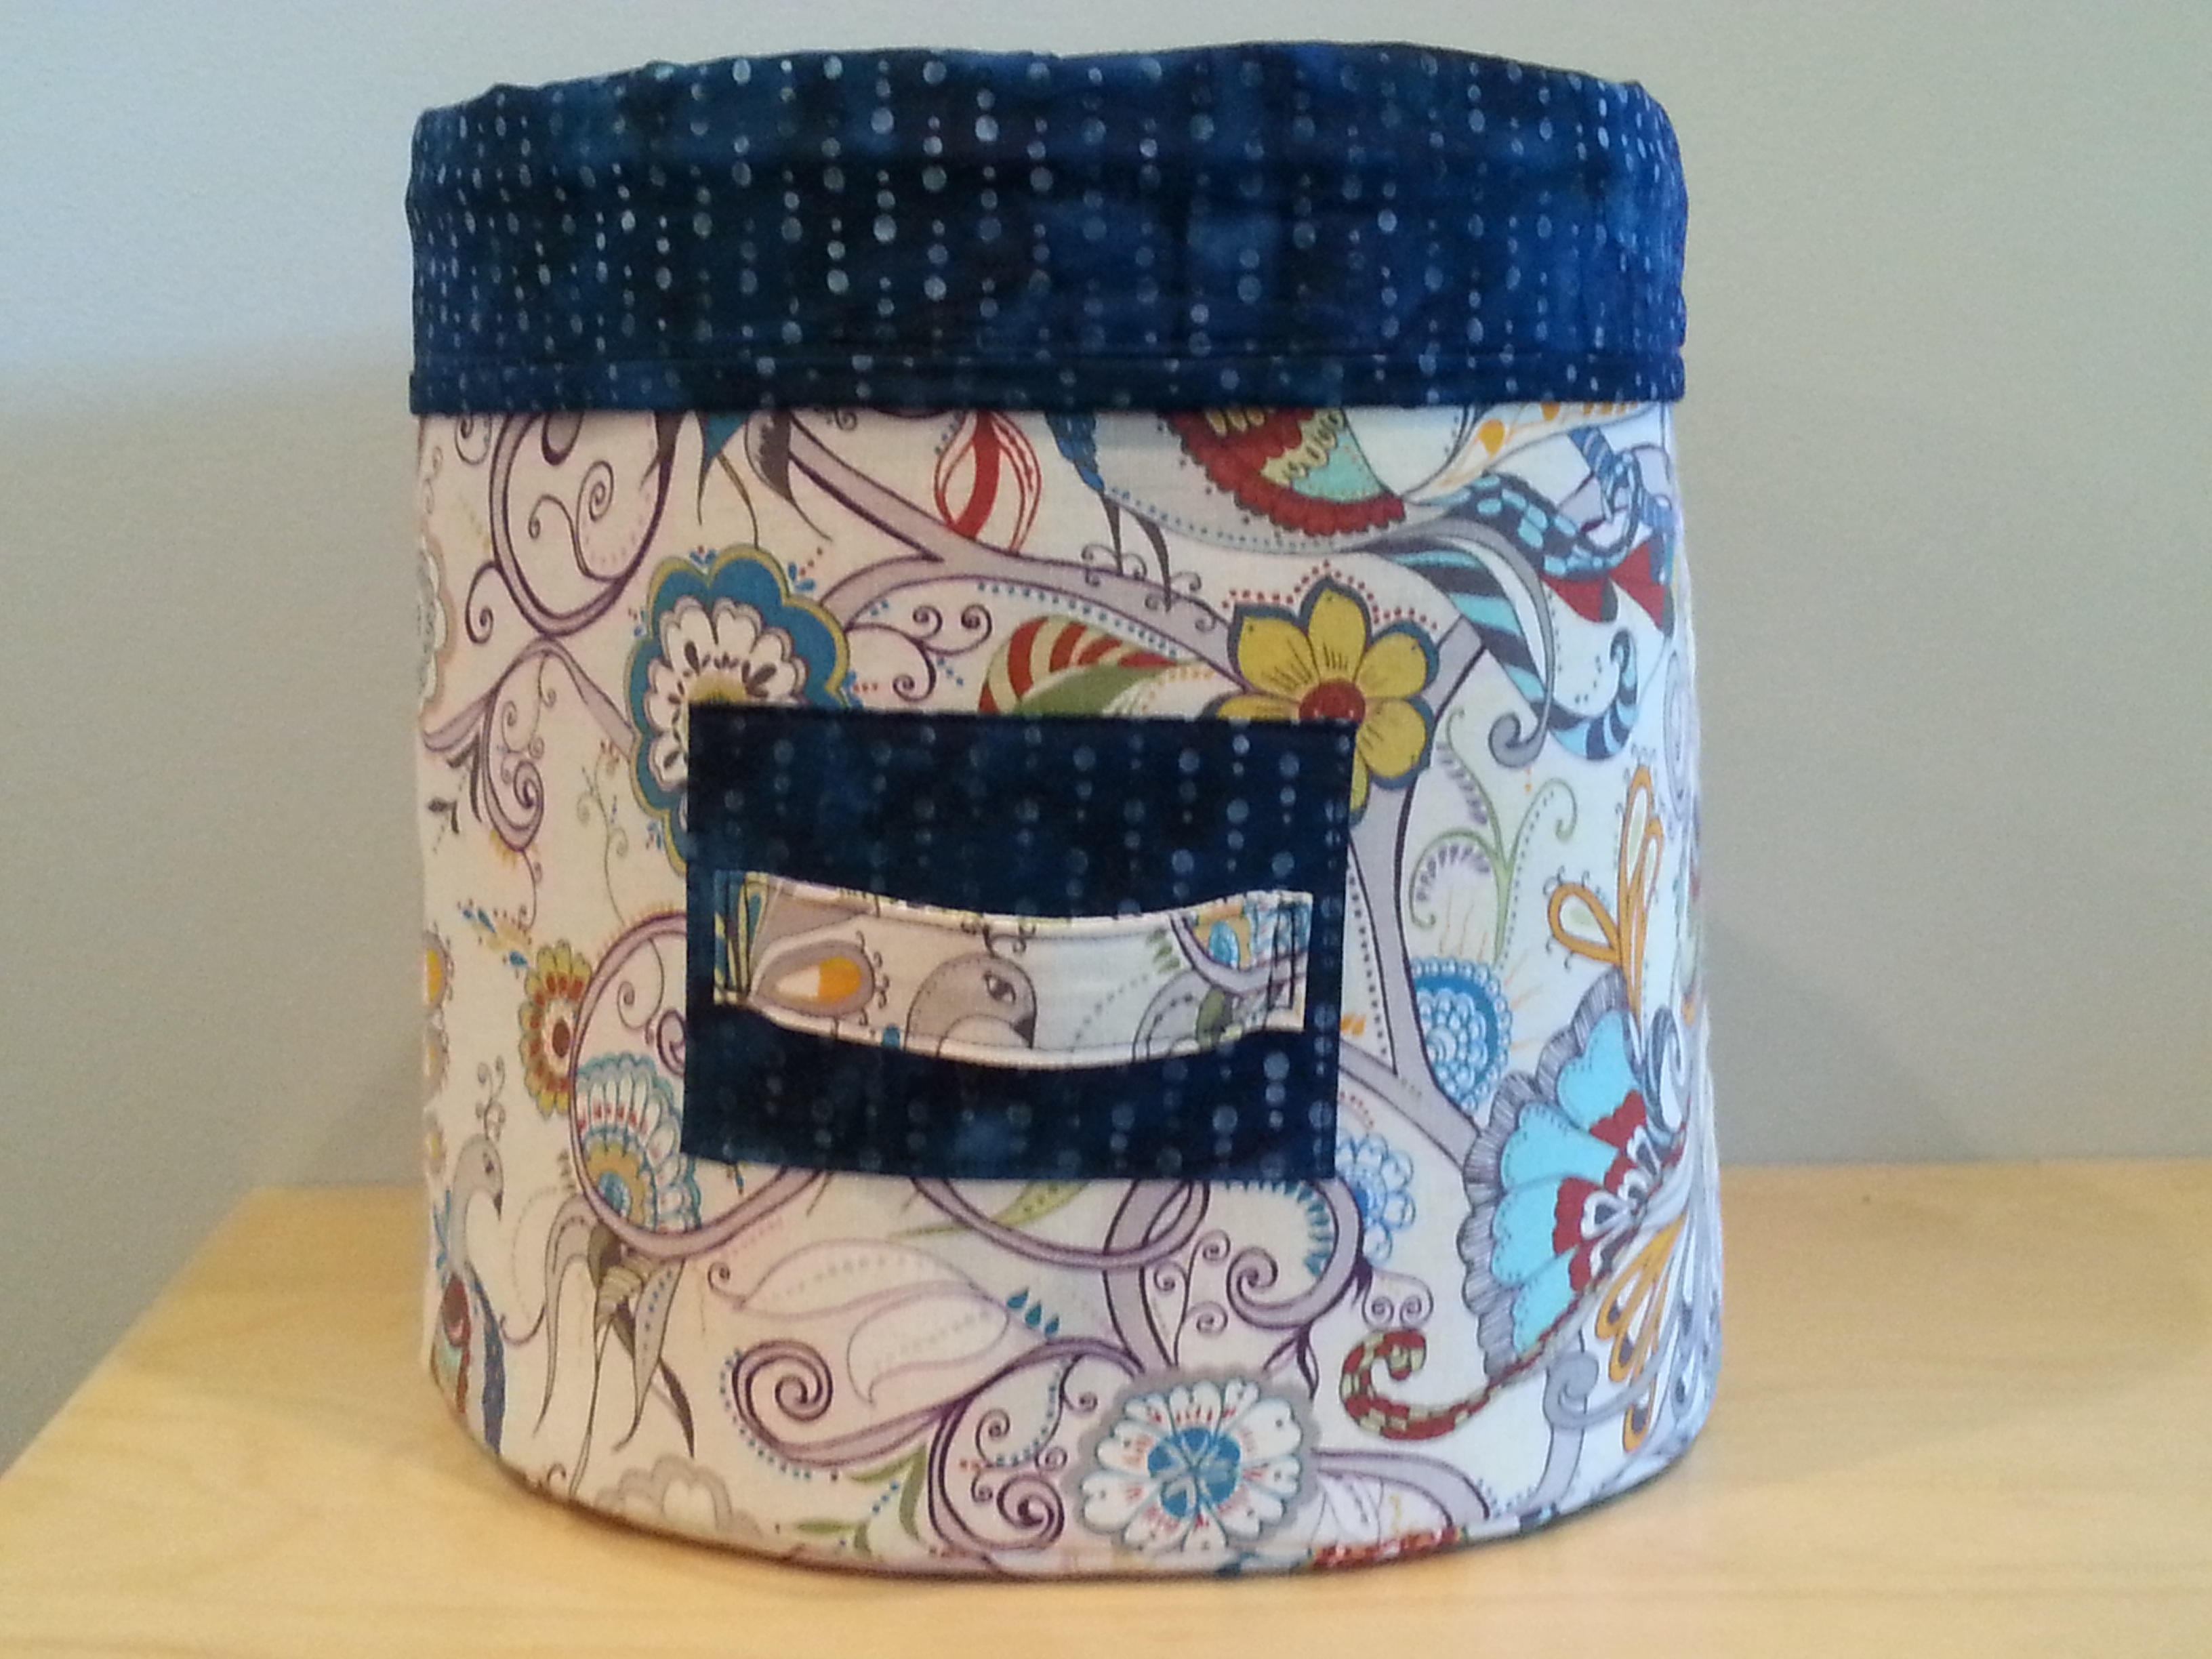
Victoria showed us many examples of mixing the “made” fabric with “unmade” fabric to get even a bigger variety of patterns in our quilts and then set us free to work on our own pieces.

xx

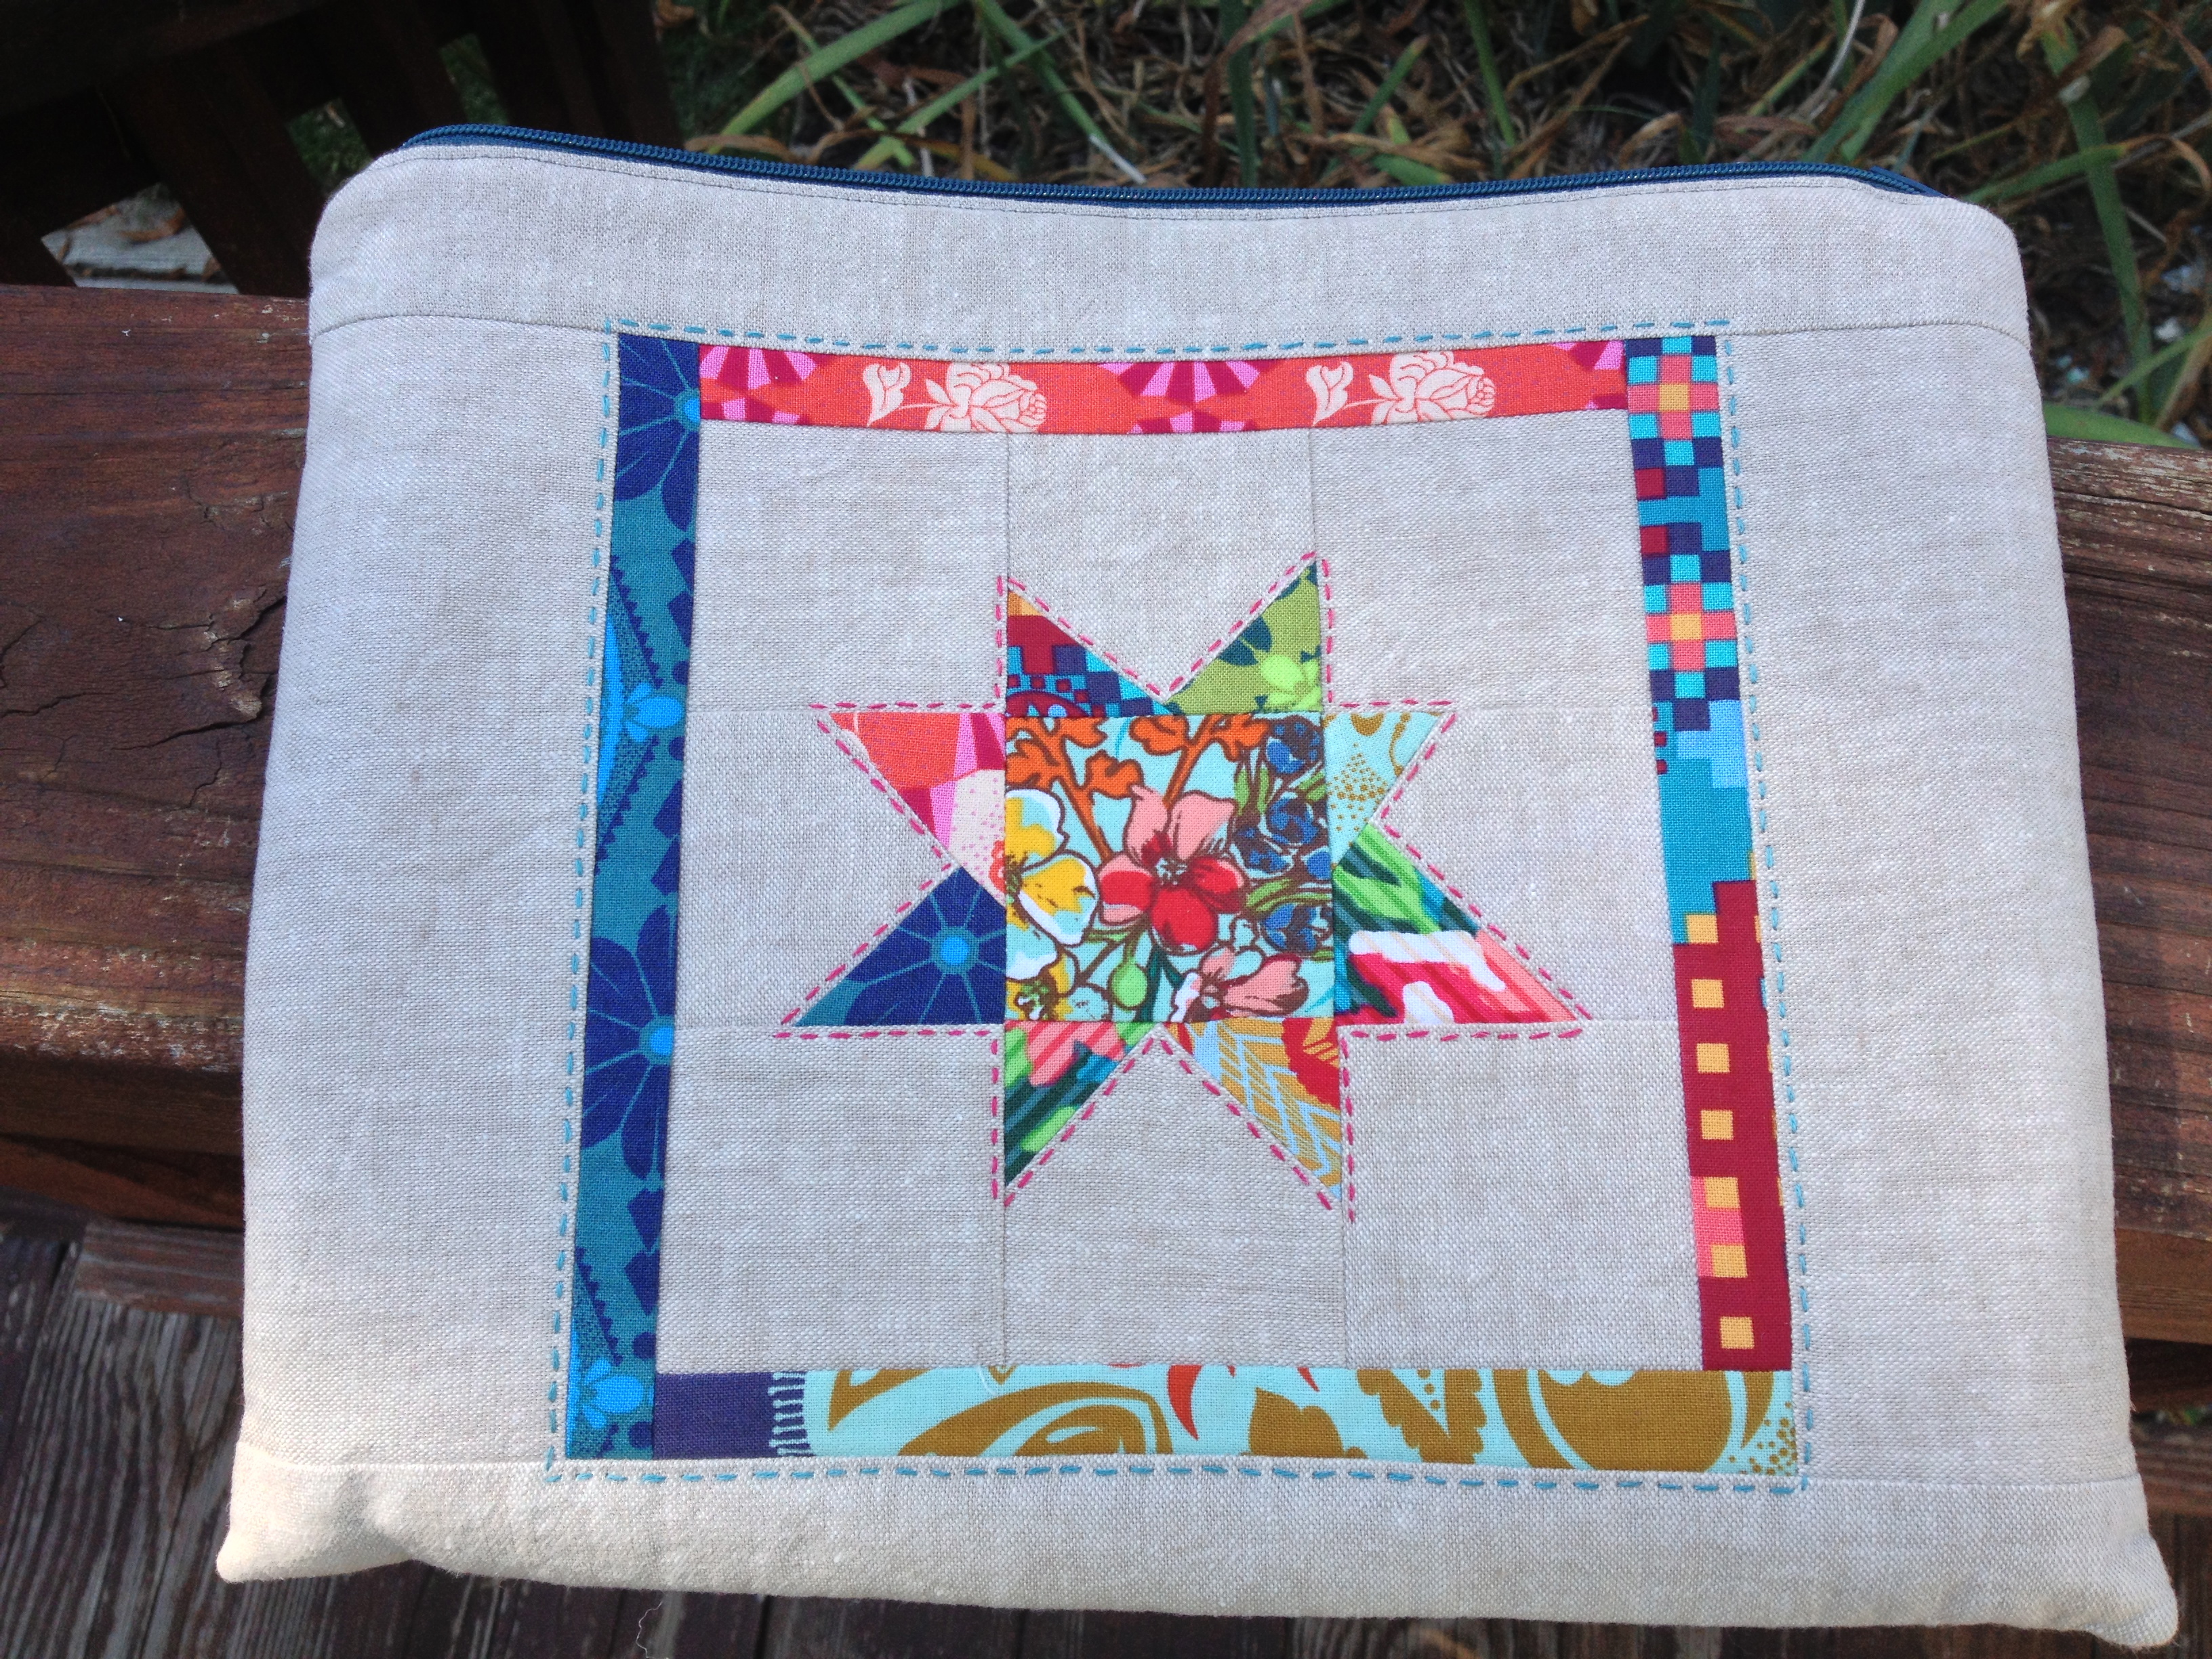
Some workshop participants cut their scraps into dresden shapes.

xx

Others cut into diamonds, wedges, hexagons, etc…

It was a very fun couple of days to spend time with this wonderful quilt artist and learn about her process of creating the type of quilts that she makes. It certainly has made me think more “out of the box” about cutting things up – including old tops or blocks that I never intend to finish because I no longer like them. Maybe by cutting them into other shapes and adding other fabrics that I do love, I will make these older pieces into something that I will treasure.  I can’t wait to give it a try!

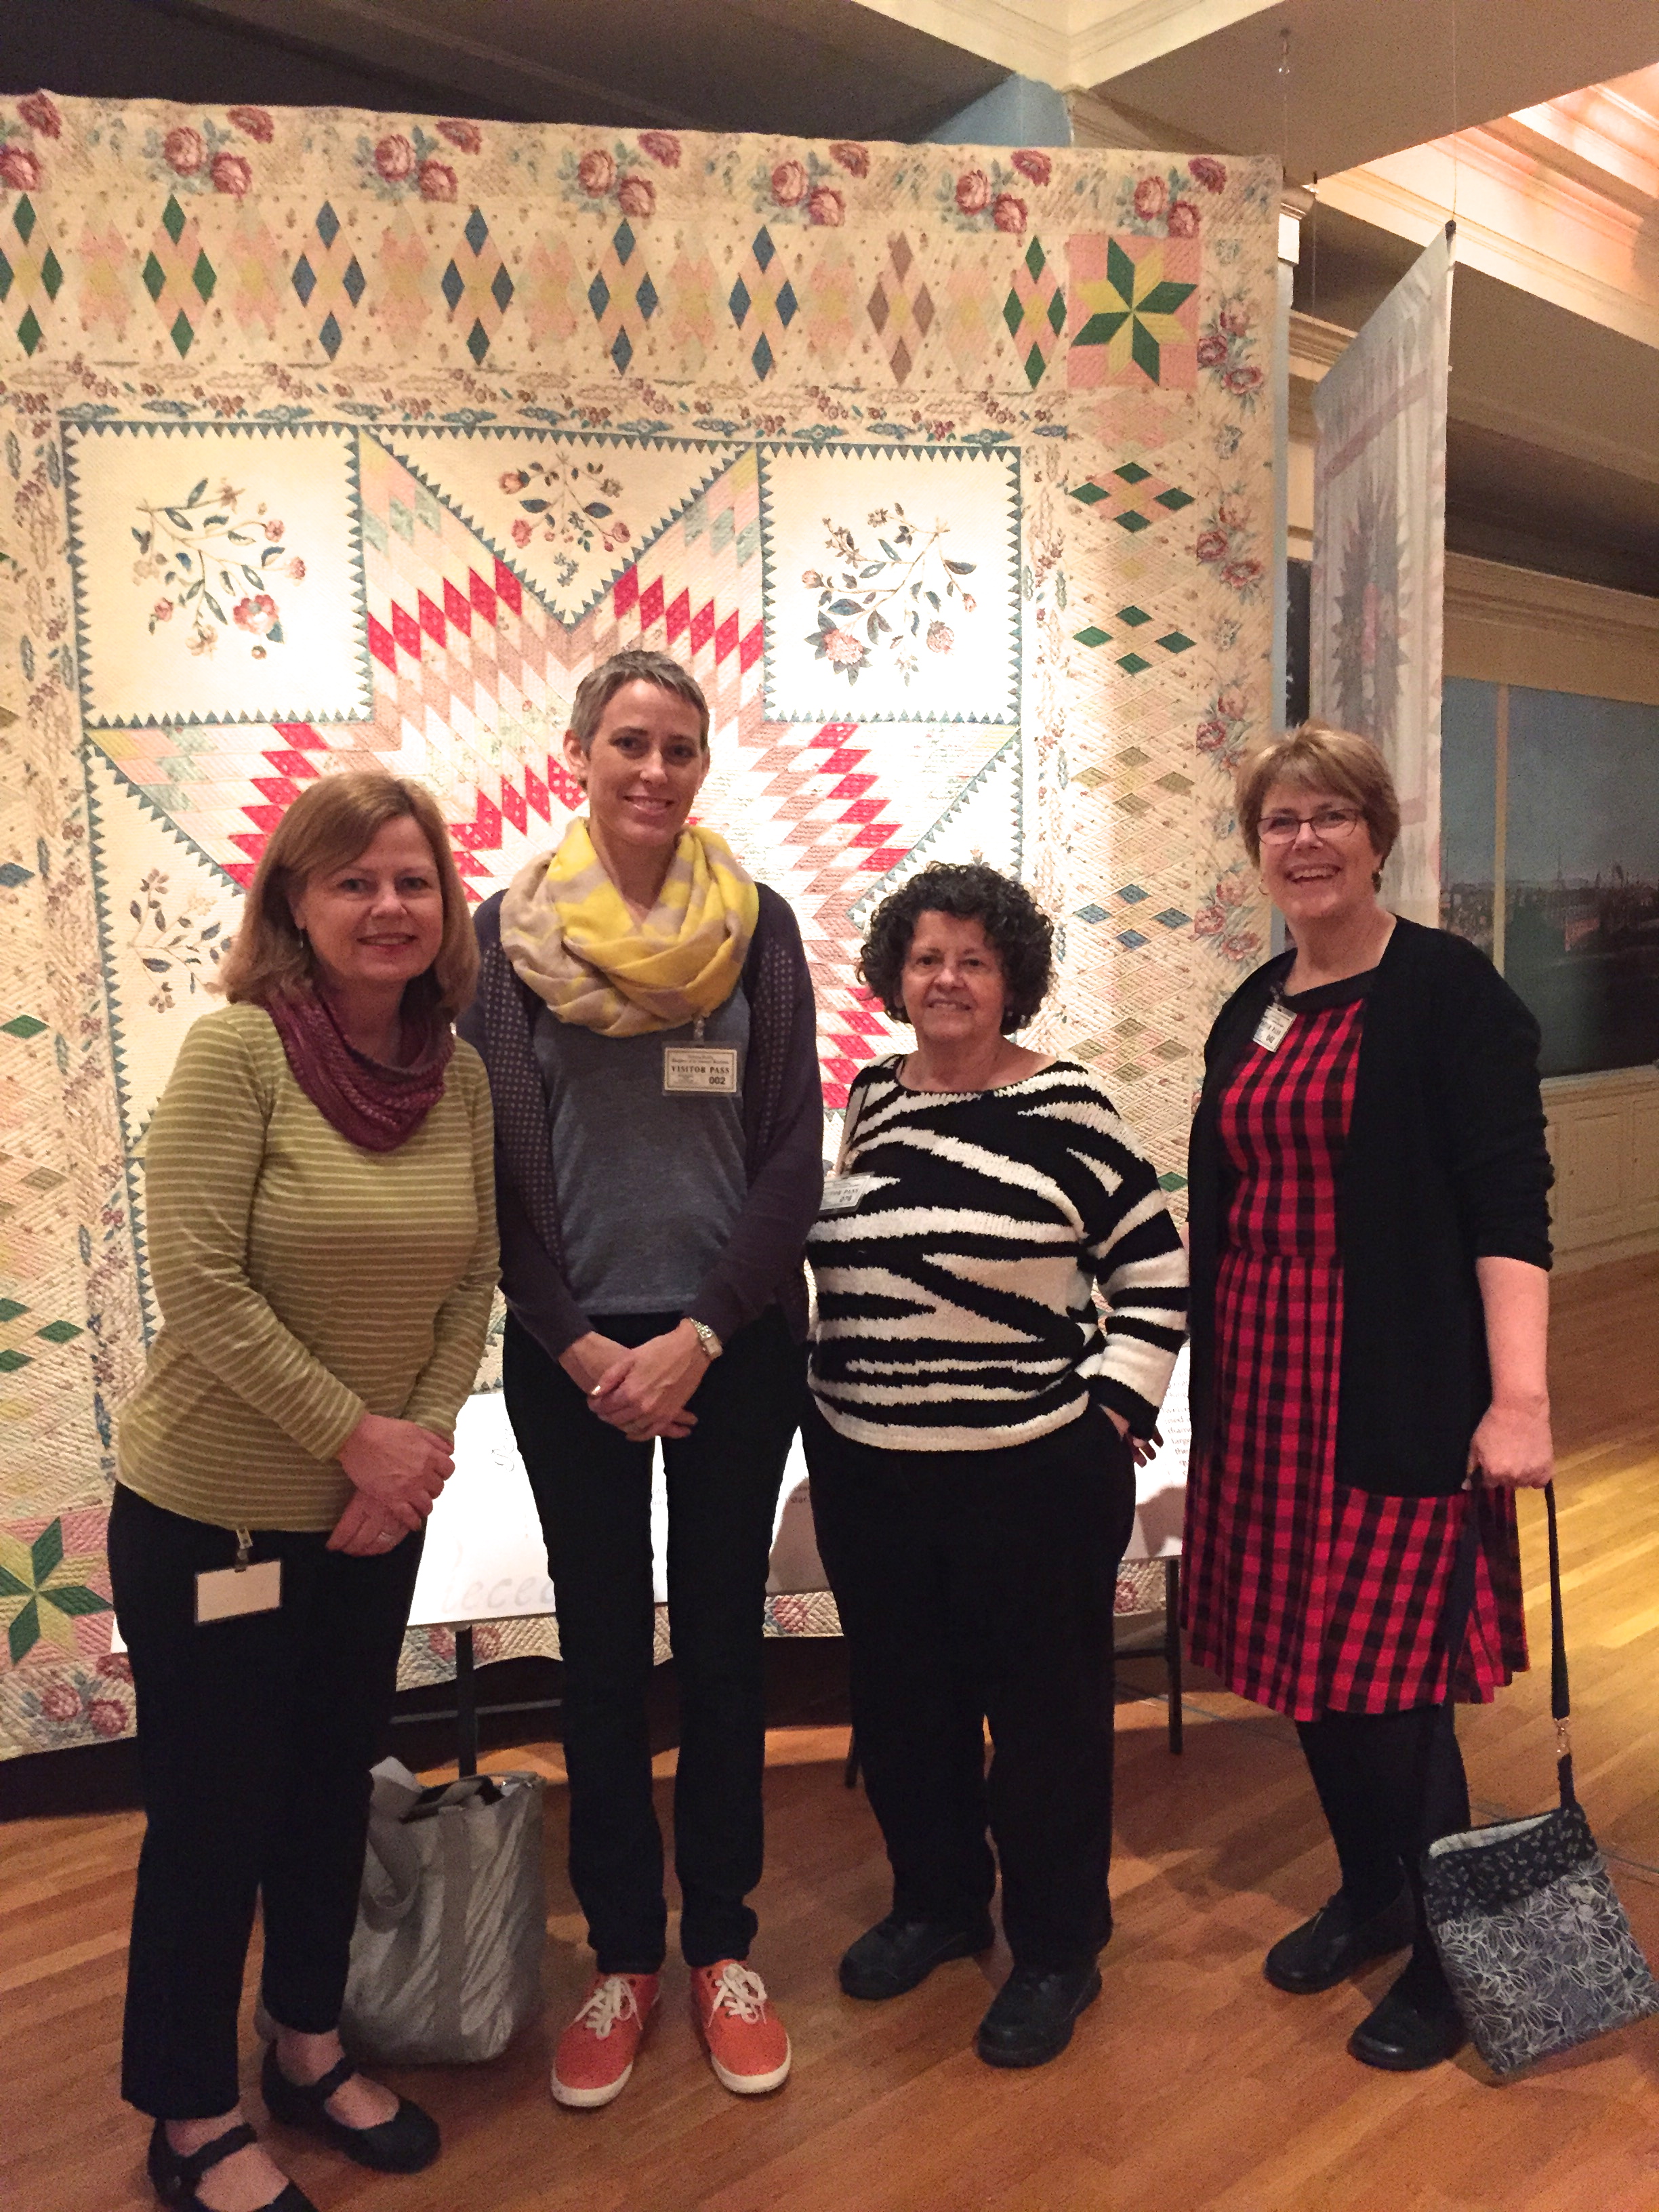
On Wednesday afternoon a few of us took Victoria to the Daughters of the American Revolution (DAR) Museum in DC which currently has a special exhibit of antique quilts from Virginia and Maryland. The Needlechasers guild is booked to take a tour of this exhibit together this summer and I wanted to preview it. It was wonderful to see these old quilts.

xx

Don’t you love her orange shoes?

xx

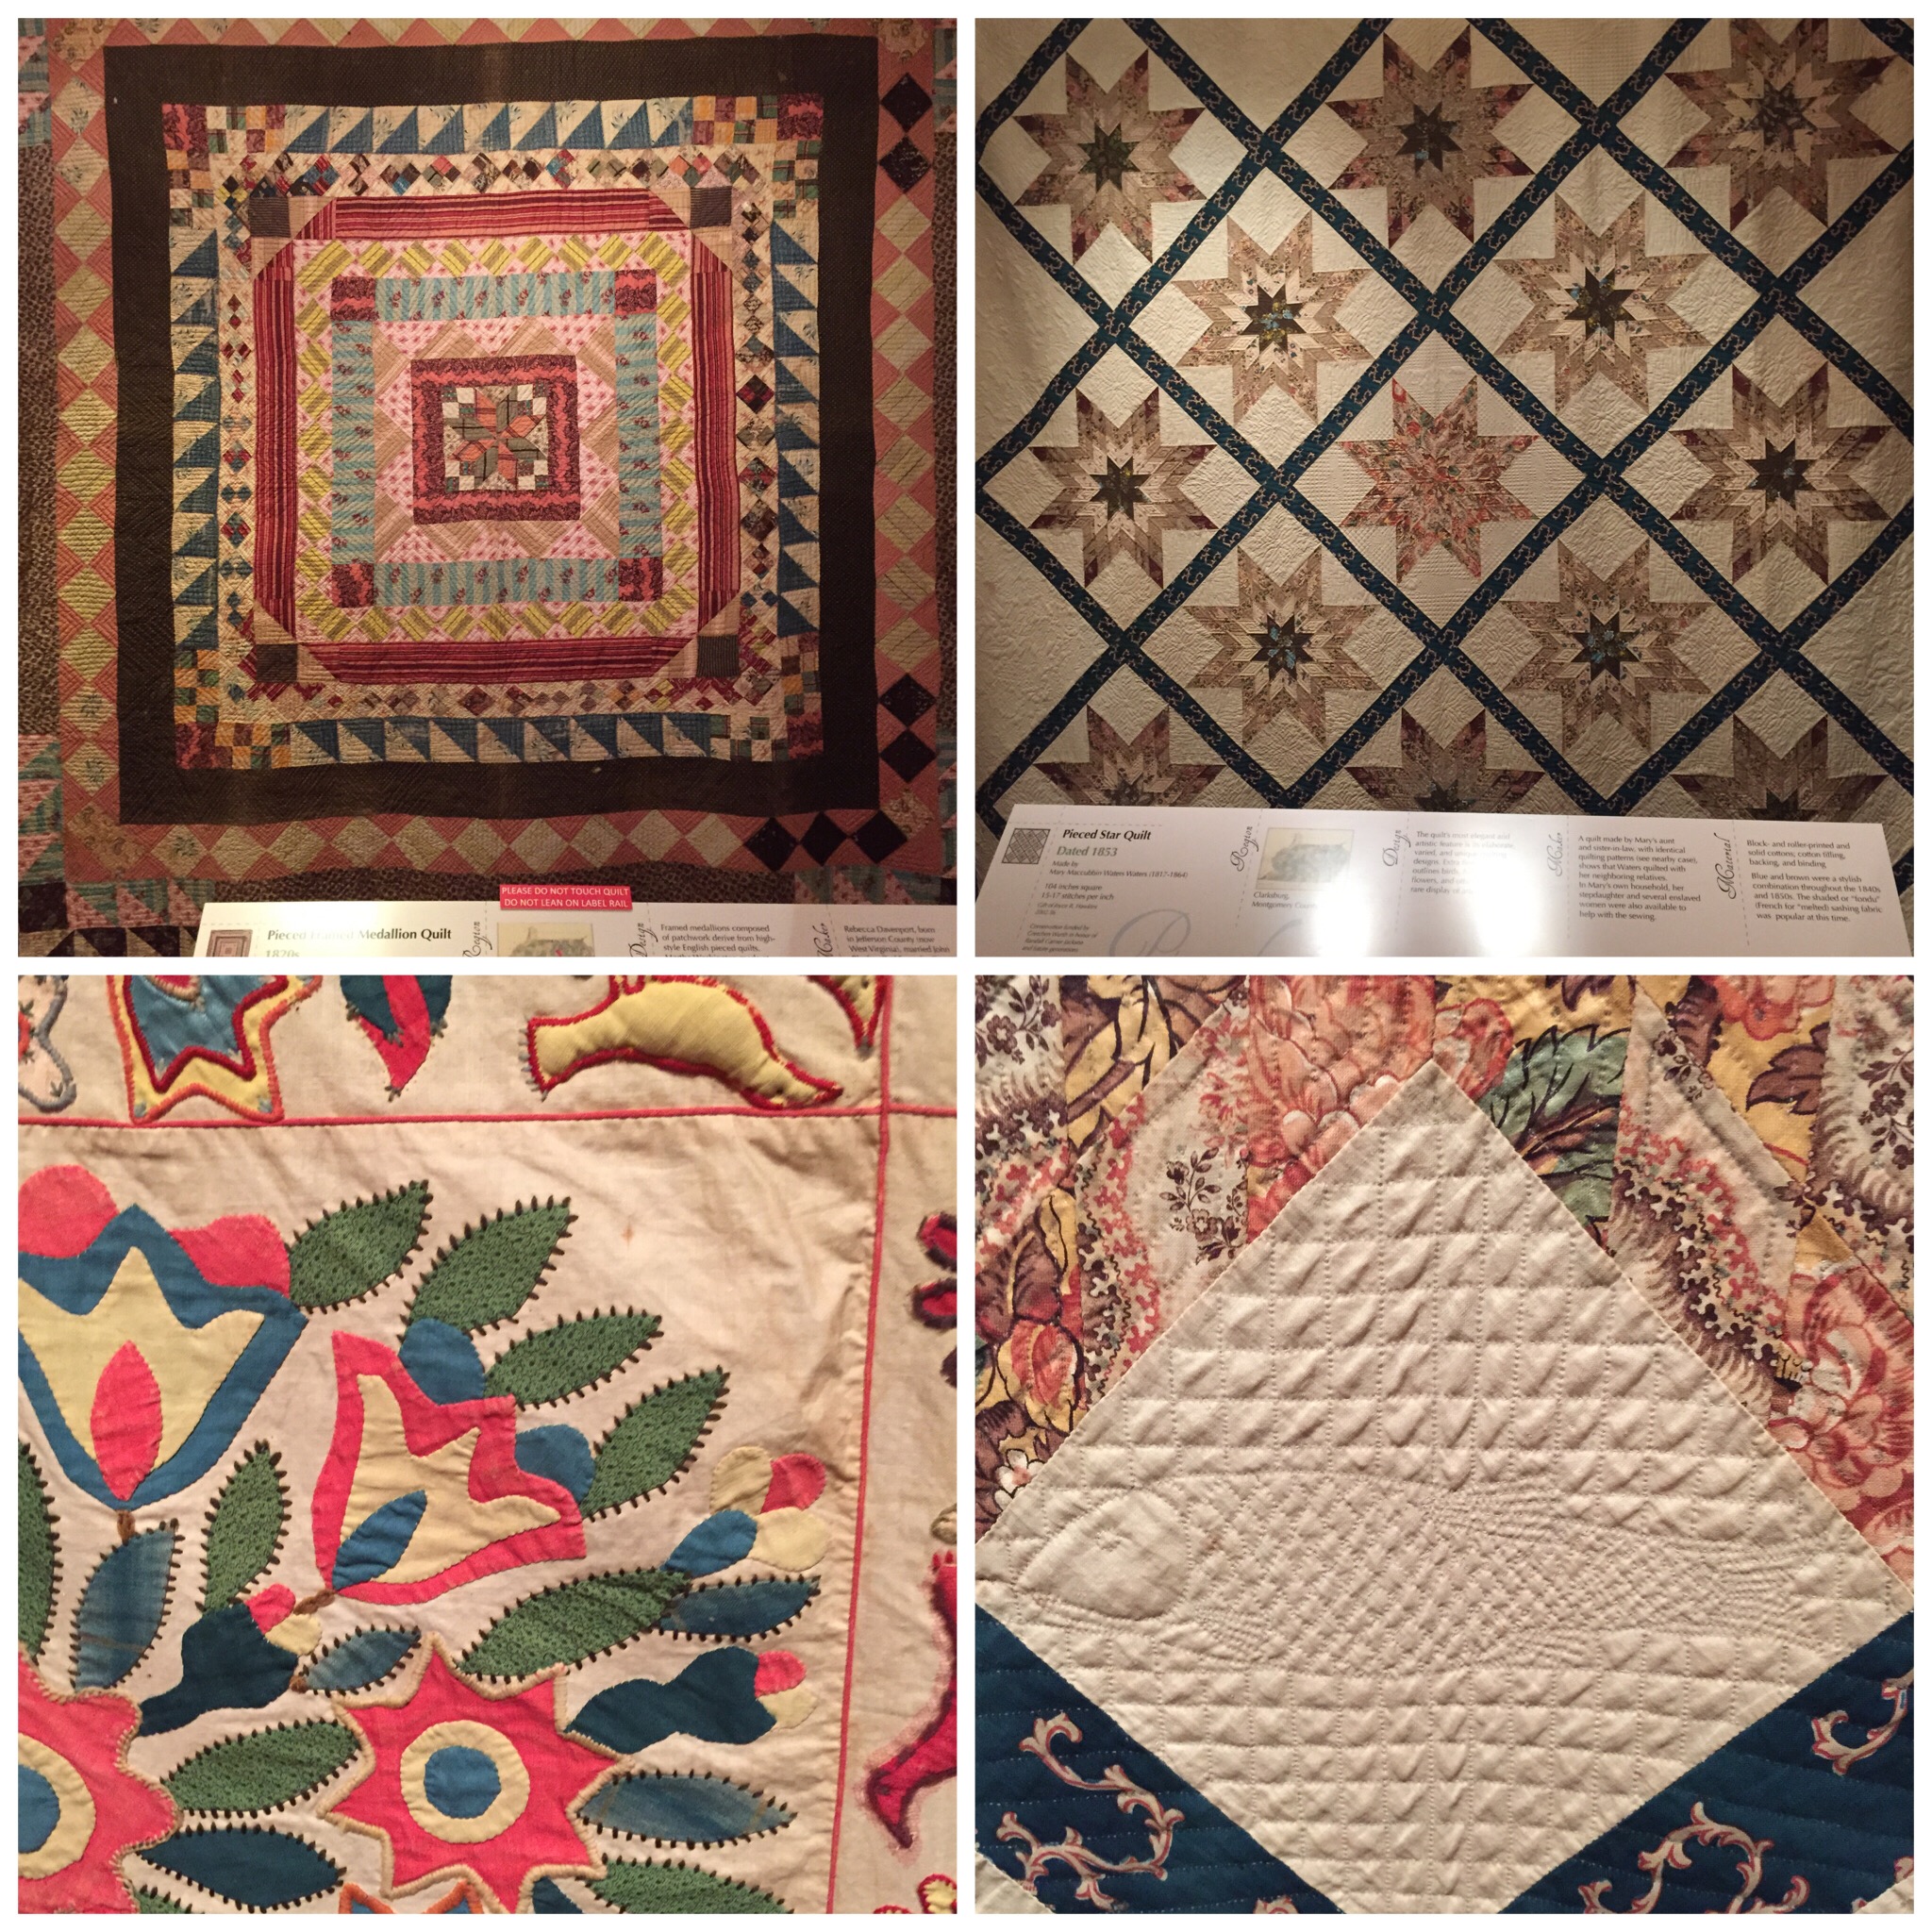
DAR Exhibit – “Eye on Elegance”

xx

The details on these quilts were astounding.

To see such a variety of quilts, old and new over the course of a couple days this past week was quite a treat for me. You can see Victoria’s blog post about it here.

If you ever have a chance to meet Victoria Findlay Wolfe, hear her speak, see her quilts or take a workshop with her, make sure to do it! You won’t be sorry.  Thanks Victoria, for a great couple of days!


4 Comments

Filed under NeedleChasers of Chevy Chase

One Hour Top by Fancy Tiger Crafts

Free pattern download

Free pattern download

I just finished sewing this One Hour Top by Fancy Tiger Crafts. I used a knit fabric that I bought in December from Girl Charlee as part of that months’ “KnitFix“. I received 6 two yard cuts of knit fabric and didn’t know what they looked like until they arrived at my doorstep. I’ve seen some amazing things made out of the different knits. I thought this easy top pattern would be a good choice to make a quick top.

Easy top

Easy top

The pattern is a free download and is only two pieces – the front and the back. The two pieces are identical except for the front neckline dipping down lower. I made some ridiculous mistakes making this top and the first one was that I cut out two fronts instead of a front and a back. I had to cut them separately to line up the stripes and I guess I was thinking I would cut 2 backs and then cut out the scoop of the front neck, but suddenly I realized I had cut 2 fronts and had to decide what to do. I could just make it up using 2 fronts and the back would dip down too. However, in the end I decided I would just sew an extra piece of fabric to the back neck area (with careful matching of the fabric design) and no one would be the wiser (except for those of you reading this!)

Back neck - fabric added

See the lower line of white stitching? That’s where I matched and added fabric.

Knit fabric which doesn’t fray and this very busy print enabled me to get away with this.

The “One Hour” pattern gives instructions for folding over all of the raw edges to finish the top. It does not give directions for sewing on knit bands as I did at the neck and the sleeves. I really didn’t think that folding under the curved neckline and topstitching it down would look good. I was afraid of the stretching that might occur or losing the stretchiness of the fabric where I topstitched. I did not have any problem hemming the shirt this way however.

xx

I found a wonderful suggestion for how to make knit bands that can be found in the directions here of another easy top that is a free download called the Hemlock Tee by Grainline. Making the bands can be tricky because the knit tends to roll at the edges and you have to fold these bands in half and keep the two edges flat and together while you sew them onto the top. This tutorial suggests that you cut the bands wider than needed and then mark a guide to the left of your serger needles/blade to run the folded edge along. By doing this you are cutting off the edges that may be curling and sewing the flat area together.

I used a strip of washi tape as a guide here.

I used a strip of washi tape as a guide here. The left edge of the band is the fold and I am serving  two layers of fabric together on the right. 

This creates a nice even band. It helps to make it longer than you want too so that you can cut it to exact size afterwards as sometimes the fabric stretches as you start or finish the piece. If you are sewing this band on your garment in the “round”, you do have to unpick some stitches on either end in order to join the piece together.

Flat piece with unpicked stitches on both ends.

Flat piece with unpicked stitches on both ends.

Now joined to make the cuff that will be sewn onto the sleeve.

Now joined to make the cuff that will be sewn onto the sleeve.

I could have serged that “unpicked” area on this cuff, but I found that the fabric didn’t shift enough to bother with doing that and just sewed it on to the sleeve this way.

So what were the other ridiculous mistakes I made? Two things. 1) I paid attention to matching the stripes but I didn’t realize I should have been paying attention to centering the motifs on the fabric vertically too. At first glance you might not notice this, but if you really look, it is obvious that the design is not centered. 2) I obviously have a “front” and “back” problem because I sewed the seamline in the the neckband to the middle front of the top instead of the back!

Some of my followers wanted to see the other fabrics I received as part of the Girl Charlee KnitFix.  Here they are!

Girl Charlee KnitFix fabrics from December

Girl Charlee KnitFix fabrics from December

What in the world am I going to do with all of these? I like the One Hour Top but not enough to make it again. It is quick but so completely shapeless that I need to try something else.

7 Comments

Filed under Garment sewing, Pattern review

The Moneta dress by Colette and sewing with plaid

xx

Moneta Dress

I bought this red plaid knit fabric from the online shop Girl Charlee. I know that it looks like flannel and it kind of feels like flannel. However, it is a nice soft knit. I bought it in December along with their “KnitFix” which is a group of six 2 yard cuts of different knit fabrics. When you order a KnitFix, you don’t know exactly what the fabrics you get are going to look like but they promise they will all be high quality and “on trend”.

The collar has a little center piece that hangs down in the back.

The collar has a little center piece that hangs down in the back.

I seem to be enamored with “mysteries” lately as I also signed up for the Amitie Mystery Block of the Month in December. I haven’t cut into the other knits yet but will soon. There is a Facebook group for those who are sewing with these knits and there has been a lot of sharing of favorite patterns and tips for sewing with knits.

Unable to "cut on the fold".

Unable to “cut on the fold”.

Cutting out this plaid dress was quite a bit of trouble. There is no way you can fold this knit fabric in half and have it line up exactly right. In order to be absolutely sure that the 2 halves were identical, I had to cut it out without folding. I cut one side and then turned the pattern over to lay it on the other side.

Bodice

Bodice

For the bodice I actually marked some of the darker black parts of the plaid on the pattern in order to get it just right. This was very fussy but definitely worth it.

Pockets!

Pockets!

The Moneta pattern has pockets and the collar and sleeves are optional. The pattern says that it’s skill level is “beginner”. I would hate to see a true beginner try to make this dress. There are a number of tricky parts – but I will say that it has very good directions – including a link to a video that shows a lining technique for the sleeveless version. There are also good directions for inserting clear elastic into the waistline which is done to keep that area from stretching out over time.

Knit Moneta dress by Colette

Megan’s sleeveless version

My daughter made the sleeveless version last May. Isn’t she adorable?

The Moneta pattern has quite a bit of “negative ease”. This means that the garment measurements of the bust and waist are less than your own measurements. The bodice is meant to s-t-r-e-t-c-h and be very form fitting. I think this is more appealing to a younger sewist like my daughter than it is for me. I made a size larger than my measurements called for and it is still very close fitting. Because of the knit fabric, though, it is very comfortable. I am looking forward to sewing with my KnitFix fabrics next!

Notes to myself about making up this pattern –  Size XL. Added 1 inch to center of sleeve. Added 1 inch to length of bodice and graded bodice out to make waist about 1/2 inch larger on each side. Lined the bodice with the same fabric I made the collar out of. Lengthened the hemline by 1.5 inches which is about the size of the hem I turned under. Used ballpoint needles in both my sewing machine and serger. Used a double needle with regular thread in the needles and wooly nylon in the bobbin to hem the skirt and the sleeves. Also used my black latch bobbin case in order to loosen the tension on the bobbin when using the double needle. Used 3/8″ plastic elastic from JoAnns for the waistline but would have preferred 1/4″ if I could have gotten it. Sewed the waistline with a zig zag stitch on my sewing machine rather than using the serger. I would love to make this dress again but would rather not have to match a plaid or stripe!


5 Comments

Filed under Garment sewing, Pattern review

Disappearing Nine Patch

Disappearing nine patch blocks

Disappearing nine patch blocks

I’m starting on a small quilt that I hope will have a lot of texture and decided to make “disappearing nine patch” blocks. This is an easy way to sew a block that looks rather complicated but isn’t that difficult to sew.

Sew a nine patch block together

Sew a nine patch block together

I randomly chose to use 3 inch square blocks to make my nine patches. I cut up as many gray or black and gray fabrics that I had and of course I had to purchase some more in order to have a great variety. That silvery dotted fabric is one I bought in Hawaii on a trip.

Cut the block down the middle both vertically and horizontally.

Cut the block down the middle both vertically and horizontally.

Once cut, I rotated the upper left and lower right pieces to put the small square at the outside corners.

I rotated 2 of the pieces.

I rotated two of the pieces.

You have other options at this point. You could orient these smaller blocks in any way you desire and you would get different looks.

Sewn together.

Sewn together.

The nice thing about the way I did these is that there is no fussing with lining up the seams to “nest” together except at the very center of the block. This may not seem like a big deal, but think about it. Every time two seams meet, it is desirable to have them ironed in different directions and this can get pretty complicated with this many seams.

Can you imagine sewing the block above by cutting out all of those pieces individually and piecing them together? It would take forever and be so inaccurate. At least if I did it, it would be.

xx

15 blocks on my design wall.

My finished blocks are 7 1/2″ square unfinished or will be 7″ square finished. I have 15 done and 33 left to go. If I lay them out with 6 blocks across and 8 blocks down, the finished quilt will be 42 X 56″ which I’m told is a good size for a baby. This is not what the finished quilt will look like however. There is going to be a big twist to make it special for the exceptionally special baby it is being made for. More to come!


13 Comments

Filed under Quilts, Tutorials

Mystery Block of the Month – #1

I have signed up to receive fabric, pattern and instructions from Amitie Textiles in Australia every month for the next 12 months to make a Mystery Quilt designed by Jen Kingwell. Happy New Year to me! This BOM actually began a few months ago and that is why it is dated 2014 instead of 2015. Here is my first mailing:

Mailing #1

Mailing #1

I have no idea what the finished quilt will look like, because it’s a mystery! I don’t even know what size the quilt will be although I do think Amitie Textiles would tell me if I asked – I just didn’t think to ask when I signed up. What I do know is that I LOVE Jen Kingwell’s designs and crazy choice of fabrics.

Gypsy Wife by Jen Kingwell

Gypsy Wife by Jen Kingwell

Green Tea and Sweet Beans by Jen Kingwell

Green Tea and Sweet Beans by Jen Kingwell

These are the two designs that I think I have seen countless renditions of. Aren’t they beautiful? I love the combination of piecing and appliqué. This mystery quilt I am embarking on was described as being hand and machine pieced and appliquéd. I have done a lot of sewing of all kinds, but hand piecing is probably what I have done the very least of and that’s what this first mailing entailed.

Templates made and traced onto fabric.

Templates made and traced onto fabric.

Luckily I watch my friend, Anne, sew this way frequently and so I did have some idea what I needed to do. I used template plastic to make my templates and traced these onto my fabrics with a pencil. I knew that a piece of sandpaper would make this process easier as it holds the fabric in place as you do the tracing. (Anne has a fancy sandpaper board for this purpose – but I just used a single piece of sandpaper that my husband had).

xx

I sewed the middle circle first

The outer ring was next

The outer ring was next

What a pain! Curved piecing is not easy to do. Of course I know this about machine piecing but I thought hand piecing would be easier.  It’s not.

IMG_5800

But I muddled through and came up with these:

xx

And then I finally got them joined together to make this:

xx

I’m actually pretty happy with myself. It isn’t perfect, but it’s not bad. I had to do a lot of easing to get the outer circle to fit onto the inner circle. I figure this means that I cut the templates too big, or didn’t compensate for the transfer onto the fabric or both. I will definitely take that into consideration if there is more hand piecing coming my way.

I’m anxiously awaiting the next mailing!


11 Comments

Filed under Mystery BOM by Jen Kingwell

I Would Like to Hire you to Come Speak to my Quilt Guild.

I am a program co-chair for the Needlechasers of Chevy Chase, a traditional quilt guild in Maryland. We had a successful quilt show recently and now we know we have the funds to hire lecturers for another few years. Oh Boy!

Angela Walters Nov. 2014

Angela Walters Nov. 2014

Did you notice that I said co-chair? Fortunately I do not have to do this alone. It takes two of us to seek out interesting lecturers who we think our eclectic group would like to listen to and who can teach us something we don’t already know. Some of us have been at this quilting thing for quite some time and think we know a lot! Others in our group have just begun quilting and that makes for a wonderful mix, except maybe for this hiring-a-speaker job.

I am just a home crafter who loves to sew. I am not an accomplished artist. I subscribe to very few quilt magazines – they just mess up my house because once I have them, I don’t like to throw them away. I’m sure that each one has something in it that I will want to make someday. (This also applies to knitting and beading magazines). I prefer to peruse quilts, patterns and fabric online. What I’m getting at here, is that I don’t really know who the local quilt experts and artists  are. That is what attracted me to joining a guild – I get to see and hear from people who are creating wonderful “fabricy” things and they sometimes tell me how they made them. Such inspiration!

Marilyn Wall May 2014

Marilyn Wall May 2014

I have some advice for those of you who are seeking these lecture jobs. There are a few things that would obviously help me to hire you. My first suggestion is that you must have a website! How can I find you, if you don’t? The first thing that I do when someone says to me, “I heard the best speaker a few years ago and her name was Jane Doe”, is to google Jane Doe. In this case I would google Jane Doe Quilter in order to narrow down the field. If this search does not produce a website for me to find out who Jane Doe is and how to contact her, I can go no further. Well, I suppose I could, but I am unlikely to because there are just too many other speakers I can find this way.

If you give lectures to groups like mine, please have a page on your website that lists a description of the lectures (and workshops) you give. I like to see as much information there as you can give. What is your fee? You may think that listing this will deter people, but I think the opposite is true. What other expenses do you expect to be reimbursed for if you travel to speak to my group?

Sue Brenner May 2013

Sue Benner May 2013

Where do you live? Sometimes I can not find out from a website or blog whether the quilter even lives in the same country I do. This may sound crazy, but check your website and see if this is there. It doesn’t matter how famous you are, I don’t just know where you live. I don’t want your exact address, but at least your city and state so I can figure out what it would cost to get you to our guild’s meeting.

Some lecturers have a calendar on their websites and keep a running list of where they will be traveling to speak or teach. This is not essential but is nice as I can look to see if I might coordinate your coming at a time when you will be nearby anyway.

Angela Walters Nov. 2014

Angela Walters Nov. 2014

Is there contact information on your website? Is there an email address or a “contact me” link? Obviously I need some way to invite you to speak to my group. Sometimes we contact a lot of people all at once and it is those who send us a prompt reply back that end up getting the job.

We hope to be contacting you soon. Make it as easy on us as possible. Please!

In case you want to contact me, leave a reply or use the “Contact me” link at the top of this page. I live in the Washington DC area and I’m looking for quilt guild lecturers. Do you have a recommendation?

5 Comments

Filed under NeedleChasers of Chevy Chase, Uncategorized

Angela Walters is amazing!

Angela showing one of her quilts.

Angela showing one of her quilts.

I had the extreme good fortune this past week of hosting Angela Walters in my home while she was in the DC area giving lectures and a workshop to the two quilt guilds that I belong to. She is a long arm quilter who’s work is so exquisite that many of the modern fabric and pattern designers (Tula Pink, Jacquie Gering, Cherri House to name a few) ask her to quilt the quilts they are going to display at market to sell their designs. See her quilting portfolio here.

Angela quilted this quilt that is on the cover of Tula Pink's book (and all of the quilts inside).

Angela quilted this quilt that is on the cover of Tula Pink’s book (and all of the quilts inside).

My traditional guild, The Needlechasers of Chevy Chase, brought Angela to the DC area to give a lecture and a workshop. DC Modern Quilt Guild got to take advantage of her being in town and scheduled a lecture as well. When I asked Angela which type of guild she normally speaks to, she said that she enjoys to speak to both traditional and modern guilds and considers herself “bilingual”. She also has a theory that the two groups are getting closer together and that as the younger modern quilters gain more sewing experience, there will be less and less difference between them. I found this to be very interesting and hope that I am not misspeaking what she said about this.

xx

This quilt highlights Angela’s fabric line “Drift”.

I think that the take away message that Angela gives when she teaches is to not let free motion quilting intimidate you. Have fun with it! She learned to quilt on a long arm machine without any preconceptions of what the quilting should look like. She had hand quilted before she got her first long arm machine. She didn’t know at the time that it was possible to quilt on a conventional sewing machine. (Lucky her!)

xx

There is no doubt that she loves to quilt and she wants everyone else to love it too! Her website is www.quiltingismytherapy.com. There are links there to her blog, to video tutorials, to free quilt patterns, to her shop and to where she’ll be teaching next. If you are not lucky enough to catch her in person, she currently has four Craftsy classes on free motion quilting which surely must be the next best thing – or even better because you can pause it and play it over and over while you’re practicing.

"Impracticality" Pieced and quilted by Angela Walters. Featured on the June/July 2013 issue of Quilter's newsletter. Click on photo to be taken to free pattern.

“Impracticality” Pieced and quilted by Angela Walters. Featured on the June/July 2013 issue of Quilter’s newsletter. Click on photo for free pattern.

Angela has written several books and has YouTube video tutorials. She has recently announced another book which will be available in April 2015 that she wrote with her 9 year old daughter about quilting with kids.

xx

I am so excited about free motion quilting now and hope to practice on some smaller projects like tote bags or pouches. The smaller size will help me feel more comfortable when I go to quilt something larger – I think! I hope!

I have always defaulted to using my walking foot but I am encouraged to try something new. As I’m working I’m going to hear Angela telling me that echoing is my friend and that there are no mistakes that can’t be made to look better with more quilting. I’ve also found that using a coordinating thread color can make even a multitude of flaws look pretty darn good.

Angela and myself.

Angela and myself.

Thank you, Angela, for being such an inspiration and for sharing your love of free motion quilting with us!


4 Comments

Filed under DC Modern Quilt Guild, NeedleChasers of Chevy Chase, Uncategorized

Orange Peel Pouch

Pouch for the Stitch It Swap

Pouch for the Stitch It Swap

I joined a swap last month. Jennifer Mathis who blogs at Ellison Lane posted that she and Lindsey Rhodes from LR Stitched were going to host a pouch swap. I would have 6 weeks to make and send a pouch. I don’t enter a lot of swaps because I don’t enjoy the pressure of it. You have to try to guess from a few photos and their social media sites what someone else would like and you want to do your very best work.

xx

Also, there is obviously a timeline. Aka deadline! I’ve been making so many pouches lately though, that I thought that this swap would be fun. The 6 weeks was key because I was about to take a road trip for 3 of those weeks. That trip gave me time to think about what I might want to make.

Low volume fabric squares for the top and leather for the bottom

Low volume fabric squares for the top and leather for the bottom

I decided to make the largest size of the Open Wide Pouch by Noodlehead. This is a free pattern on her blog and I LOVE it. It’s easy to make and it does open wider than other pouches which makes it easier to find things inside. I’ve made a lot of the medium size bag, but hadn’t tried the larger size. This was my chance.

Squares all sewn together and then cut to the width of the leather.

Squares all sewn together and then cut to the width of the leather.

I decided to use a piece of creamy colored (and feeling) leather that I had bought years ago. This might make the pouch more “special”. I had just enough leather to cut four pieces in order to make two pouch bottoms. I know so many “sewists” who make something for a swap and then have trouble giving it away because they love it so much. Not me! I made myself one too!

Top and bottom sewn together

Top and bottom sewn together

I’ve been noticing and loving a few quilts and pillows I’ve seen recently that have low volume backgrounds with bright orange-peel shapes appliquéd on top. In fact, I just bought the new book Playful Petals by Corey Yoder which has this pillow project in it that is a good example of what has inspired me.

From the book Playful Petals by Corey Yoder.

From the book Playful Petals by Corey Yoder.

Adding the bright colors to my project sure did liven it up! I added the “peels” by fusing them in place with double sided fusible (Wonder Under) and then straight stitched around the edges after adding a layer of fusible batting to the whole backside. This stitching sort of disappeared in the darker colors but made the lighter colors stand out against the low volume background.

Straight stitching around edges.

Straight stitching around edges.

My swap partner’s flickr name is fatdoxiesstudio. I had to actually look up what “doxie” meant and it’s a slang term for dachshund. She did have some photos of her doxie on her flickr site and so I found some great fabric to put on the inside of the pouch. The little shirts on the dogs even sparkled.

Doxies and a great zipper.

Doxies and a great zipper.

I also added a zip pocket to the inside and used one of these lacy zippers to that.

All done and received by my swap partner.

All done and received by my swap partner.

Chen received this over the weekend and sent me a note on Instagram. I hope she puts it to good use! Is mine done? Of course not! But the sides are all pieced and it won’t be hard for me to finish it up. (when I finally have time!)

Addendum: I received this amazing pouch filled with fun office supplies (all sorts of post it notes, paperclips and “to do” lists) the day after I posted the pouch I made. Sonia made this fabulous pouch and it incorporates all of the things that I love! Thank you so much Sonia!

IMG_5572


Other side

Other side


Inside

Inside

12 Comments

Filed under Purses and Bags, Uncategorized

Wide Open Pouch

The Wide Open Pouch is a free pattern by Anna Graham, aka Noodlehead. I liked the idea of having a bag that is easy to get into and it looked like it might be a quick sew. Instructions for cutting a 2 color bag are here. First I made one:

First Wide Open Pouch

First Wide Open Pouch (both sides)

Then I made four more. It was just so much fun to pull different fabrics to sew these. These are all the Medium size pouch and are roughly 11″ wide x 6″ tall x 4″ deep.

I altered the directions for my bags by using fusible batting and quilting them. This gives a much sturdier bag than if they are just interfaced – and the quilting also adds another design element. If you decide to quilt one of these, you will quilt it with just the exterior fabric and the batting. Do not make a “sandwich” with the lining. The lining is added separately later.

xx

The original pouch and four more

With Anna’s permission, I am donating these to my traditional quilt guild, Needlechasers of Chevy Chase, to be sold at their upcoming Quilt Show in October to support the guild. I posted this photo on Facebook and several friends and family wanted one. I decided to go ahead and “pre-sell” the ones that I was asked about. However, then I felt as though I should make some more.

I attended a DC Modern Quilt Guild meeting that was held at the Finch Sewing Studio this past weekend. While there I bought some of the new fabric from Cotton + Steel. Perfect to use for more pouches! (I may have bought most of the fabrics that were primarily turquoise.)

xx

Pouches made out of Cotton + Steel fabric. Exterior fabric.

I love those horses! I couldn’t resist these different combinations. More fun fabrics on the inside too.

Inside of pouches.

Inside of pouches.

One of my daughters told me she wants a new make up bag and so I had to make a pouch for her – but these are way too colorful – she doesn’t like bright colors. So I made her what I think is a very classy bag that is grey and black and she does like polka dots – who doesn’t? (She can let me know if this is acceptable or not after I post this).

xx

Pouch # 9

I made the original bag with a friend who then urged me to try the Zippy Strippy pouch pattern by Atkinson Designs. Today I made up the medium size of that pattern which costs $8. I used a mini charm pack that I’ve had for awhile to make the fabric for the outside of the pouch.

xx

This bag is a little smaller than the Wide Open Pouch.

xx

The Atkinson bag is a little smaller.

xx

Different finishes inside.

Pouch comparison:

The Noodlehead pattern is free, the top does open wide and so it is easy to find what you’re looking for inside, and it is fully lined. Due to the way it is constructed, you can top stitch around the entire top of the pouch after it is made which makes everything lie nicely around the zipper.

The Atkinson bag is a paper pattern (not a download) that is for sale, the top has a pretty finish using a fabric tab at the ends of the zipper but the inside has exposed seams which have to all be finished with a zig-zag stitch to prevent raveling.

I’ve made 10 pouches at this point and can’t wait to make some more – but maybe not right away. This may be my “go-to gift” for the holidays this year.

9 Comments

Filed under Pattern review, Purses and Bags

Bucket Brigade by Atkinson Designs

Largest "bucket" is 12" high and 12"wide

Largest “bucket” is 12″ high and 12″wide

I spent the past week at my oldest daughter’s home doing some sewing and other projects with her. One of things that she asked me to make was this fabric bucket. The fabric on the outside is a decor weight cotton and the inside is a pretty batik. The pattern is Bucket Brigade by Atkinson Designs.

Filled with knitting.

Filled with knitting.

This was the largest of the 4 sizes that the pattern includes. Isn’t it pretty? I love the fabrics that she picked. We debated about what to use for the stiff interfacing that the pattern calls for. We ended up using Peltex by Pellon which gives a very stiff finish which is what Lindsey wanted. When I sewed the rectangular outer piece into a tube I was afraid that the seam would stick out and not be smooth.

Here is what it looked like after ironing.

Here is what it looked like after ironing.

I decided to iron on a strip of fusible interfacing over the seam which secured it very neatly.

Interfacing fused over the seam to hold it in place.

Interfacing fused over the seam to hold it in place.

Two buckets are created (outer and inner) and when finished, the top is folded over to the outside to give about a 2 inch contrast band to the top. I didn’t want to fold over the Peltex (yikes, how could you?) and so I cut the Peltex shorter. You can see this in the photos above.

Handles on both sides.

Handles on both sides.

If I make one of these for myself, I think I will consider using something softer than Peltex. The pattern suggests Stiff Stuff by Lazy Girl Designs but I am not familiar with this product and don’t think I have a local place to buy it.

I love the way the bucket turned out and I’m sure it will be great for any number of uses! I can’t wait to make another for myself.

3 Comments

Filed under Pattern review