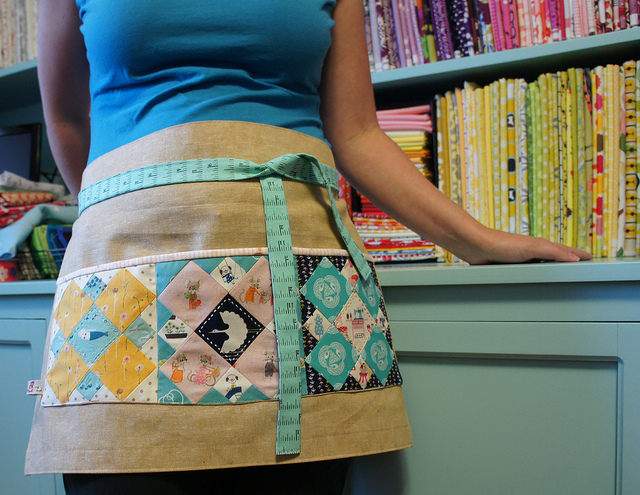
My Polka Dot Cafe Apron.
Week 4 of the Zakka 2.0 sew along.
I like this definition by the Nerdy Sewist – “Fussy cutting” is the phrase used, generally by quilters, to describe cutting a detail or particular piece of a pattern from the fabric, as opposed to just cutting a strip from the fold to the selvedge. Fussy cutting is particularly common when it comes to novelty printed fabrics…”

Polka Dot Cafe Apron – photo from the book Patchwork Please by Ayumi Takahashi
This week’s Zakka 2.0 sew along project from the book Patchwork Please is the Polka Dot Cafe Apron. This apron involves making up 3 patchwork squares sewn together to form a pocket for the apron.

Great example of fussy cutting by Angela Pingel of Cut to Pieces.
As you can see, both Ayumi and Angela meticulously cut their fabric in order to place these little bits of fabric exactly where they wanted them in their patchwork squares which are only 6 inches square! Their aprons really look fabulous and show all the work they did.
Cafe Apron by Angela Pingel
Angela is the guest blogger this week for the sew along and has a wonderful post here of making this apron with lots of tips and pictures.
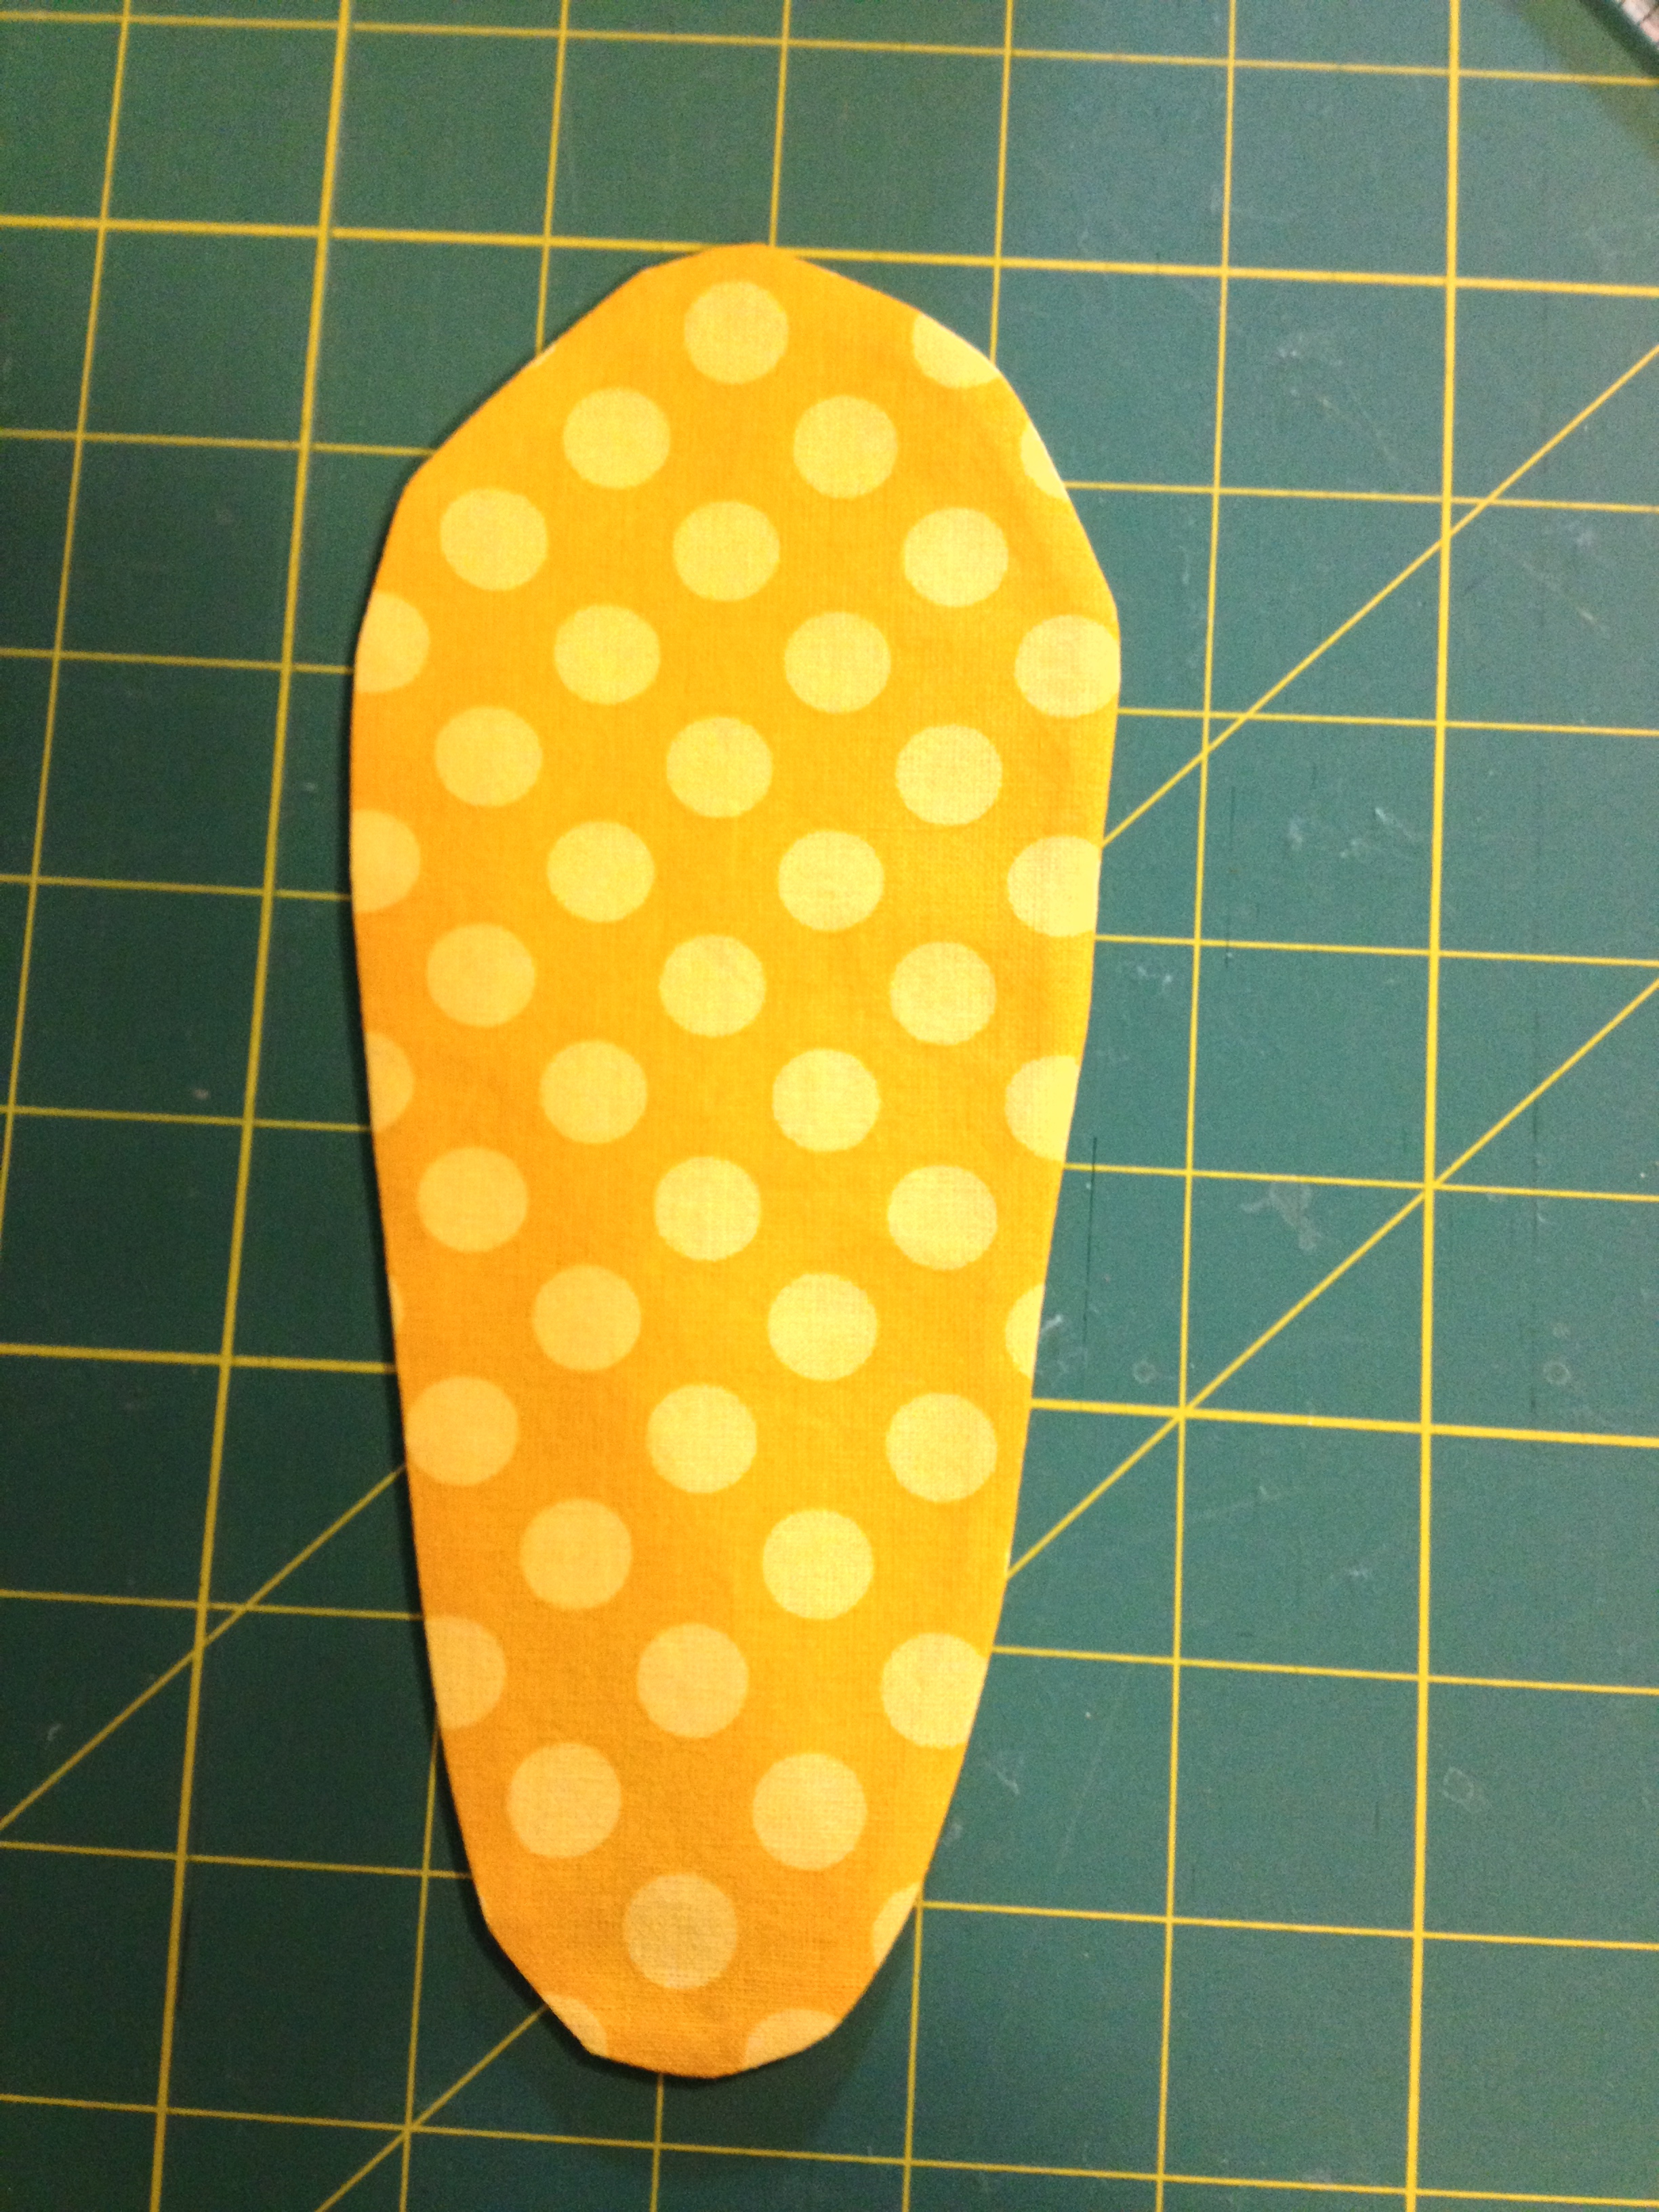
The book comes with templates for these little patchwork squares and triangles and suggests you position them on your fabric and cut around them. This already seemed too fussy for me but I gave it a try. Basically I turned a perfectly good piece of fabric into this:

How I tried to fussy cut some of these kitchen motifs.
And the result was not wonderful due to the size and spacing of the objects on the fabric. Not to mention the fact that they are all on the diagonal!
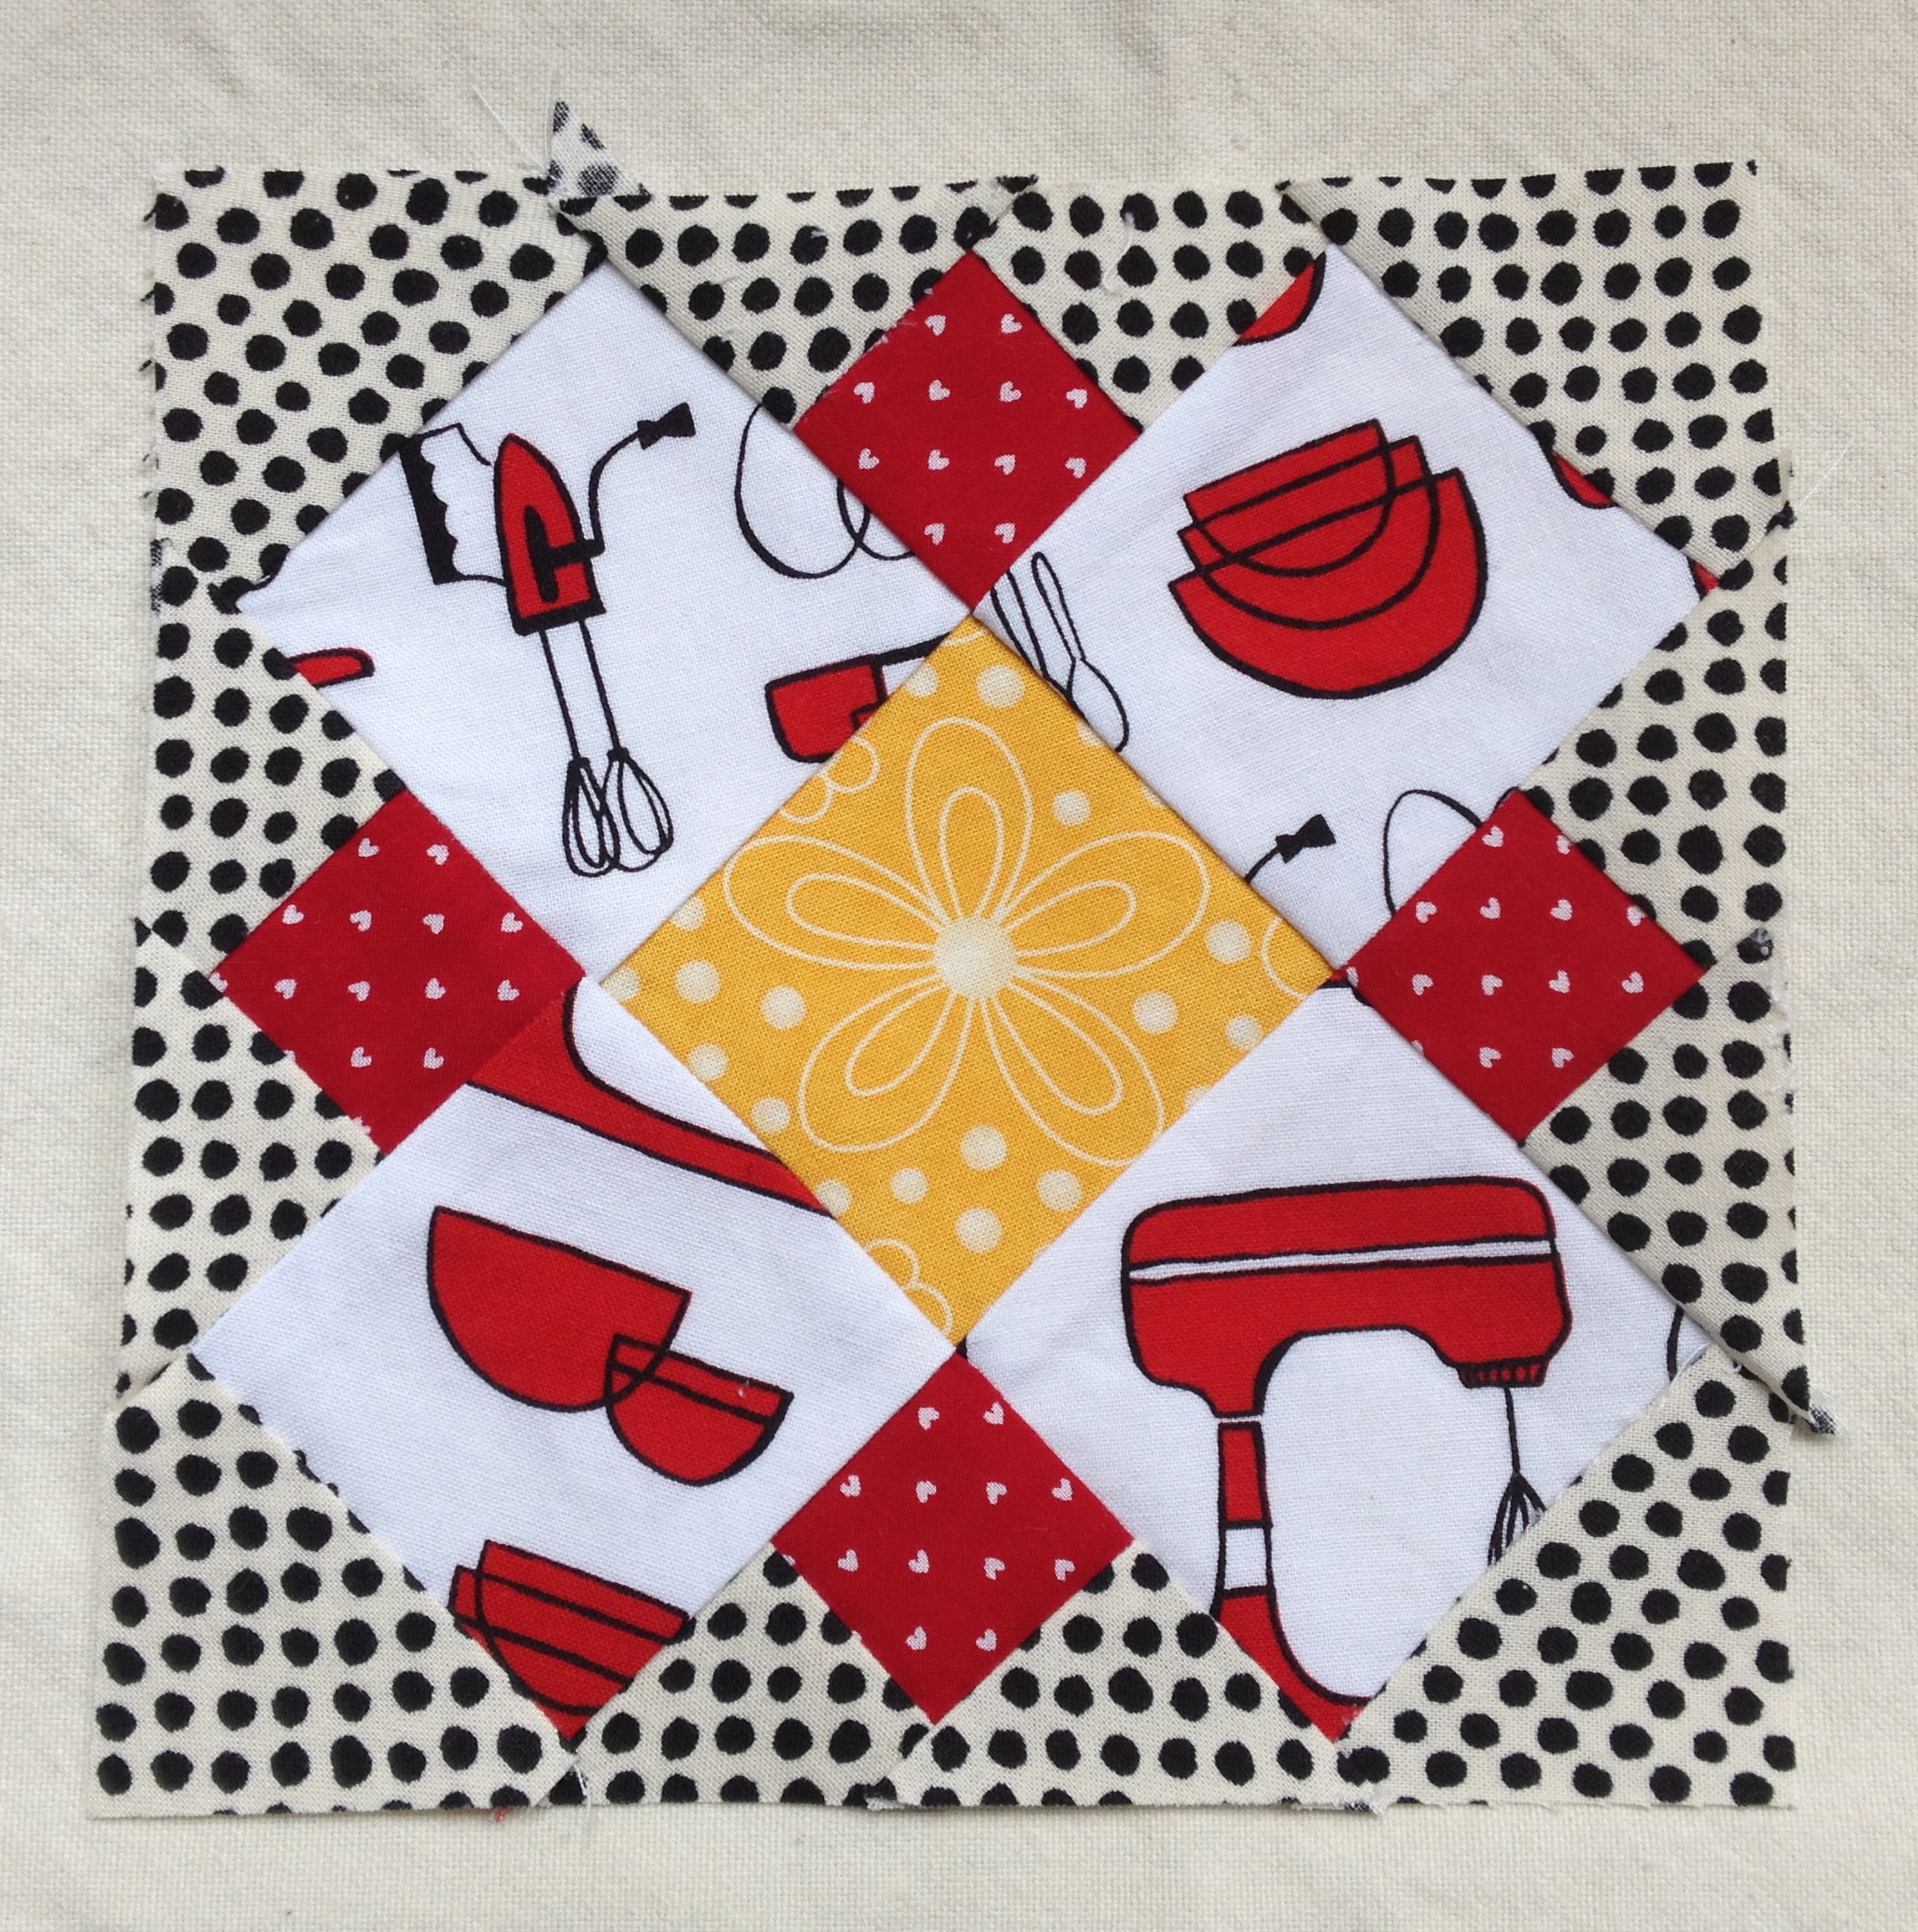
My attempt at fussy cutting
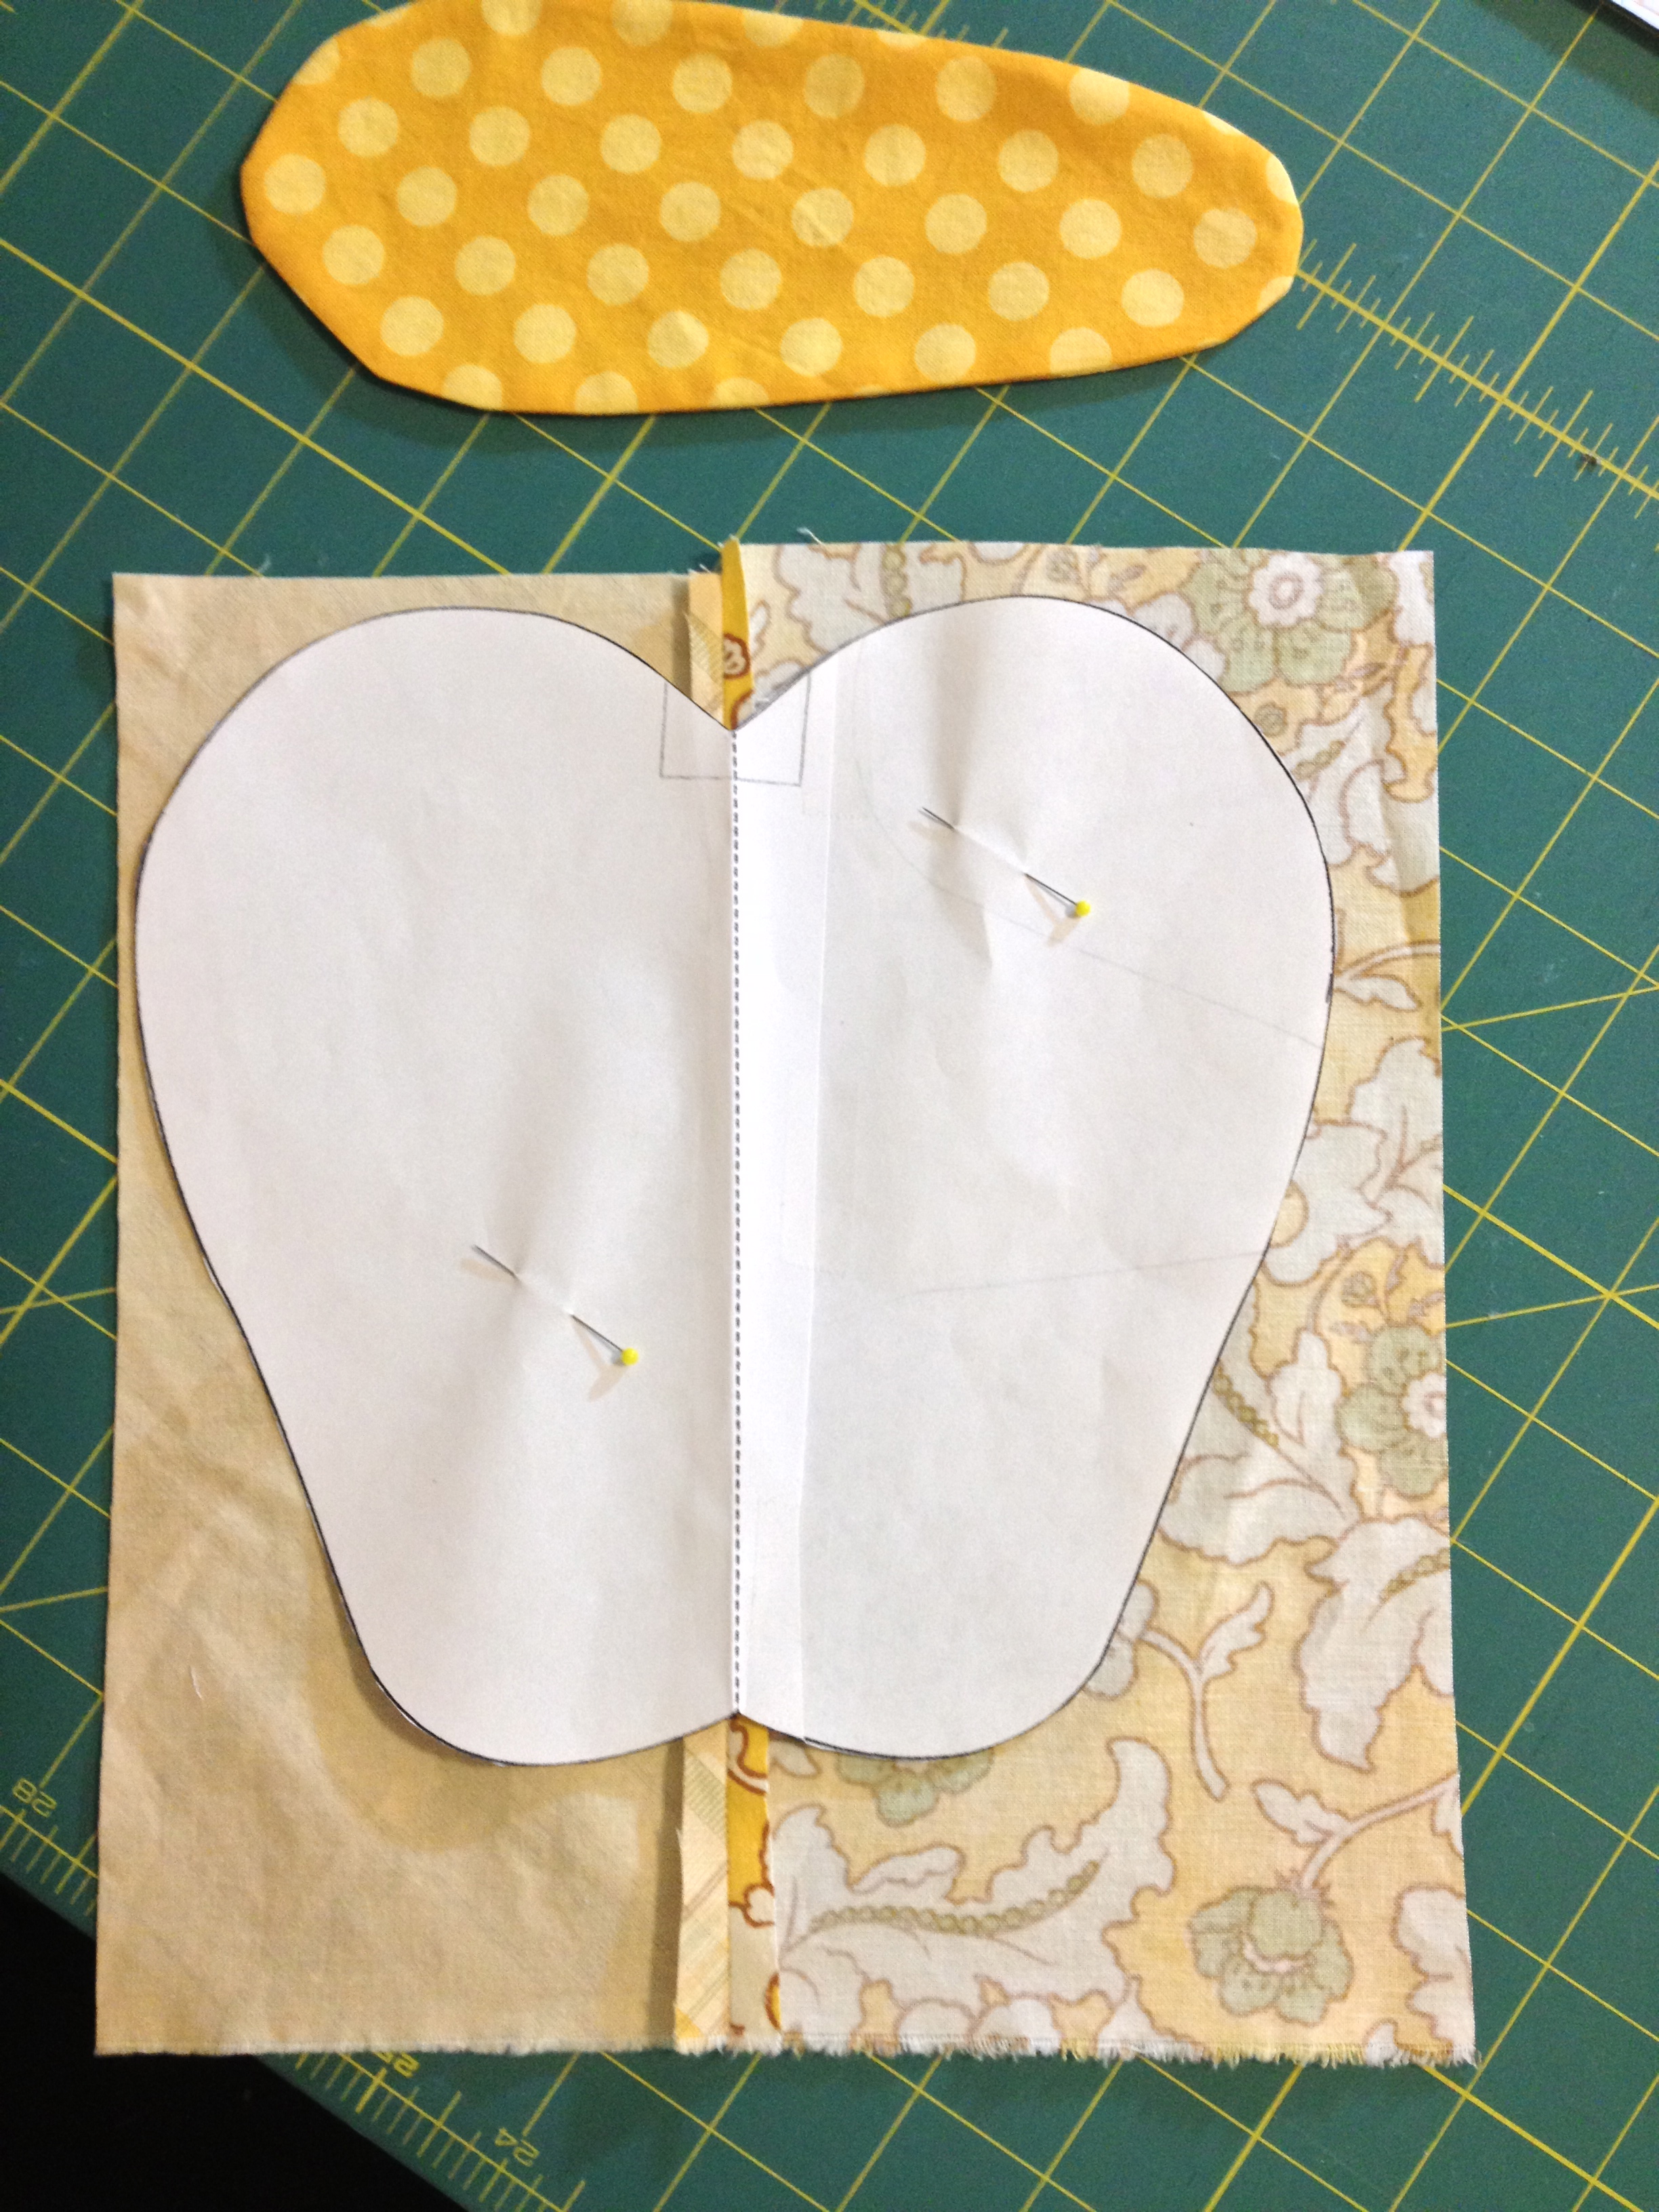
For the other 2 blocks I decided to flat out paper piece them and not worry about fussy cutting. It was not difficult to turn the template in the book to a paper pieced pattern.

Paper pieced pattern
This piecing went rather quickly once I decided on the fabrics to use.
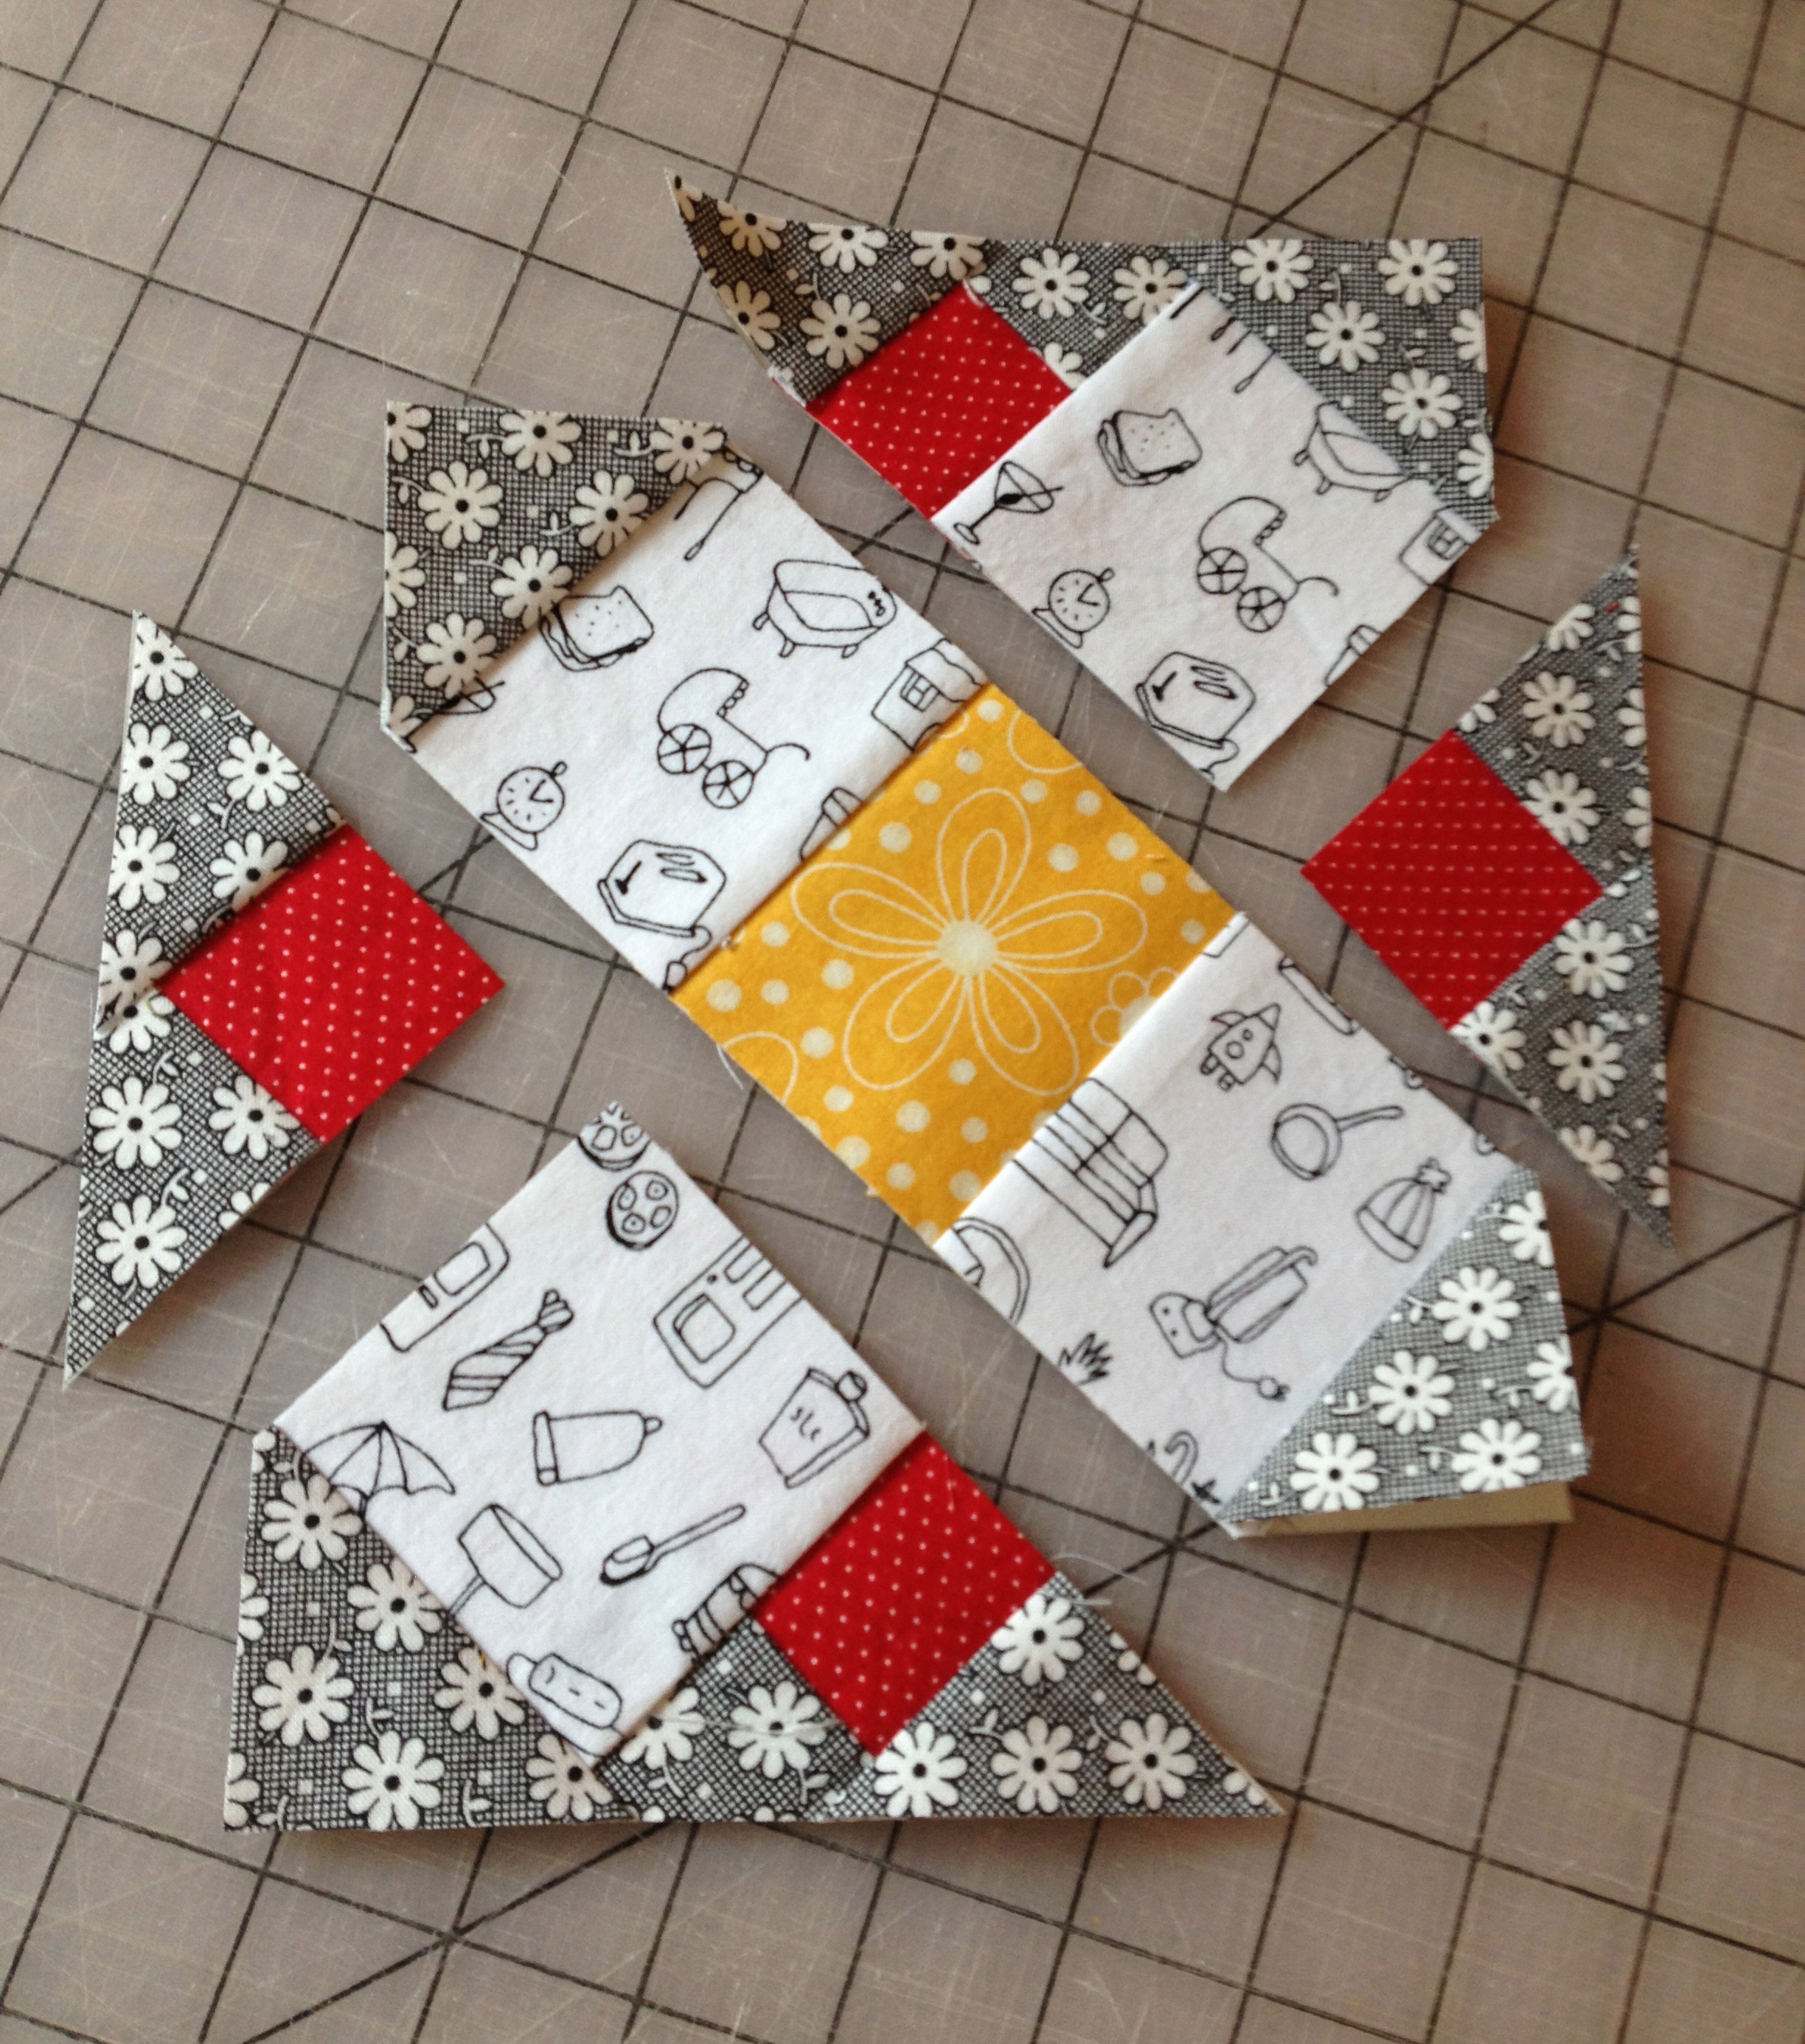
Paper pieces ready for joining
I tried to use as many polka dot-like fabrics as possible.
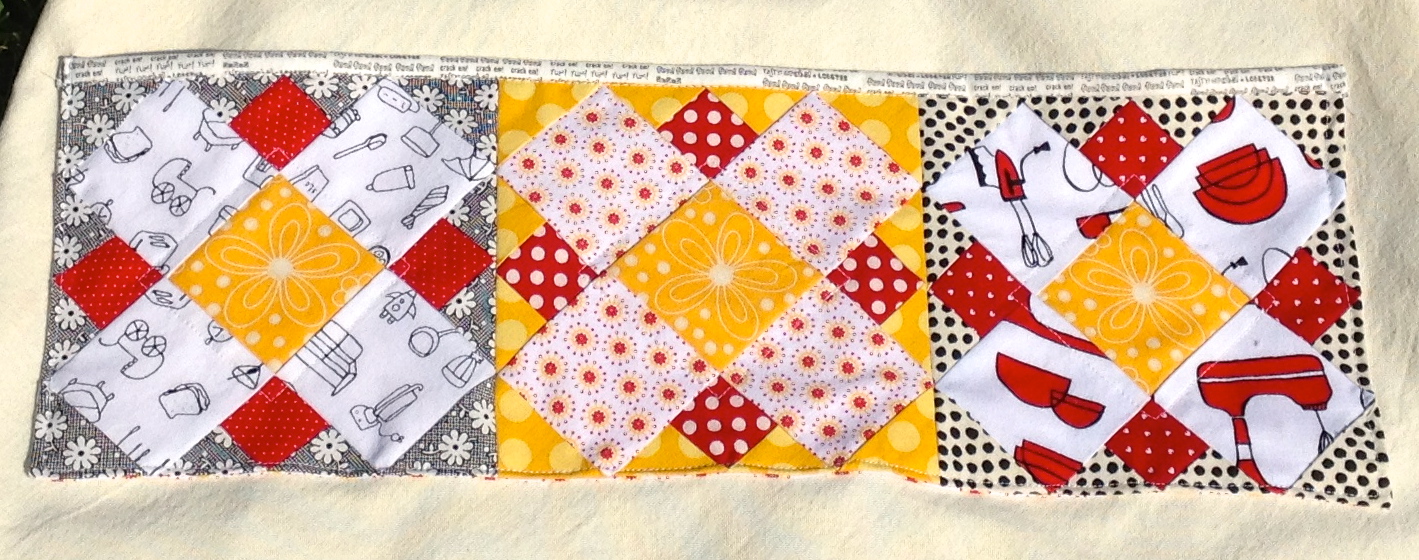
Polka dots!
I had bought some dishtowels for the week 2 project that I did not end up using and they seemed the perfect size for this cafe apron. So I simply sewed my finished pocket onto this pale yellow dishtowel and then added the sash as described in the book (by folding the top over an inch and catching the sash in the sides).

Finished cafe apron.
I am very happy with the result. In the future, I may try to fussy cut a piece here or there, but I will never be able to cut every major piece this way. I just love the sewing too much to spend that much time on the cutting!