
The Wide Open Pouch is a free pattern by Anna Graham, aka Noodlehead. I liked the idea of having a bag that is easy to get into and it looked like it might be a quick sew. Instructions for cutting a 2 color bag are here. First I made one:
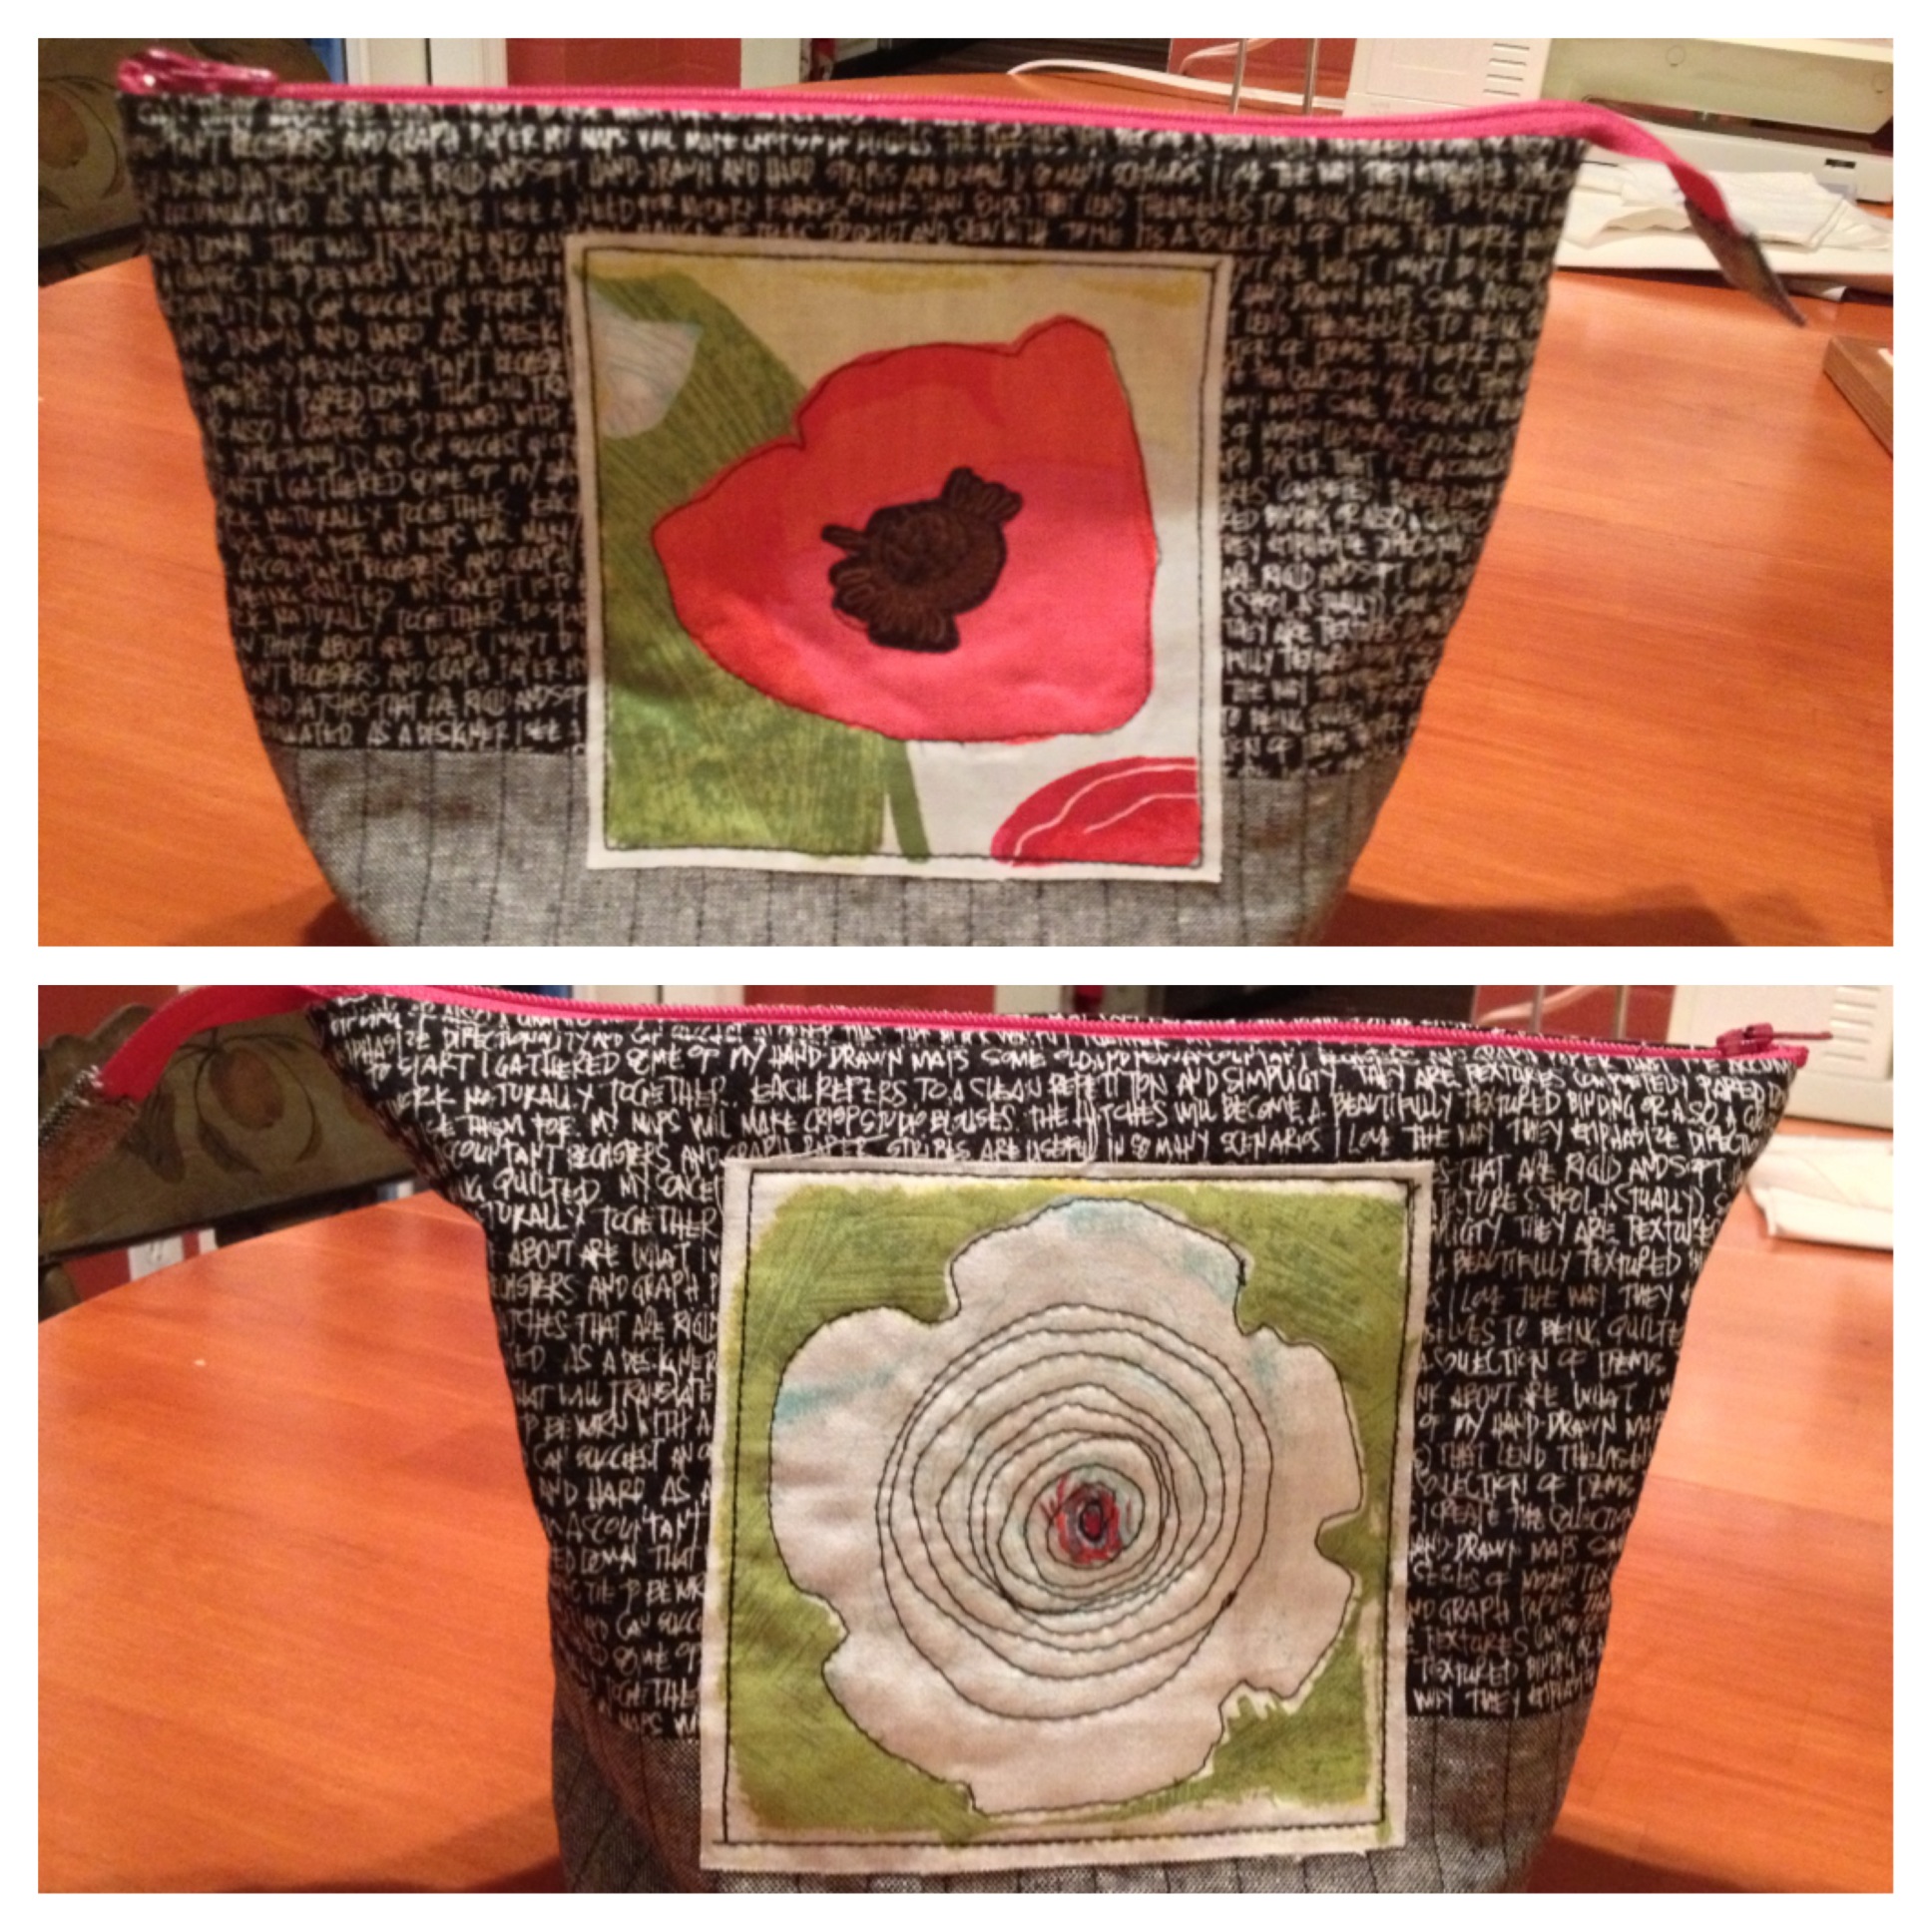
First Wide Open Pouch (both sides)
Then I made four more. It was just so much fun to pull different fabrics to sew these. These are all the Medium size pouch and are roughly 11″ wide x 6″ tall x 4″ deep.
I altered the directions for my bags by using fusible batting and quilting them. This gives a much sturdier bag than if they are just interfaced – and the quilting also adds another design element. If you decide to quilt one of these, you will quilt it with just the exterior fabric and the batting. Do not make a “sandwich” with the lining. The lining is added separately later.
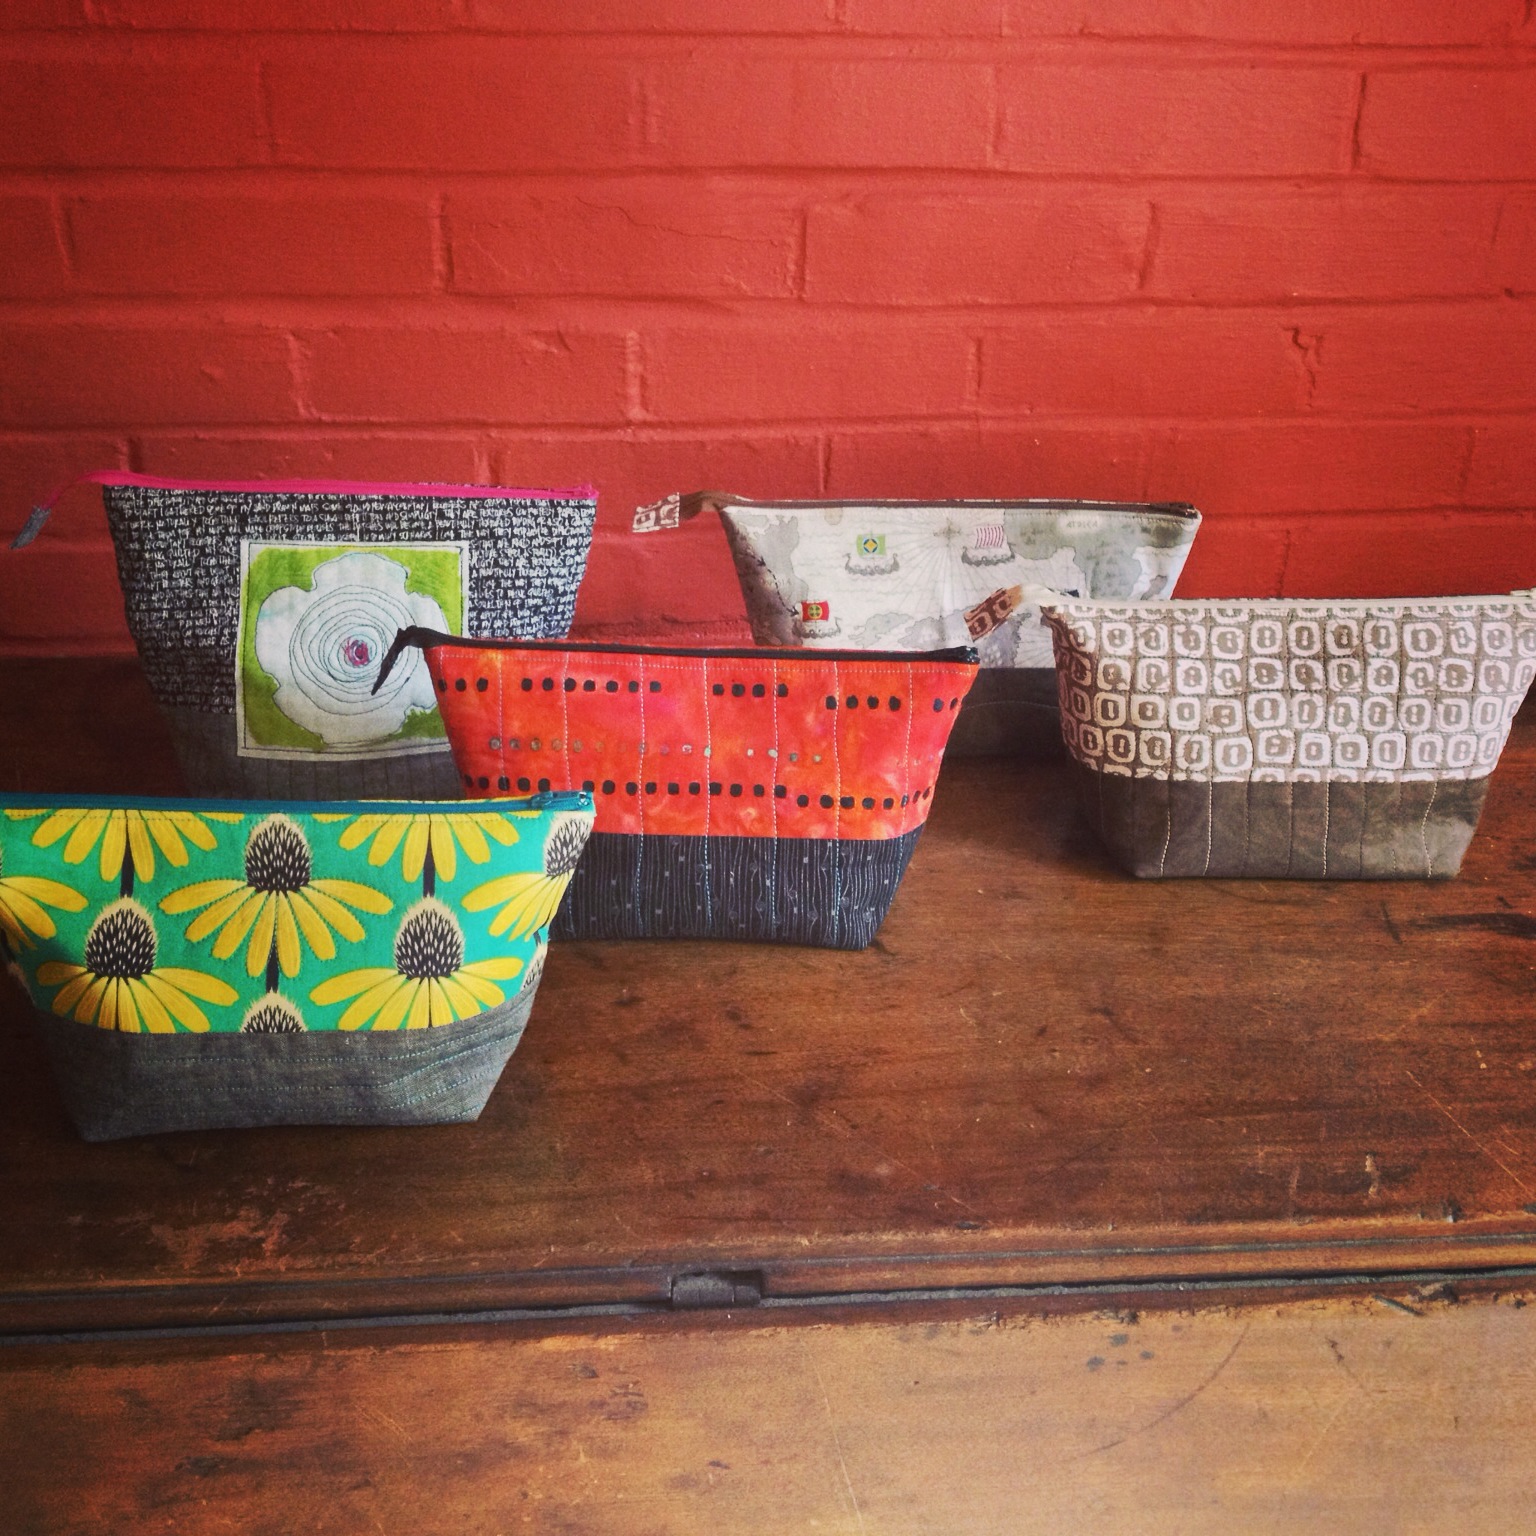
The original pouch and four more
With Anna’s permission, I am donating these to my traditional quilt guild, Needlechasers of Chevy Chase, to be sold at their upcoming Quilt Show in October to support the guild. I posted this photo on Facebook and several friends and family wanted one. I decided to go ahead and “pre-sell” the ones that I was asked about. However, then I felt as though I should make some more.
I attended a DC Modern Quilt Guild meeting that was held at the Finch Sewing Studio this past weekend. While there I bought some of the new fabric from Cotton + Steel. Perfect to use for more pouches! (I may have bought most of the fabrics that were primarily turquoise.)
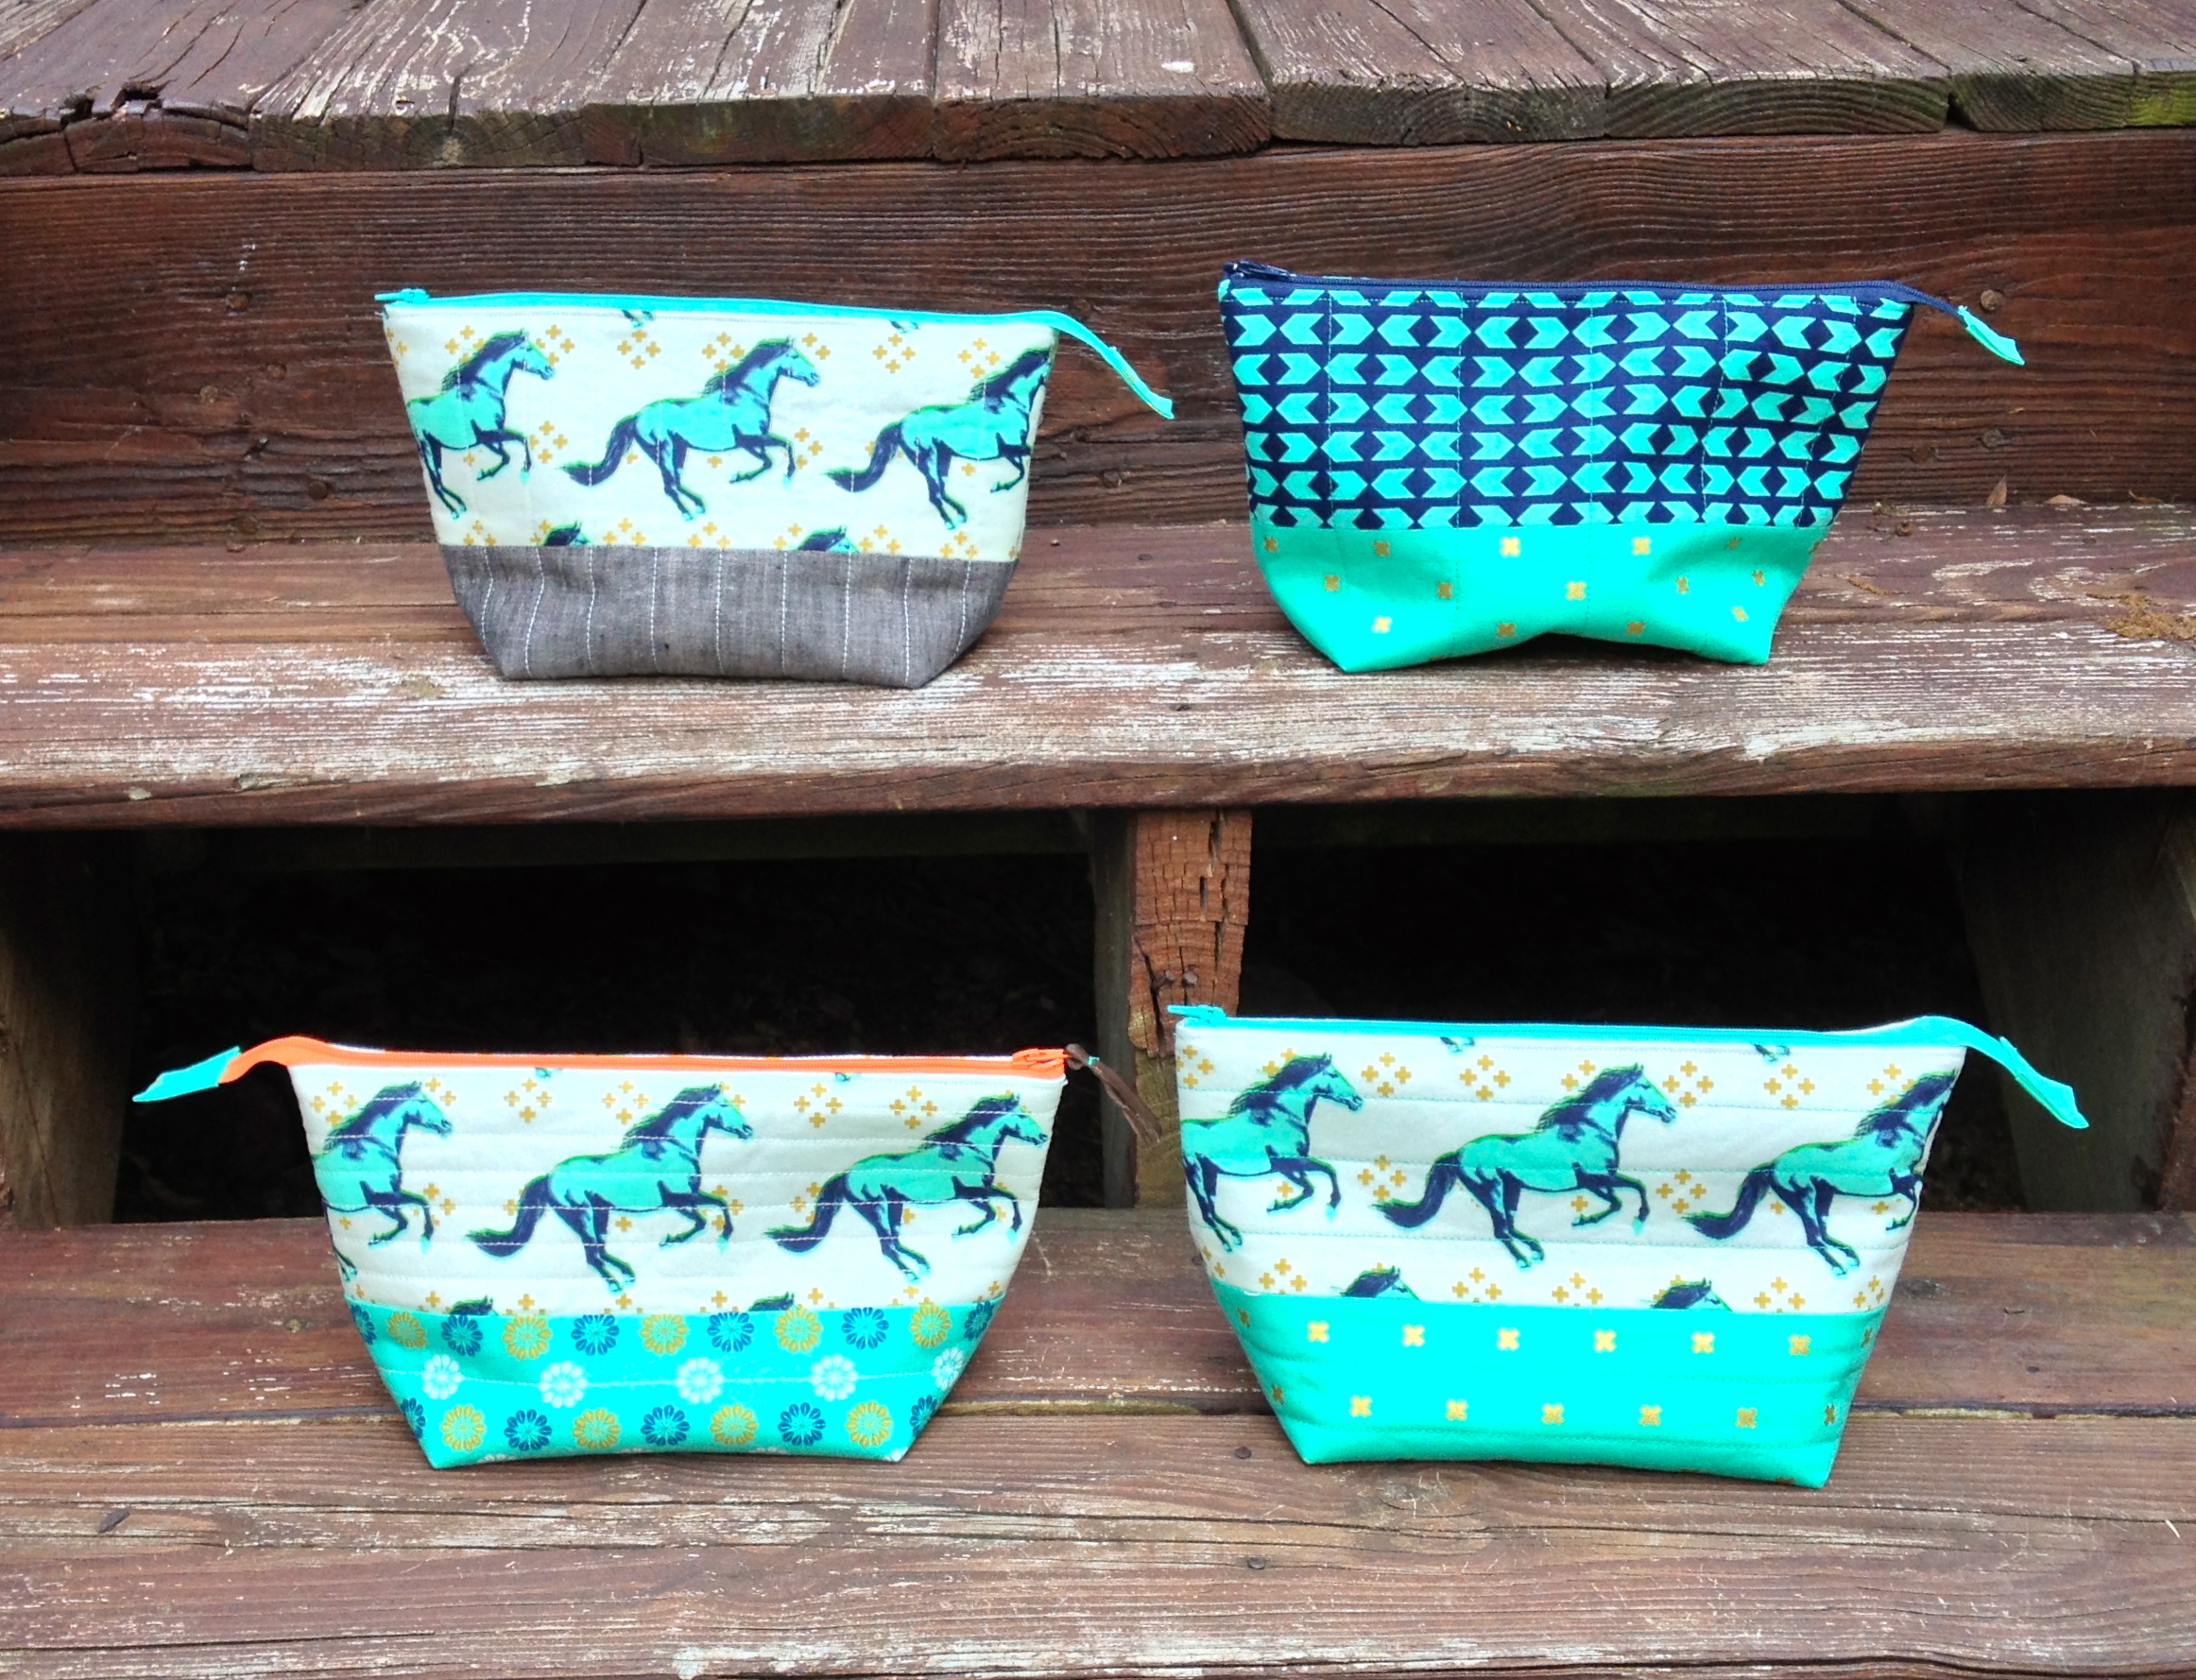
Pouches made out of Cotton + Steel fabric. Exterior fabric.
I love those horses! I couldn’t resist these different combinations. More fun fabrics on the inside too.

Inside of pouches.
One of my daughters told me she wants a new make up bag and so I had to make a pouch for her – but these are way too colorful – she doesn’t like bright colors. So I made her what I think is a very classy bag that is grey and black and she does like polka dots – who doesn’t? (She can let me know if this is acceptable or not after I post this).

Pouch # 9
I made the original bag with a friend who then urged me to try the Zippy Strippy pouch pattern by Atkinson Designs. Today I made up the medium size of that pattern which costs $8. I used a mini charm pack that I’ve had for awhile to make the fabric for the outside of the pouch.

This bag is a little smaller than the Wide Open Pouch.
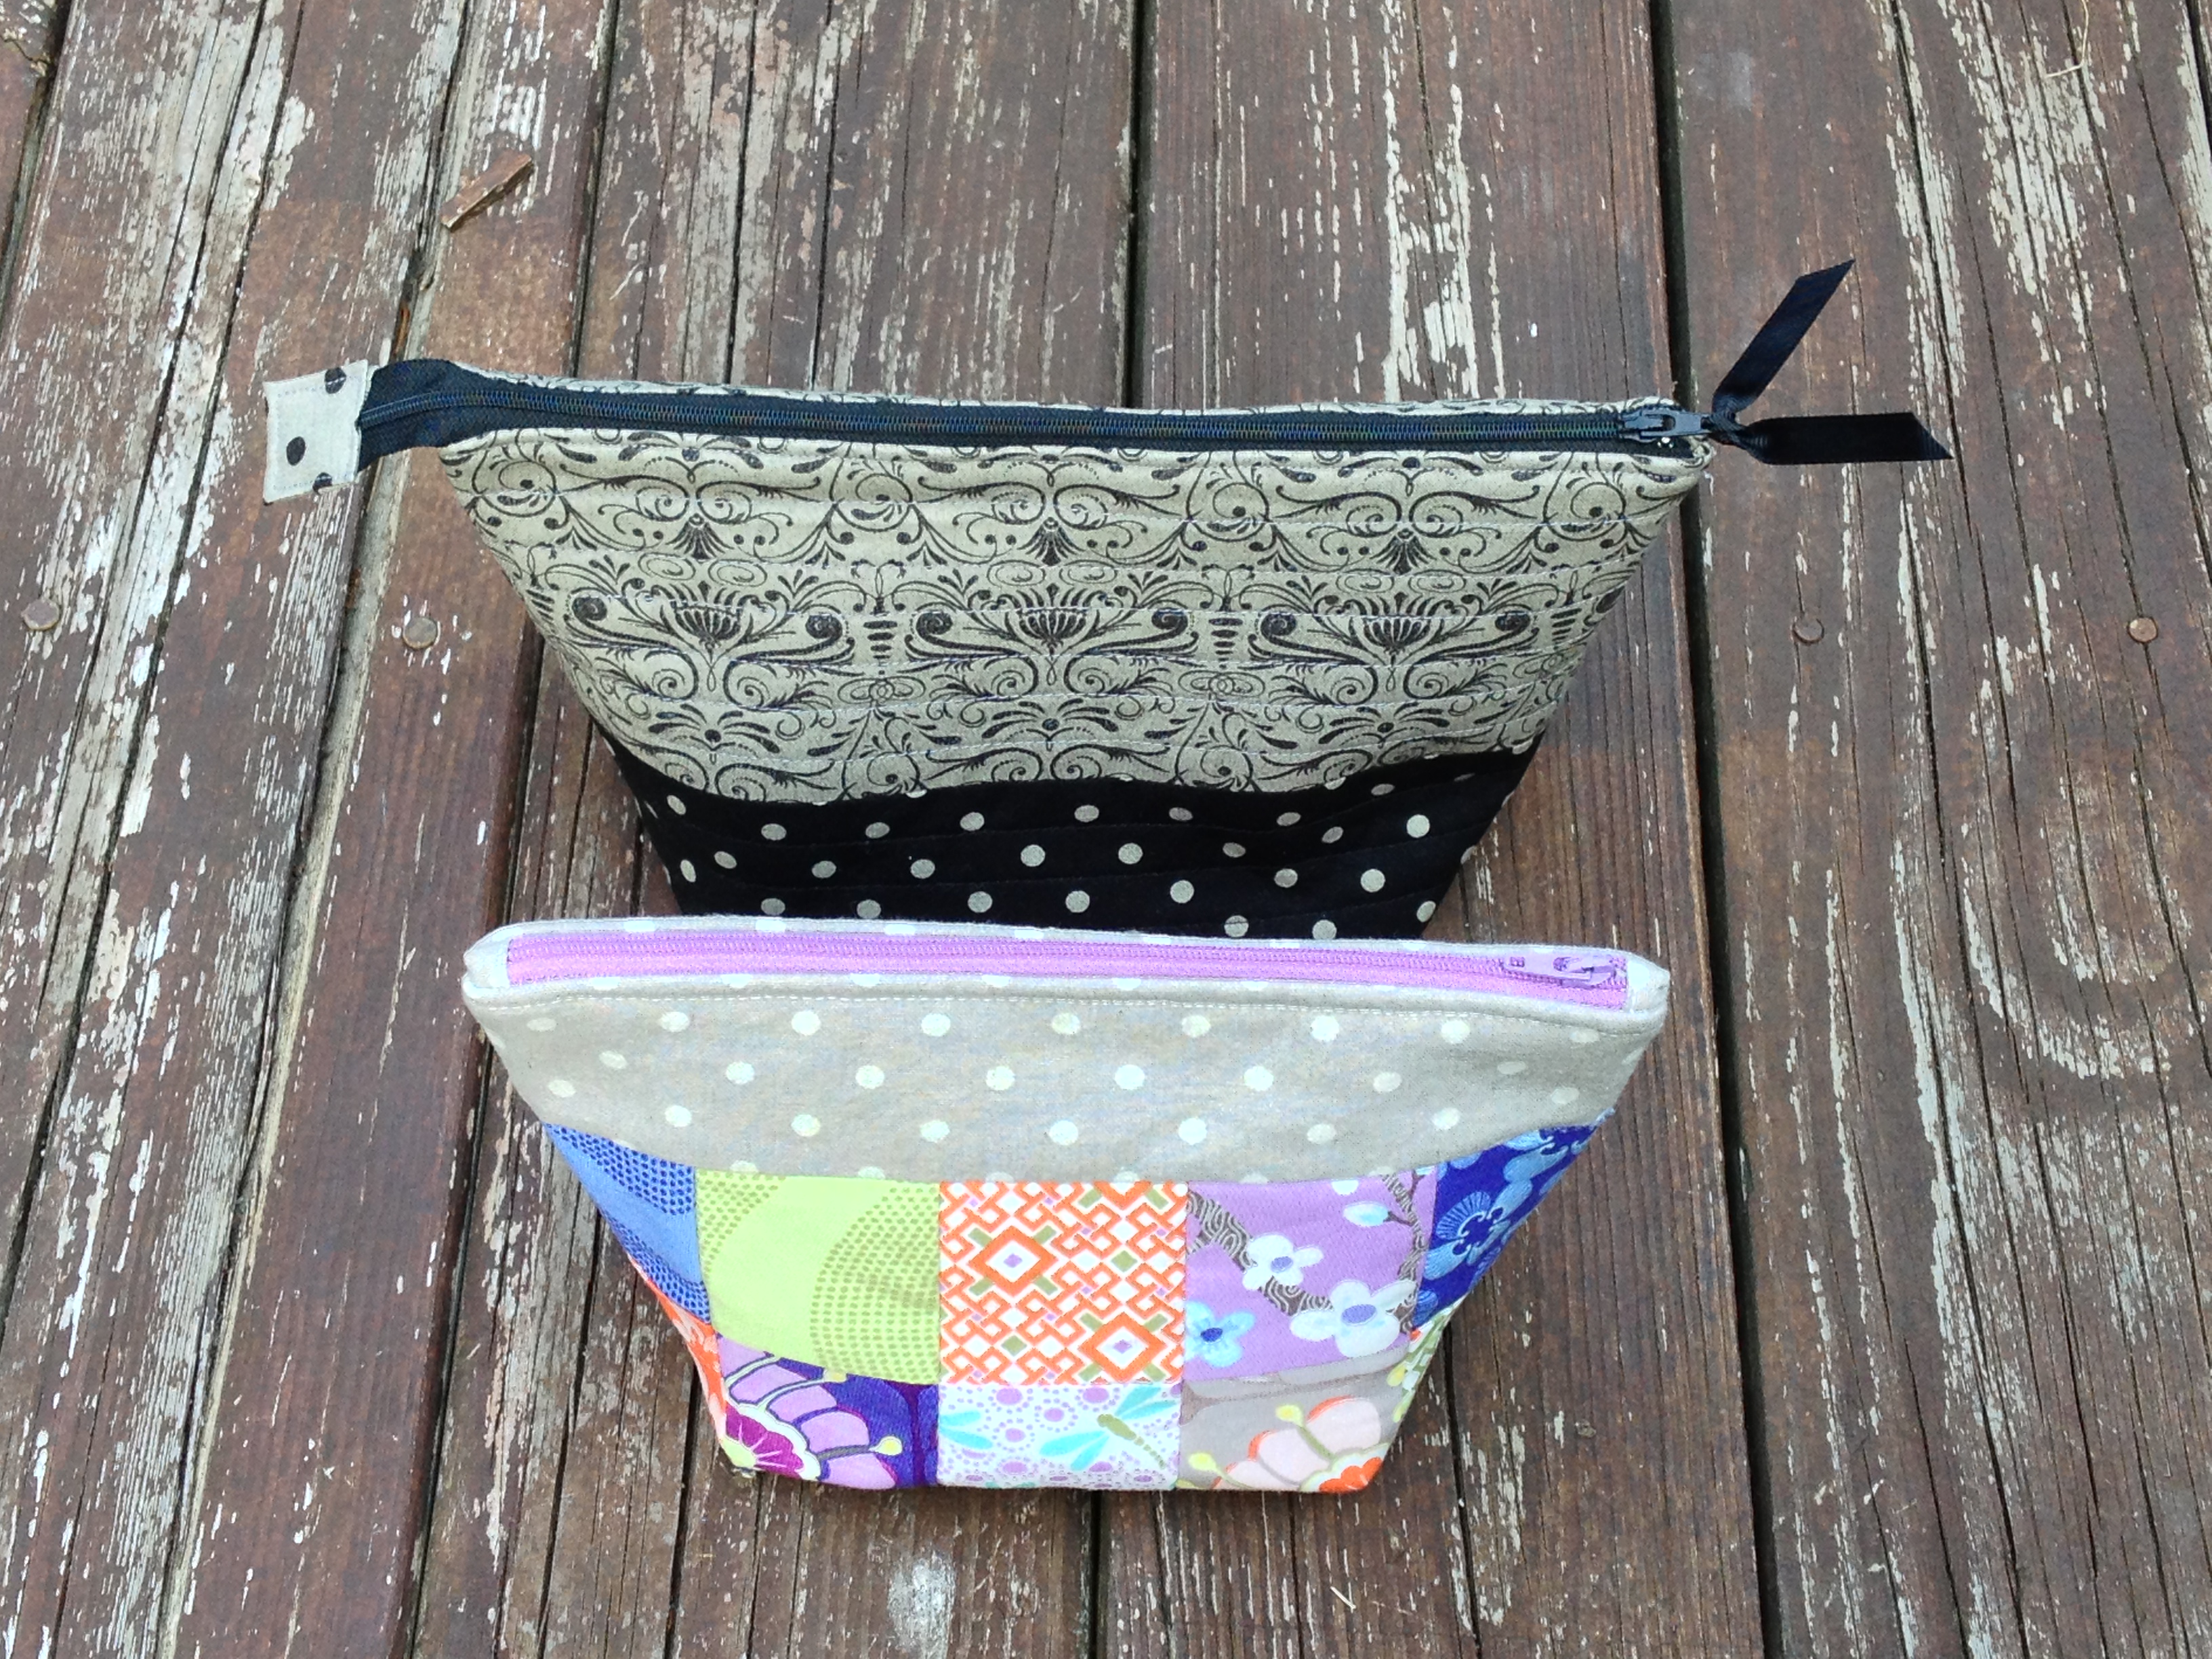
The Atkinson bag is a little smaller.
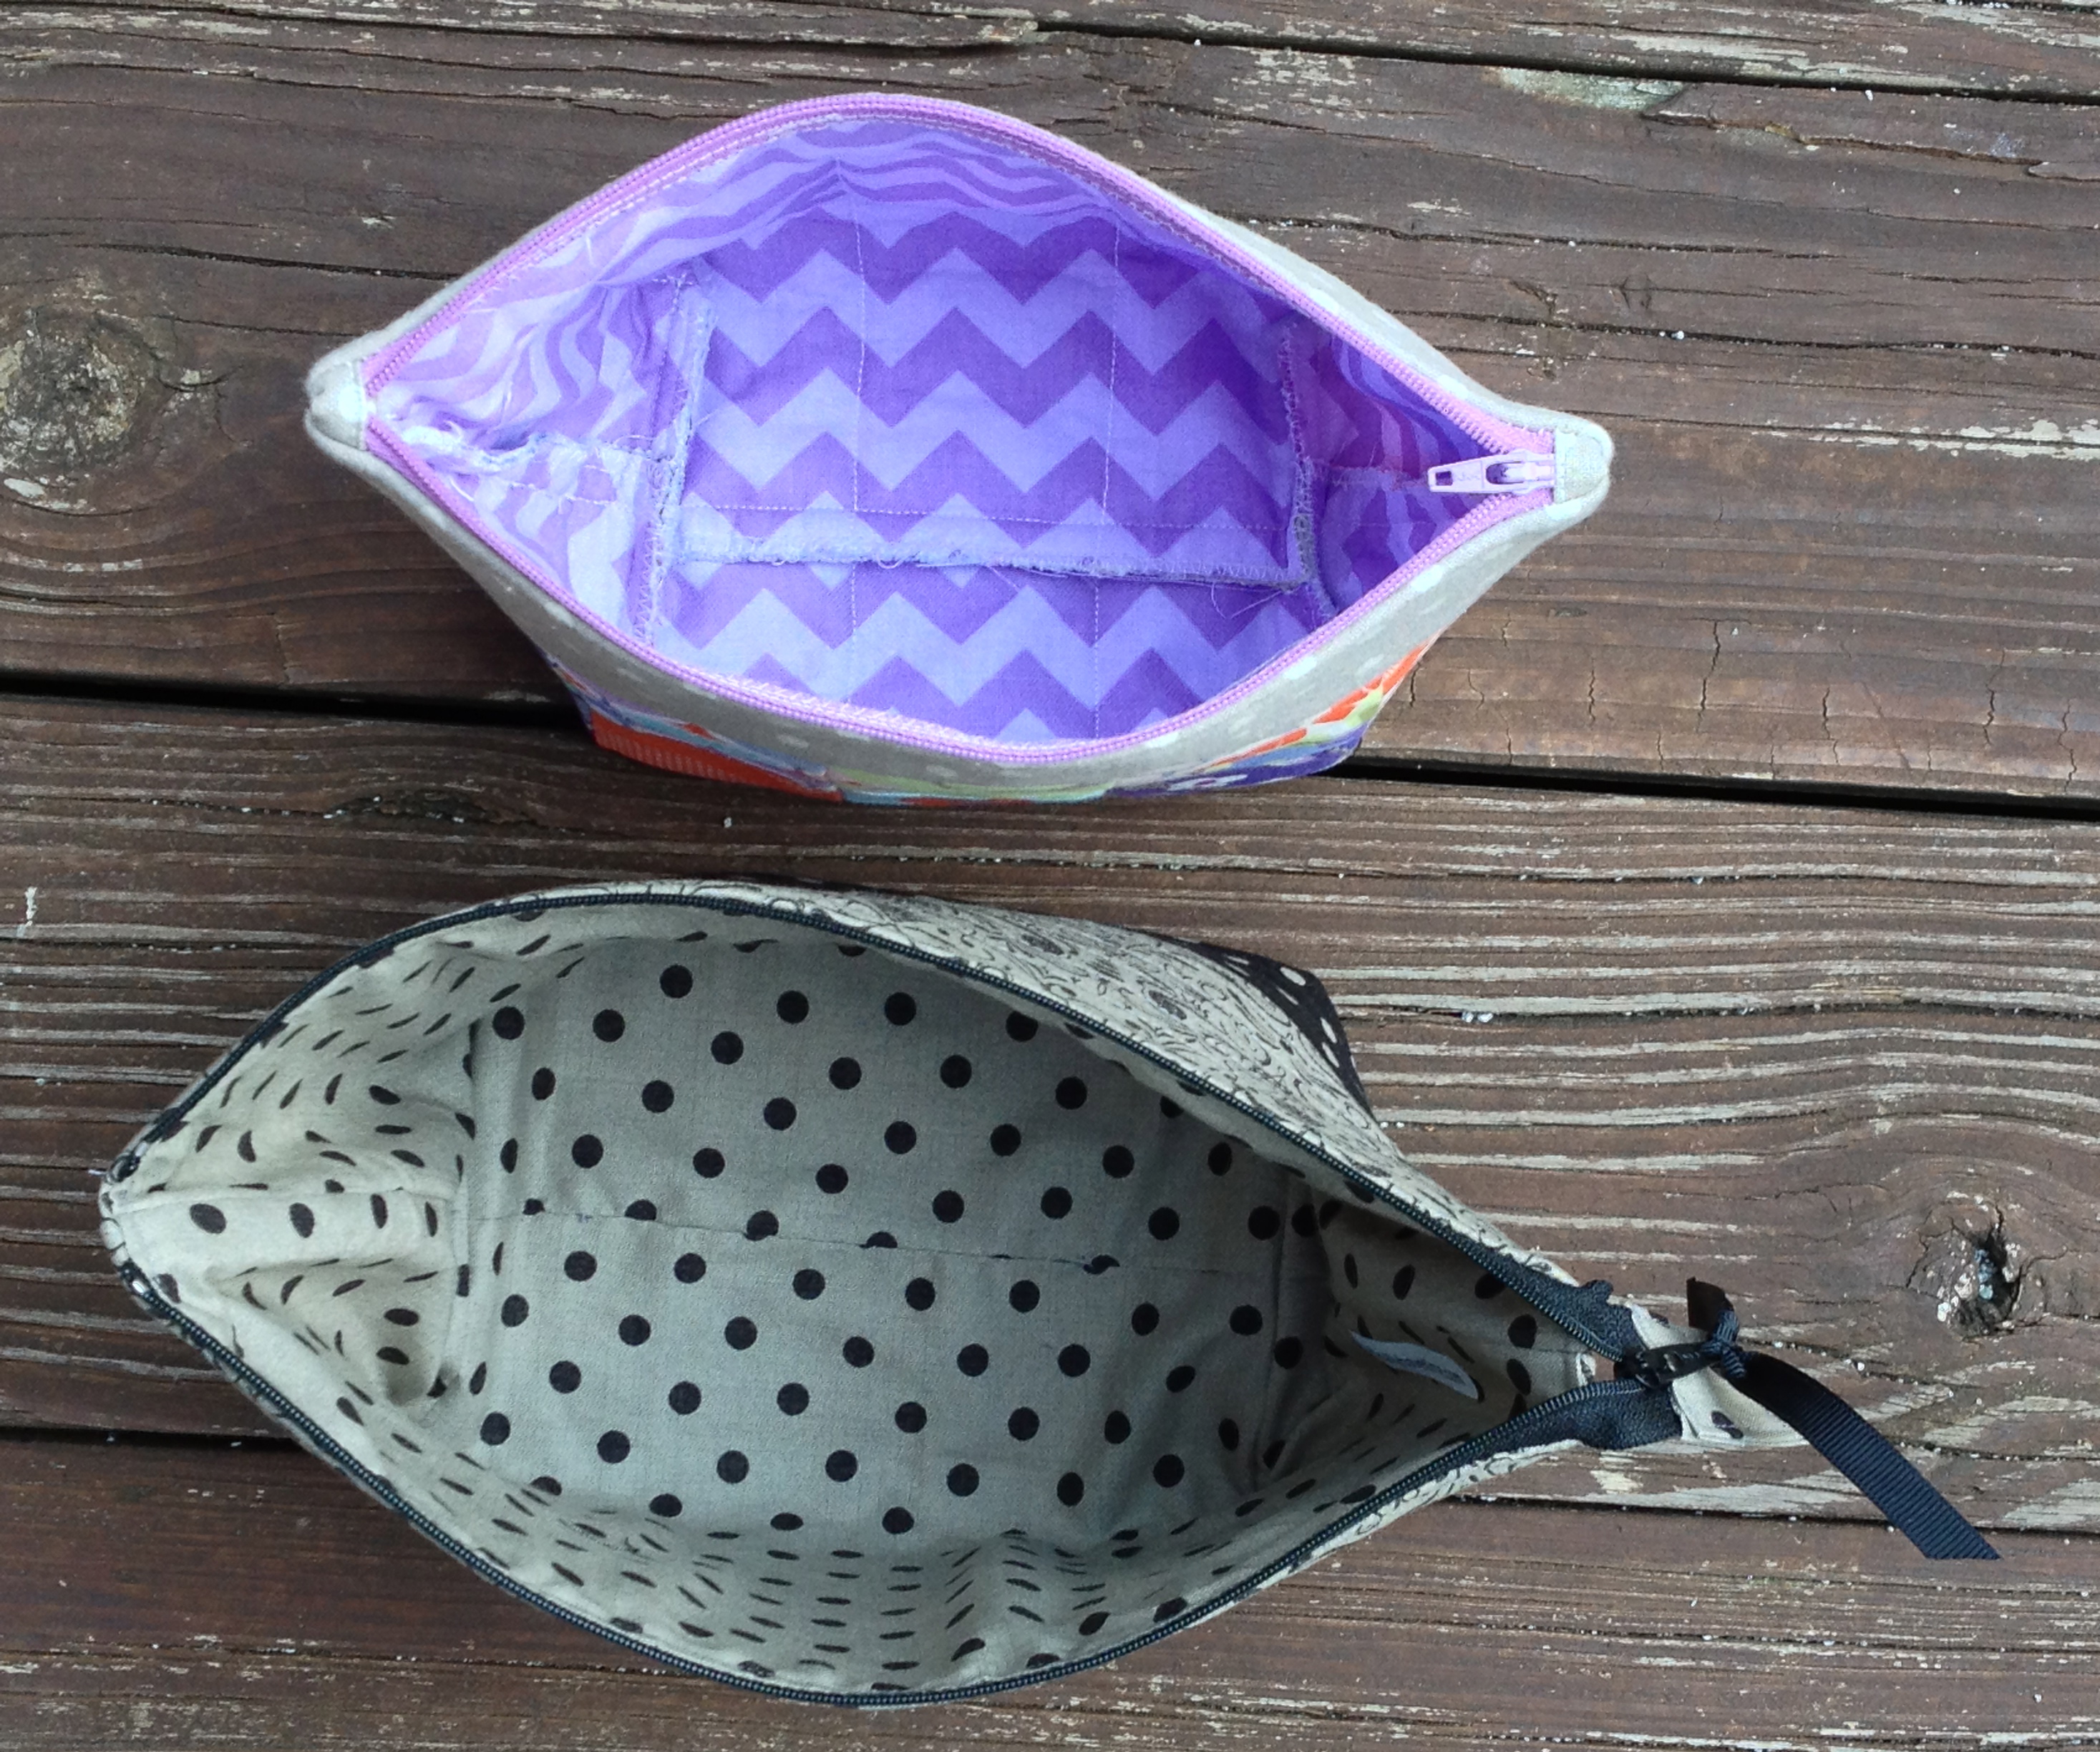
Different finishes inside.
Pouch comparison:
The Noodlehead pattern is free, the top does open wide and so it is easy to find what you’re looking for inside, and it is fully lined. Due to the way it is constructed, you can top stitch around the entire top of the pouch after it is made which makes everything lie nicely around the zipper.
The Atkinson bag is a paper pattern (not a download) that is for sale, the top has a pretty finish using a fabric tab at the ends of the zipper but the inside has exposed seams which have to all be finished with a zig-zag stitch to prevent raveling.
I’ve made 10 pouches at this point and can’t wait to make some more – but maybe not right away. This may be my “go-to gift” for the holidays this year.


These are adorable. I like the way they open so wide and have the flat bottom. I made a pouch/ bag to hold all of my EPP supplies that is very similar. It has some pockets inside to hold the scissors, spools of thread and extra needles. I wish I had a pattern to follow at the time. Great job, Linda. Your choice of fabrics makes these bags sing, or should I say gallop!
I think you prefer the finished lining on the noodle head , understandable, but looks like you may have used French seams. Lovely work. You are in manufacture mode. Am watching the waves with my coffee. Hope you have “time” to come here and sew .
Donna
I did not use french seams. I don’t know how that could be done on these. Enjoy the sea and I hope to get to come sometime to sew too!
Jan – I would love to see the bag that you “designed”. It is so nice to be able to customize to what the use will be.
Wow! You certainly have been busy! These all look great. I like the comparison of the two pouch types and still am a fan of the open wide ones. Yours are just so cute!
Thanks Lynne. I loved the one you made for your daughter at Mid Atlantic Mod.
What a marvelous display of your busy as the honey bee handy work. Love that you made this up so fast after our meeting last weekend and got them photographed and posted. Inspiration with a free pattern! What could be better? A tutor, to guild my inexperienced zipper bag sewing, is the only thing that would be better. So how long does a bag take to assemble?
Like anything else, the first bag always takes the longest and it gets better from there. I would say that it takes a good hour to make a bag once it is all cut out and quilted and so possibly 2 hours or more in all. The beauty of making bags of the same fabric line and color is that you can sew them assembly line style and not change thread color. I have thought about making one for my brother-in-law (who wants one) out of a discarded man’s button down shirt and possibly putting the chest pocket as a detail on the outside of the bag. What do you think? I happen to have some shirts of my husbands which are worn out at the cuffs and/or the collar. This might be a good way to “up cycle” them.
Pingback: Orange Peel Pouch | I Finally Have Time