Category Archives: Sew South Modern Sewing Retreat

And “sew” it begins again . . . Zakka 2.0!

First project from new zakka sew along!

First project from new zakka sew along!

Last year, just as I started blogging, I learned of a sew along for the book Zakka Style which I had just bought at my favorite quilt store. The sew along involved starting at the beginning of the book and sewing a project each week through the entire book. It was hosted by Lindsey Rhodes of LR Stitched who each week introduced a different blogger who shared her experience of making up that week’s project. If you made the item and blogged or posted a picture of it on Flickr, you could link up and have a chance at winning a sewing related “prize”. More fun than the chance to win something, was following the links and seeing all of the similar but different projects that everyone made that week.

Zakka 2.0 started this week and we are going to sew through Ayumi Takahashi’s book called Patchwork, Please.

8430757533_92f602cc8f_o

The book starts with a nice list of Tools and Materials and then a chapter on Techniques. A lot of helpful information is given.

The first project chapter is “for the kitchen” and project #1 is the Bell Pepper Coaster. This week’s blogger is Penny from Sew Take a Hike. She decided to enlarge the pattern and make a hot pad instead of a coaster. I felt that this would be more useful as well. So here is my finished bell pepper hot pad:

Front of pepper hot pad.

Front of pepper hot pad.

Back of pepper hot pad.

Back of pepper.

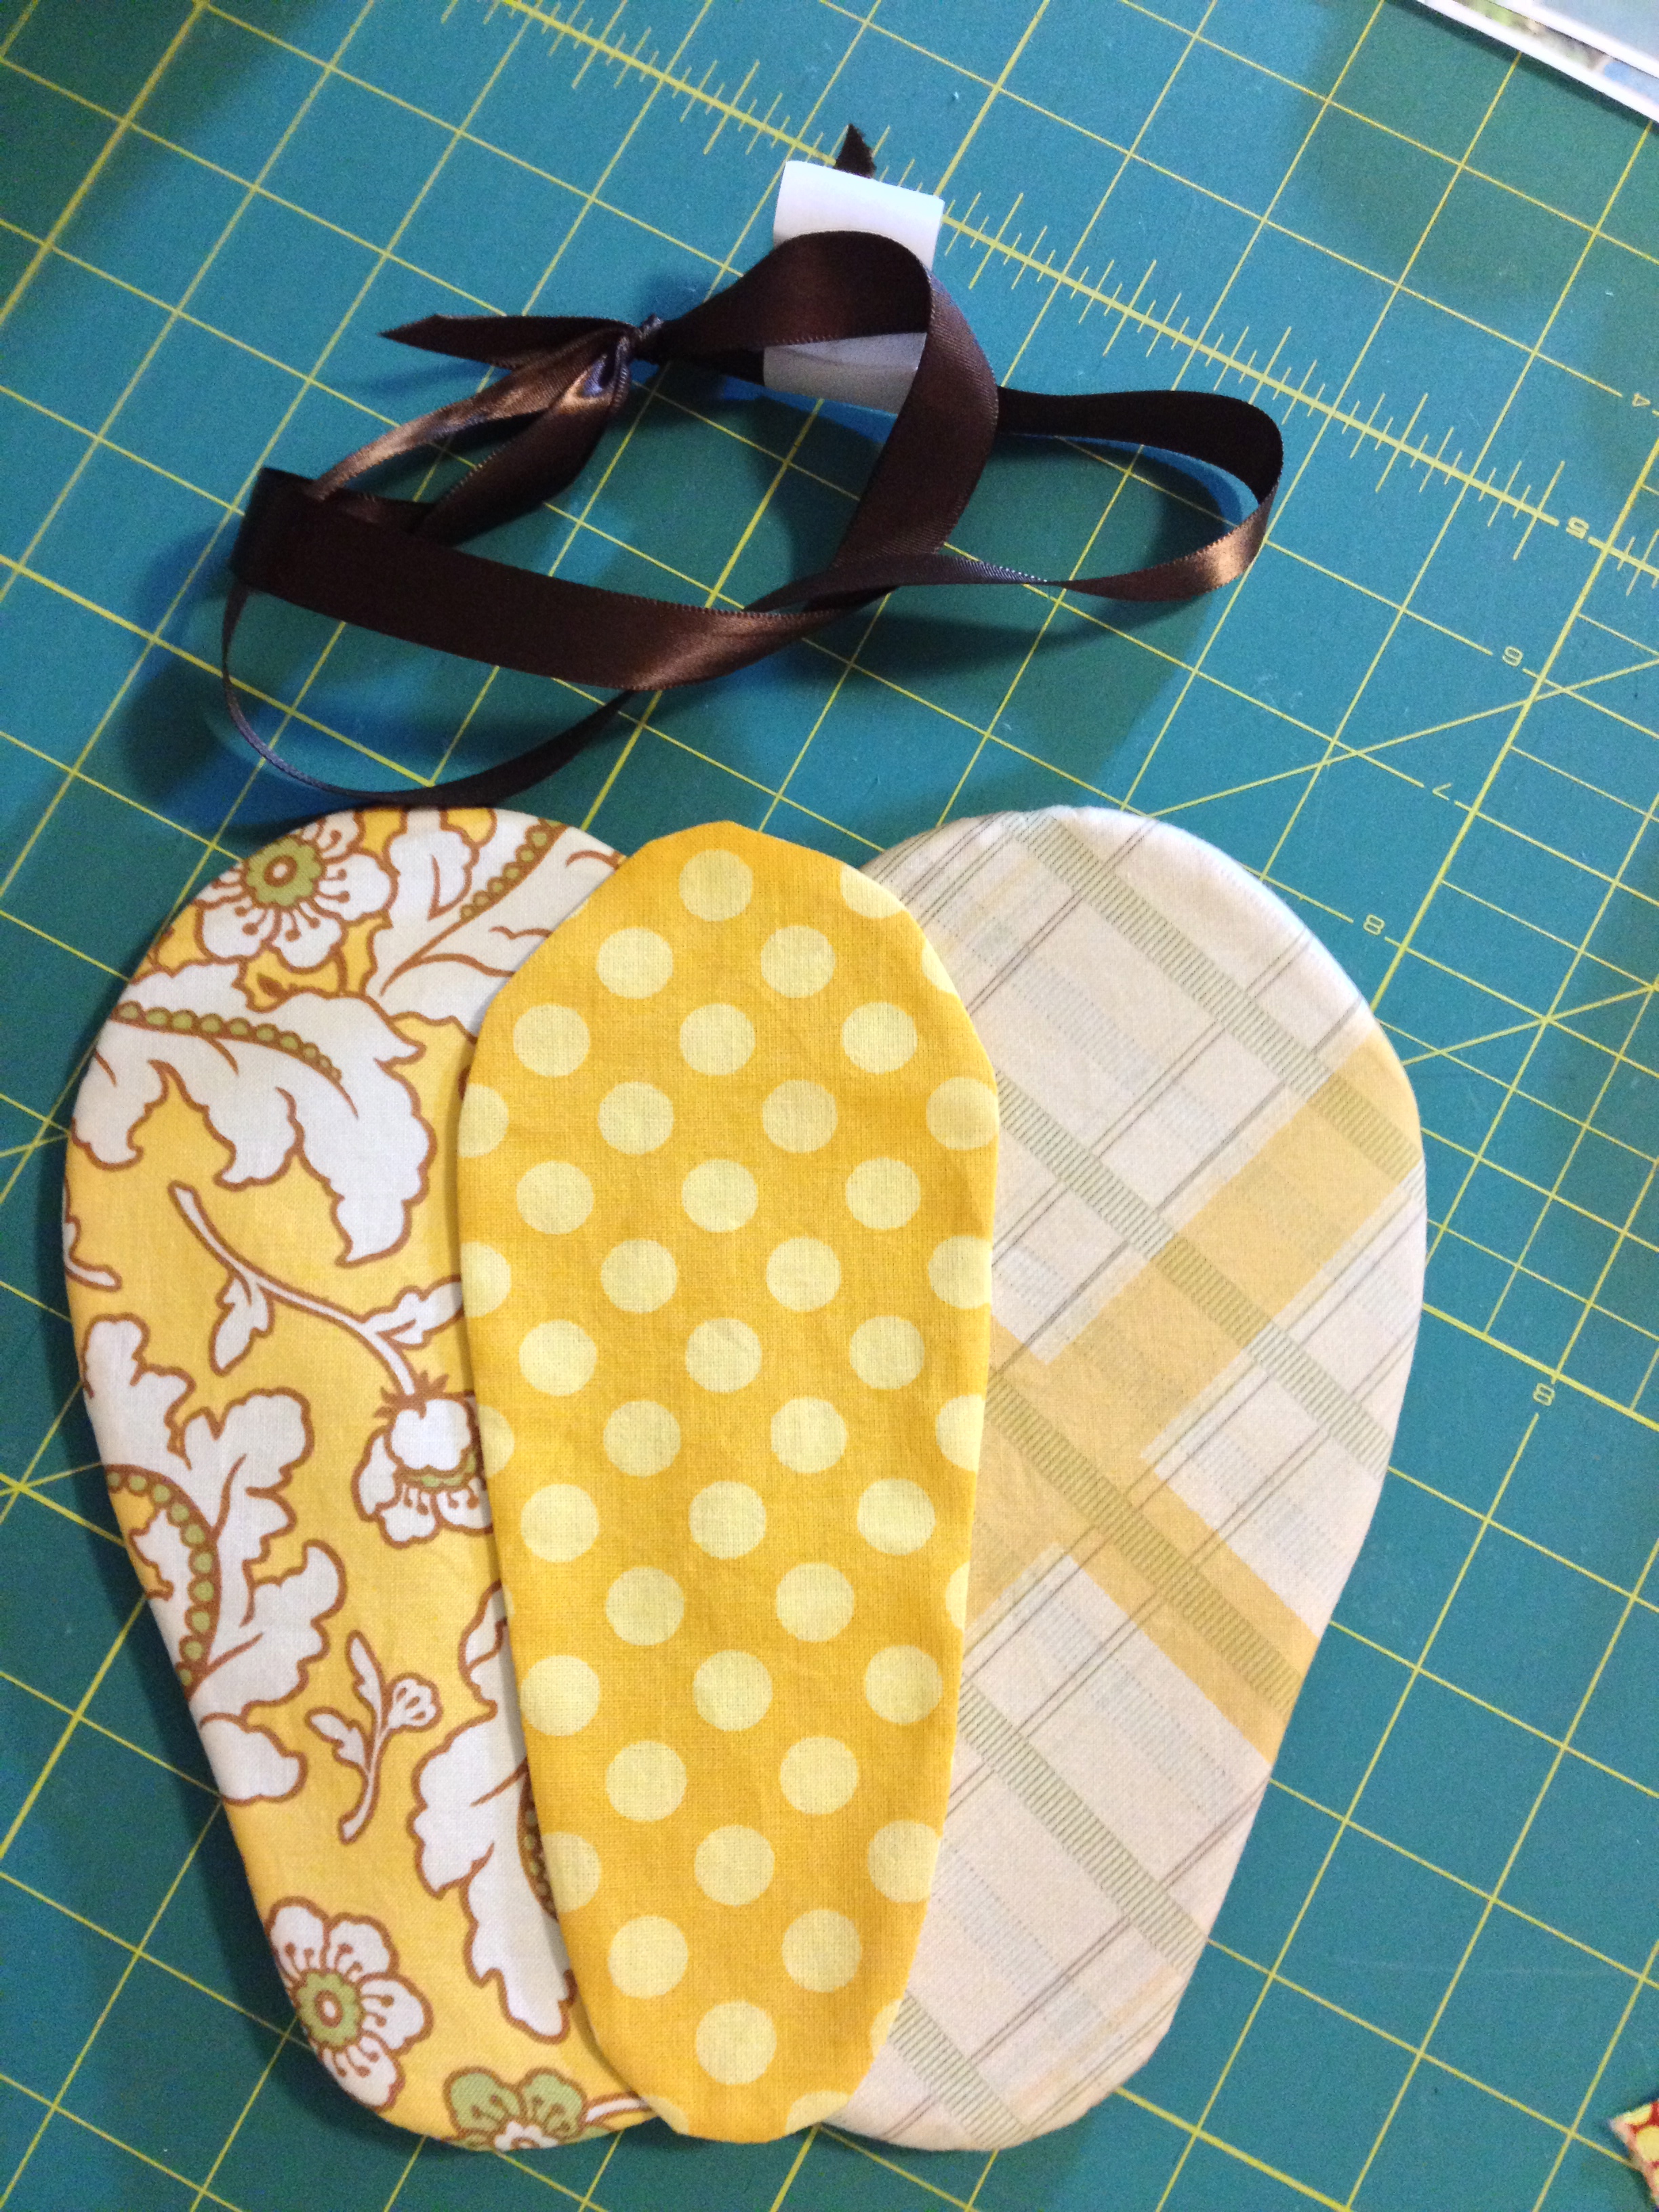
I love it! When I started thinking about making it today, I knew exactly which fabric I was going to use. I had just bought a bundle of yellow fabrics from Del Ray Fabrics.

Fabric bundle from Del Ray Fabrics

Fabric bundle from Del Ray Fabrics

These fabrics came wrapped together in that pretty brown ribbon that was perfect to use for the pepper stem!

This pattern went together very easily. I took Penny’s advice and enlarged the coaster pattern by 180%. The final hot pad is about 9 inches tall and wide. There are step by step directions in the book for sewing this, but NO pictures of the process. So I had to really read carefully. I guess I must be more of a visual learner because I really missed having pictures of the steps.

After enlarging my pattern and picking the 3 fabrics for the front and 1 for the back, I cut the fabric to fit the pattern pieces.

xx

Fabric and paper pattern

First step was to sew that middle pepper piece (I used polka dot fabric for this). I had already read through quite a few blog posts from those who had made their peppers and linked them to LR Stitched. Amy from Amy made that! . . .  by eamylove said she used freezer paper to make her templates. She ironed them on the fabric and sewed around them and this allowed her to use the same pattern for each of the pepper coasters she made instead of tracing the shape on each fabric. This sounded like genius to me, even though I was only making one today. I just pinned the pattern piece on my fabric and carefully sewed around it.

With right sides together, I sewed all the way around the paper pattern.

With right sides together, I sewed all the way around the paper pattern.

Middle piece trimmed and a slit cut in one side for turning.

Middle piece trimmed and a slit cut in one side for turning.

Since this piece is going to be sewn on top of the larger piece, that hole will never show!

Turned

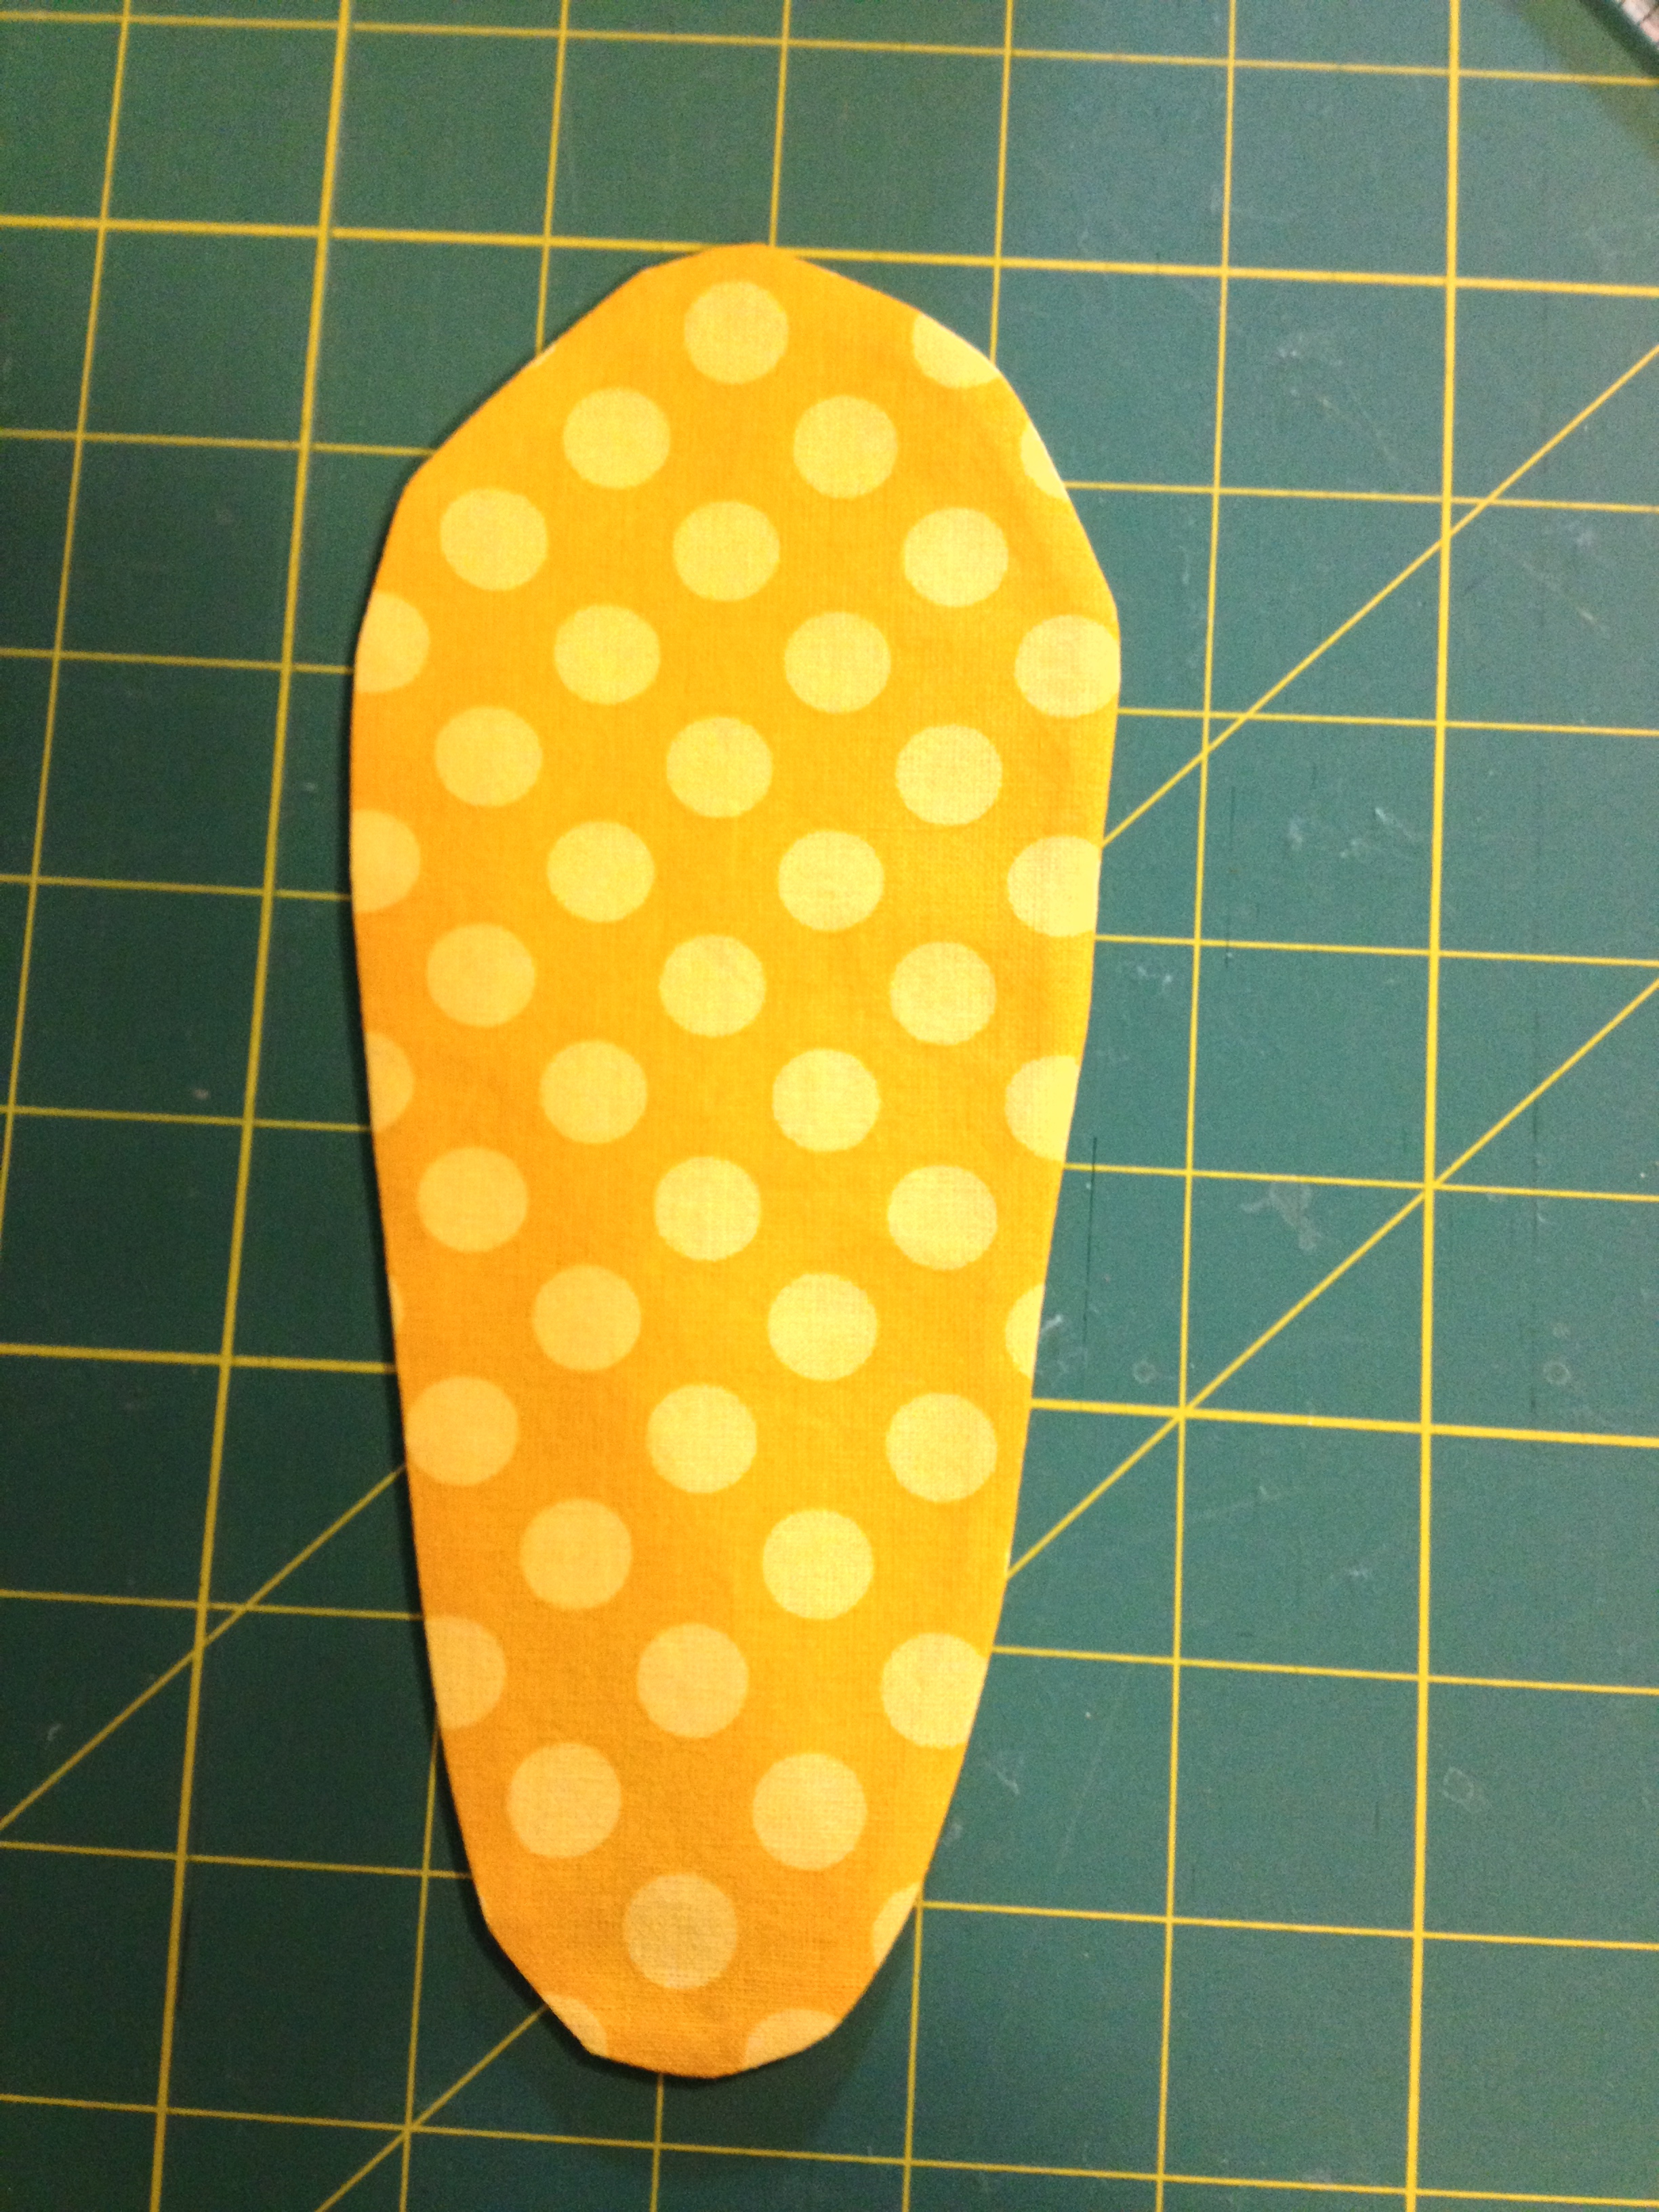
Turned and set aside

Next is to sew the two other fabrics together with a straight seam, press seam open and place the pattern on top with the seam down the middle.

xx

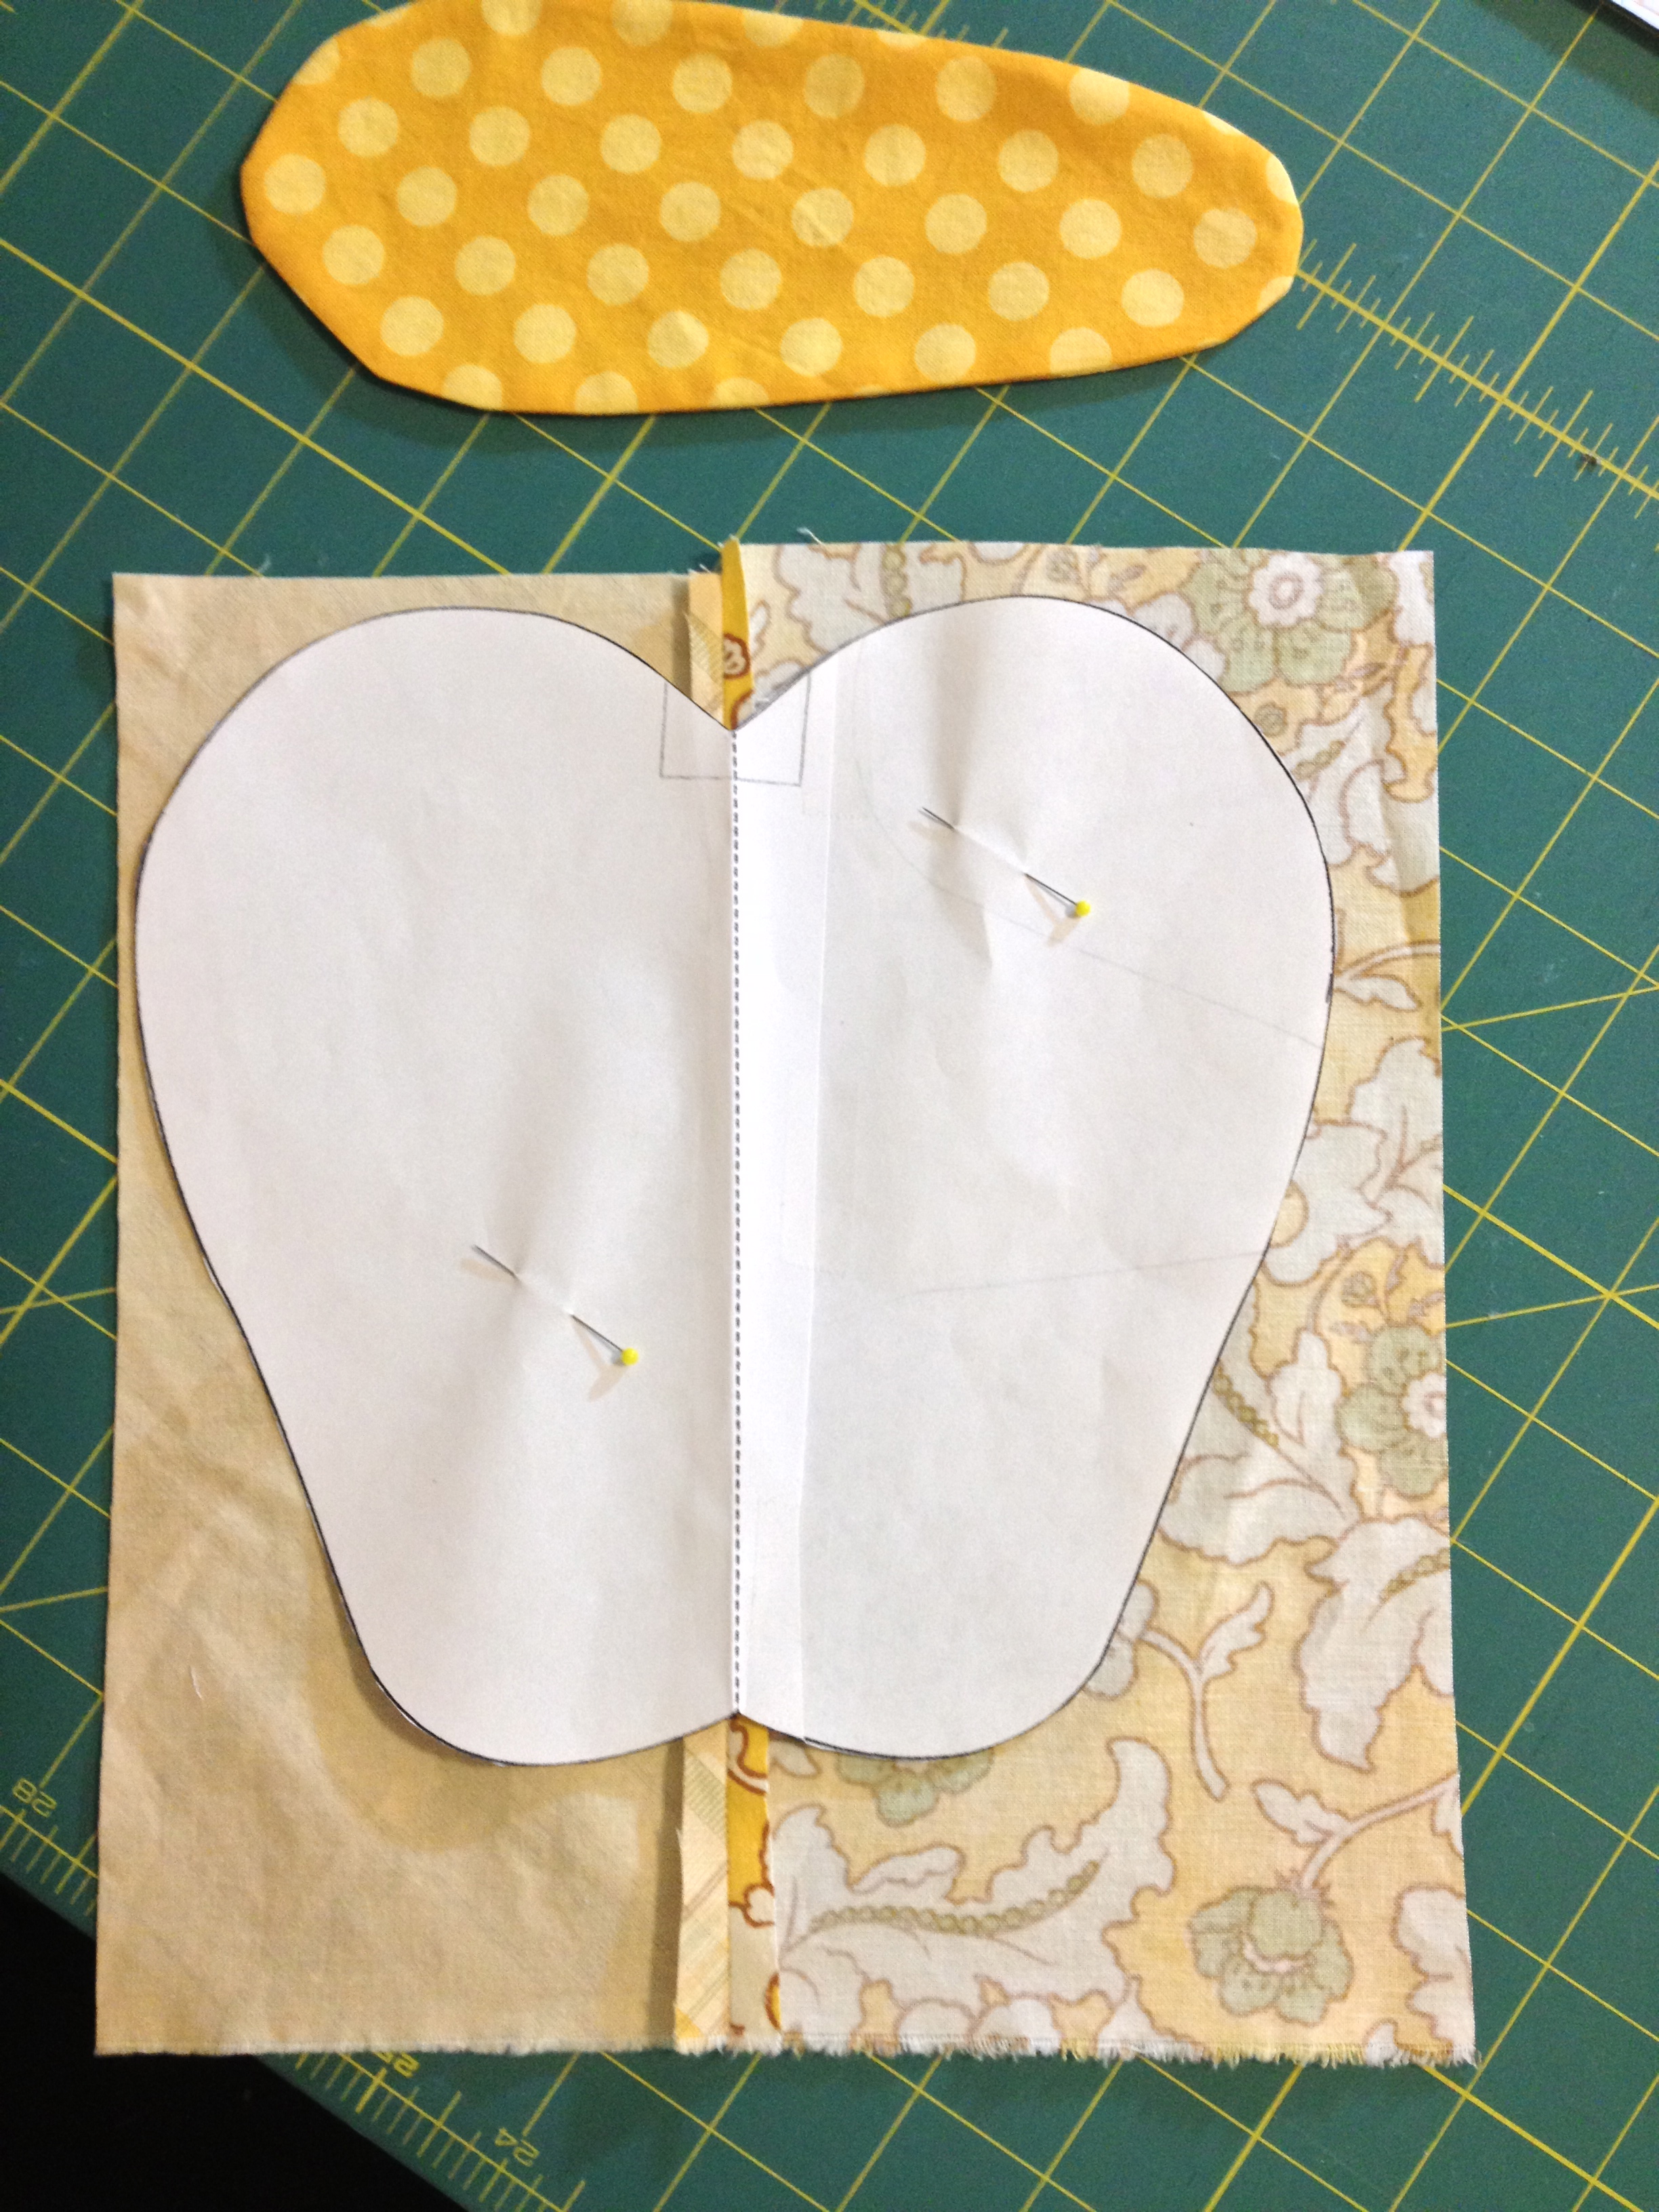
Oops! I almost cut that fabric too small.

Under this I layered the background fabric and 2 pieces of Insul-bright which is a thermal batting. One piece would probably be enough, but when I set something hot on a pad on my table, I want to make sure it’s not going to hurt the table.

xx

Again, I sewed around the paper pattern.

I trimmed the whole piece to about 1/8 inch and then trimmed that Insul-Bright as close as I could get it to get rid of the bulk in the seam. (I knew it would be topstitched after turning and if some of it pulled free of the stitching on the inside, it would get caught in the top stitching.)

Trimmed close!

Trimmed close!

Seam opened.

Seam partially opened.

Turned.

Turned.

To finish the pepper, I topstitched around the edges and then covered the middle opening in the seam with the pepper middle (hole side down) and topstitched around that, catching the ribbon for the stem in the top.

xx

I love this new hot pad! I’m visiting my daughter in Chicago this weekend and will be gifting it to her. I guess I’ll know if she read to the end of this blog post by whether she expects it or not.

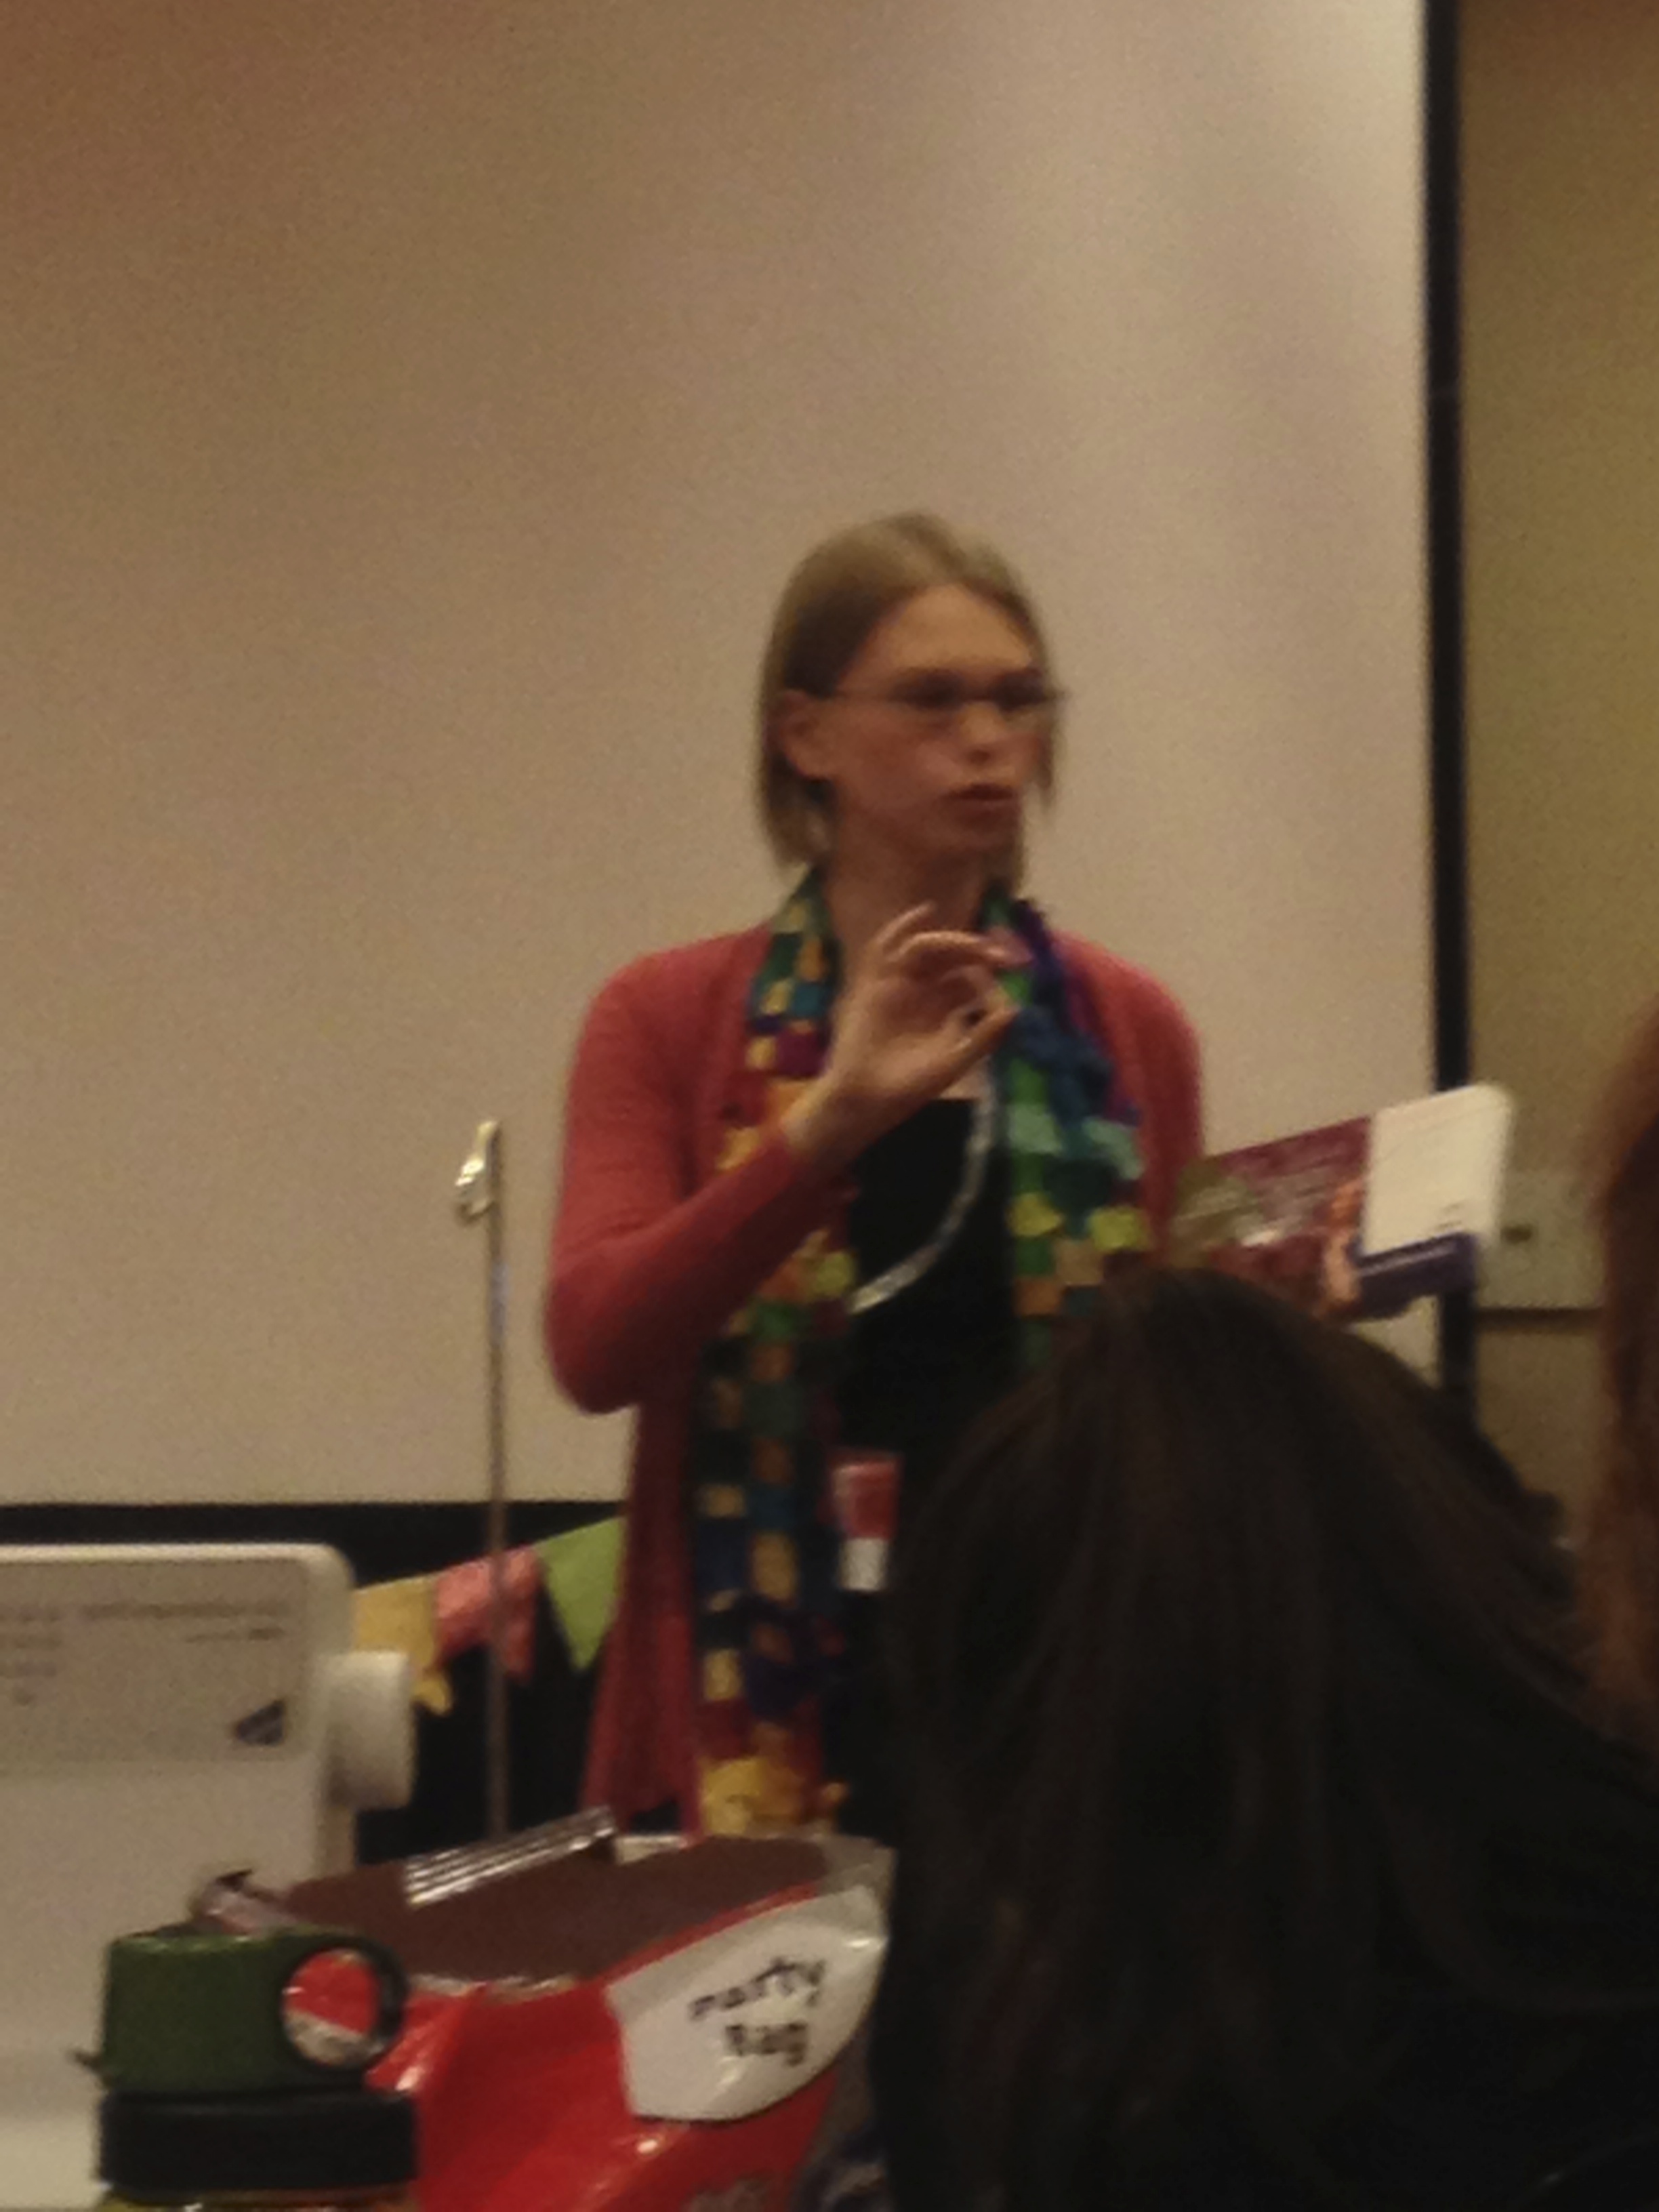
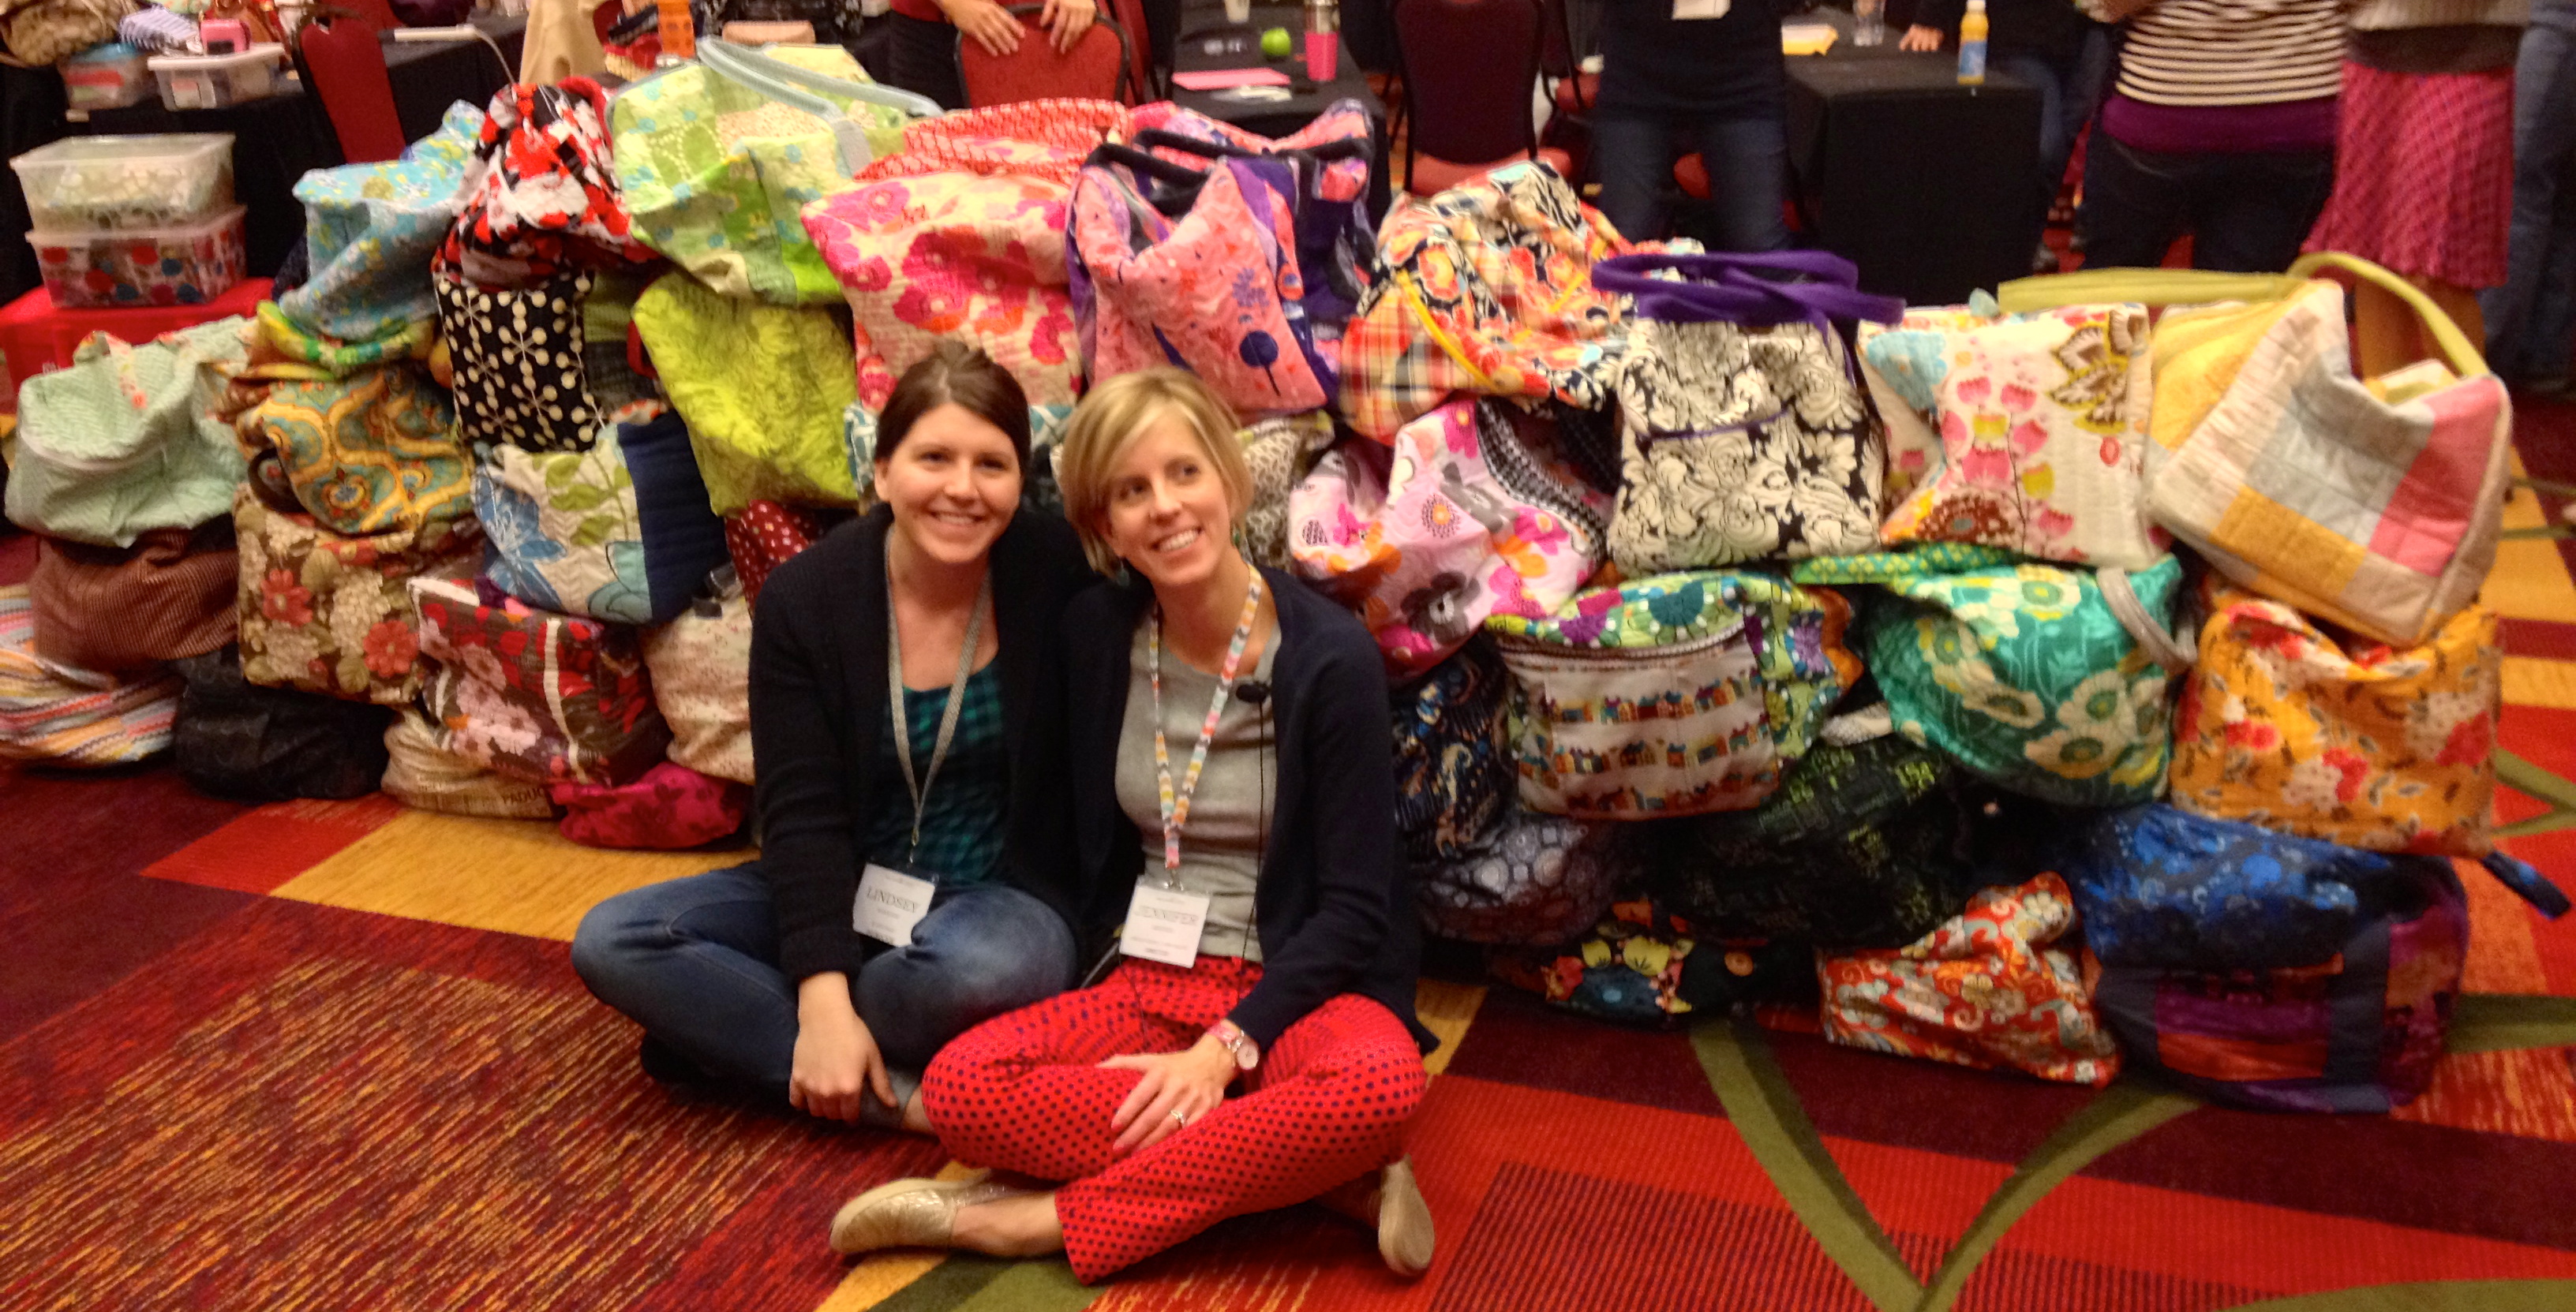
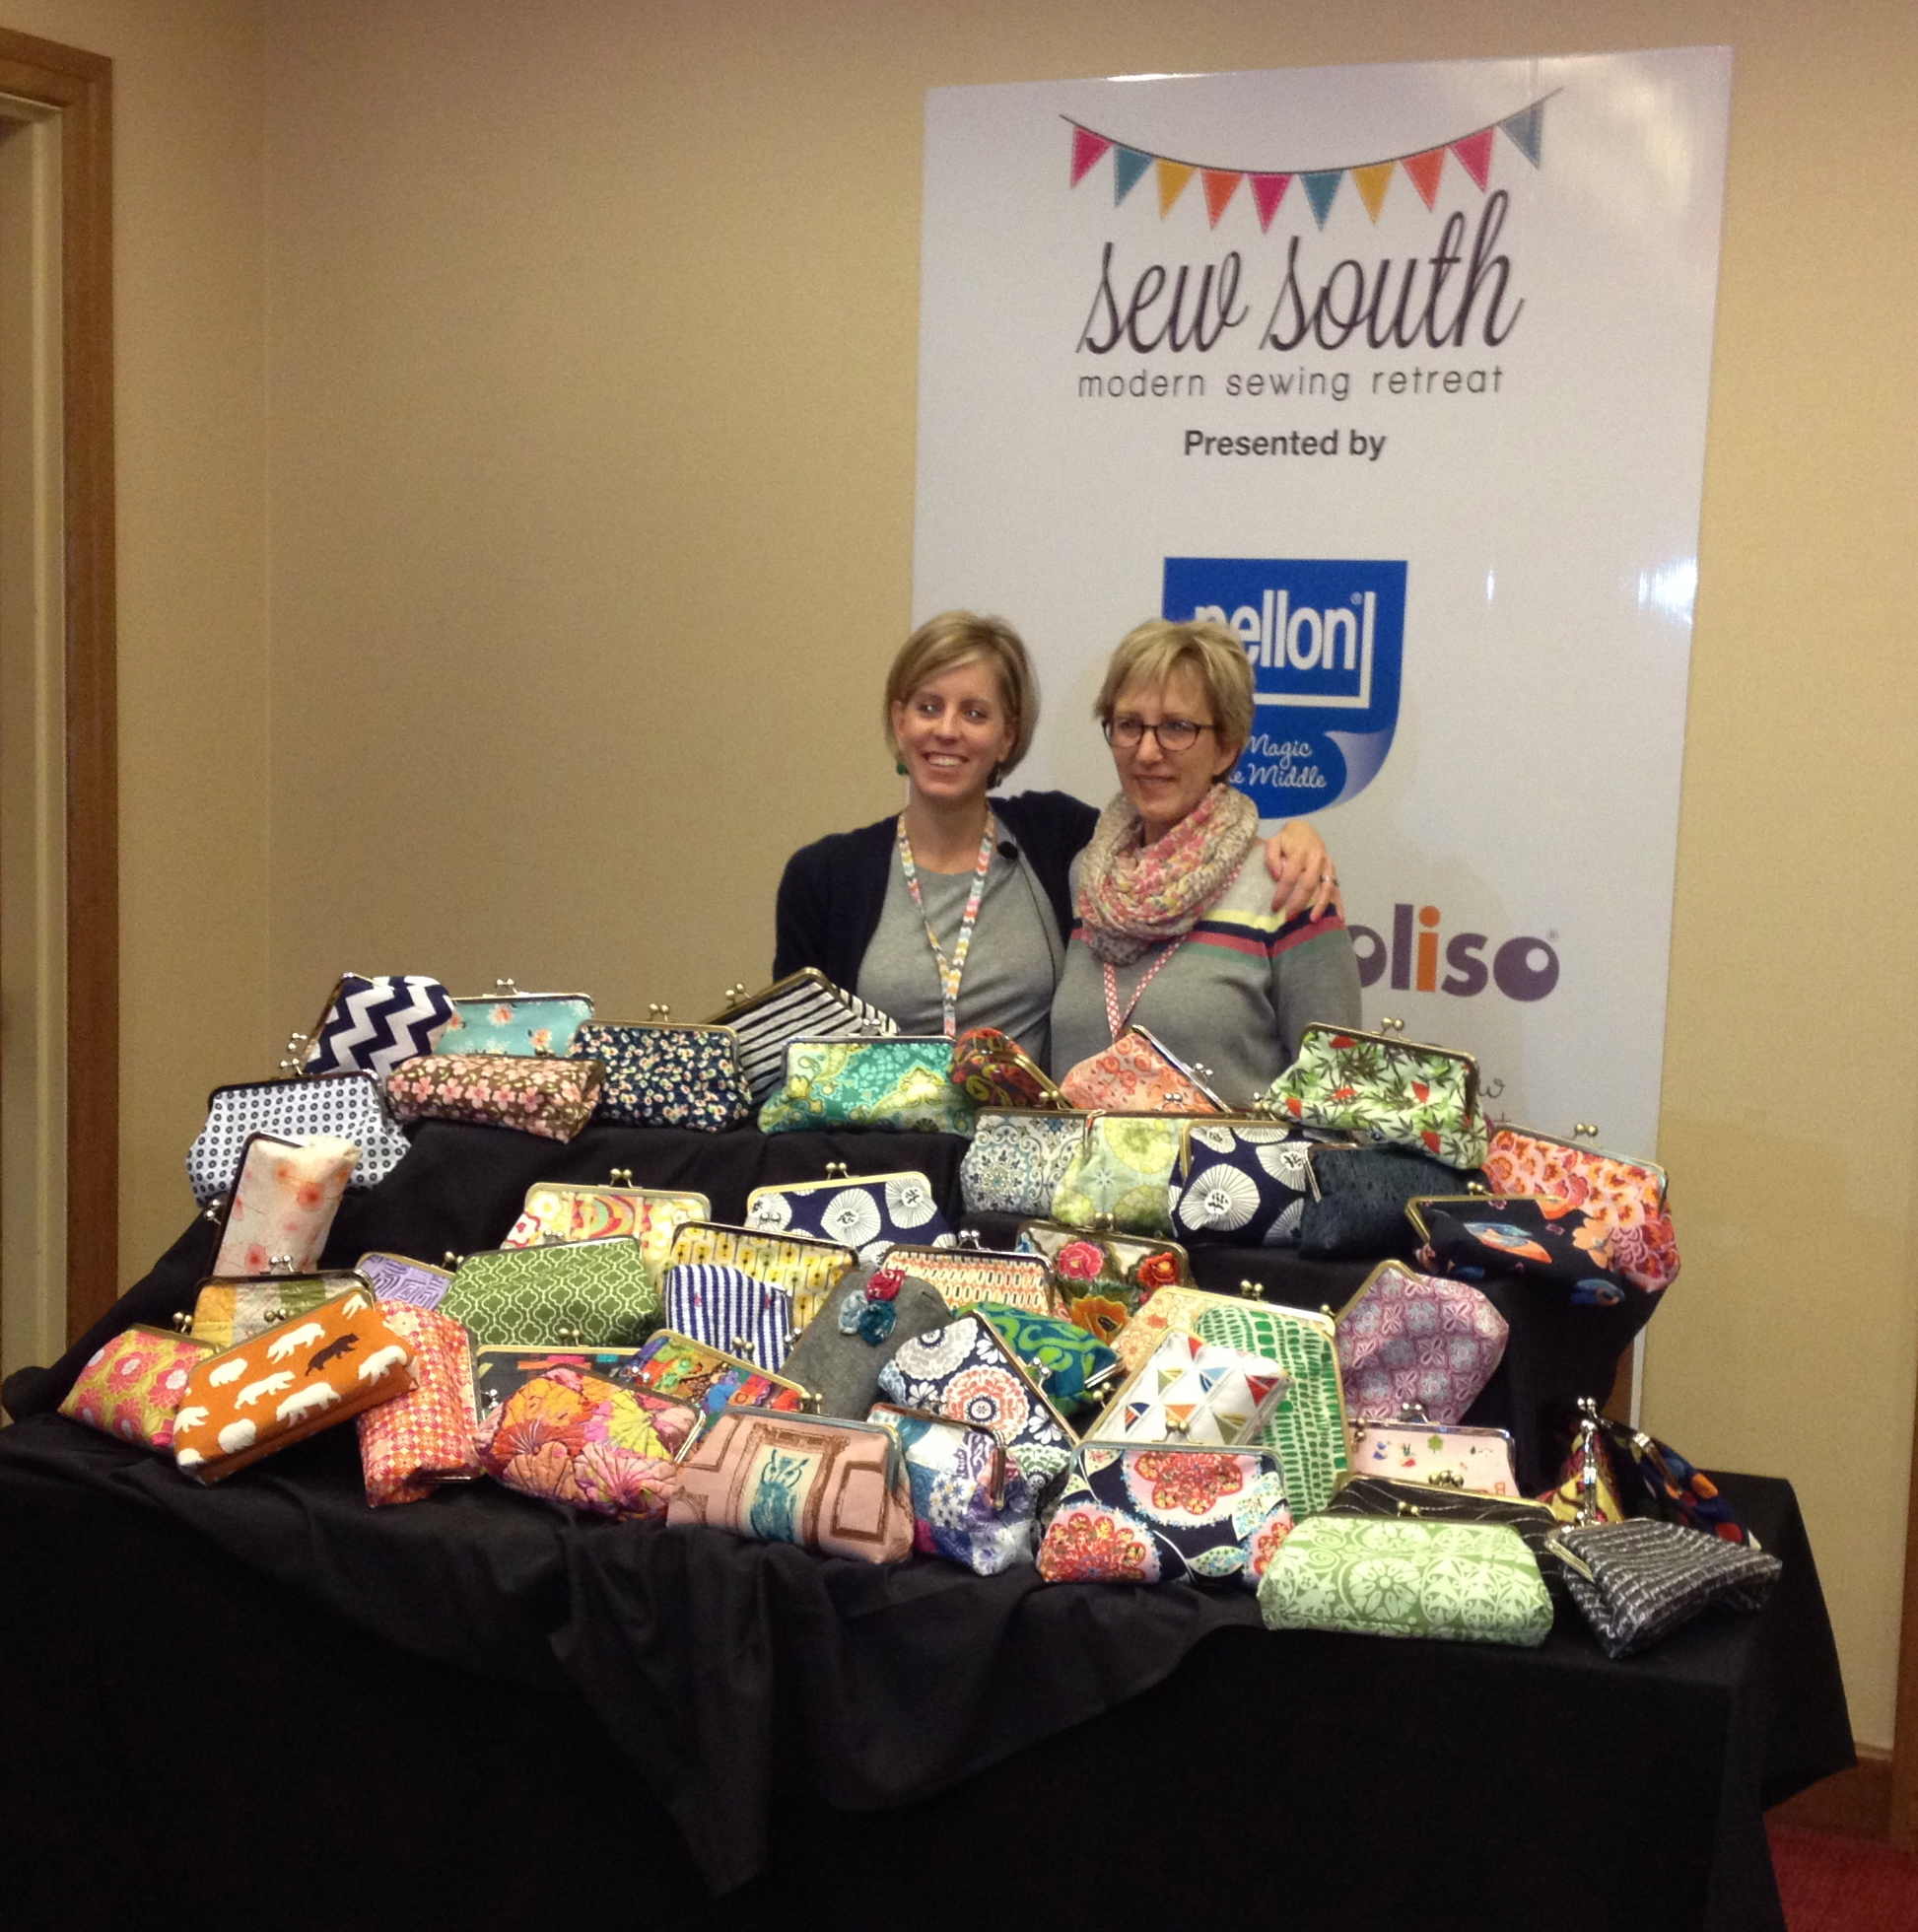
To join in the fun, grab a copy of the book and get sewing. Besides sewing “for the kitchen”, there is sewing. . . for kids, for the home, for going places and for crafting. Lindsey from LR Stitched and Debbie from A Quilter’s Table are the awesome hostesses. I had the pleasure of meeting Lindsey at the Sew South  retreat this past spring.

5 Comments

Filed under Pattern review, Sew South Modern Sewing Retreat, Uncategorized, Zakka Style sew along

Sew South – Swaps!

One of the many things that made the Sew South Retreat so much fun were the swaps. Anyone who wanted to participate in the “Sample” Swap, made up 4 of one thing they wanted to swap. At the retreat, we were divided into random groups of 5 and we each gave one of our 4 samples to the other 4 people in our group. Here is a sampling of what participants gave and received:

I made up these chicken pincushions and was able to swap for a few more than 4 things because I had 6 of them!

My pincushions

My chicken pincushions

Handmade fun!

11 Comments

Filed under Pincushions, Sew South Modern Sewing Retreat, Uncategorized

Sew South Retreat – The guest speaker was Leah Day!

Leah Day

Leah Day

I’ve been following Leah Day from the sidelines for a couple of years. She is the FMQ (free motion quilting) queen and seems to have made it her mission to teach the rest of us how to do it too. She also appears to be out to prove that there is an unlimited number of designs to free motion quilt. She came up with 365 designs (a whole year’s worth!) and blogged about them complete with a video of her stitching them so you will know exactly how to do it. She now has a book with the designs in it so that you can see them easily all in one place.

xxk

Leah also has other products in her online shop – all to teach and make free motion quilting as fun and easy as possible. Years ago I bought a reasonably priced table that she sells that allows me to sink my sewing machine down into it such that I can quilt with a flat surface surrounding the area where I’m actually stitching.

So, as I said, I’ve been following her from the sidelines. I haven’t done a lot of free motion quilting but have wanted to do more and have looked at her different sites and watched some of her youtube videos from time to time. She looks as though she’s 12 years old. Apparently I’m not the only one who thinks so, because she says she is asked her age all the time. She is actually 29 years old and has a 6 year old son and a husband who now helps her with her business because she has gotten so busy. I sort of knew that she wasn’t running around all over the country teaching in person (by her choice). So, I was very pleased when it was announced that she would attend and speak at the Sew South Retreat. She lives in North Carolina and the retreat was close enough for her to easily drive there. She also teaches FMQ on Craftsy which is a video platform. I believe she has 2 classes and a 3rd which will be shortly released. If you sign up for one of her classes on Craftsy through her website, you will get a 50% discount.

Leah Day speaking at Sew South

Leah Day speaking at Sew South

She spoke to us one evening about free motion quilting. Mostly she cheered us on and inspired us to give it a try, and wisely suggested we not pick our most heirloom quilt to start on. She also suggests that you quilt a little bit every day. If you do this, you will mentally and physically be better at it.

Sew South Retreat

Sew South Retreat

I found out what a really kind, generous and passionate person she is. She was very open to discussing her business and all the struggles of getting there. She wanted to talk to the quilters who are trying to grow a business and tell them some things she has learned that she wished someone had told her sooner. She likes to support local businesses, is a fiber lover and raises chickens. She was a delight to meet in person and if you ever have a chance to meet her, don’t pass it up.

Thank you Leah for teaching and inspiring us!  (Click here to read her blog post about the retreat.)

Leave a comment

Filed under Sew South Modern Sewing Retreat

Sew South – Workshops

The Sew South Retreat was held in Charlotte, NC March 21 – 24, 2013. I was lucky enough to be one of the 50 attendees.

All of the "goodies"!

Look at all of these “goodies”! I either made them, swapped for them or was lucky enough to be given them by my secret sister or many of the retreat sponsors.

There is so much I would like to write about this retreat, but today I’m going to concentrate on the workshops. The retreat included 4 sewing workshops. We had to do some prep work beforehand for some of them, which made it feasible to leave the retreat with 4 FINISHED projects.

Paper pieced star

Paper pieced star – 6-1/2″ square

Workshop #1 was paper piecing. We were given the pattern for this star and for a bunny in a basket. This workshop was taught by Jennifer Mathis of Ellison Lane Quilts.

Jennifer Mathis

Jennifer Mathis

Jennifer was the organizer of Sew South and did an AMAZING job!

Workshop #2 was the Travel Duffle Bag by StudioCherie. The pattern is available here for $7 on Craftsy. Or sold here in the StudioCherie etsy shop for $189. This is the mother of all duffle bags!

My duffel bag.

My duffel bag – 20″ long, 12″ wide and 12″ deep

We came to the retreat with the fabric for the bag all put together with batting and backing and quilted. Lindsey Rhodes of LRStitched instructed us on making the handles and putting the bag together. We did not use jute for the handles which the pattern directions do use. There is a zippered pocket on one end, an open pocket between the handles on one side as you can see above (looks like the perfect size for a boarding pass to me!), and I put a pocket on one end of the inside as well (for charging cords!).

Lindsey Rhodes

Lindsey Rhodes

Lindsey Rhodes, Jennifer Mathis and everyone's duffel bags.

Lindsey Rhodes, Jennifer Mathis and all of the finished duffel bags.

I finished my duffel just after midnight on the first sewing day. We had a lot of free sewing time in the schedule which allowed us to finish up things (or work on something else of our own choosing).  It was just FUN to be in a room with 50 other sewers. This bag is so large and so thick, that there were MANY sewing machine needles broken during the sewing. As each person finished theirs and held it up, a roar of cheers and clapping would go up in the room. Whew! We really felt that we accomplished something big, when this duffel was done.

Workshop #3 – Framed Clutch. I’ve seen these frames a lot but had never bought one and tried to make it up. I was so glad this project was included in the retreat.

My framed clutch bag. Isn't it pretty?

My framed clutch bag. (The frame is 8″ X 3″)  Isn’t it pretty?

Diane Stanley of Random Thoughts Do or “Di” was the instructor. She came all the way from California to teach and attend Sew South. The frames were provided by While Baby Naps which is an etsy shop. The exterior and lining fabrics are sewn together and turned to create a finished edge and then glued into the frame. The success of this project seems to be all about the glue. We used Gutermann Creativ Glue and since my first attempt of using it was so successful, I don’t think I’d try anything else.  The glue is clear,  not very runny (which means it stays in place) and takes long enough to set that you have time to fool with getting the fabric inserted without panicking.

Diane Stanley

Diane Stanley

I lucked out in the framed purse category. I was Diane’s secret sister and she surprised me with this:

Clock coin purse by Diane Stanley

Clock coin purse by Diane Stanley

As if the coin purse wasn’t cute enough, she filled it with Clover binder clips. I have sewn some projects lately that included vinyl or laminated fabrics or had a lot of thick layers that a pin won’t go through and wished I had some of these.  Now I do!

I also, just by random chance, was in a swap group with Diane and swapped the chicken pincushion that I made for this pretty clutch:

Clutch by Diane Stanley

Clutch by Diane Stanley

I can’t wait to buy more frames and make some of these up for gifts. The possibilities are endless! They are pretty quick and simple. The sewer behind me at the retreat had some embroidered fabric that her (now deceased) mother-in-law had sewn and she made this:

Embroidered bag by Theresa

Embroidered bag by Teresa Van de Castle

Diane showed us this pretty clutch she has made as a wedding purse for a friend’s daughter:

The inside of it is gold fabric. So beautiful!

Jennifer Mathis, Diane Stanley, everyones' framed clutch purses.

Jennifer Mathis, Diane Stanley and all of the framed clutch purses.

Workshop #4 was garment sewing and we made pajama pants.

Pajama pants made from pima cotton.

Pajama pants made from pima cotton.

We used Kwik Sew K3602 as a pattern. Our instructor was Jennifer Roycroft from the Concord, NC store We’re Sew Creative. Jennifer and her shop hosted a field trip to the store before the retreat began for those who could get there early and a cocktail reception to kick off our time at the venue which was the Renaissance Charlotte SouthPark Hotel. She showed us how to make these pajamas with a cute coordinated cuff (which I did not do but wish I had) and overcast and flat felled seams.

Jennifer Roycroft

Jennifer Roycroft

Karen Linton who currently lives in Arkansas was sewing in front of me, and after much sewing, ripping and resewing (because she sewed one of her cuffs onto the pant’s waistband instead of the bottom) ended up with these adorable pajama bottoms with contrasting cuffs:

Pajamas with cuffs made by Karen Lintor

Pajamas with cuffs made by Karen Linton

She probably won’t be wearing them with that exact shirt but you get the idea. This picture was taken just as she finished and was trying them on.

The retreat was a blast and I can’t wait to share some more on another day!

12 Comments

Filed under Purses and Bags, Sew South Modern Sewing Retreat