Lindsey and me at Sewtopia
My daughter, Lindsey, and I spent this past weekend at a sewing event called Sewtopia which was held in Chicago. Sewtopia is a 3 day sewing retreat for the online sewing community which occurs 2 times a year in different places around the country. During the Spring retreat the focus is on education and we had 2 fabulous instructors!

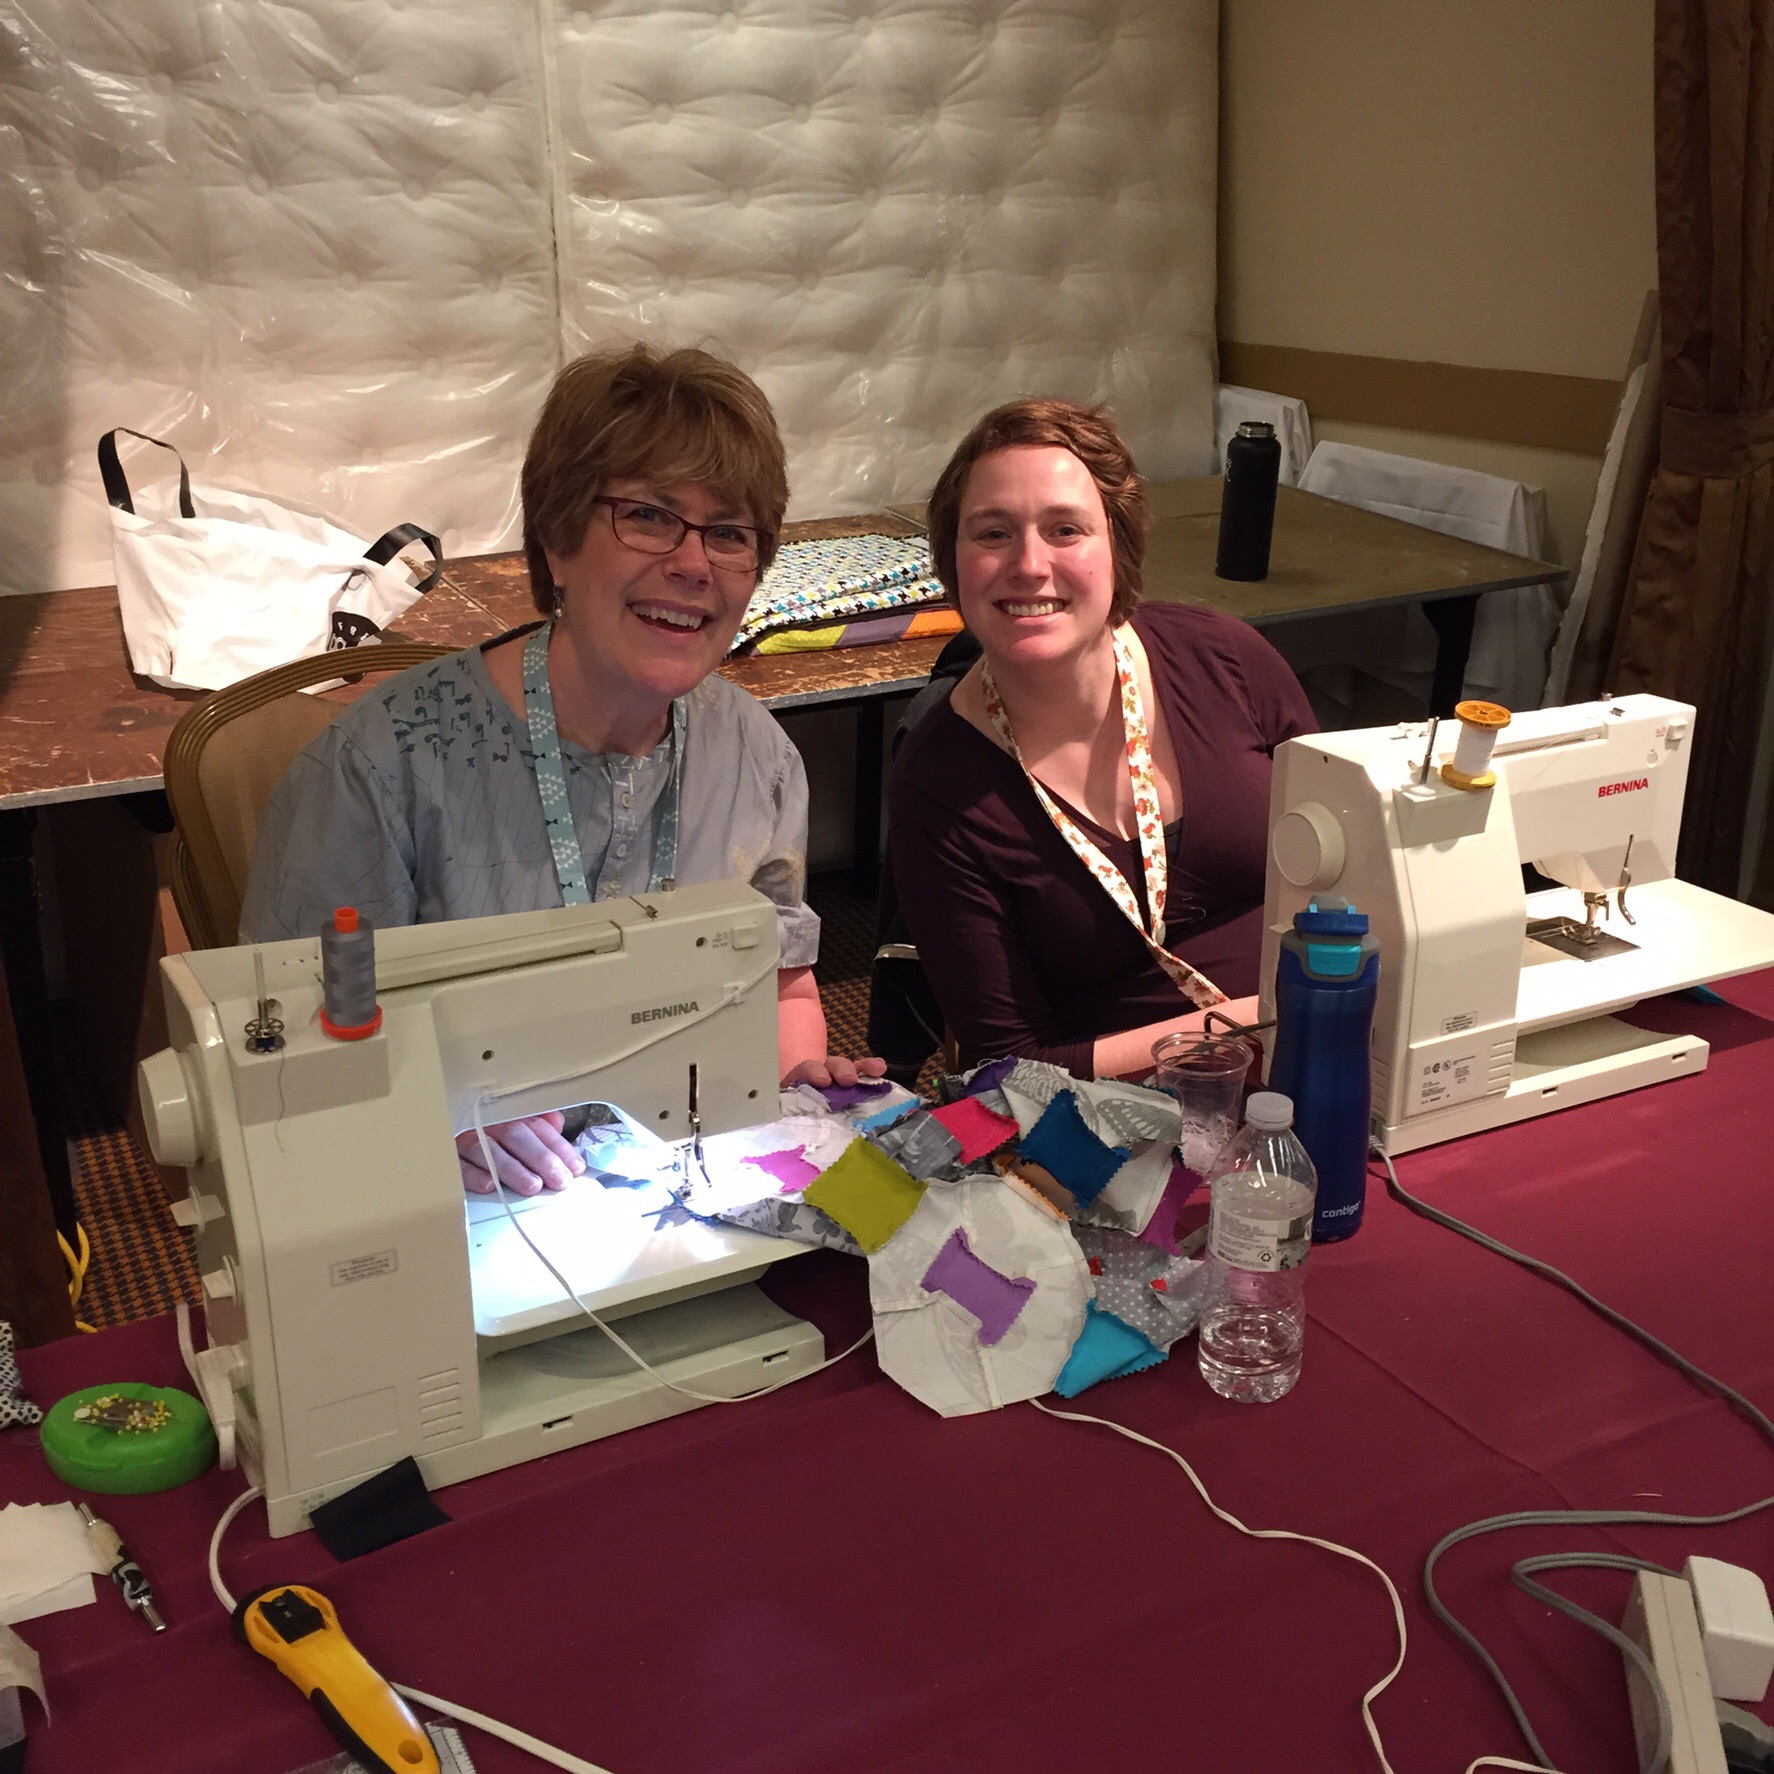
Latifah Saffir and our sewing space at the Drake Hotel
Latifah Saffir traveled from Los Angeles to teach us her Molehill Quilt design which is all curved piecing. The curves are rather long and shallow and sewing them was a breeze after Latifah gave us tips and showed us how to sew them.

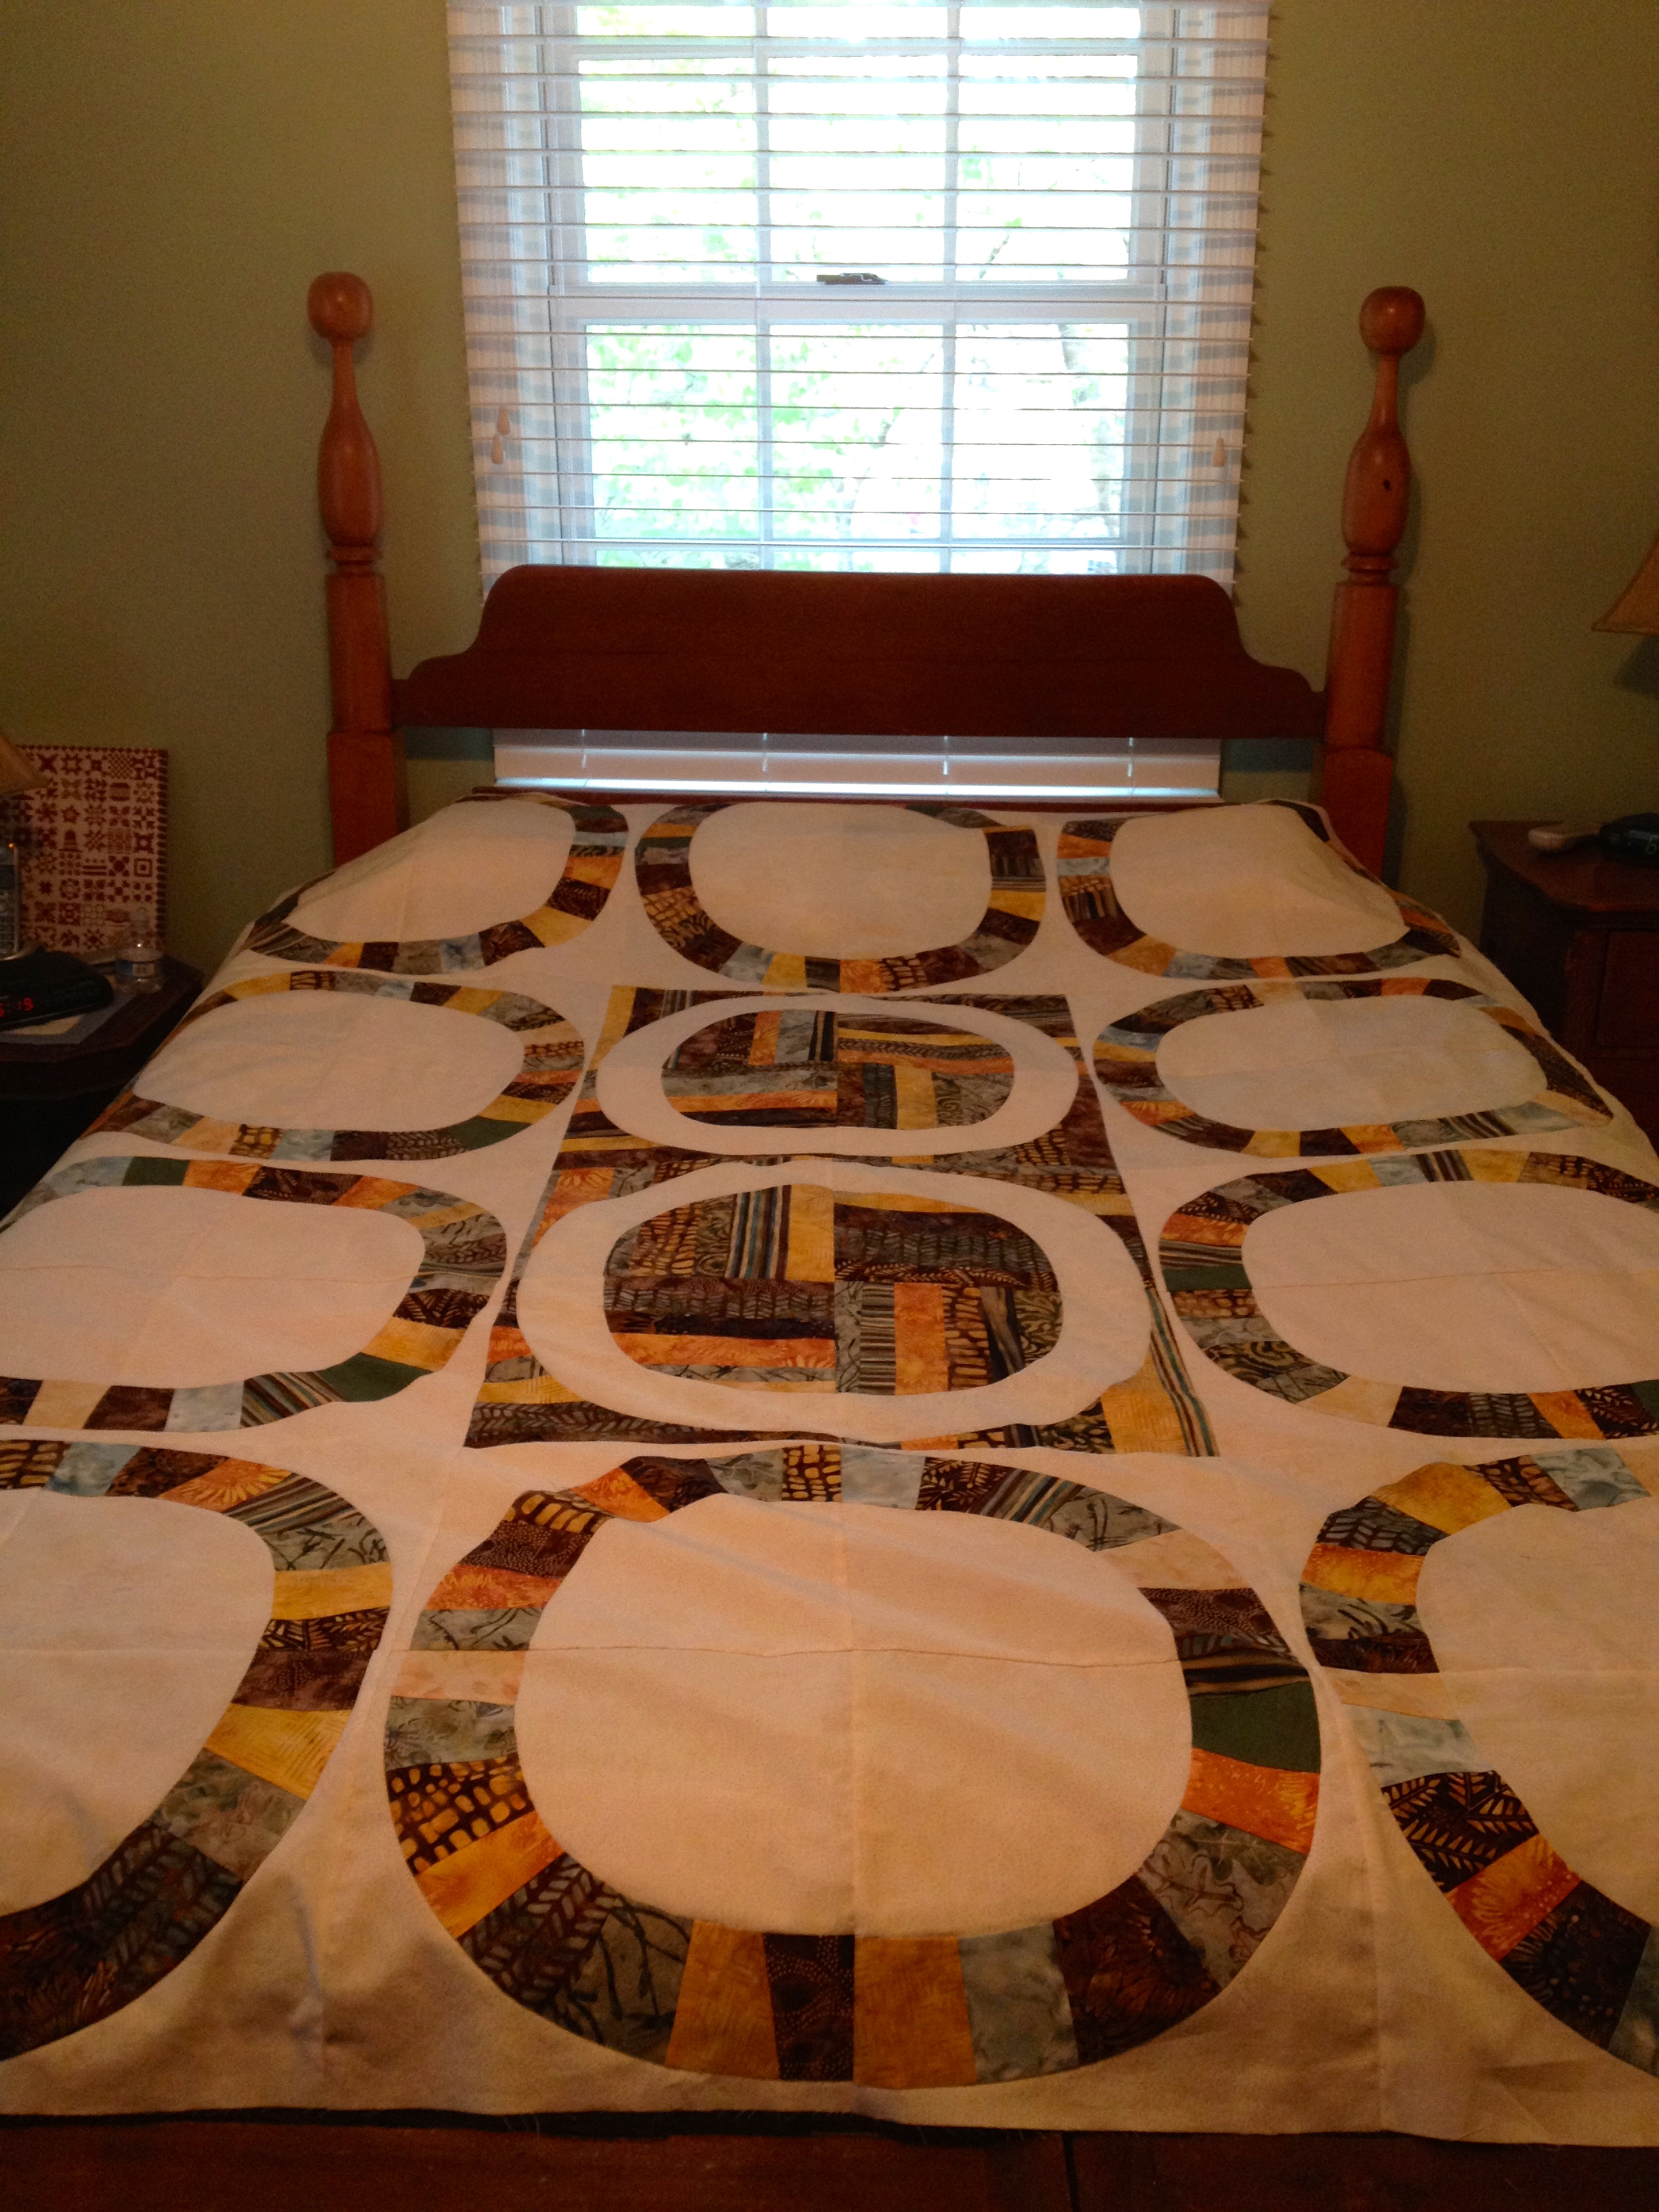
Lindsey arranging her Molehill blocks.
Did I mention that Lindsey is pregnant? 37 weeks pregnant to be exact. She lives in the Chicago area and so did not travel out of her usual stomping ground to attend this event which we had signed up for longer than 9 months ago. She and Latifah are both engineers and Lindsey could really appreciate the engineering that went into this quilt design.

The final layout was decided.
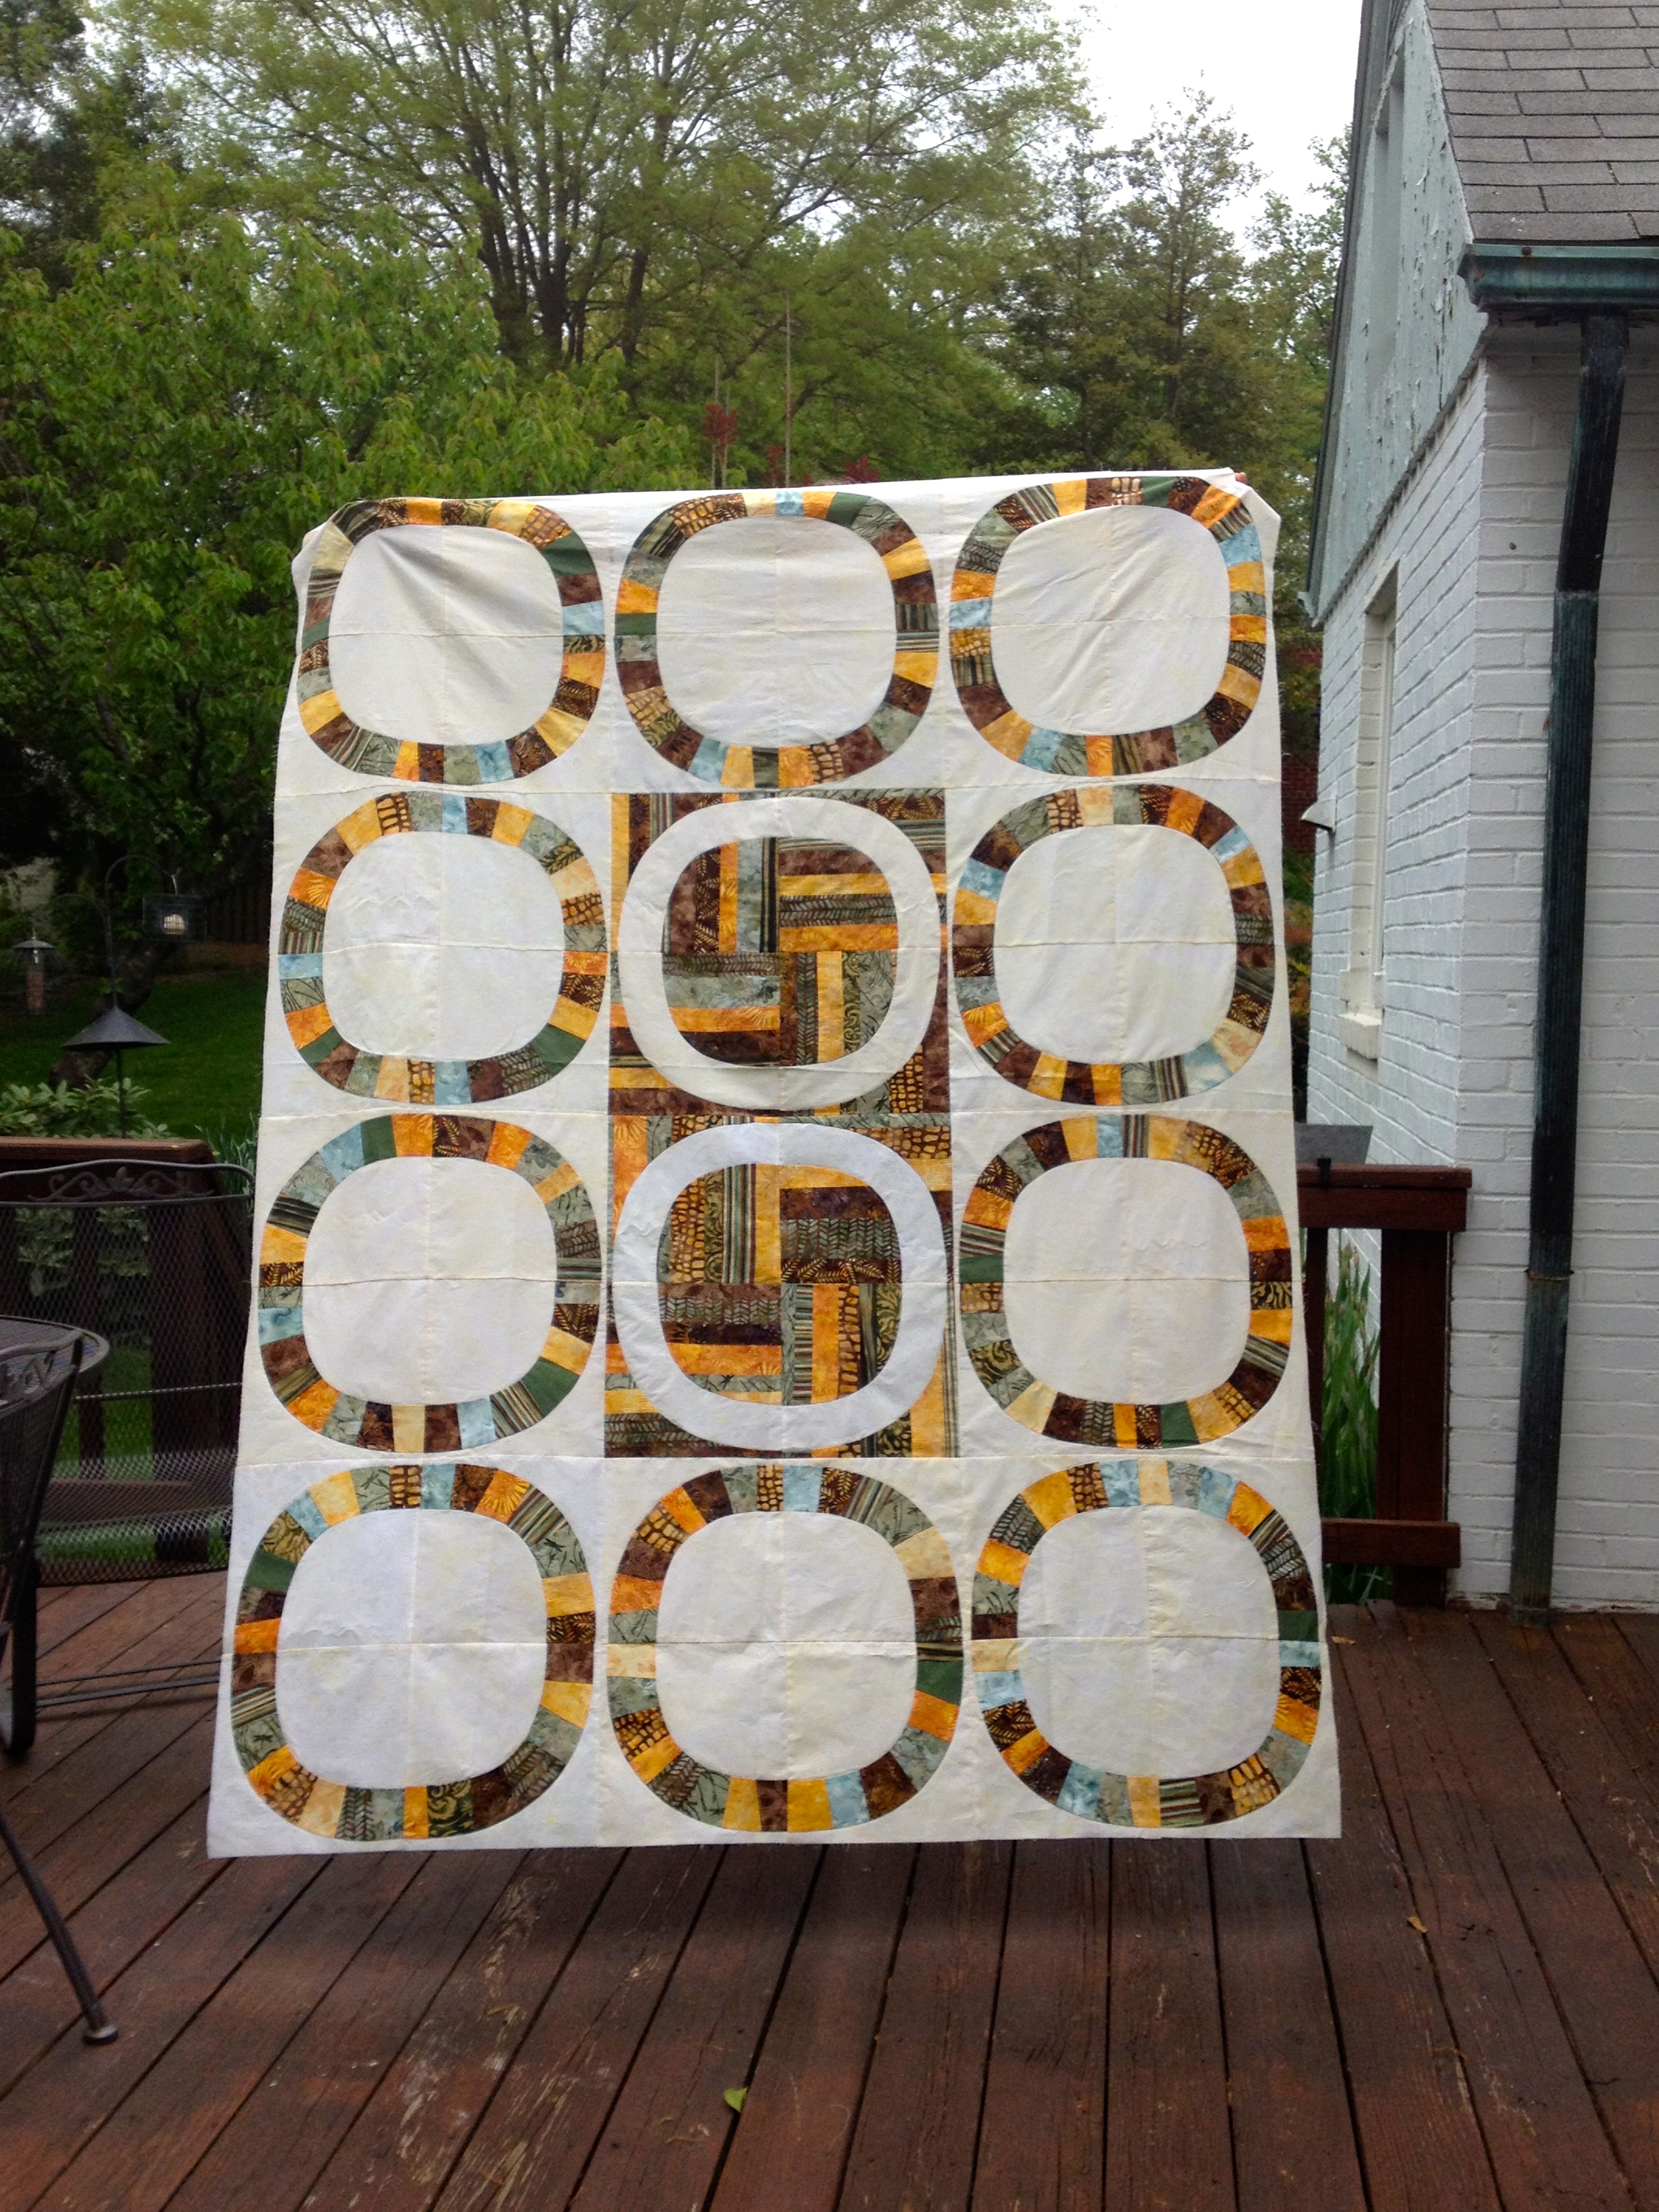
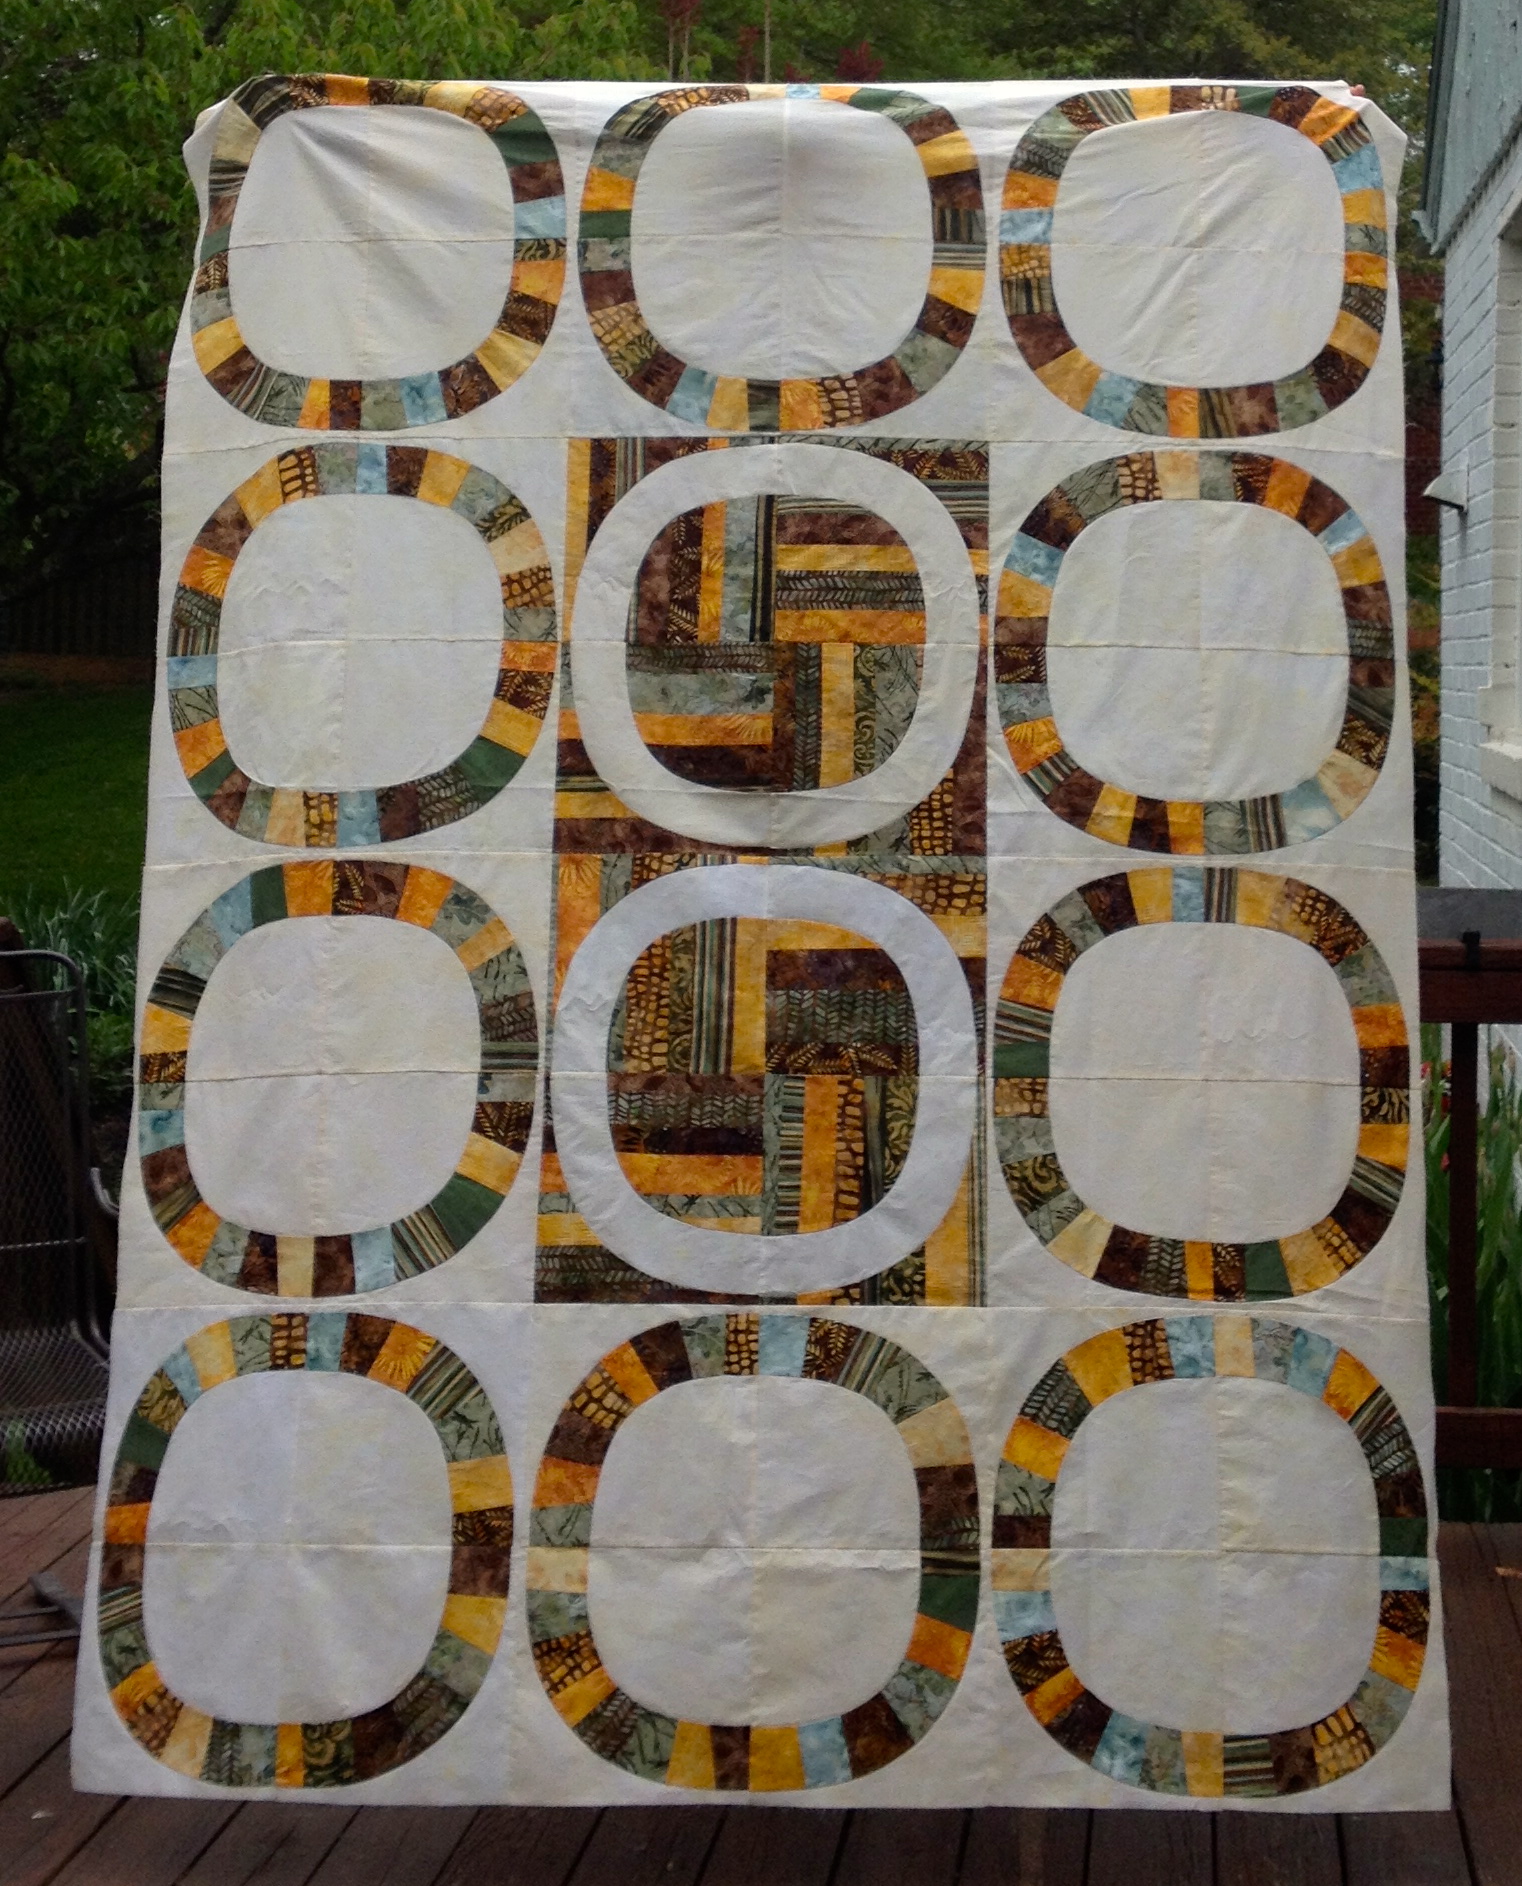
The “Molehills” are all made and then some of them are cut and repositioned such that you end up with a rectangular quilt with straight edges made from all of those curves. You have to admit, that is some engineering! The name comes from a play on the saying about “not making mountains out of molehills”. These arcs are large (24″ wide) but not tall and so they are definitely more like molehills than mountains. This pattern is due to be released by Latifah later this week. Click here to go to her website.

12 pieced Molehills = baby sized quilt
I did a fair amount of prep work for a Molehill quilt top of my own but wanted to spend more time figuring out a layout. I decided to help Lindsey construct her blocks so that we would get to the assembly while the instructor was still available to guide us. So . . . I don’t have any molehills of my own to show right now.
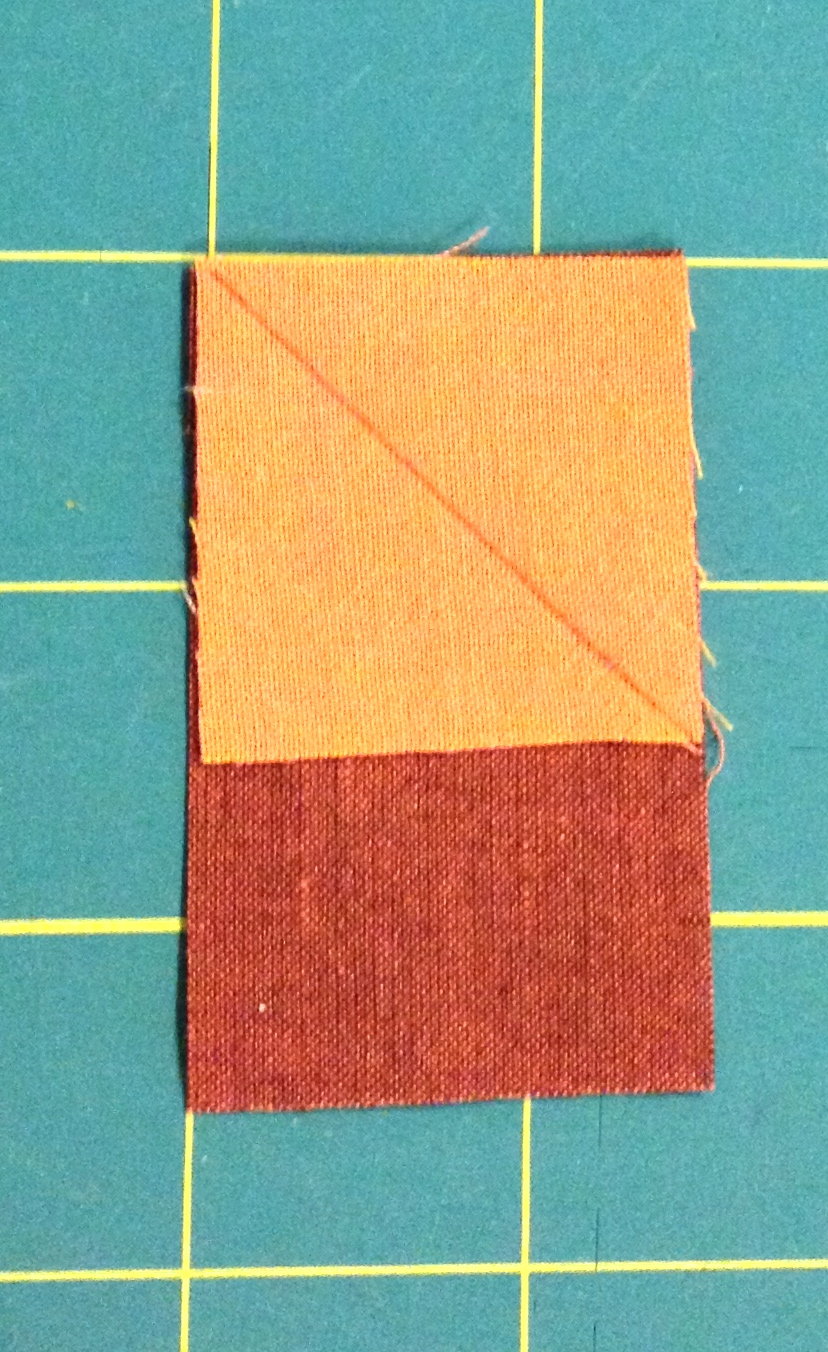
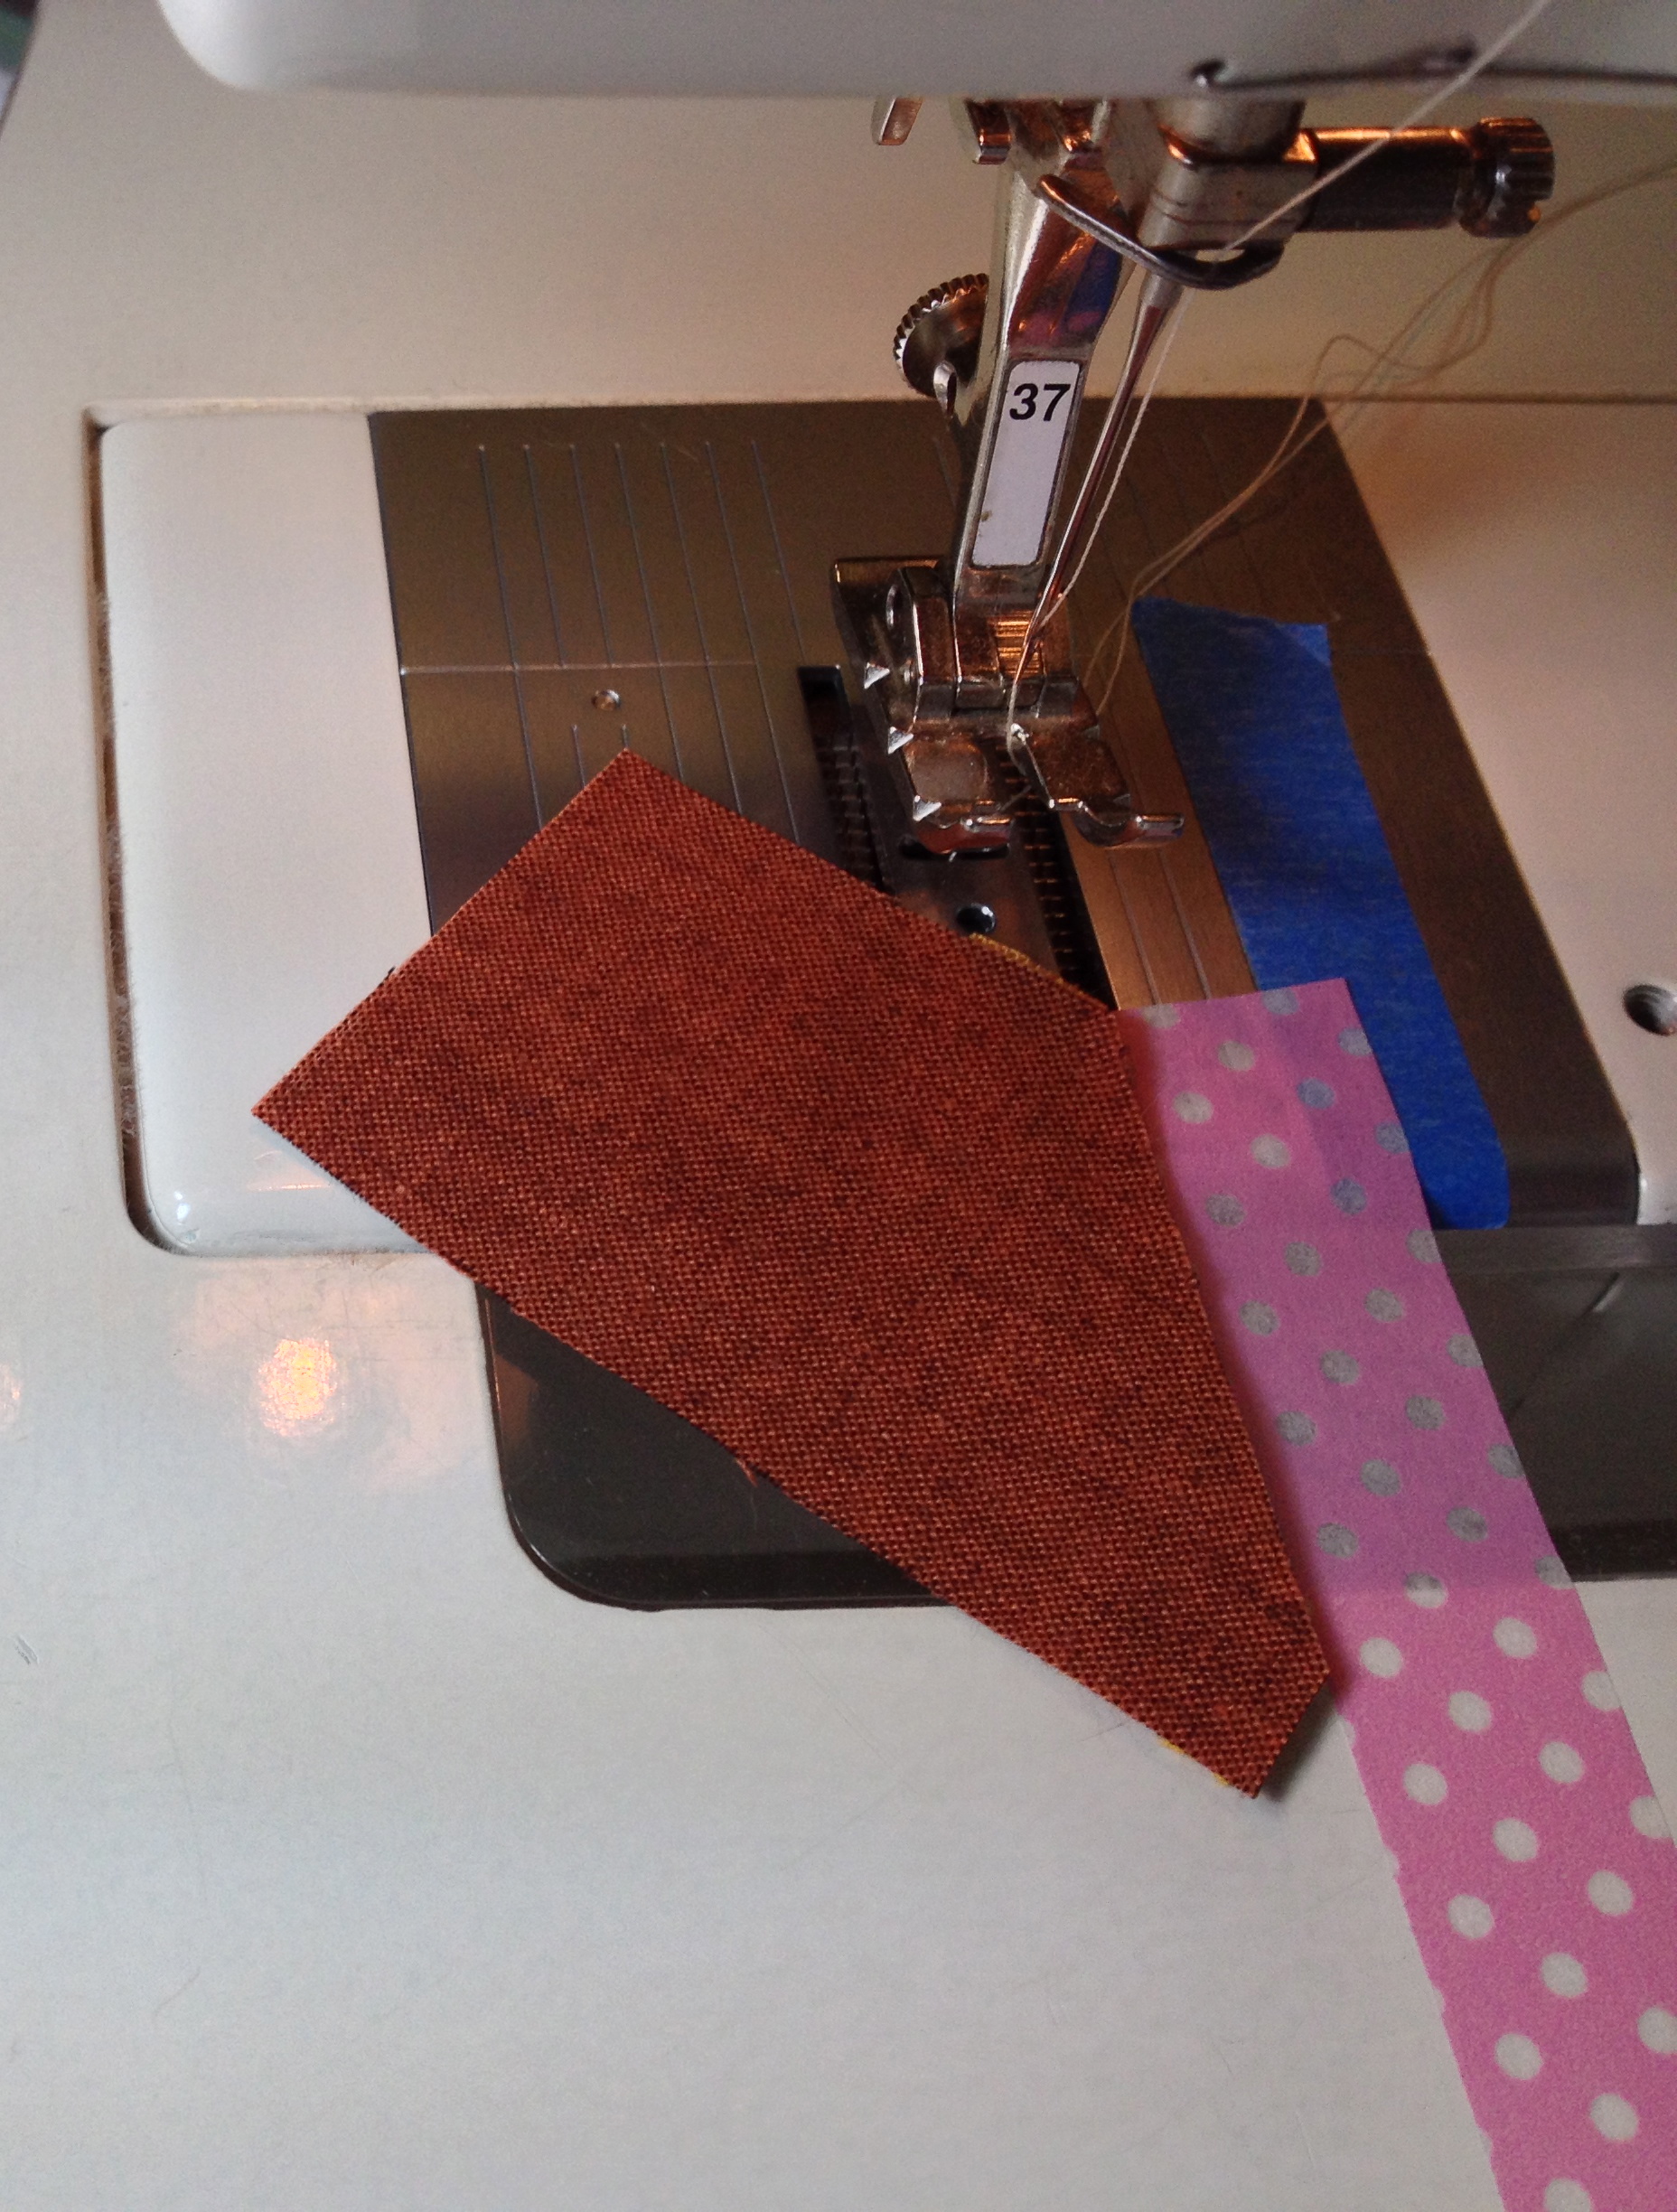
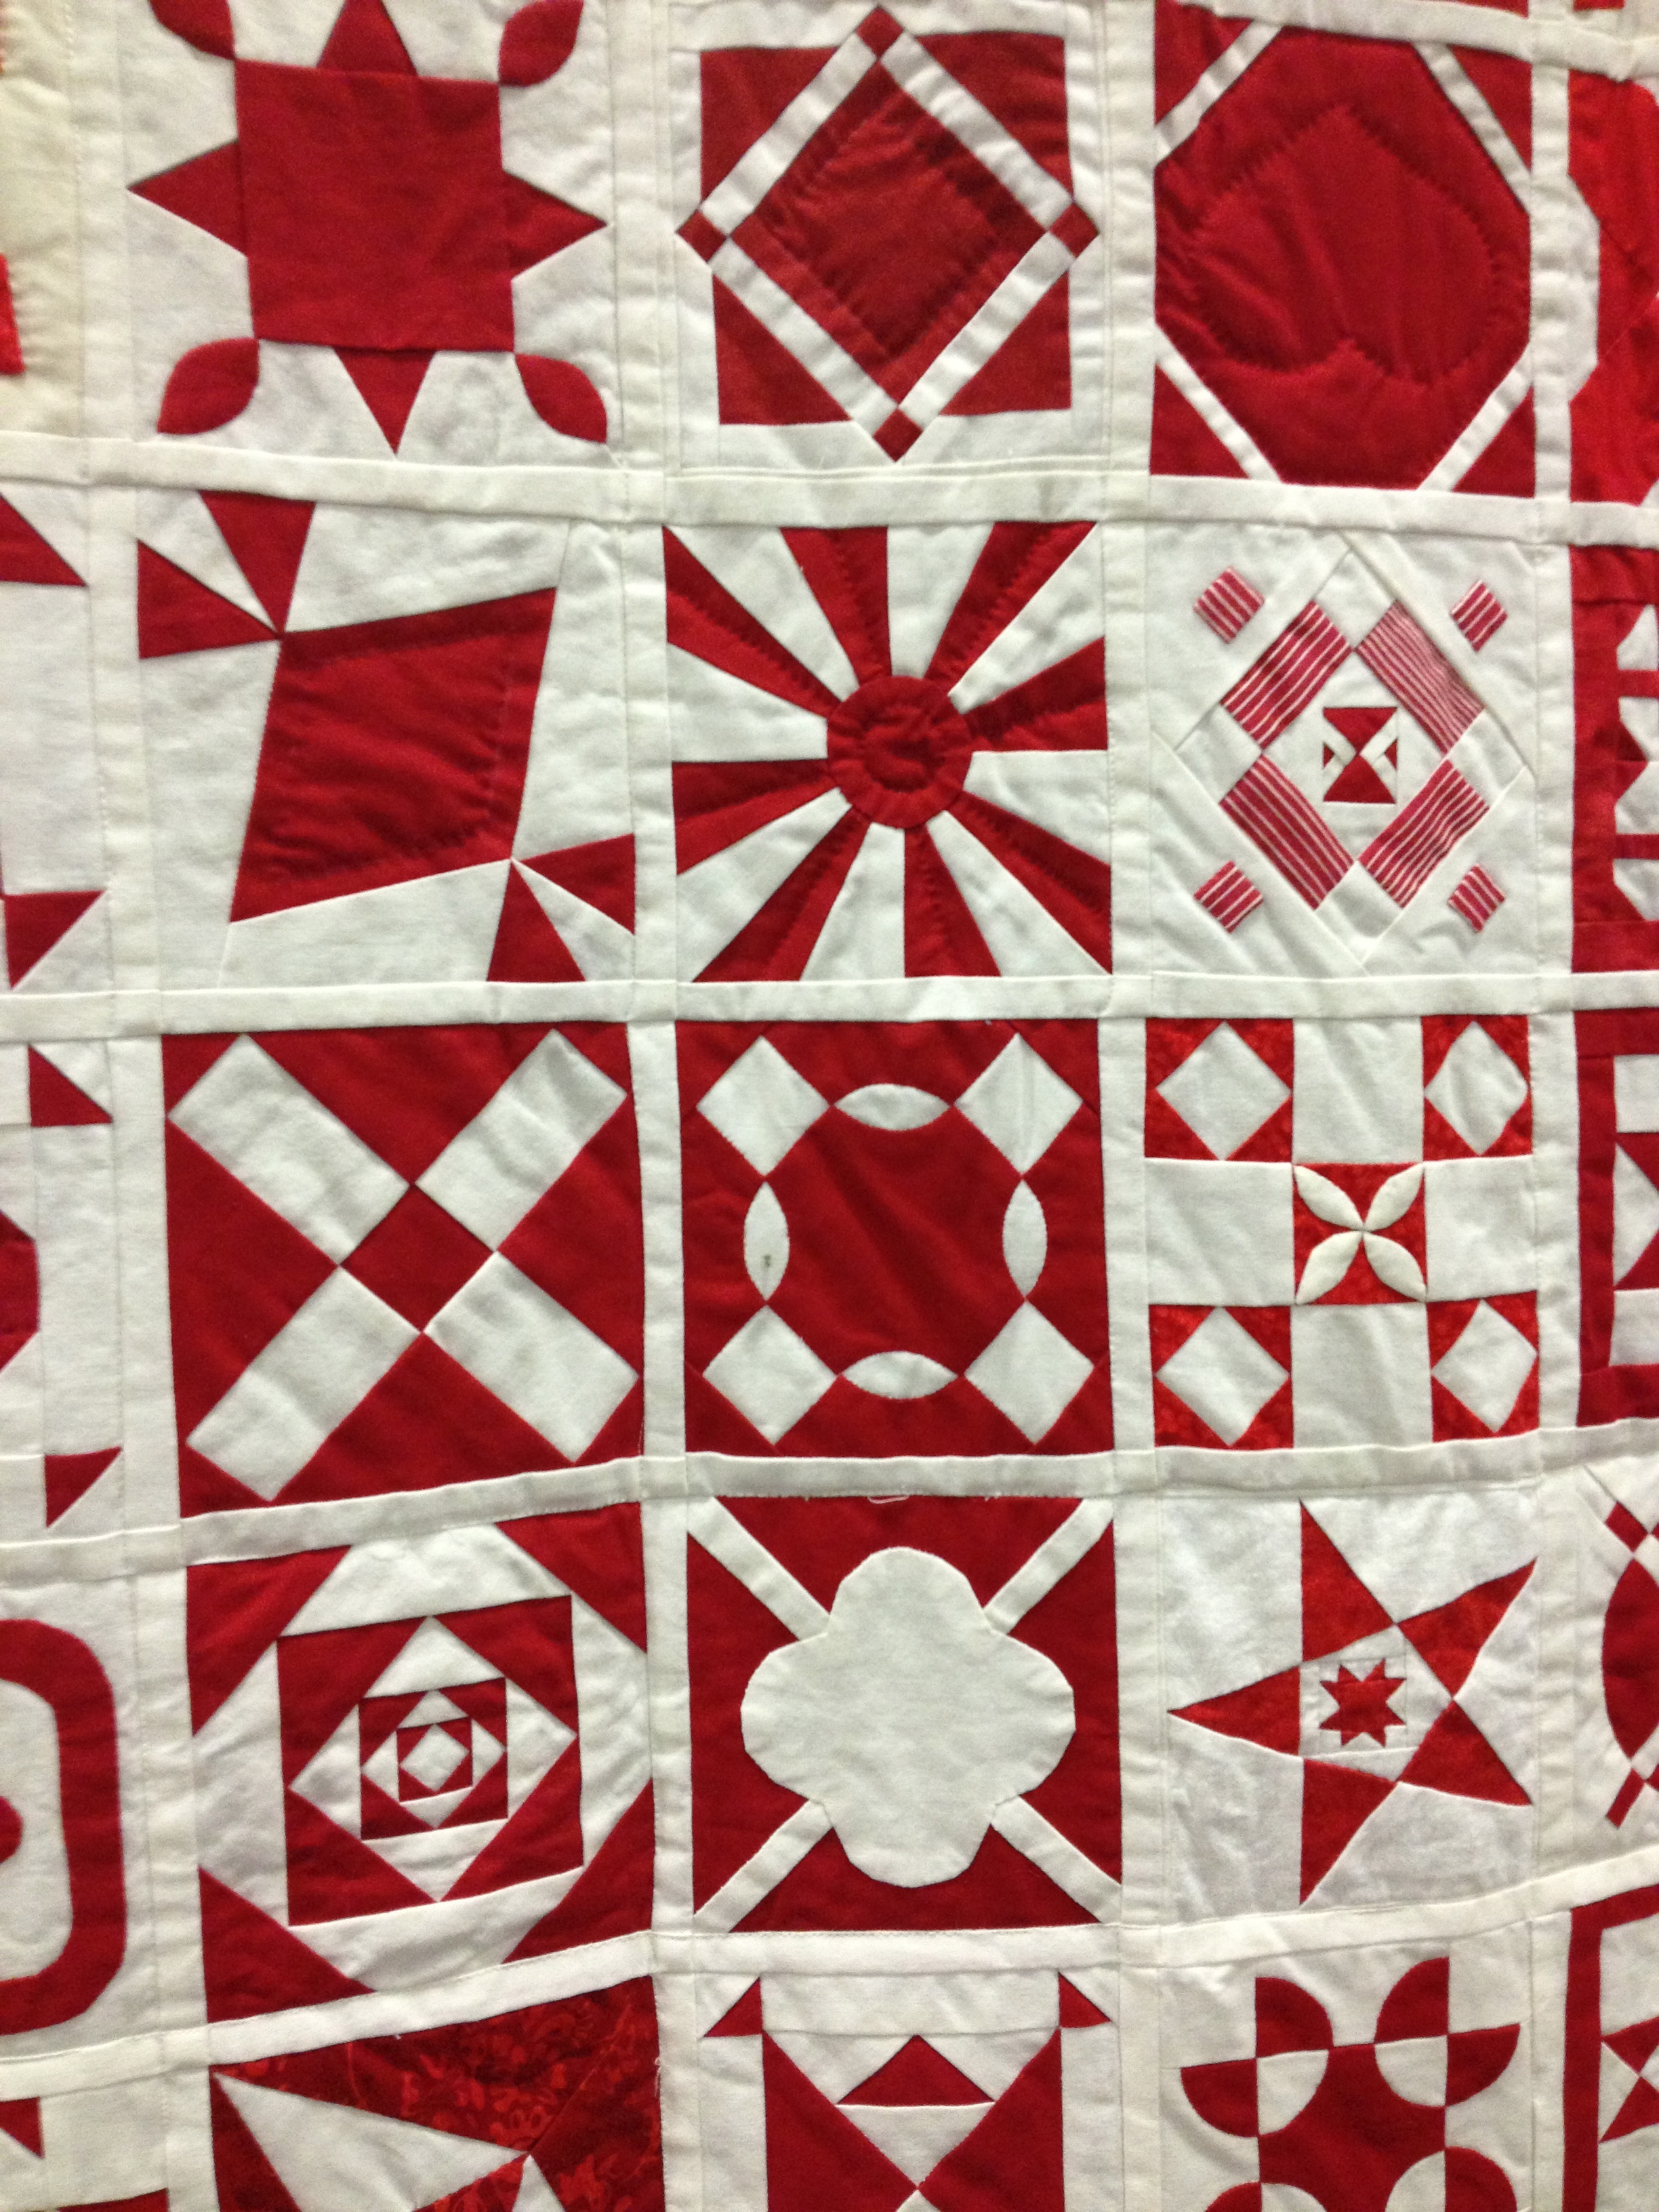
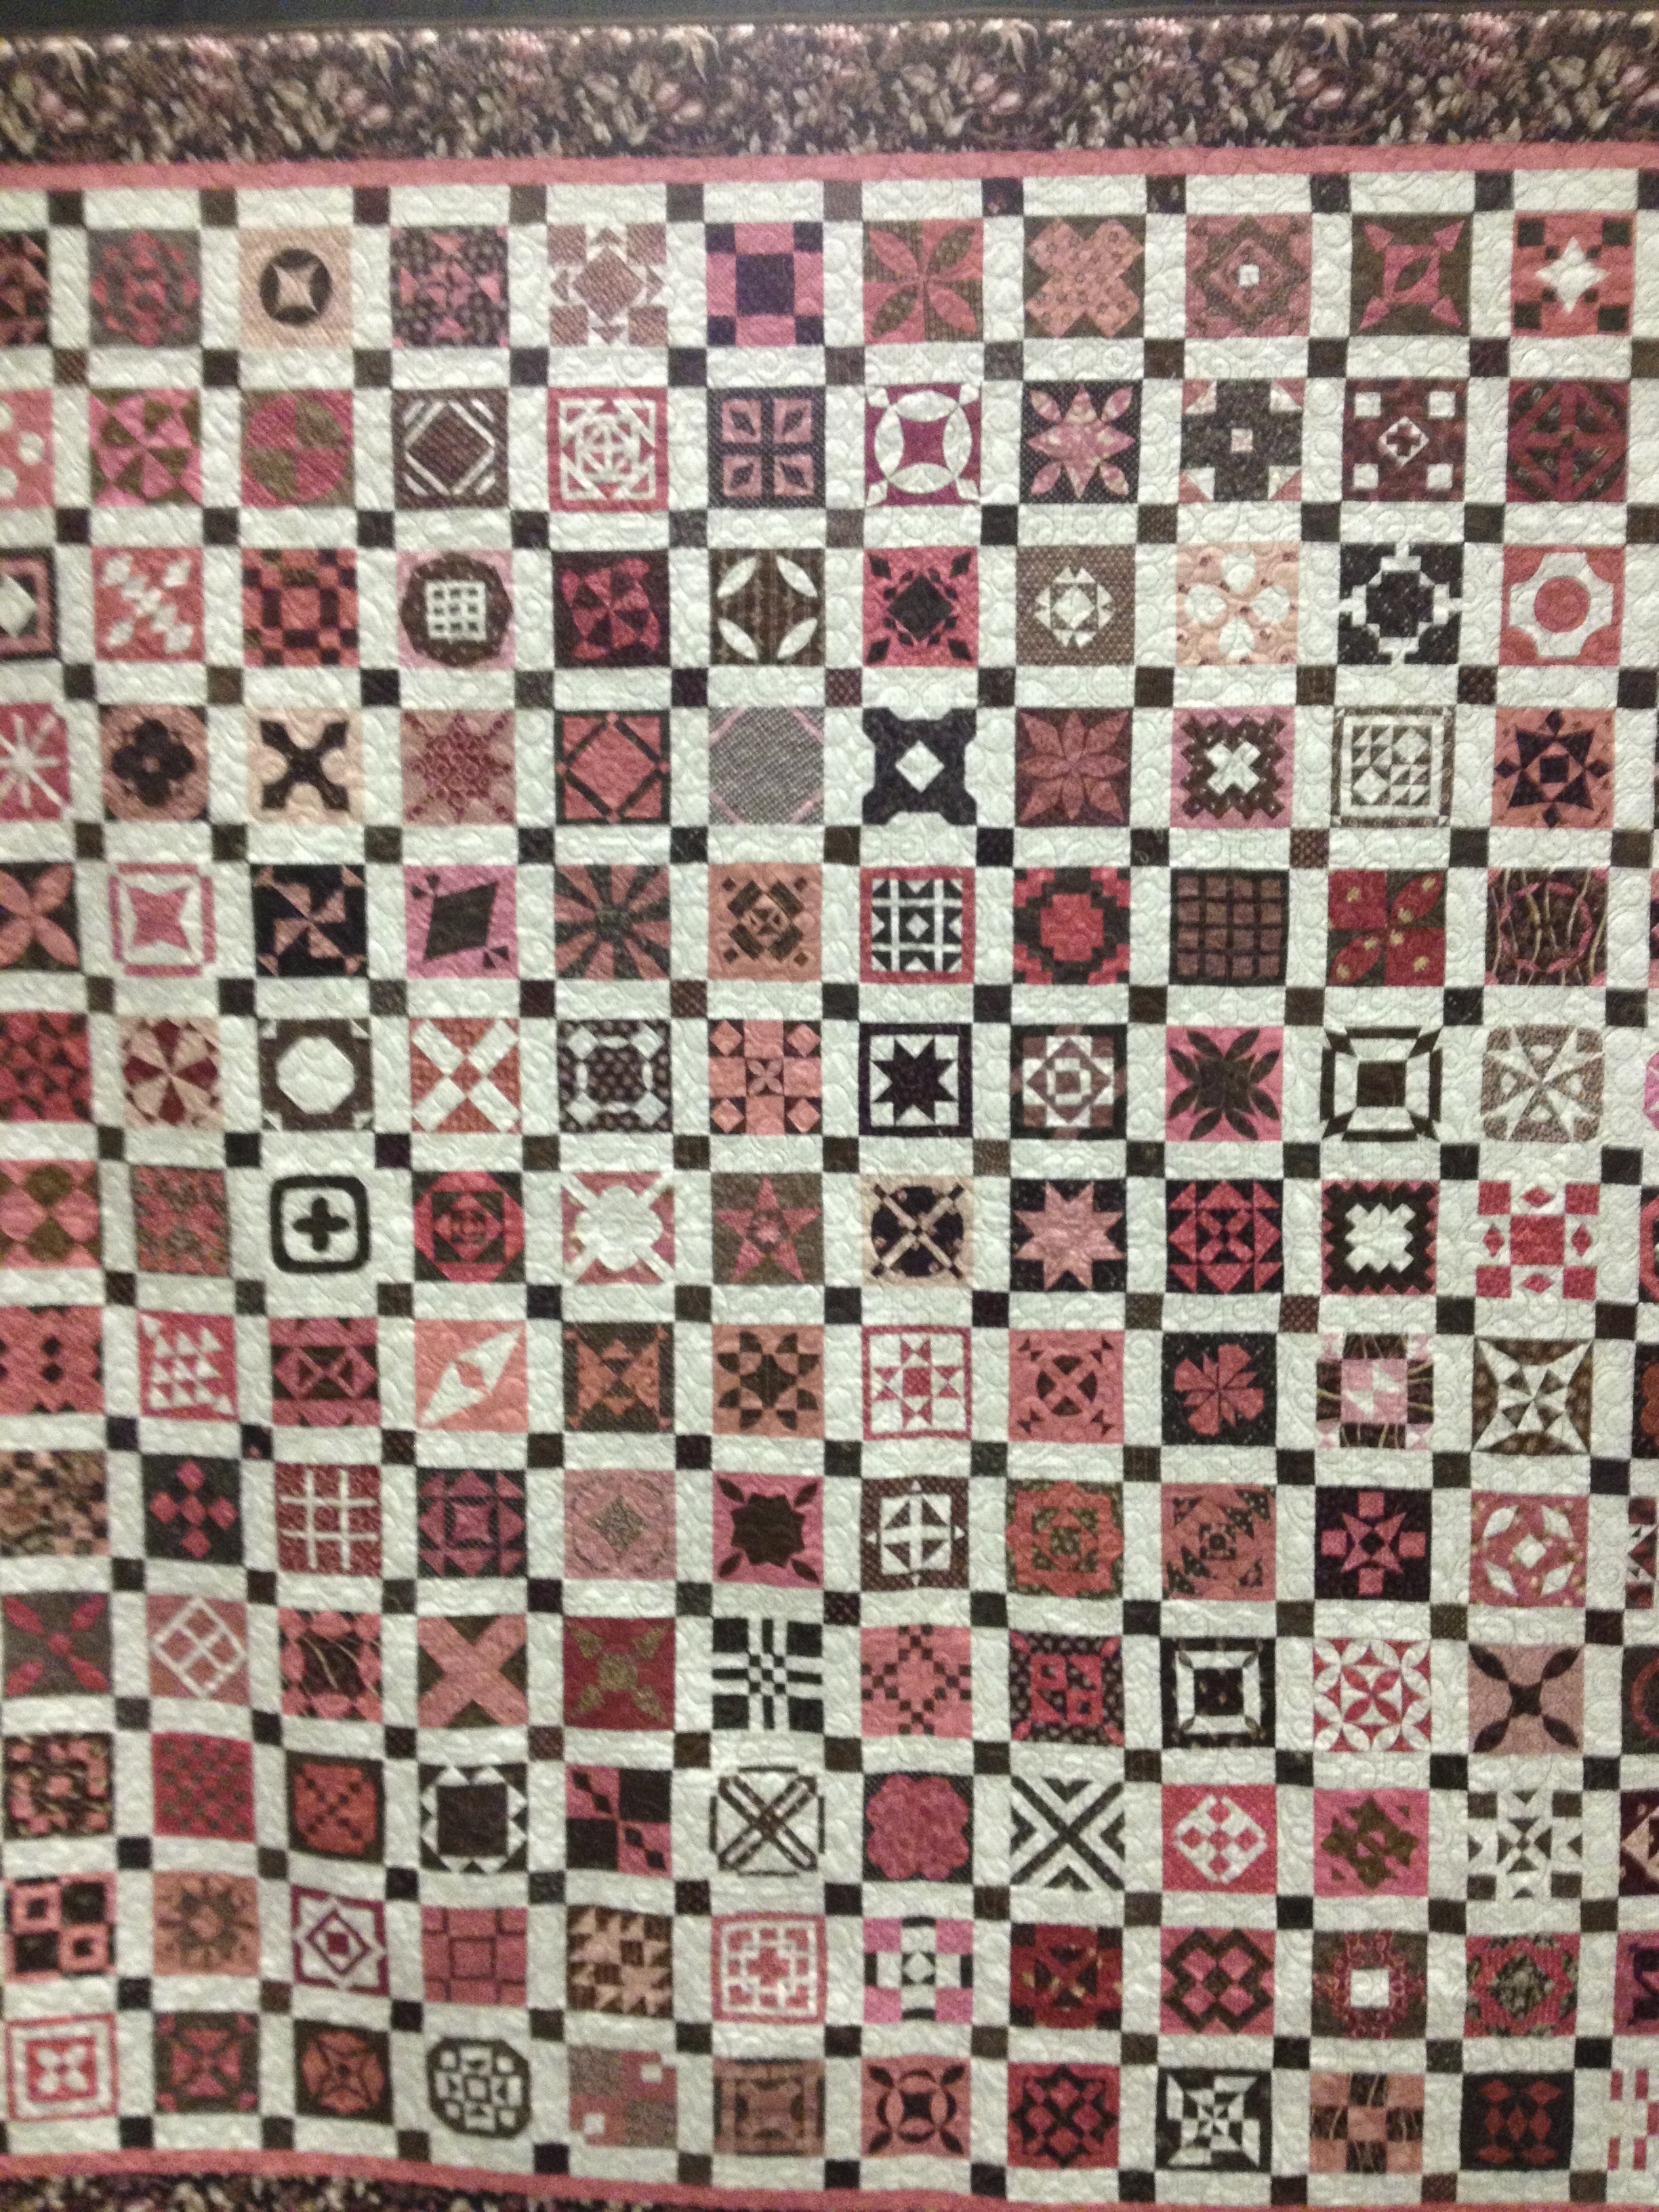
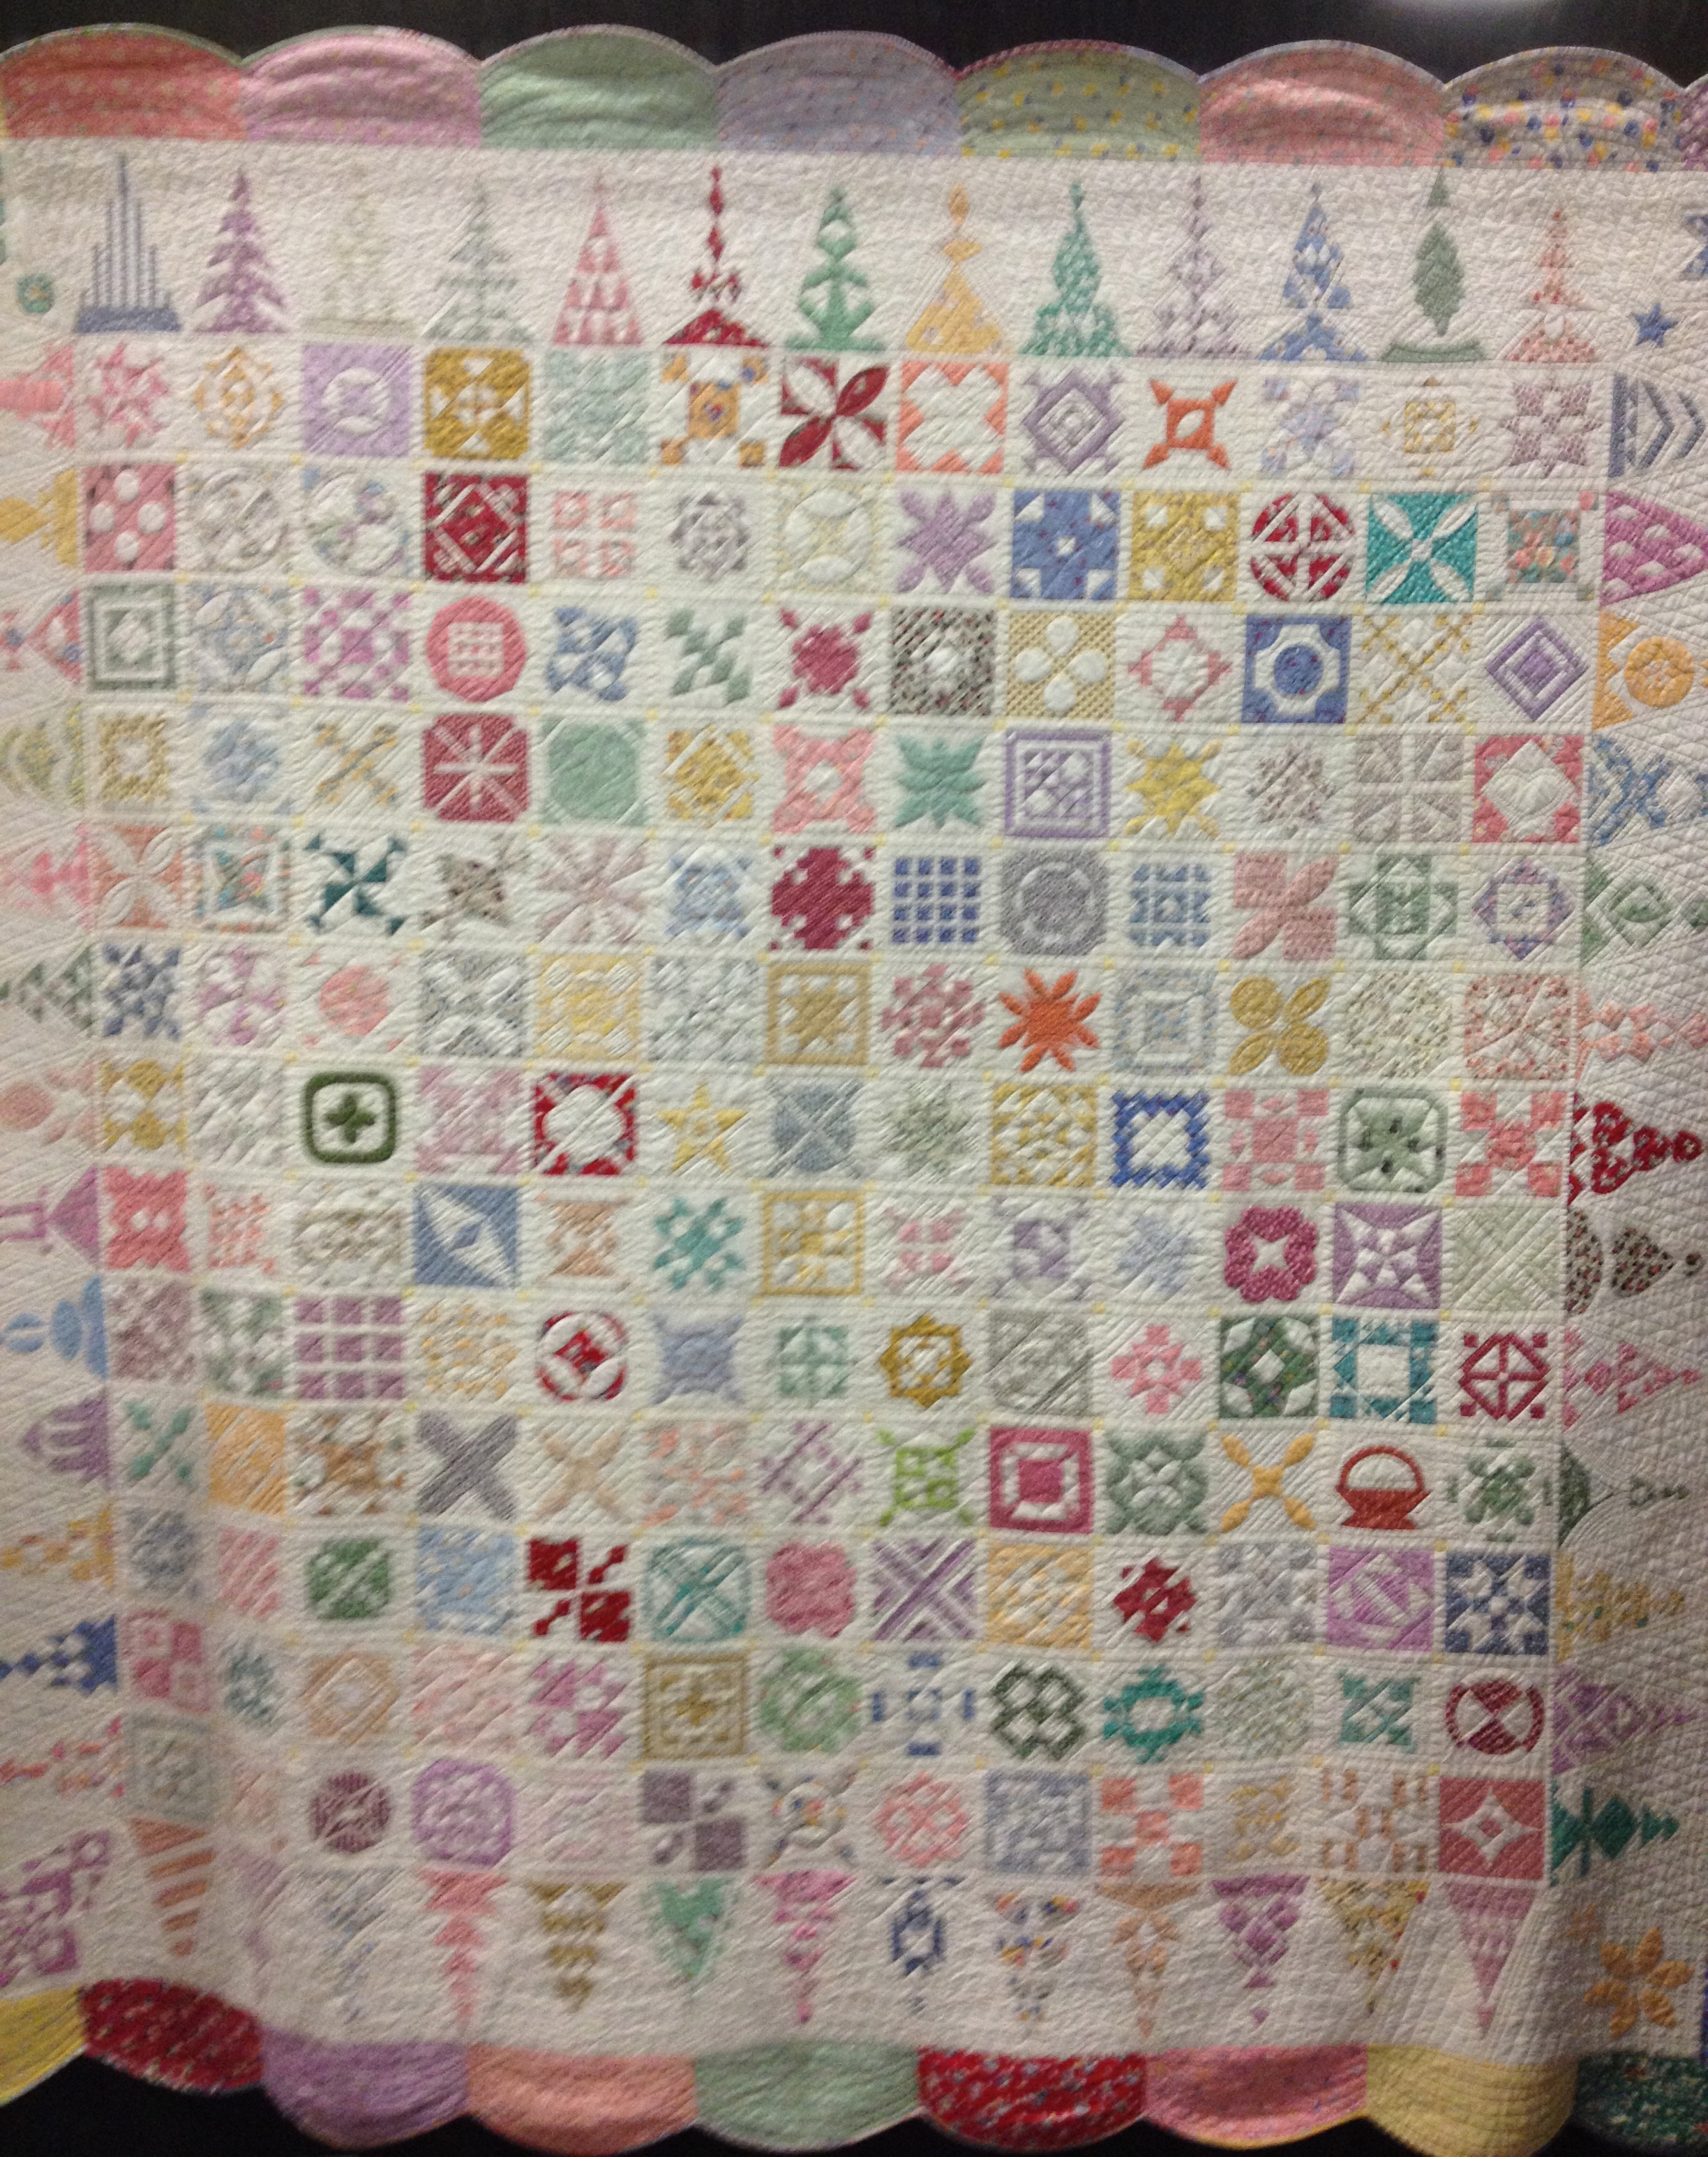
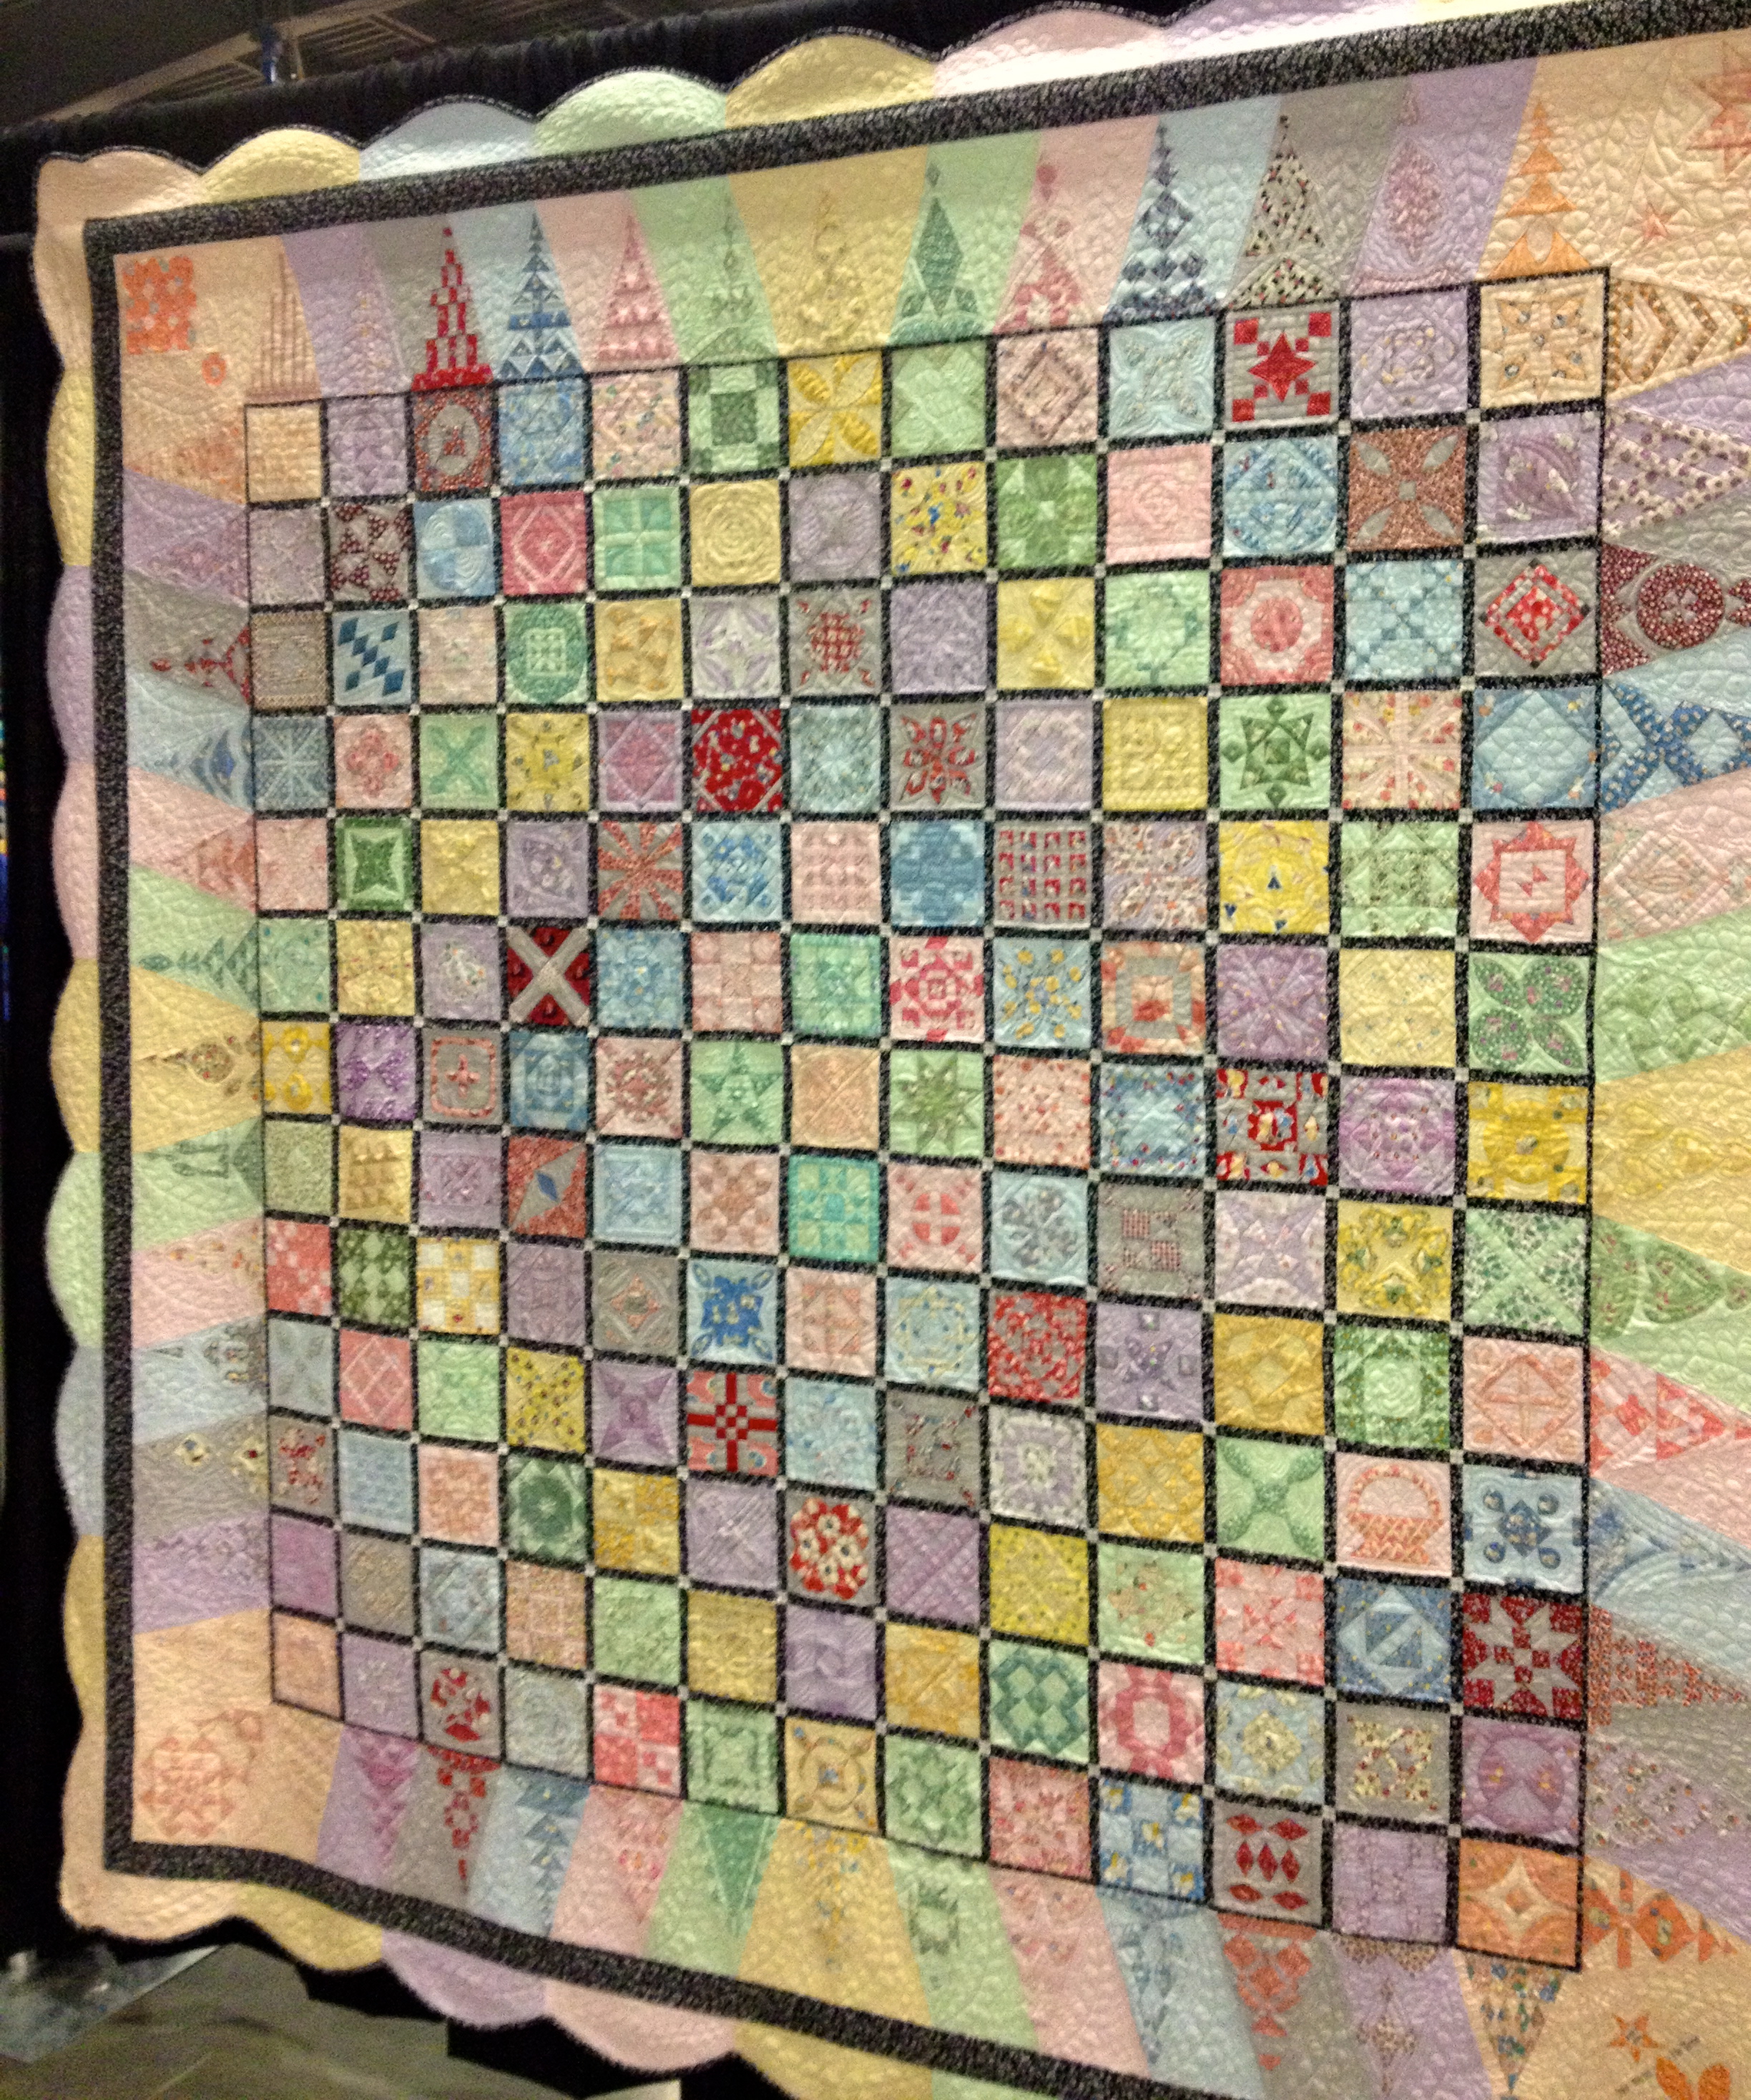
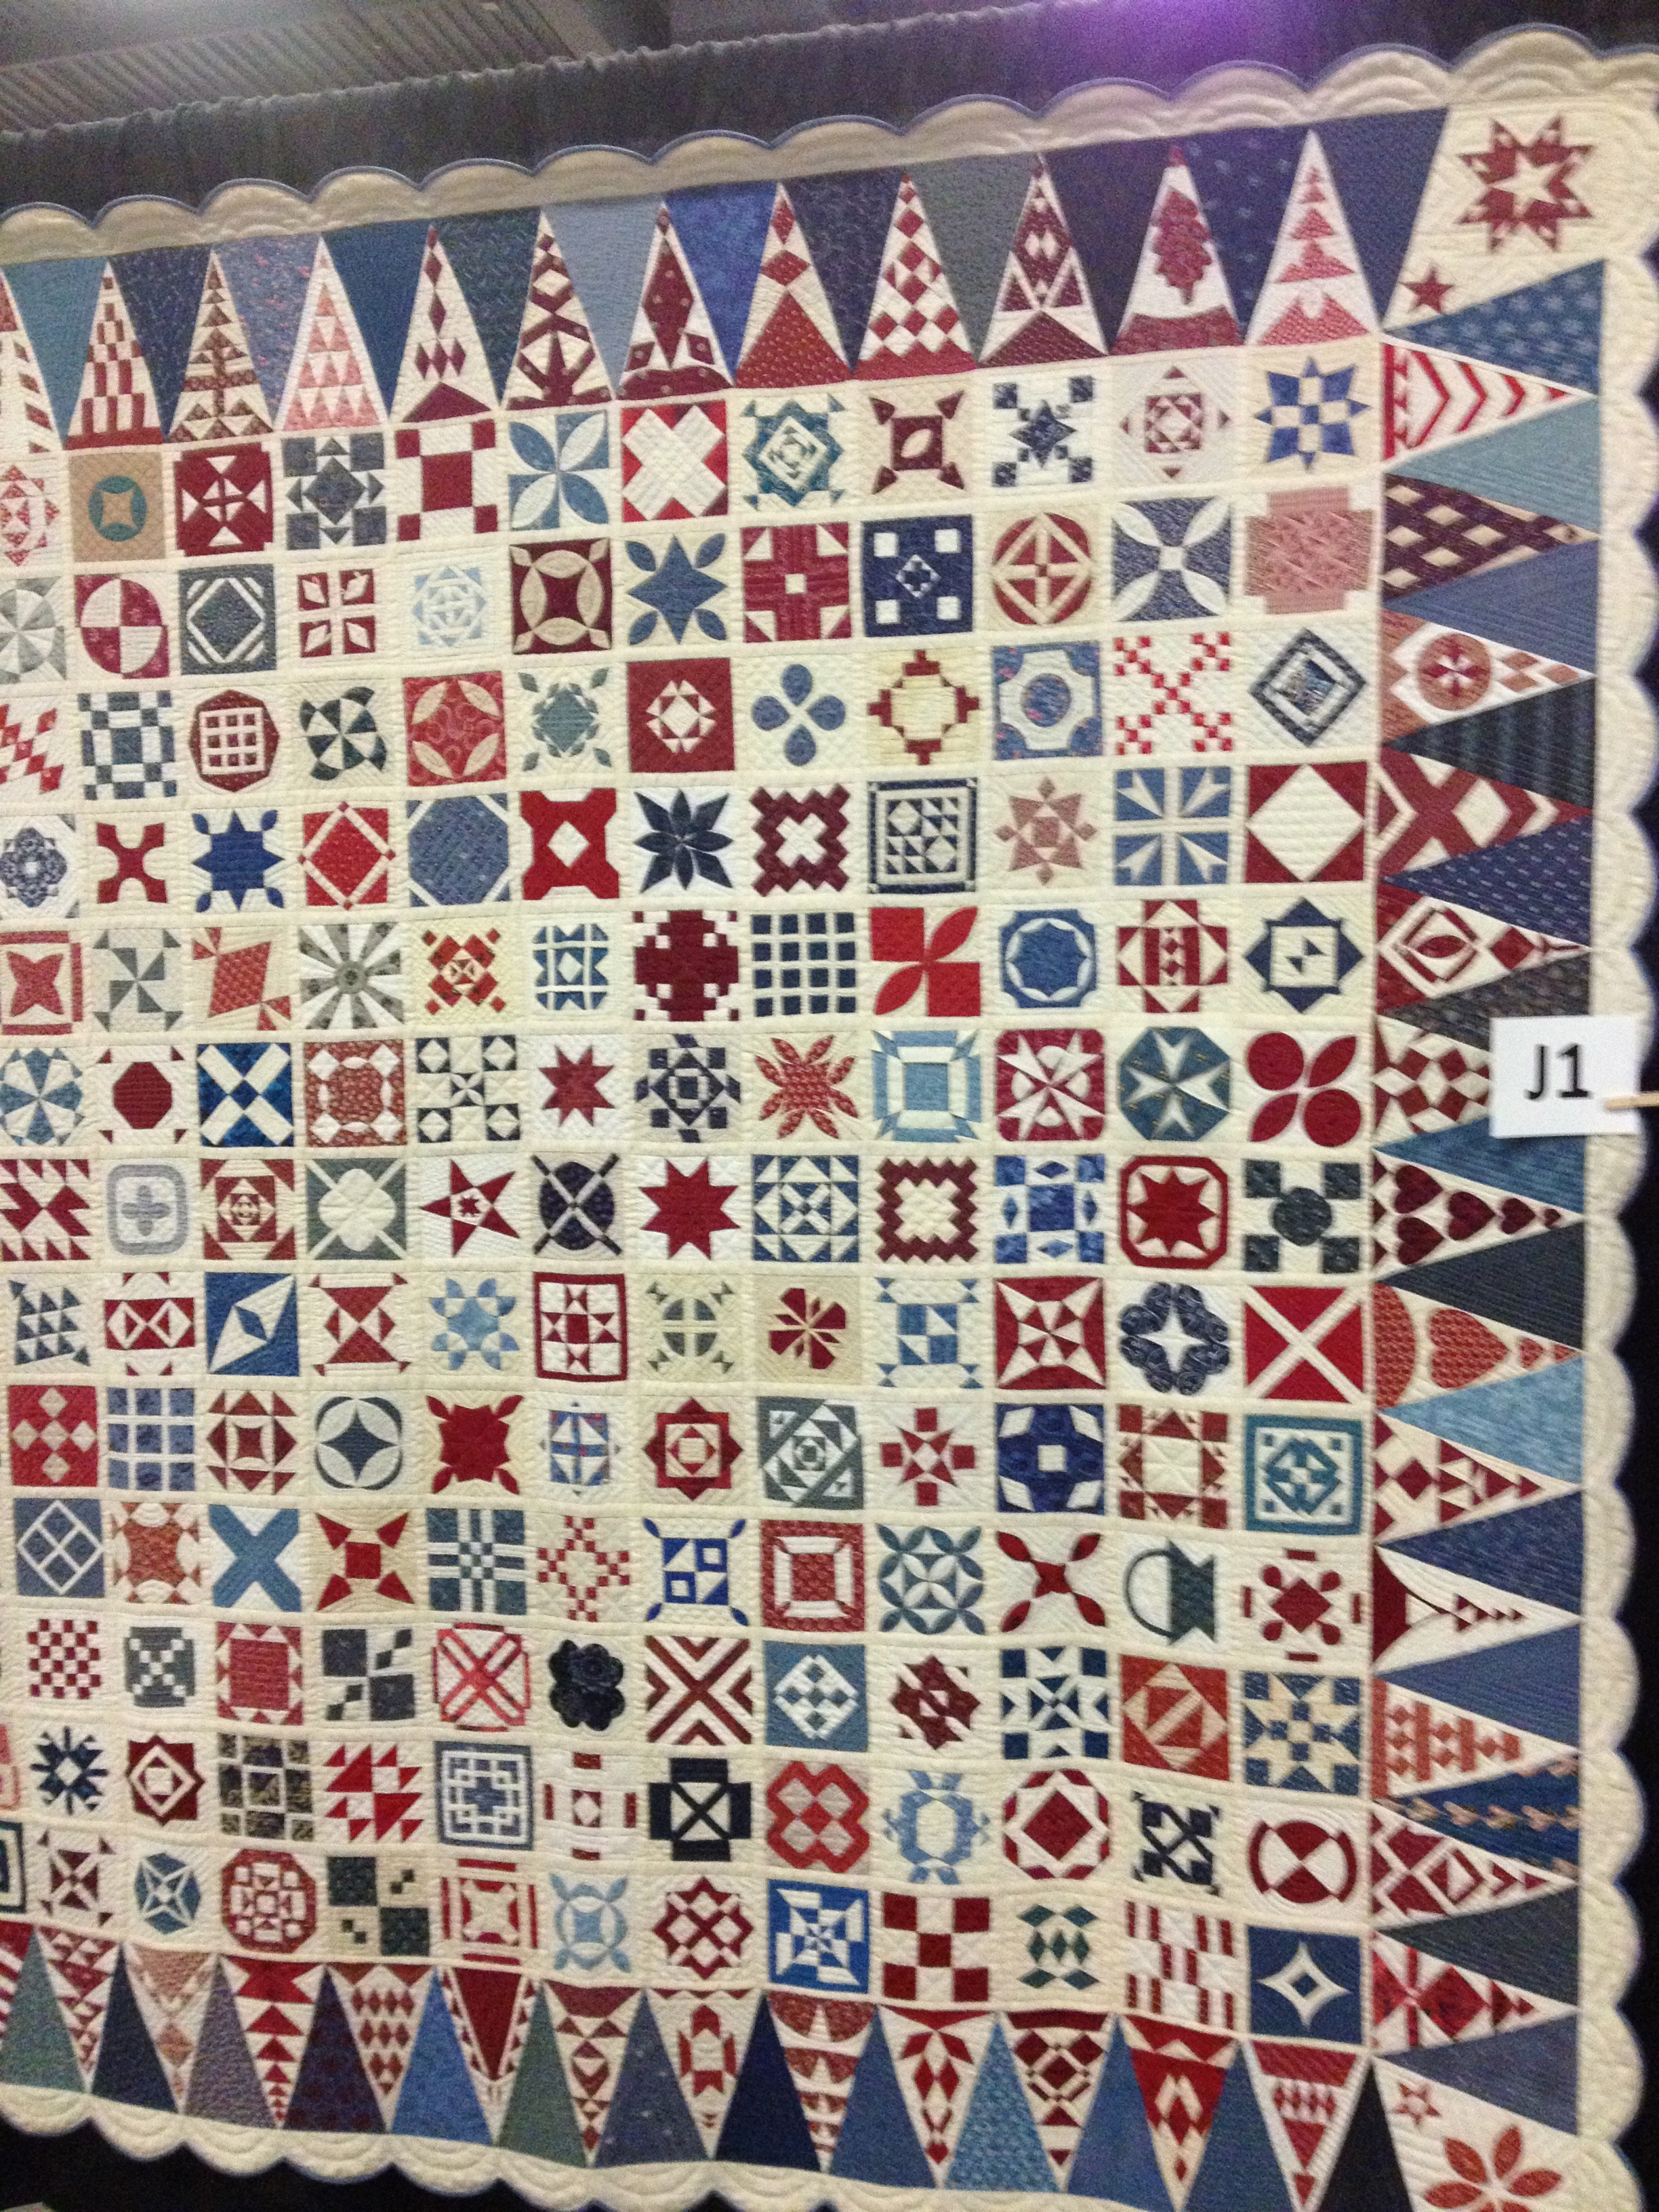
The following day we had Rita Hodge from Red Pepper Quilts who came all the way from Melbourne Australia to teach us how to piece Y seams to make the Kansas Dugout block. This block is sewn together using many, many, many, Y-seams. Did I say “many”? No exaggeration! This looks rather simple but was like putting a puzzle together.

My finished pillow top. 22″ square. Each block is 5.5″

Lindsey’s finished pillow top.
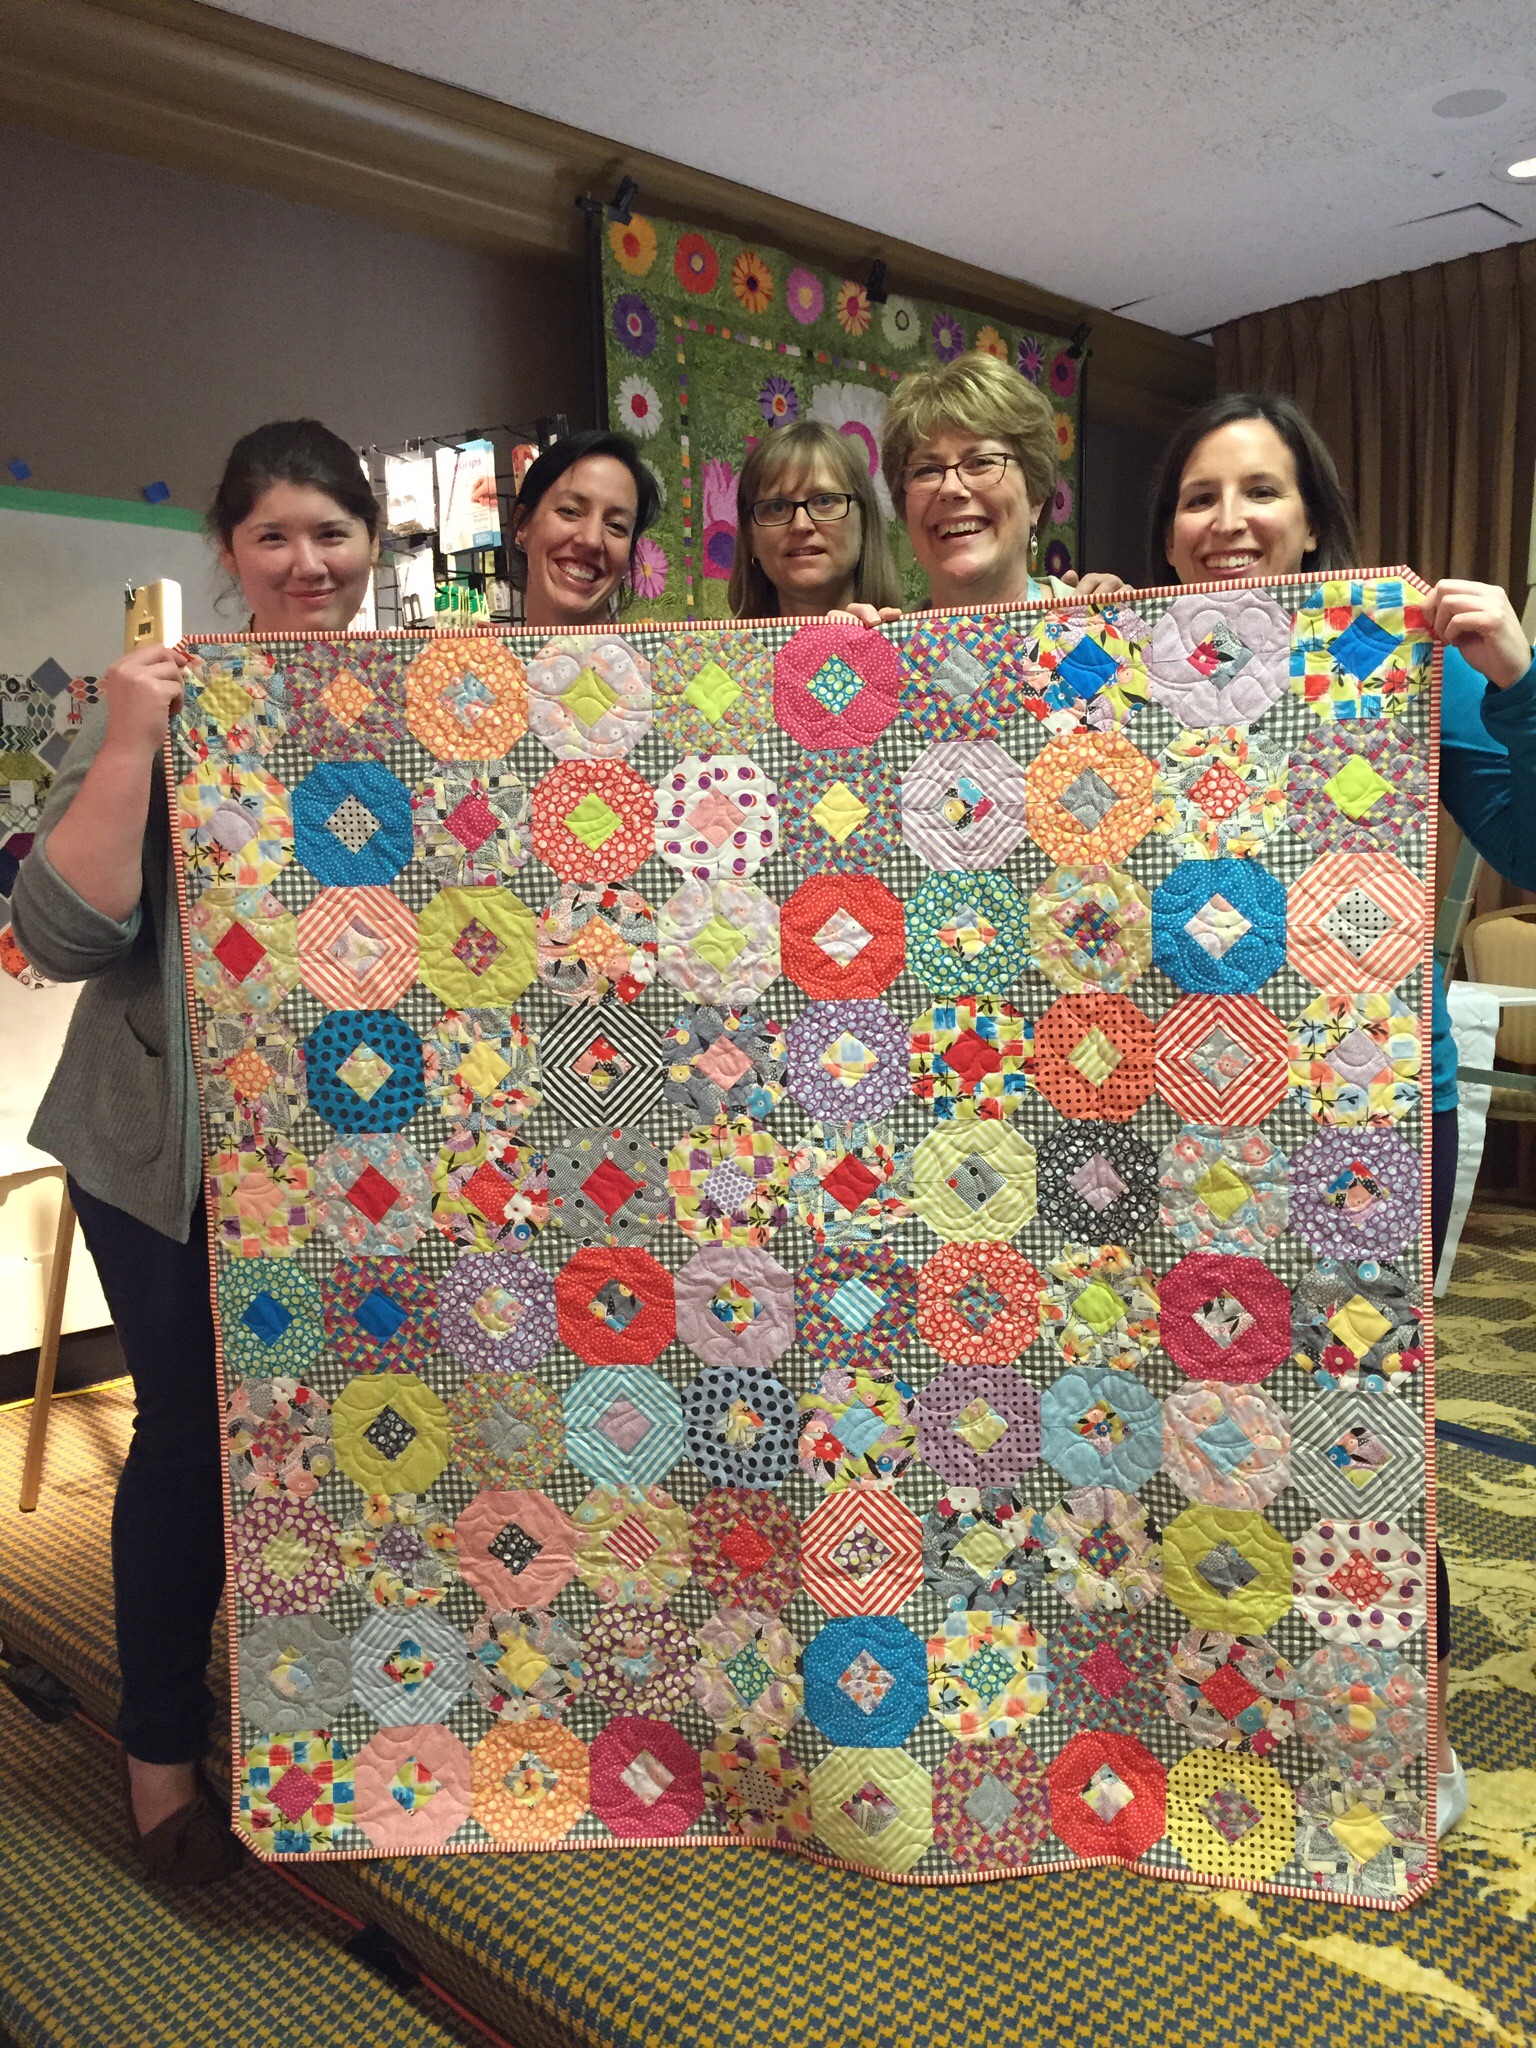
DCMQG members with Rita Hodge (in the middle)
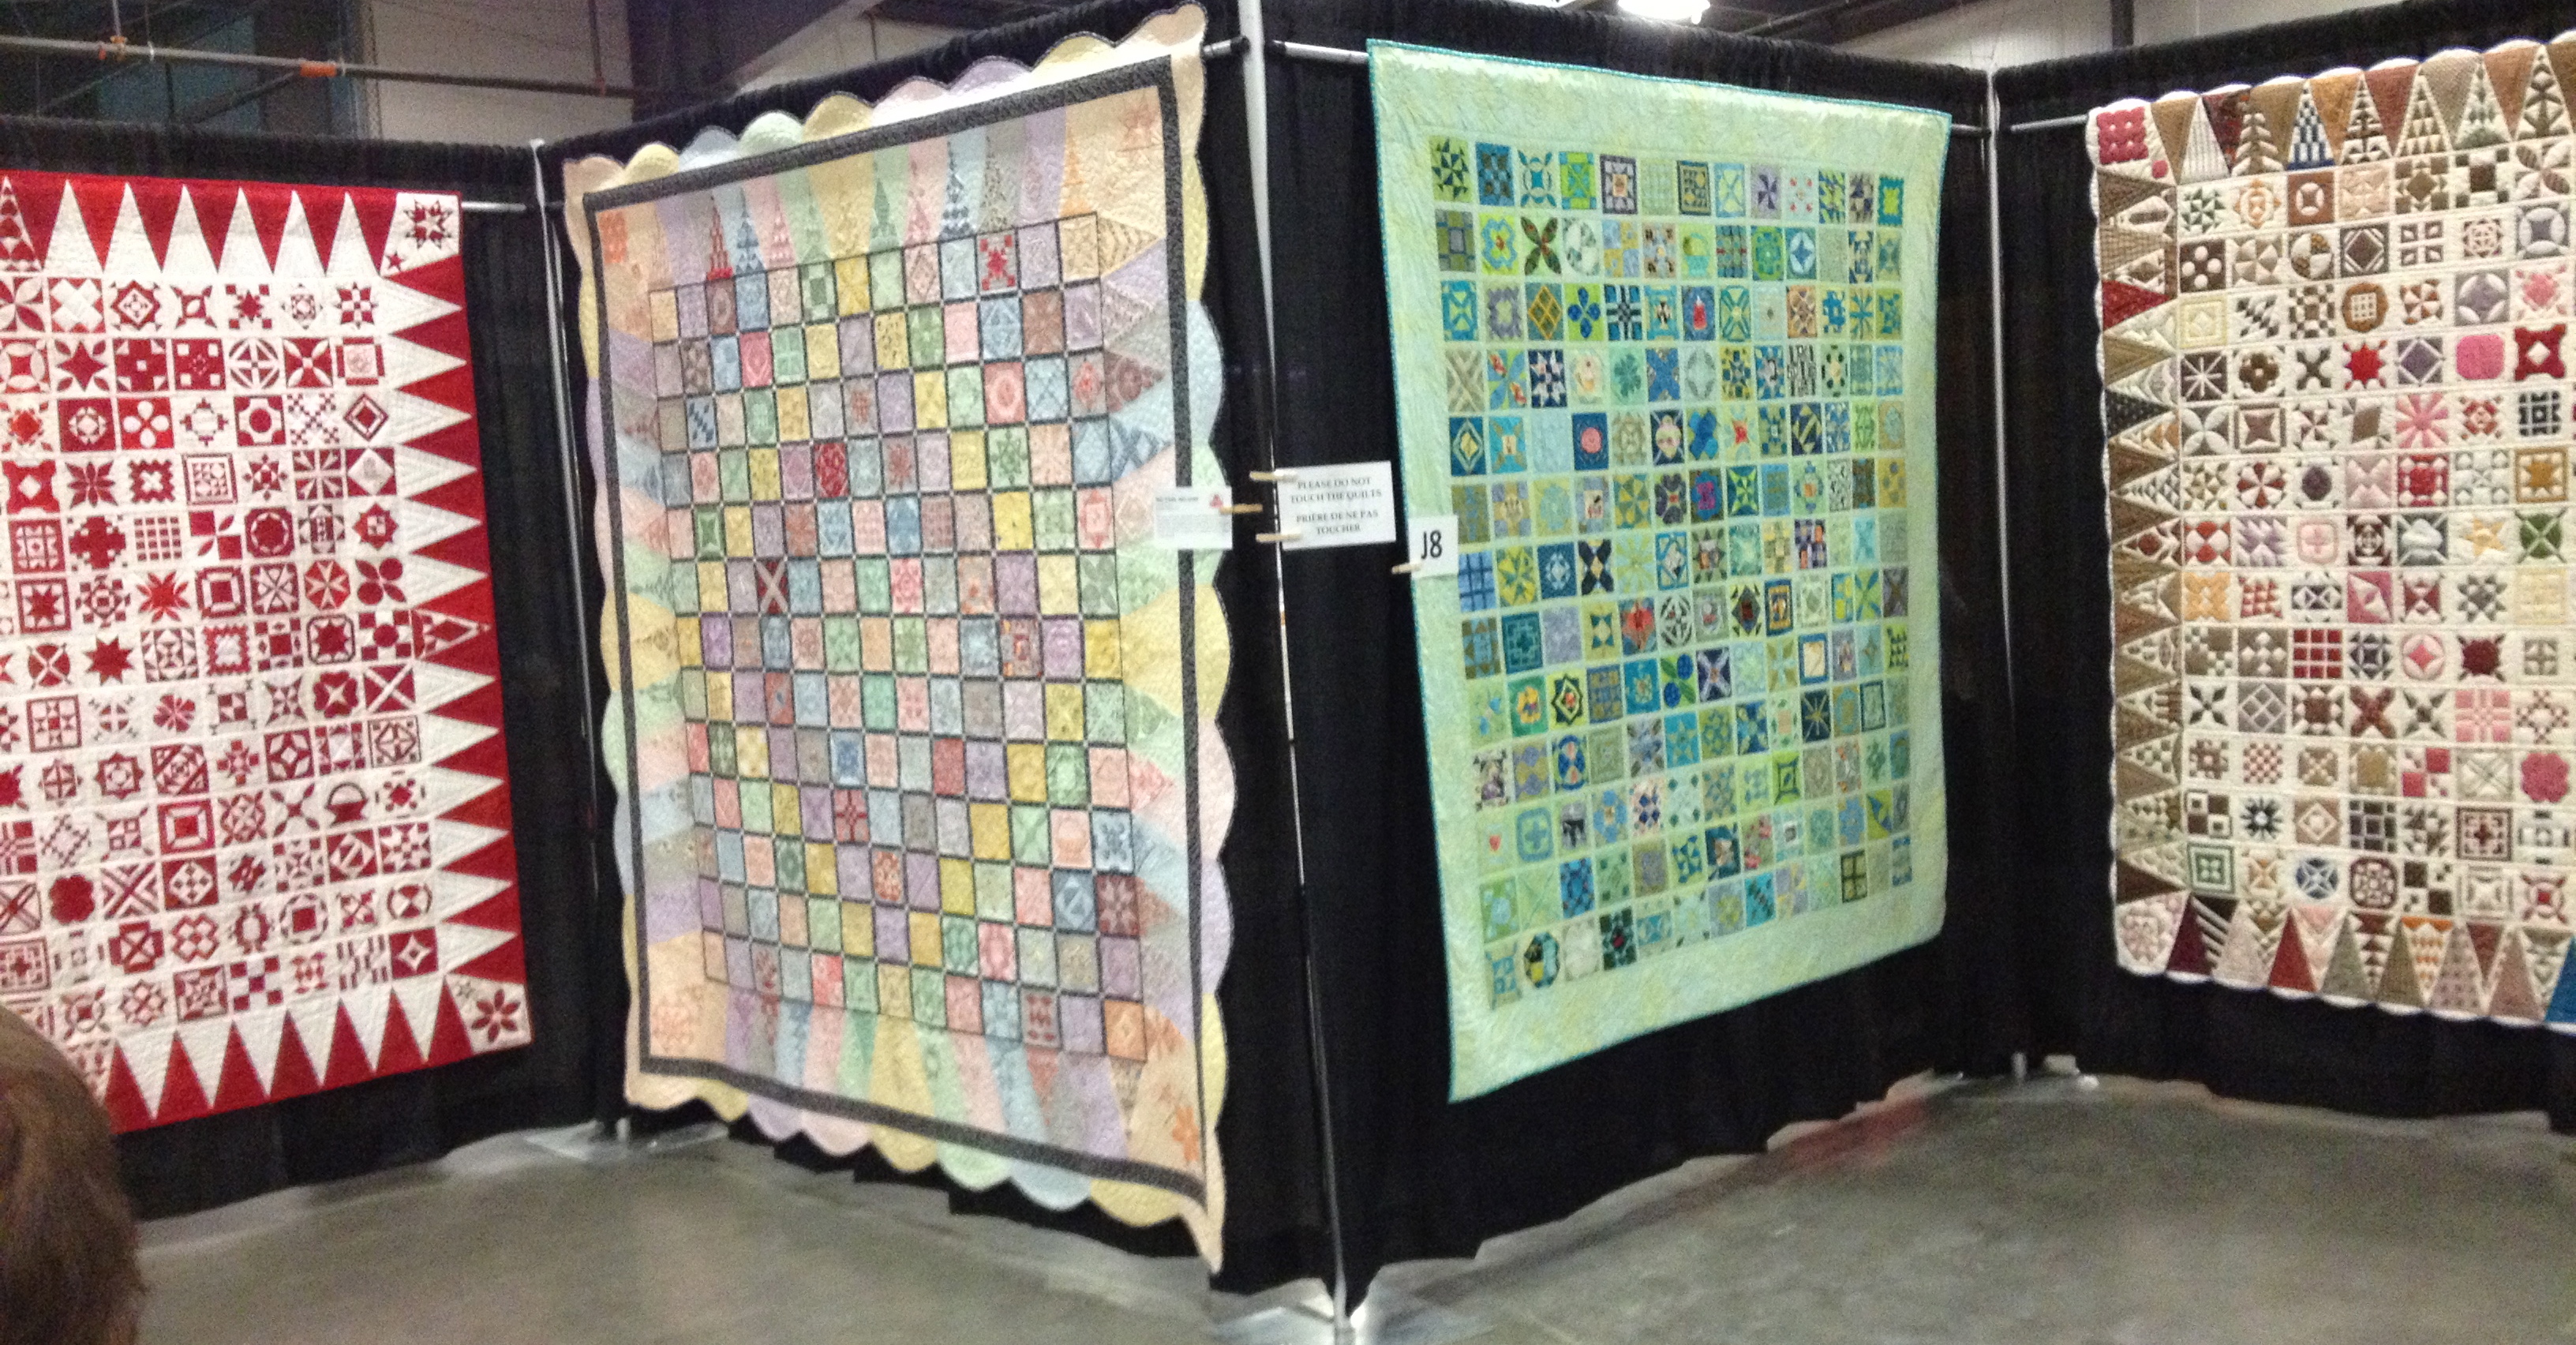
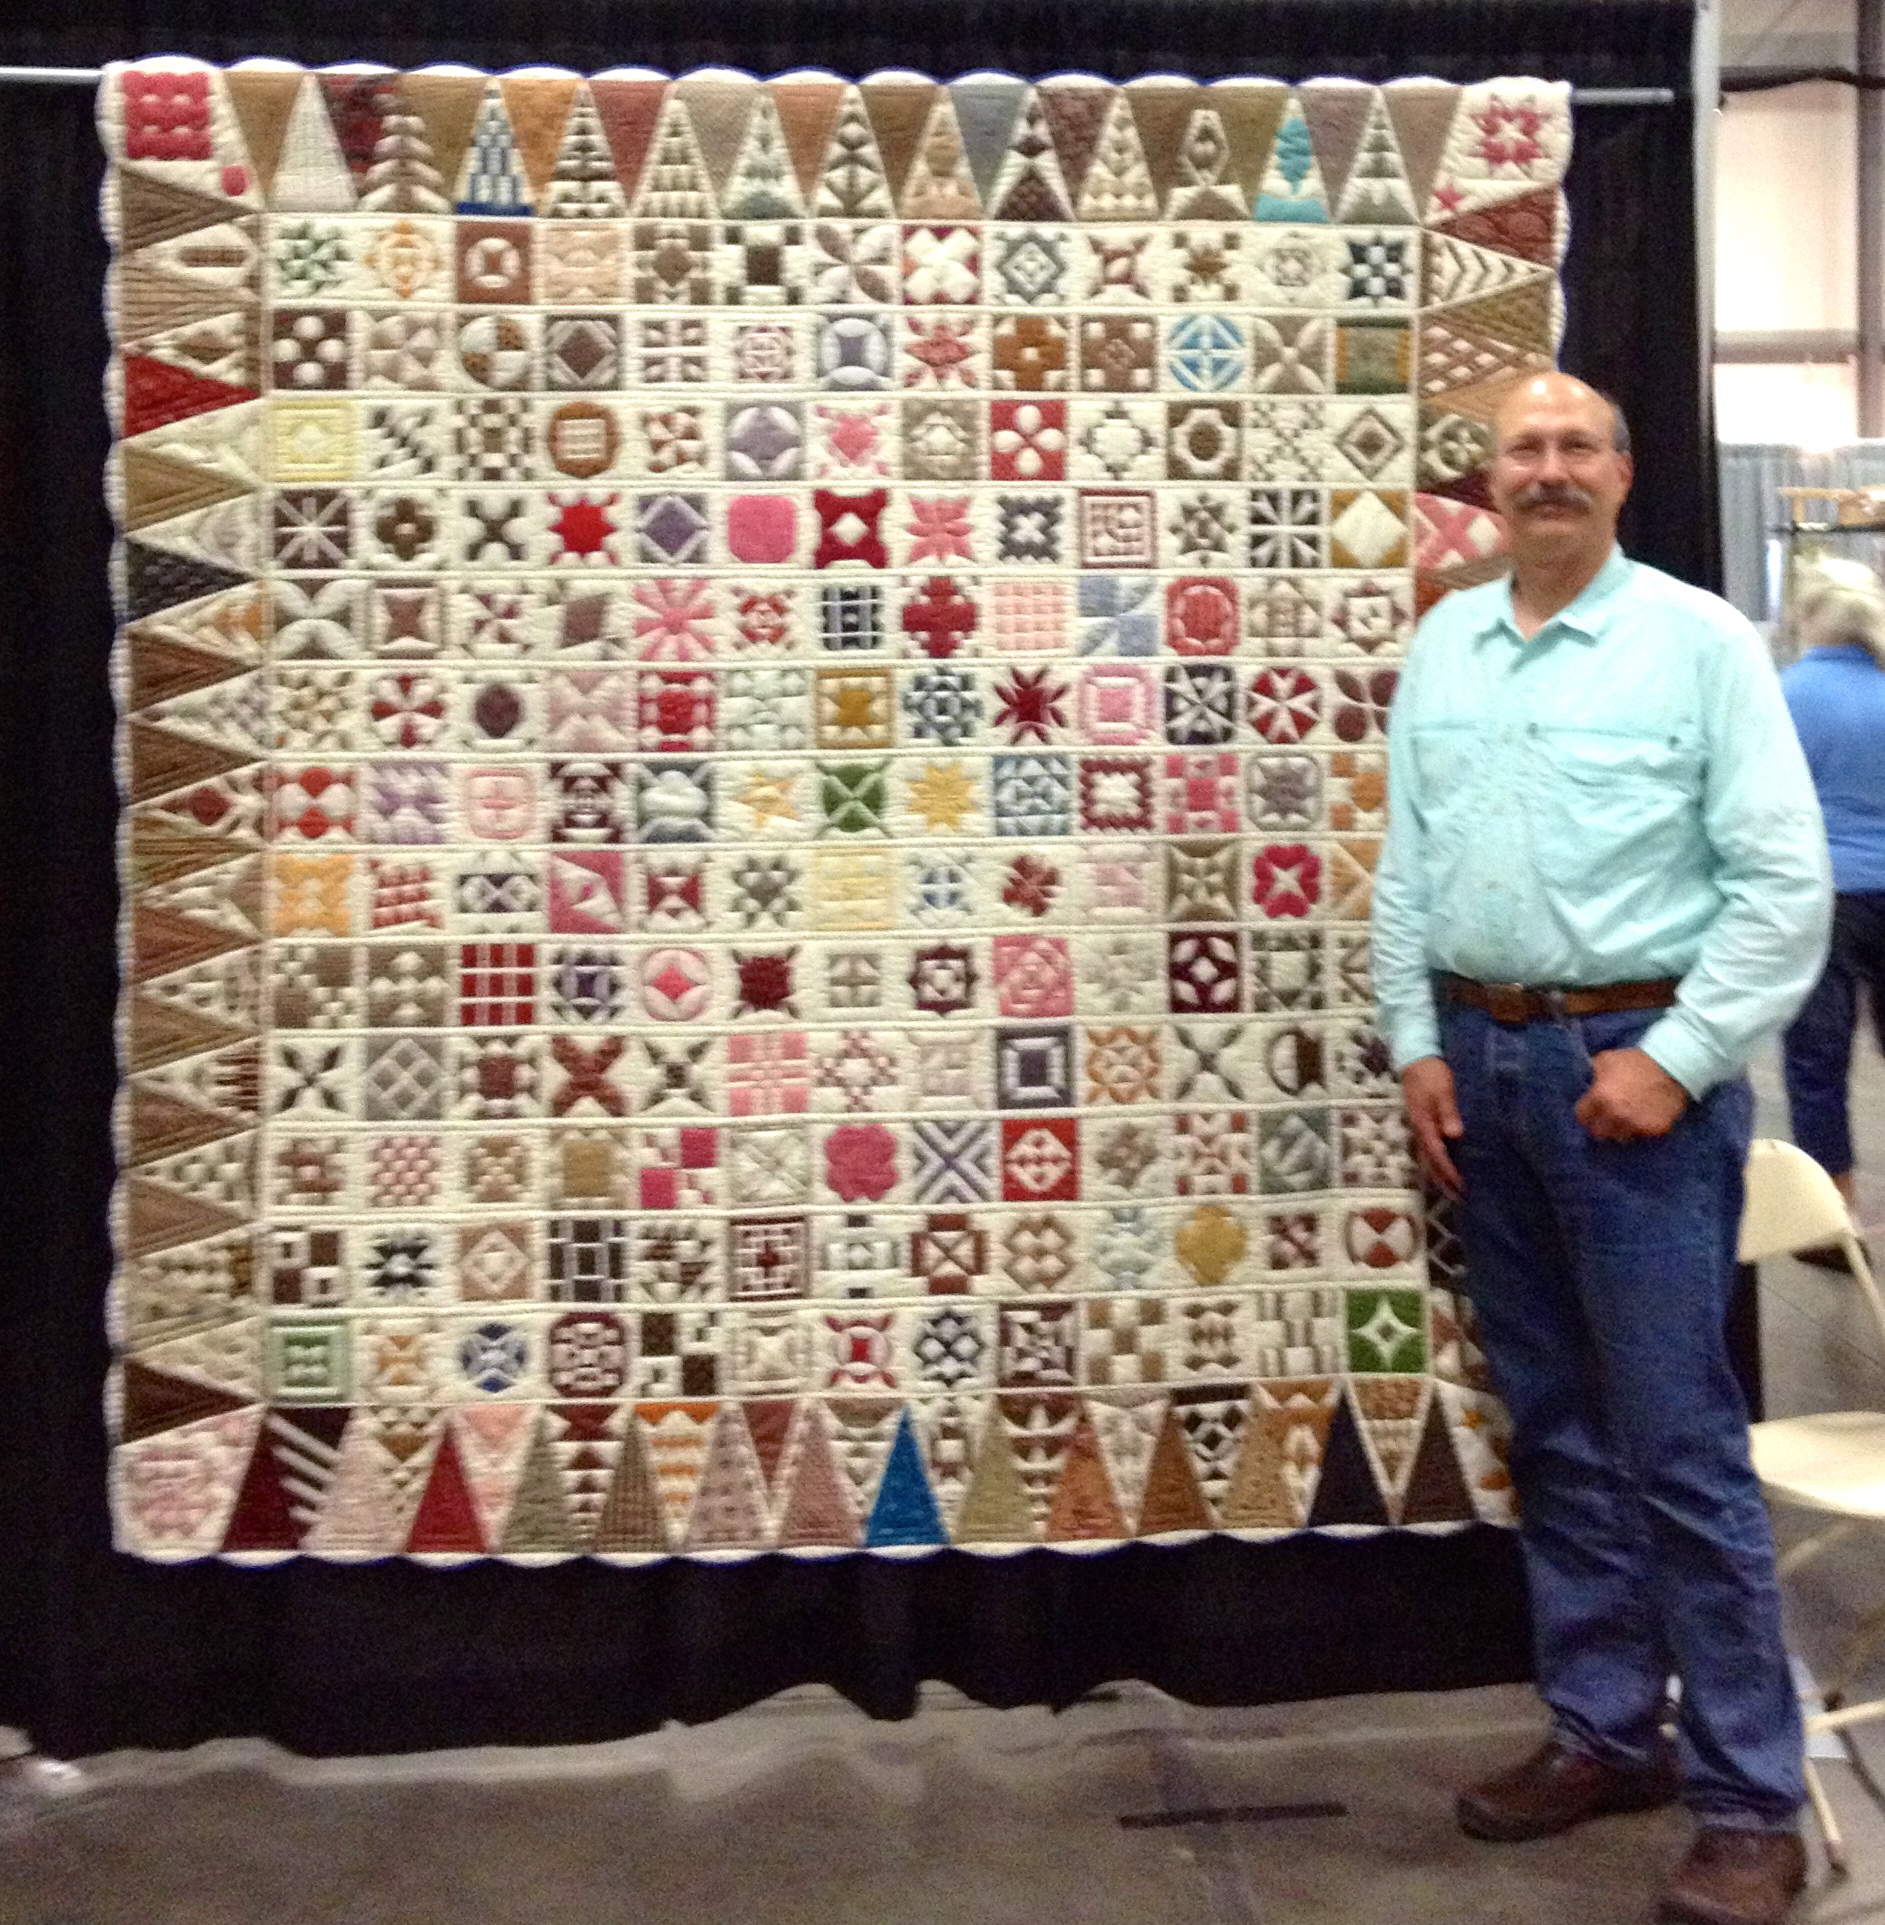
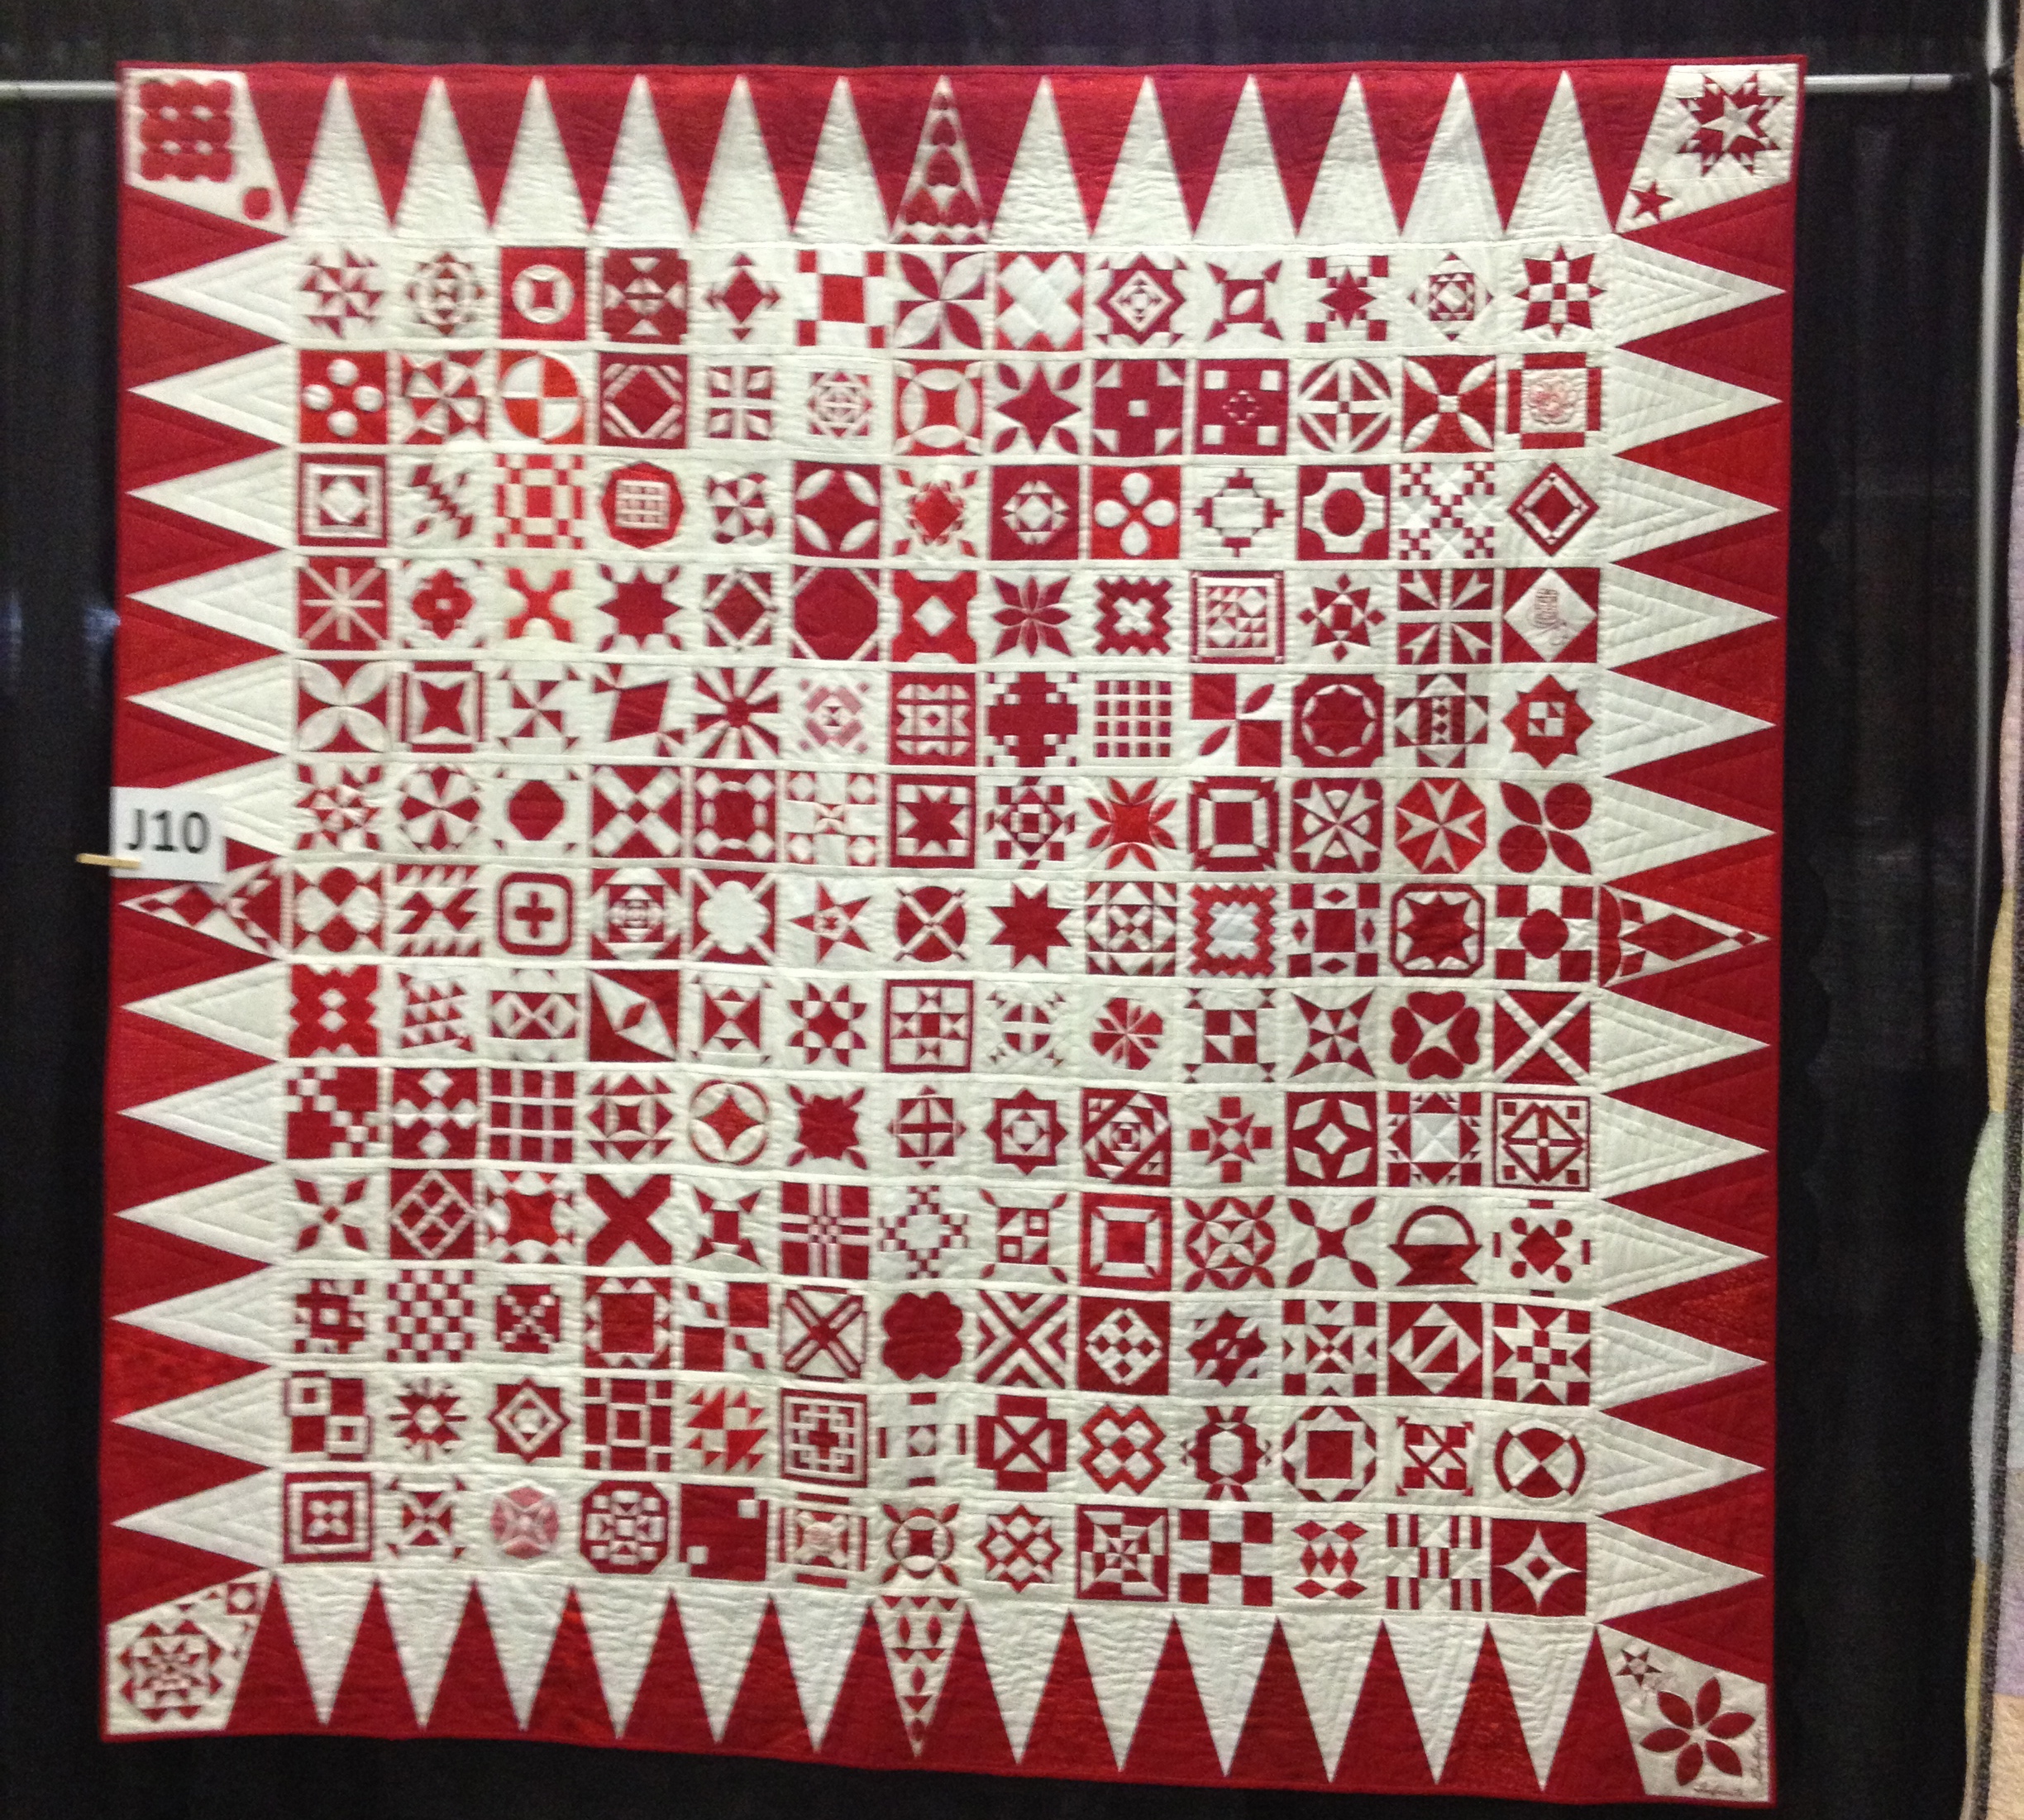
The photo above is Rita’s quilt which is made up of 100 Kansas Dugout blocks. The templates for this block in 3 different sizes can be found on her website here and sewing directions are on her blog here.

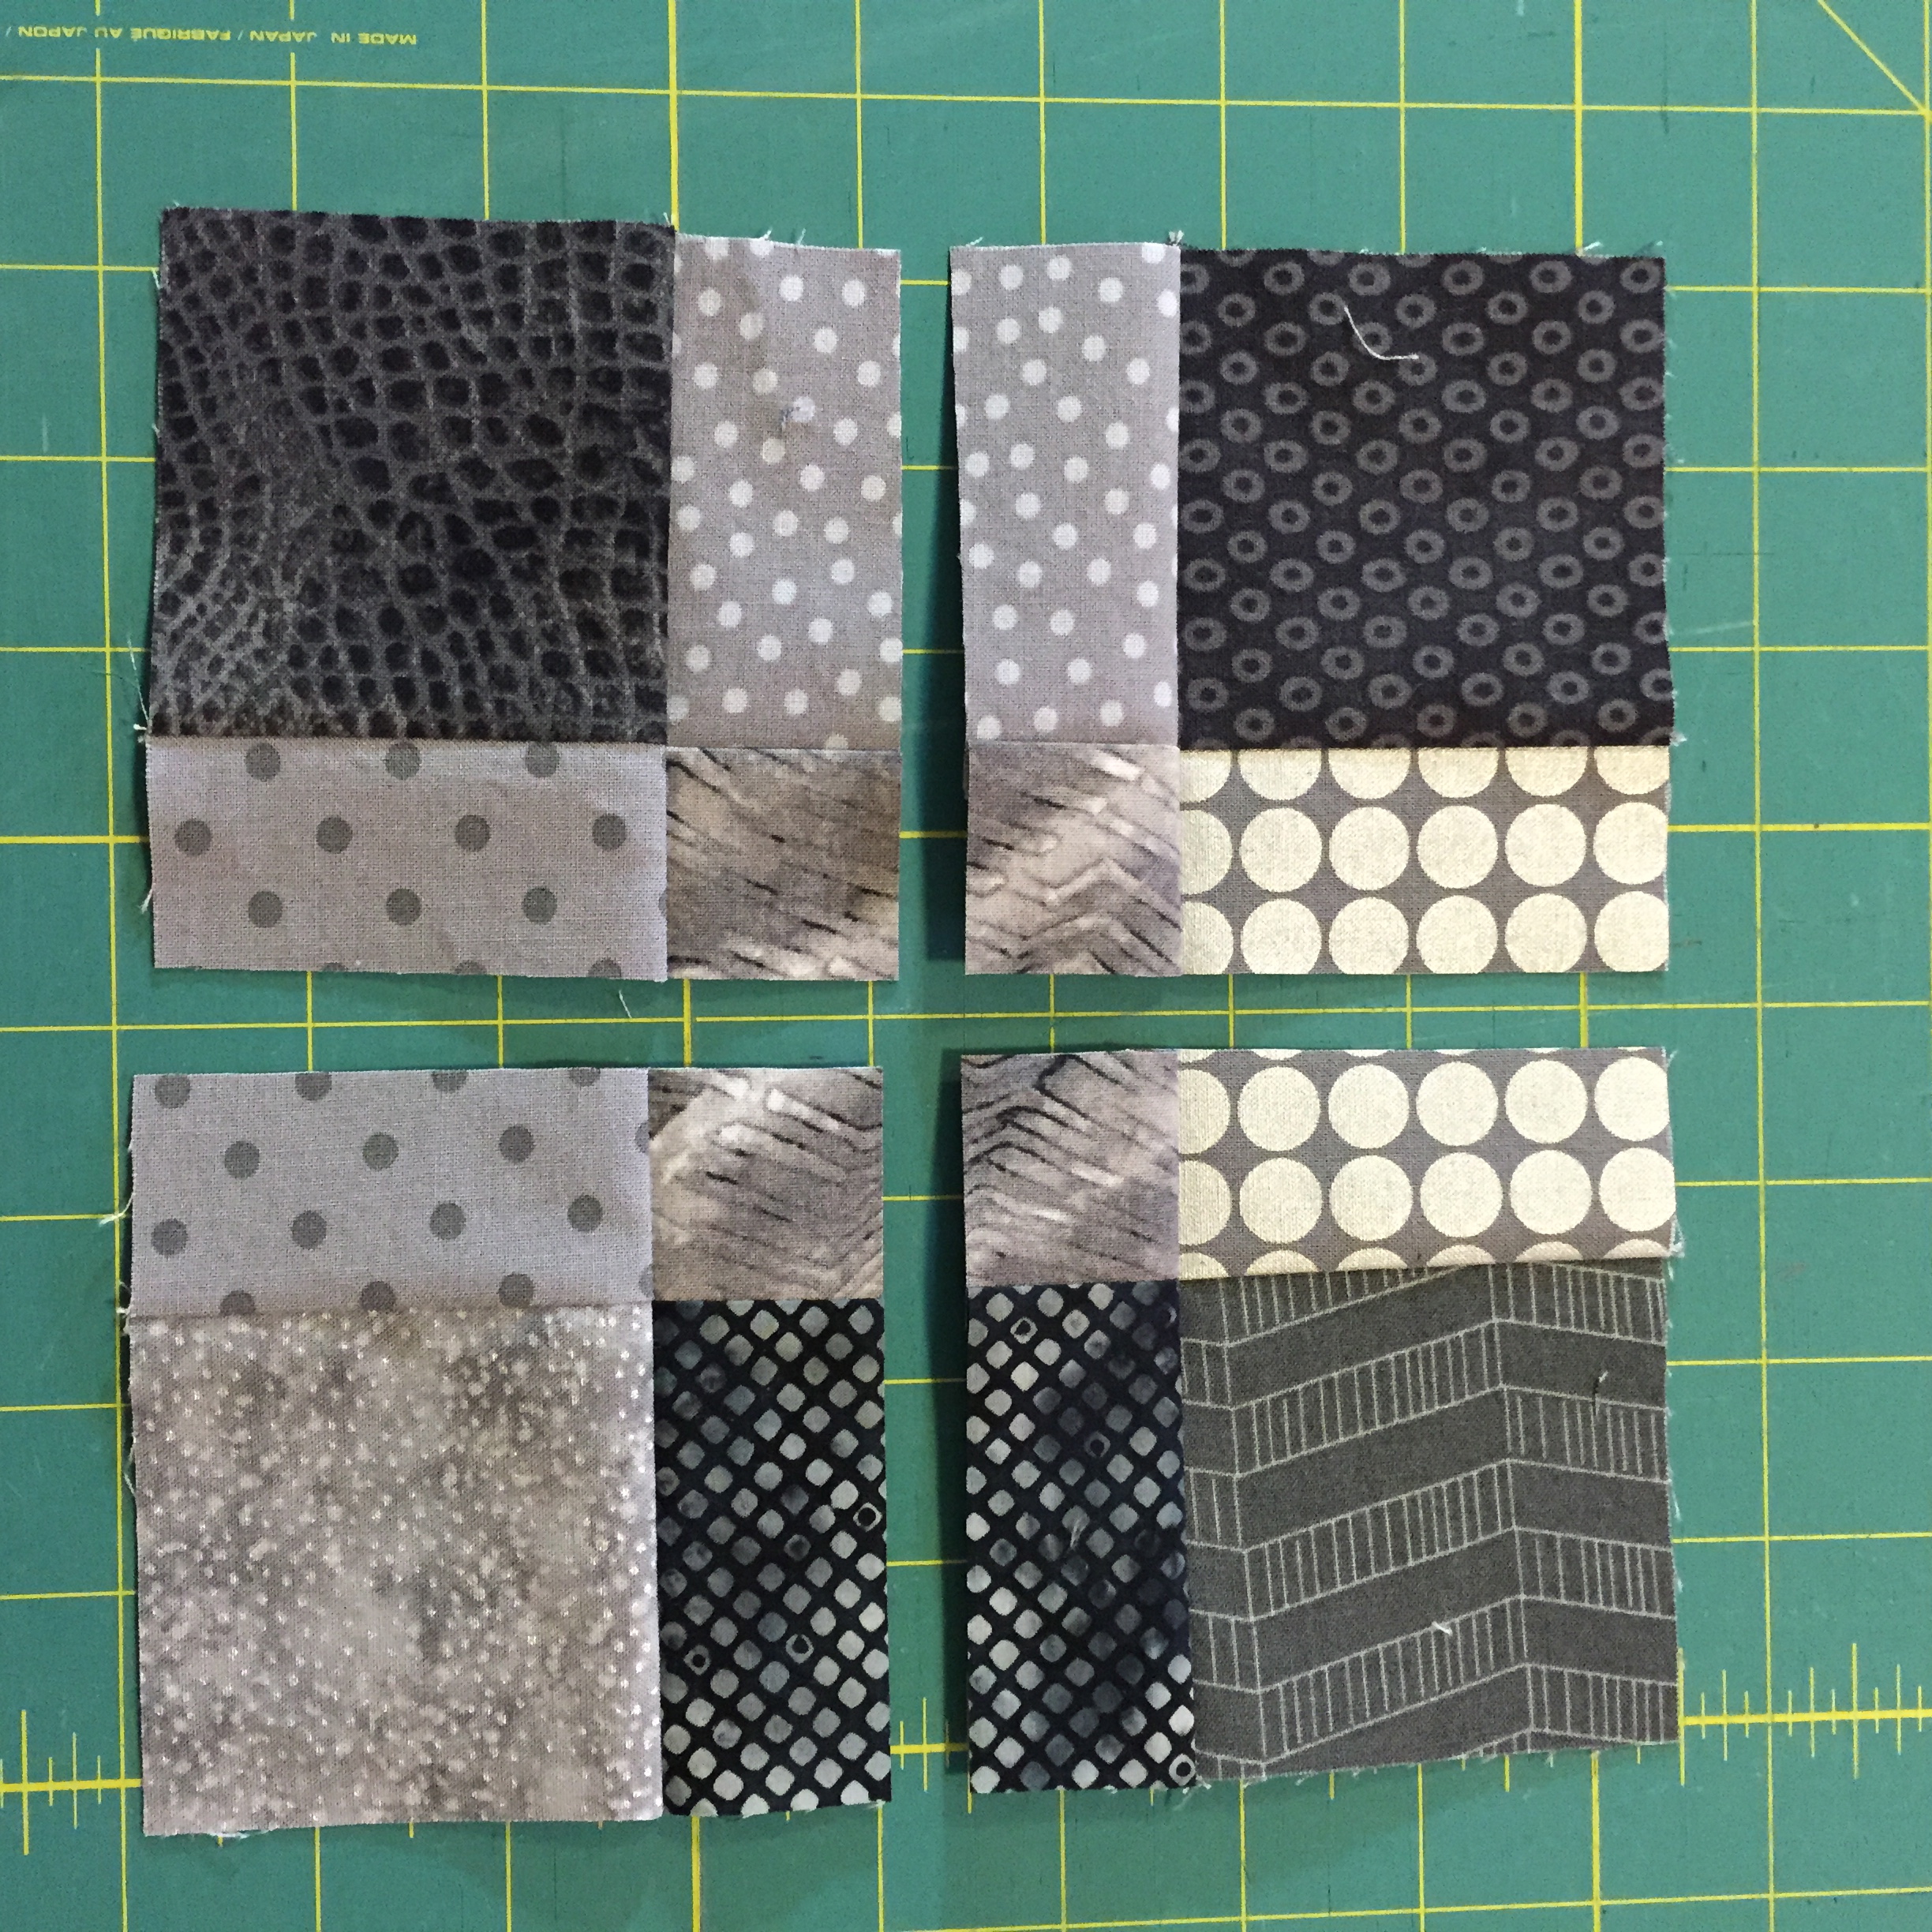
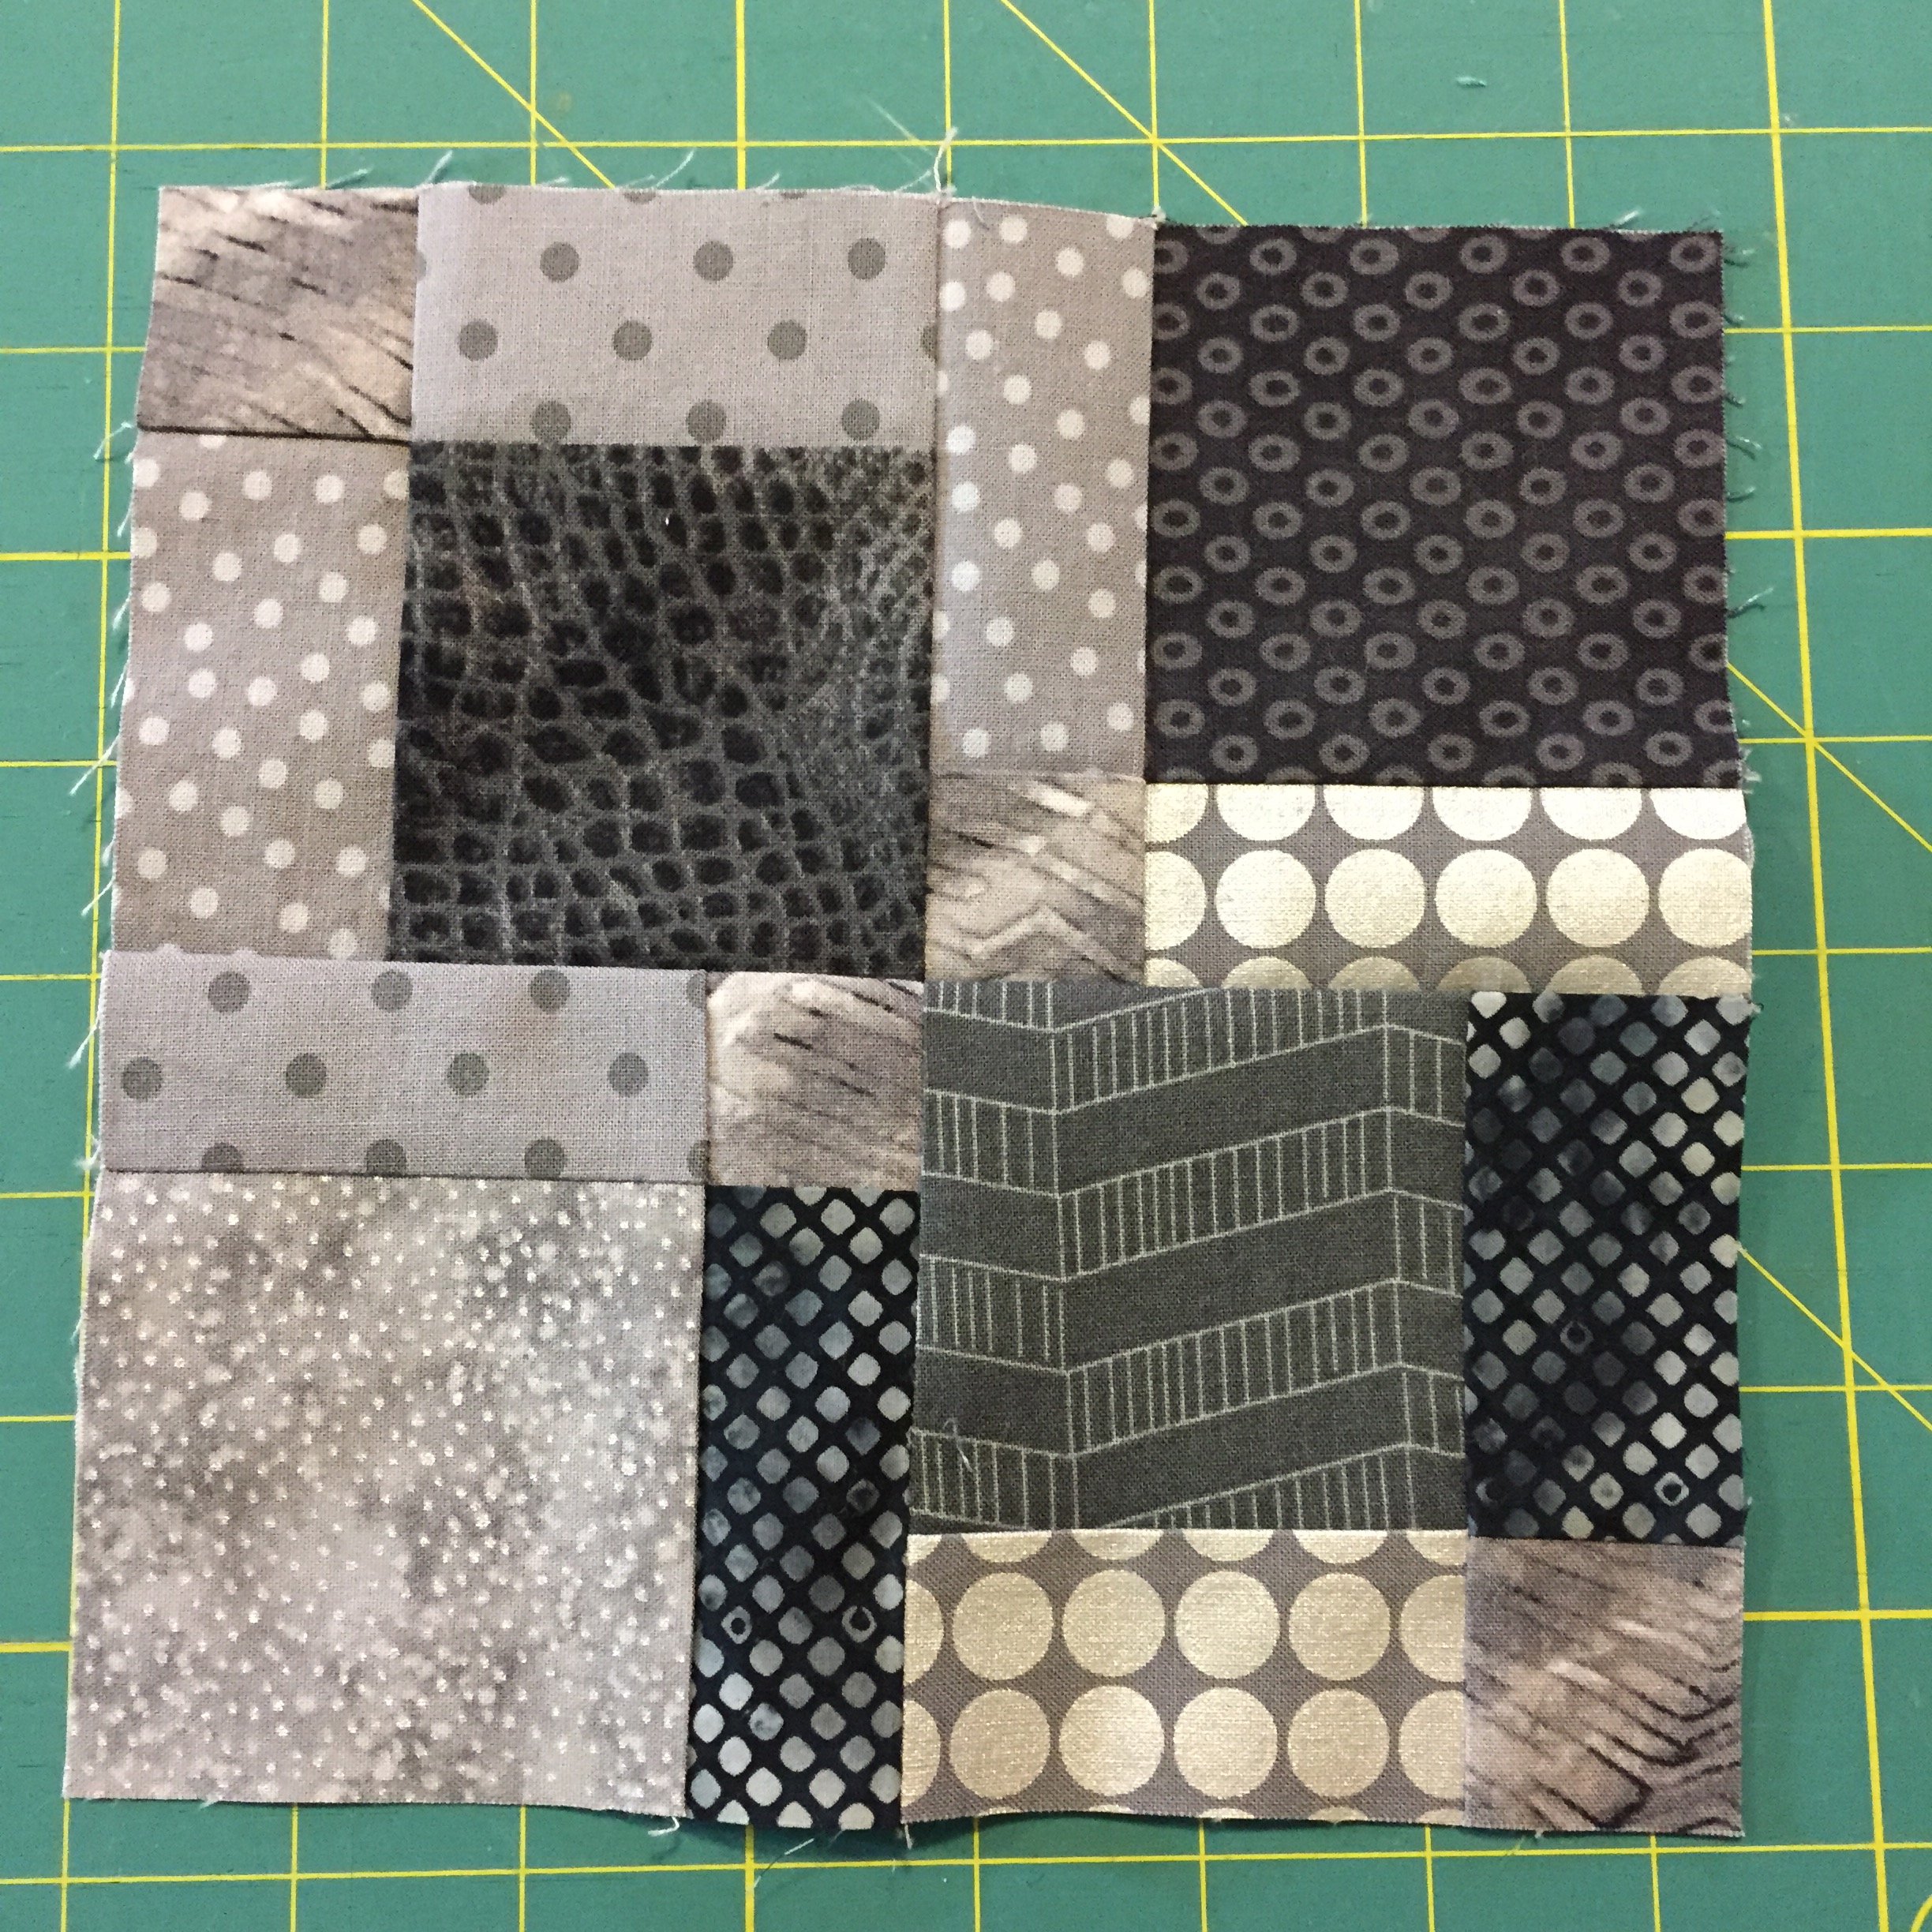
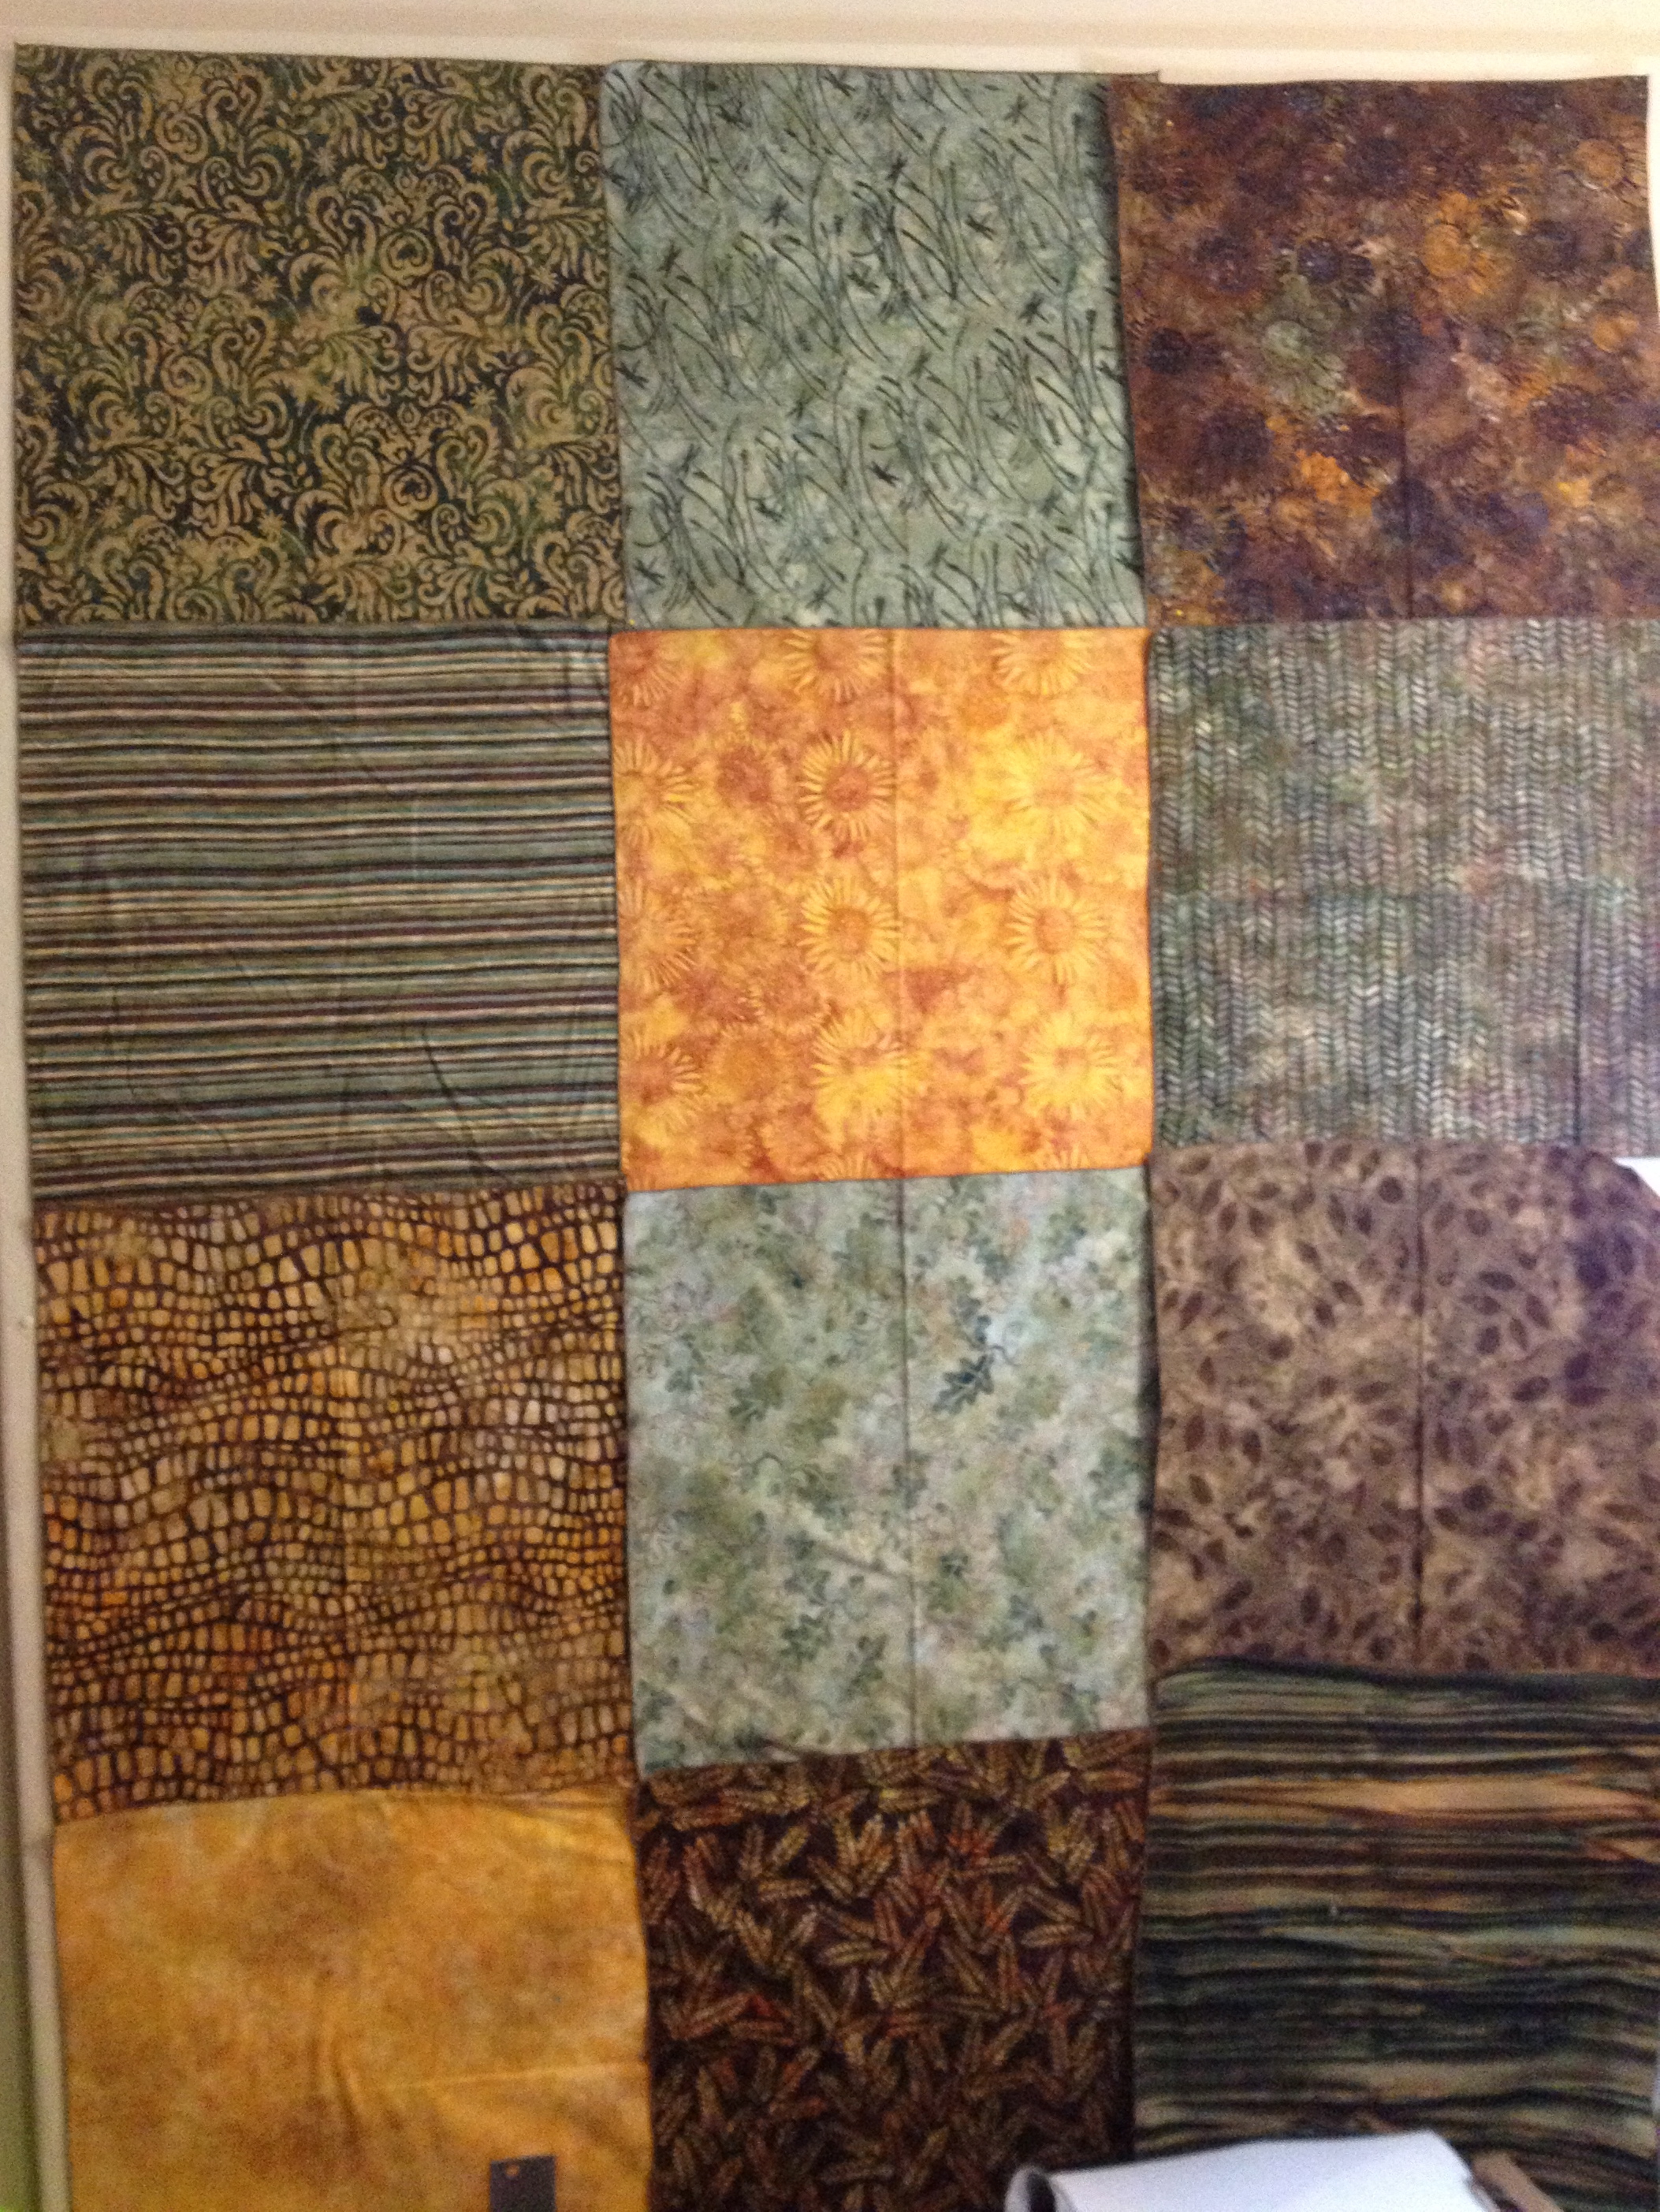
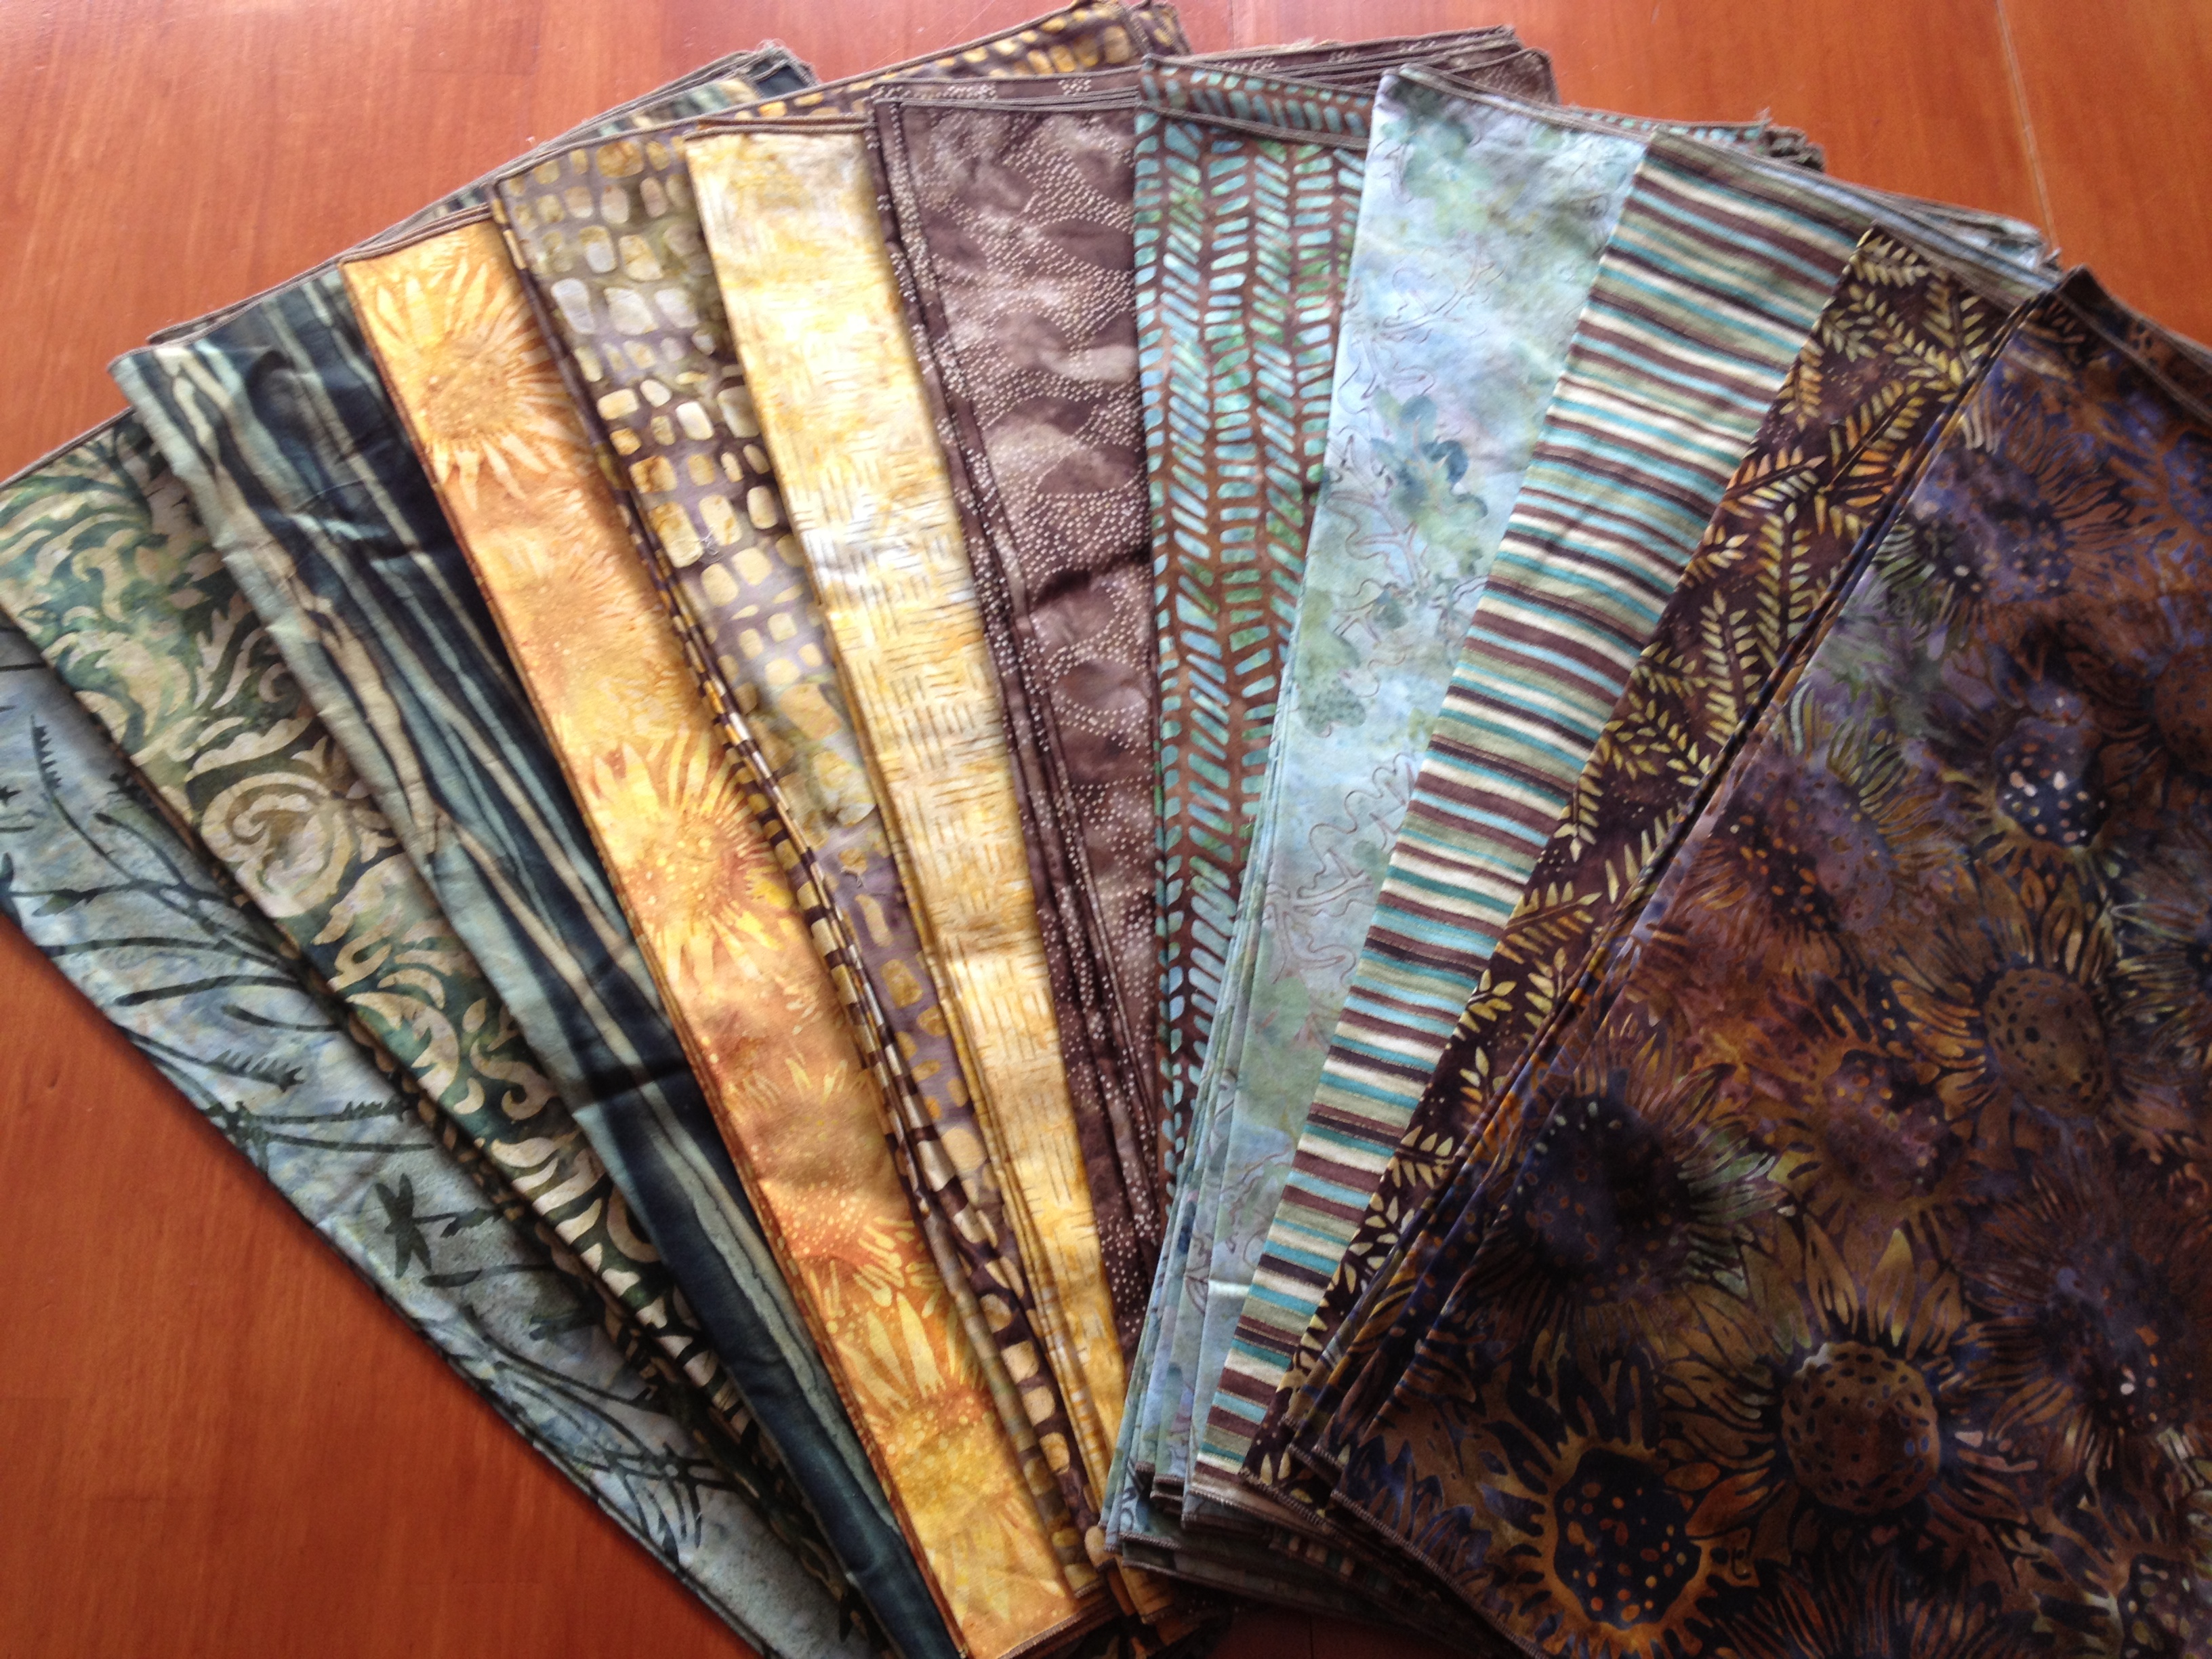
Michael Miller Fabric Challenge fabrics
The attendees of Sewtopia Chicago where issued a sewing challenge several weeks before the event. We were each sent 6 pieces of Michael Miller fabric and asked to create something quilted from them and bring it to the event to be shown all together and a few would be chosen by judges to win prizes.
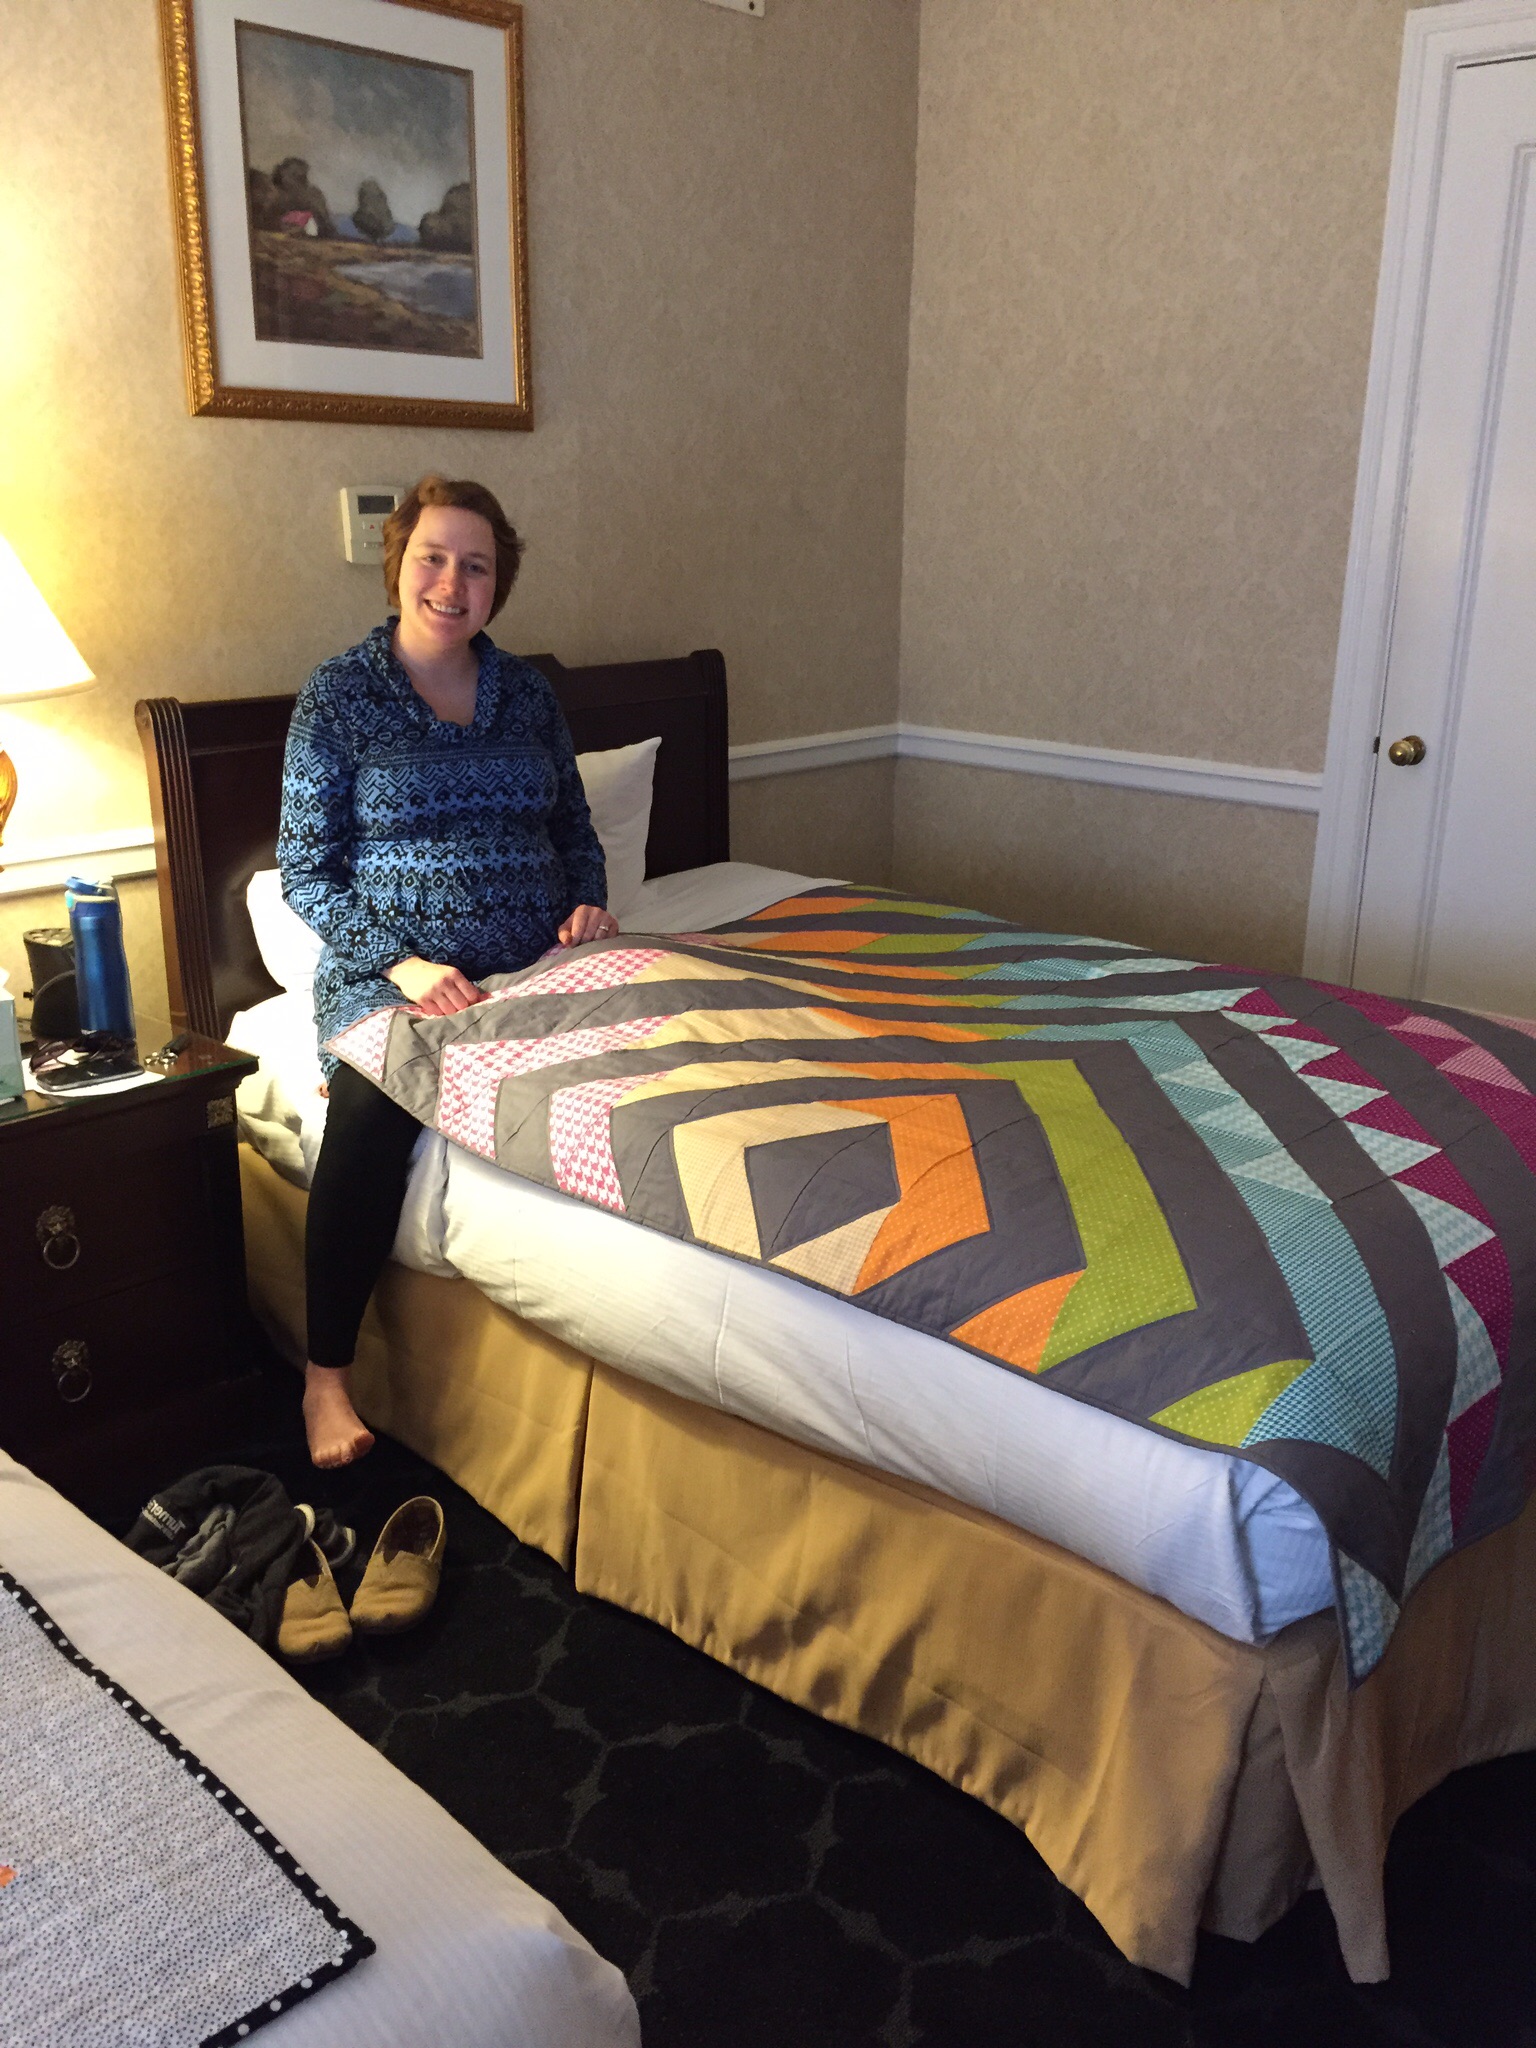
Lindsey’s entry into the Michail Miller Fabric Challenge.
You could add other Michael Miller fabrics to your piece. Lindsey ended up making a pretty large quilt. We were sewing the binding down right before we went to the opening registration where we had to turn our items in.
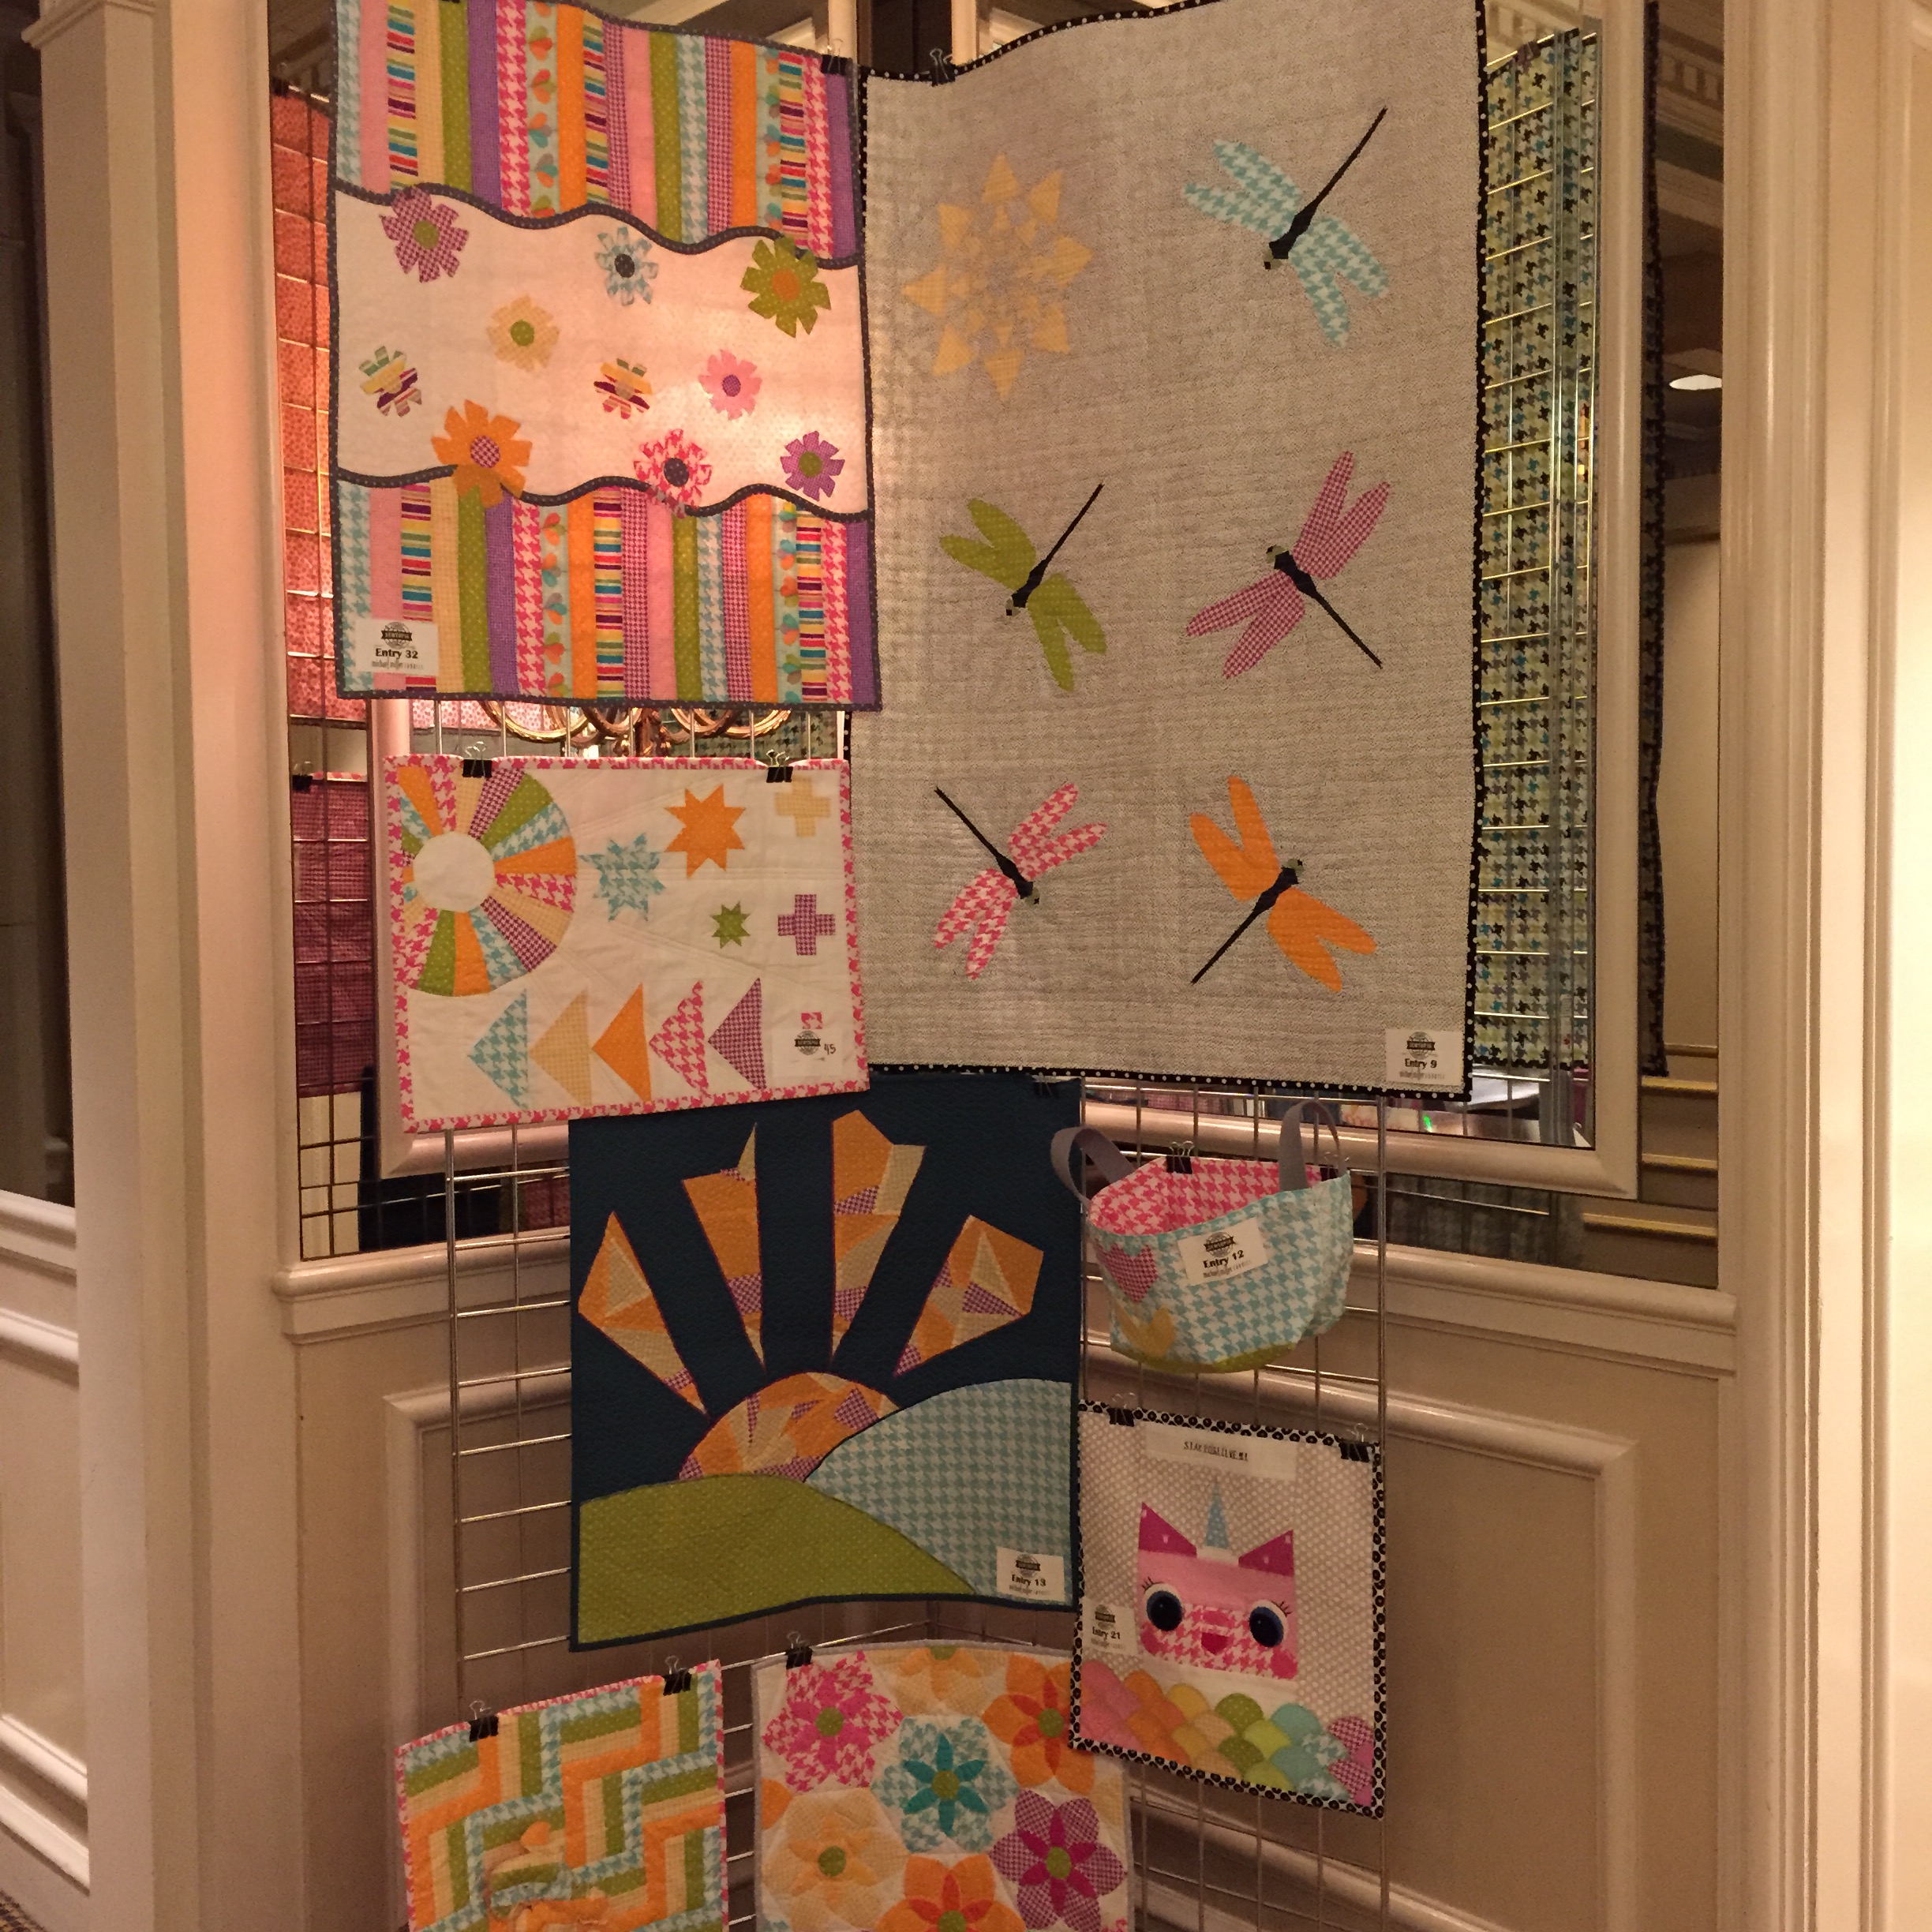
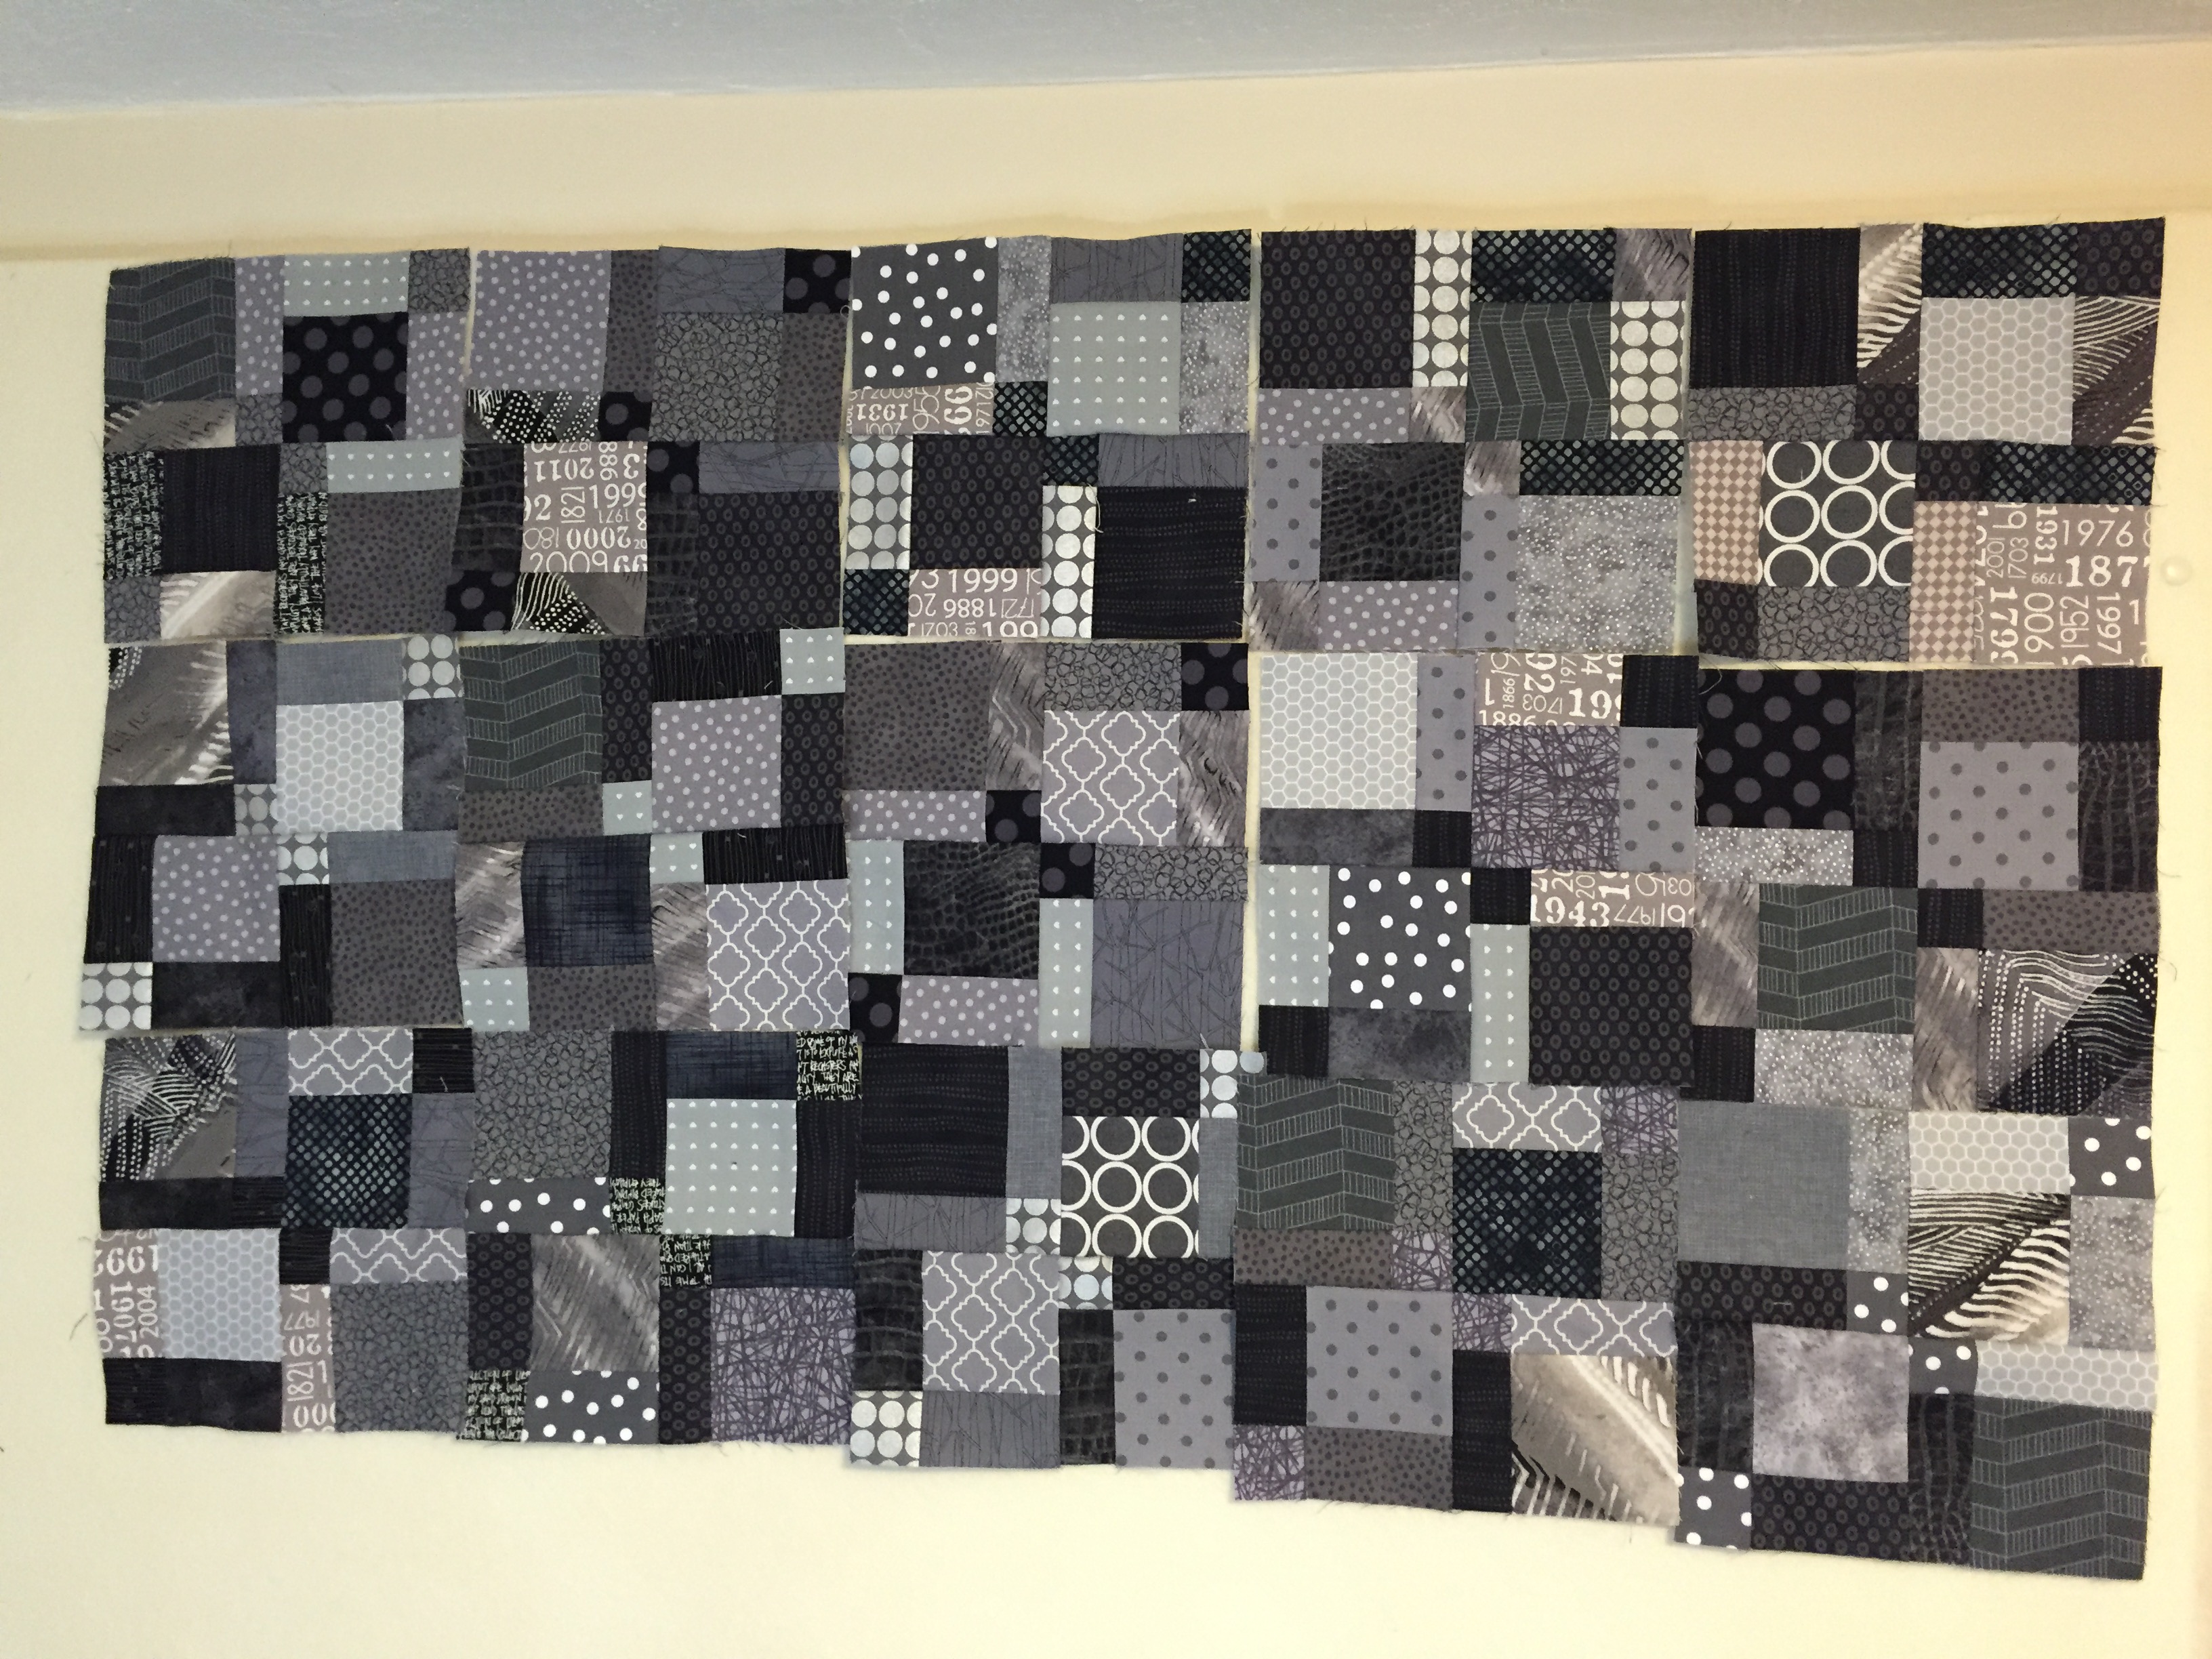
Some of the items entered into the Michael Miller Fabric Challenge
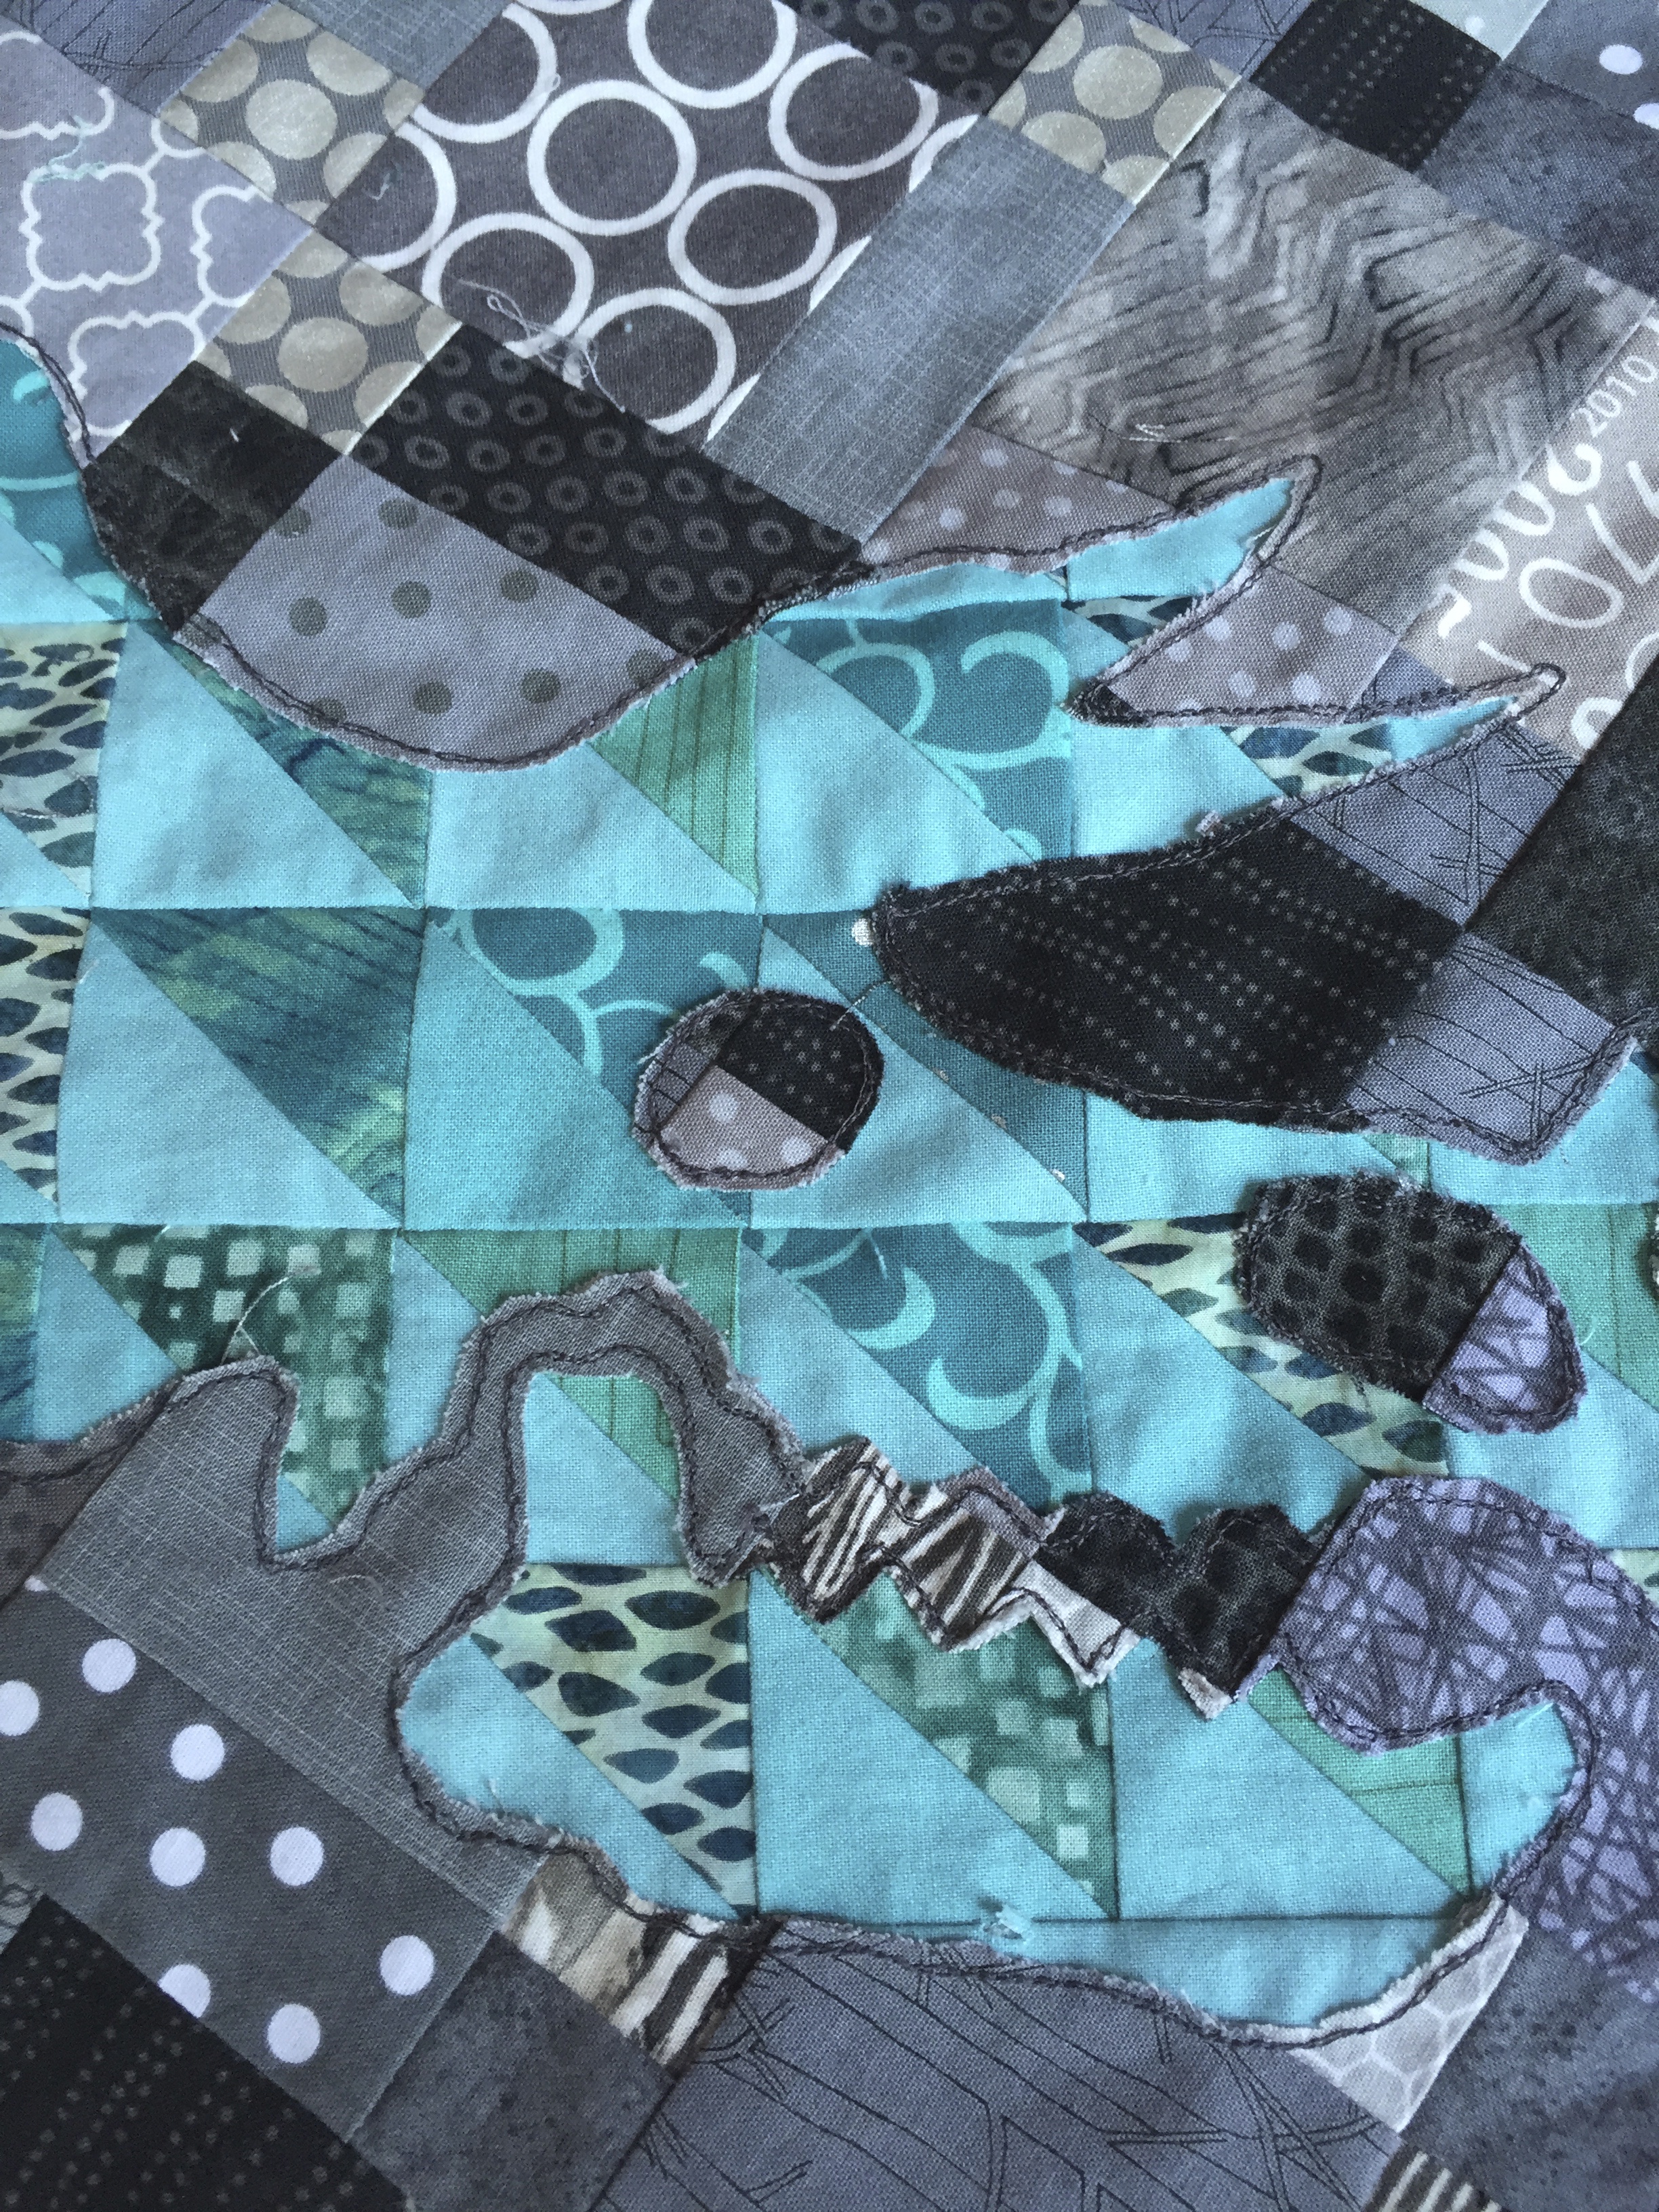
My entry was the Dragon Fly quilt pictured above (and below) with just a few of the the other entries.

My quilt: “Well Dressed Dragonflies”
During lunch the day of the judging the attendees requested to vote on their favorite of the challenge items and the staff agreed and made it happen. Guess which quilt won “viewers choice”? Mine! I thought the dragonflies were pretty cute, but it sure was great to know others did too. It is a paper pieced pattern by Amy Friend that can be found here.
I do not have photos of the items that won the judging. If the Sewtopia people post photos of them later I will edit them in. The winner made a bag with amazing piecing and the words of the song “Over the Rainbow” free motion quilted into it. Second place was a fabric iconic Airstream trailer and 3rd place was an adorable rag doll.
There were many other wonderful sponsors for this event including Bernina who provided sewing machines for many of the participants, Pellon who provided rolls of batting and Reliable who provided irons. The organizers and staff were all truly amazing.
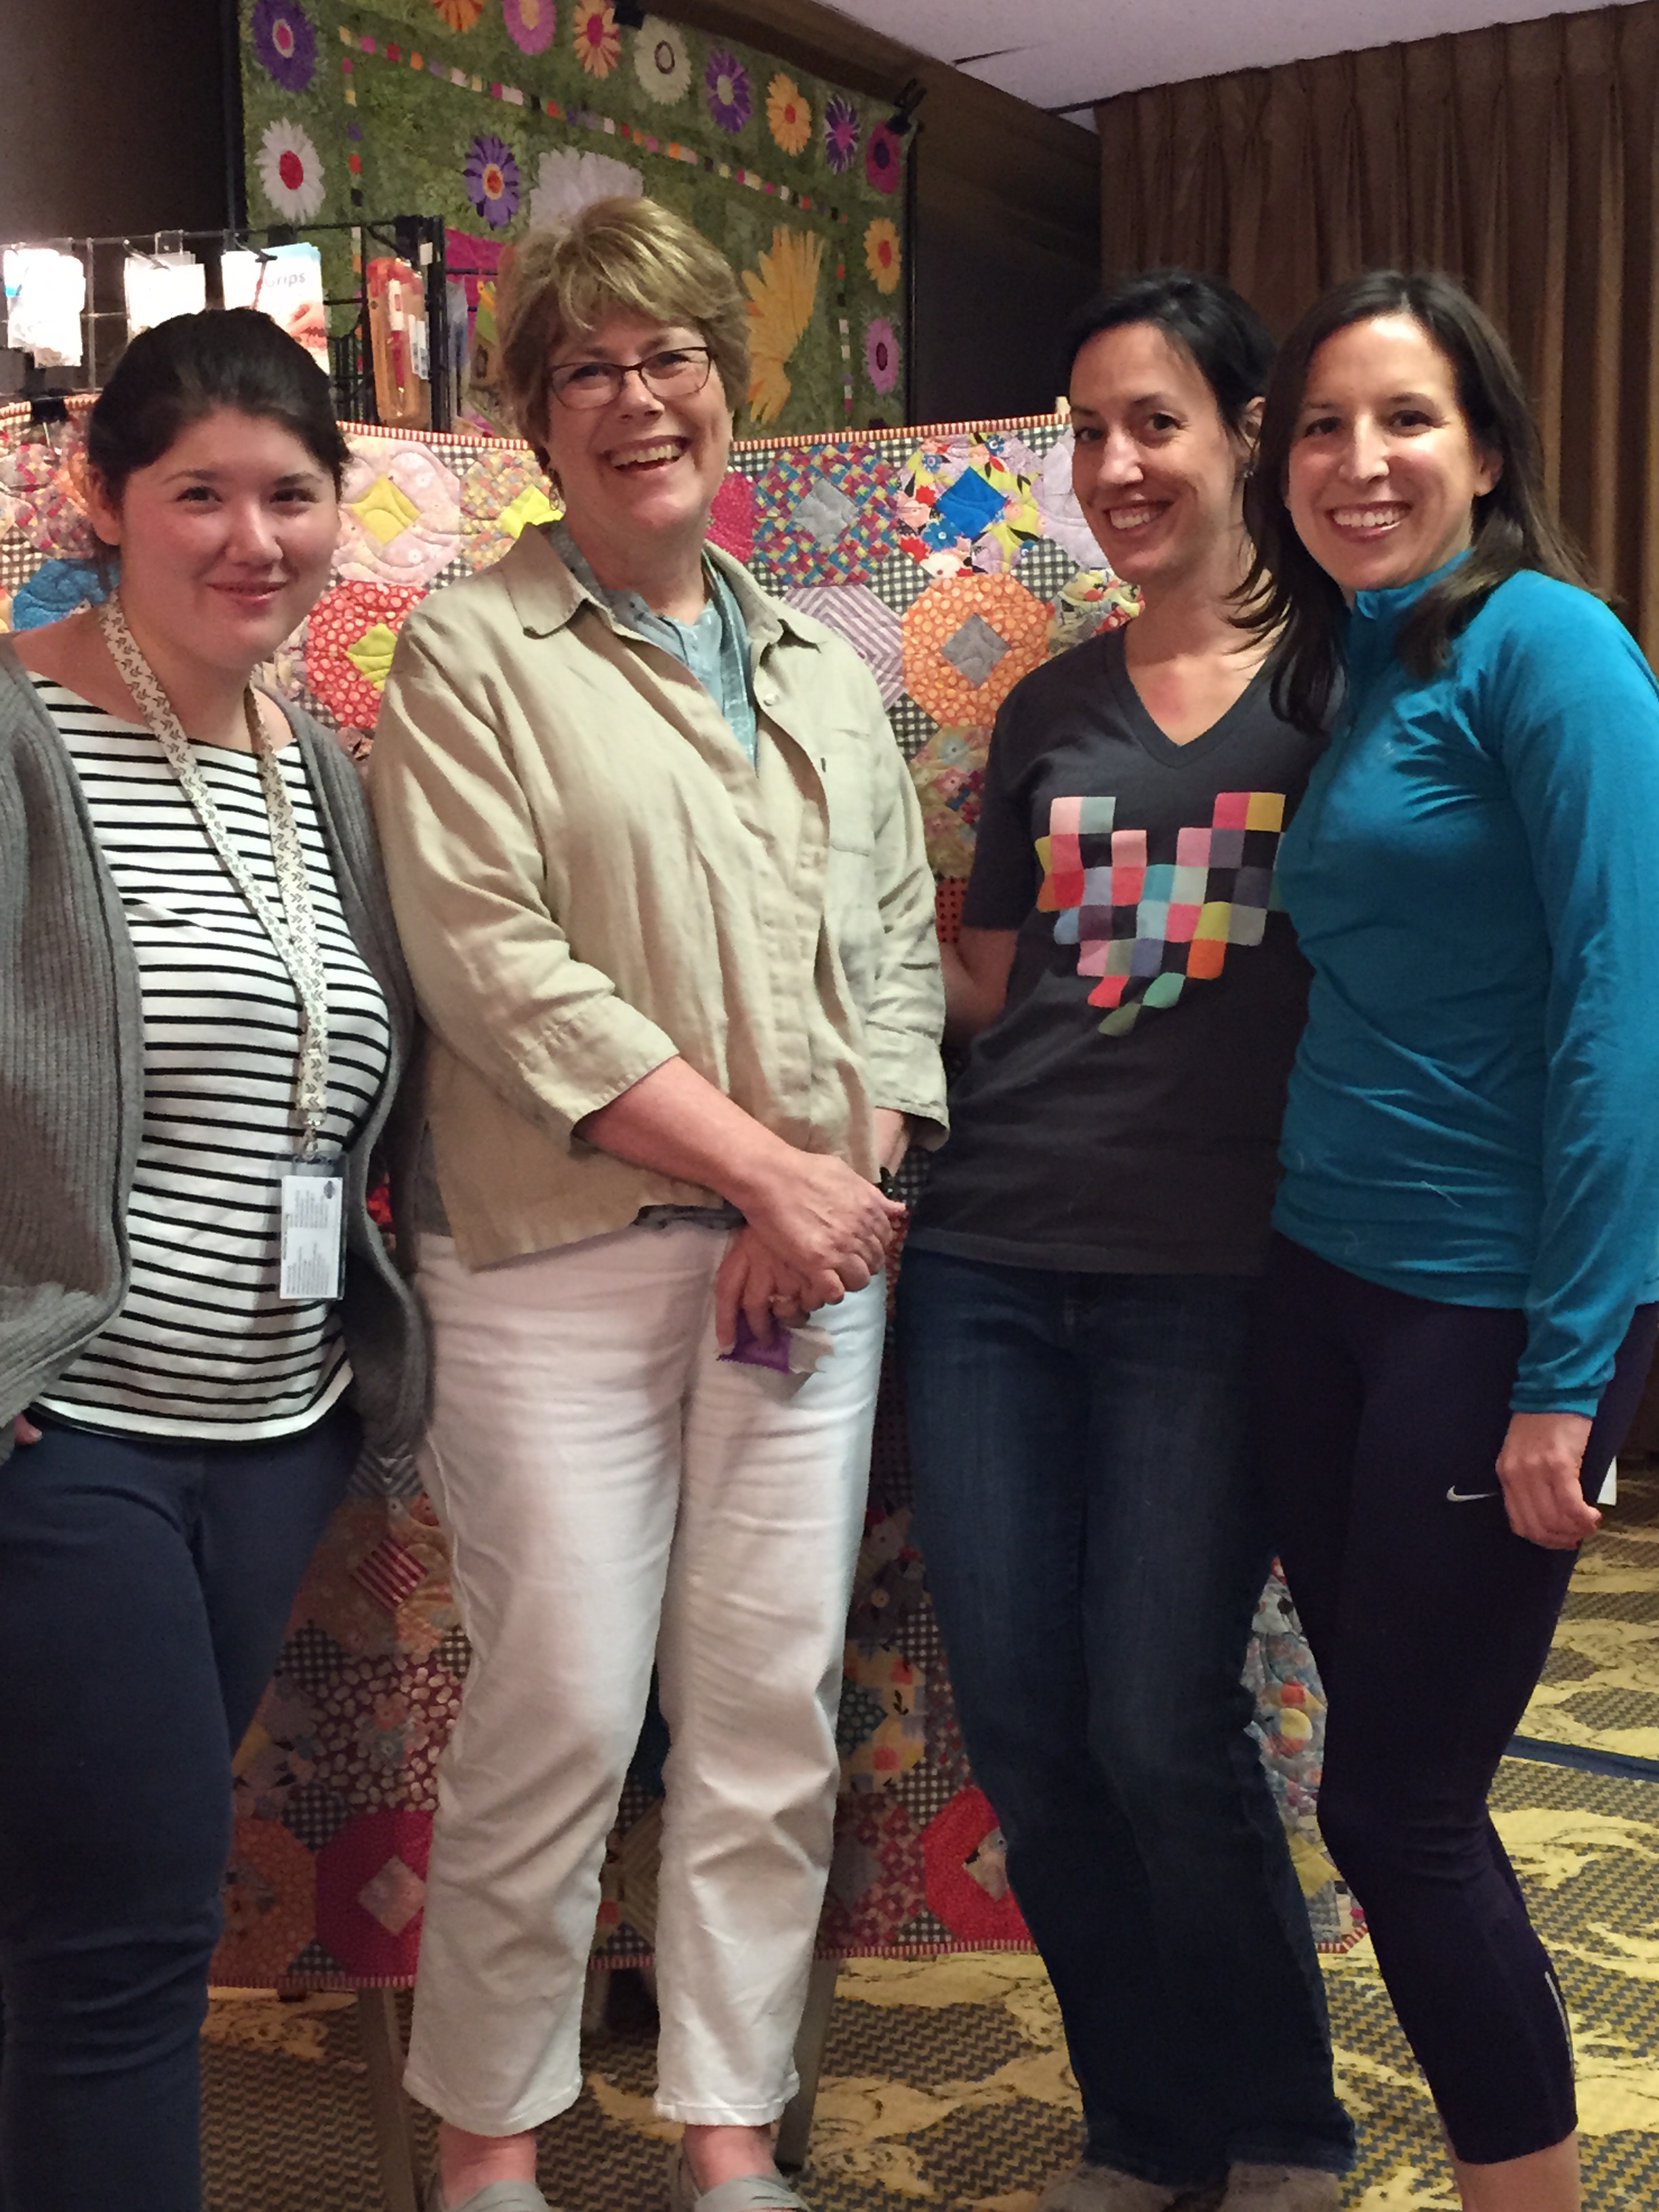
I had so much fun with these ladies!
I didn’t realize there would be other DC sewers at the event, but found that there were 3 others when I got there. Kristina on the left above has moved to Chicago is now a student at Northwestern University. Stephanie and Lauren flew in from DC for the event and it was such a pleasure to get to know them better.
To say that it was a wonderful weekend is such an understatement that it seems stupid to even say it. I sewed, I learned new things, I met new people and I was with my daughter who lives much too far away from me and who’s life is about to change forever. I feel as though I’m the luckiest woman alive. To top it off – I’m going to yet another retreat this coming weekend! Mid Atlantic MOD will be happening in Lancaster, PA and I will be there with many of my friends (some feel like daughters) from the DC Modern Quilt Guild. I can’t wait!