Pouch for the Stitch It Swap
I joined a swap last month. Jennifer Mathis who blogs at Ellison Lane posted that she and Lindsey Rhodes from LR Stitched were going to host a pouch swap. I would have 6 weeks to make and send a pouch. I don’t enter a lot of swaps because I don’t enjoy the pressure of it. You have to try to guess from a few photos and their social media sites what someone else would like and you want to do your very best work.

Also, there is obviously a timeline. Aka deadline! I’ve been making so many pouches lately though, that I thought that this swap would be fun. The 6 weeks was key because I was about to take a road trip for 3 of those weeks. That trip gave me time to think about what I might want to make.

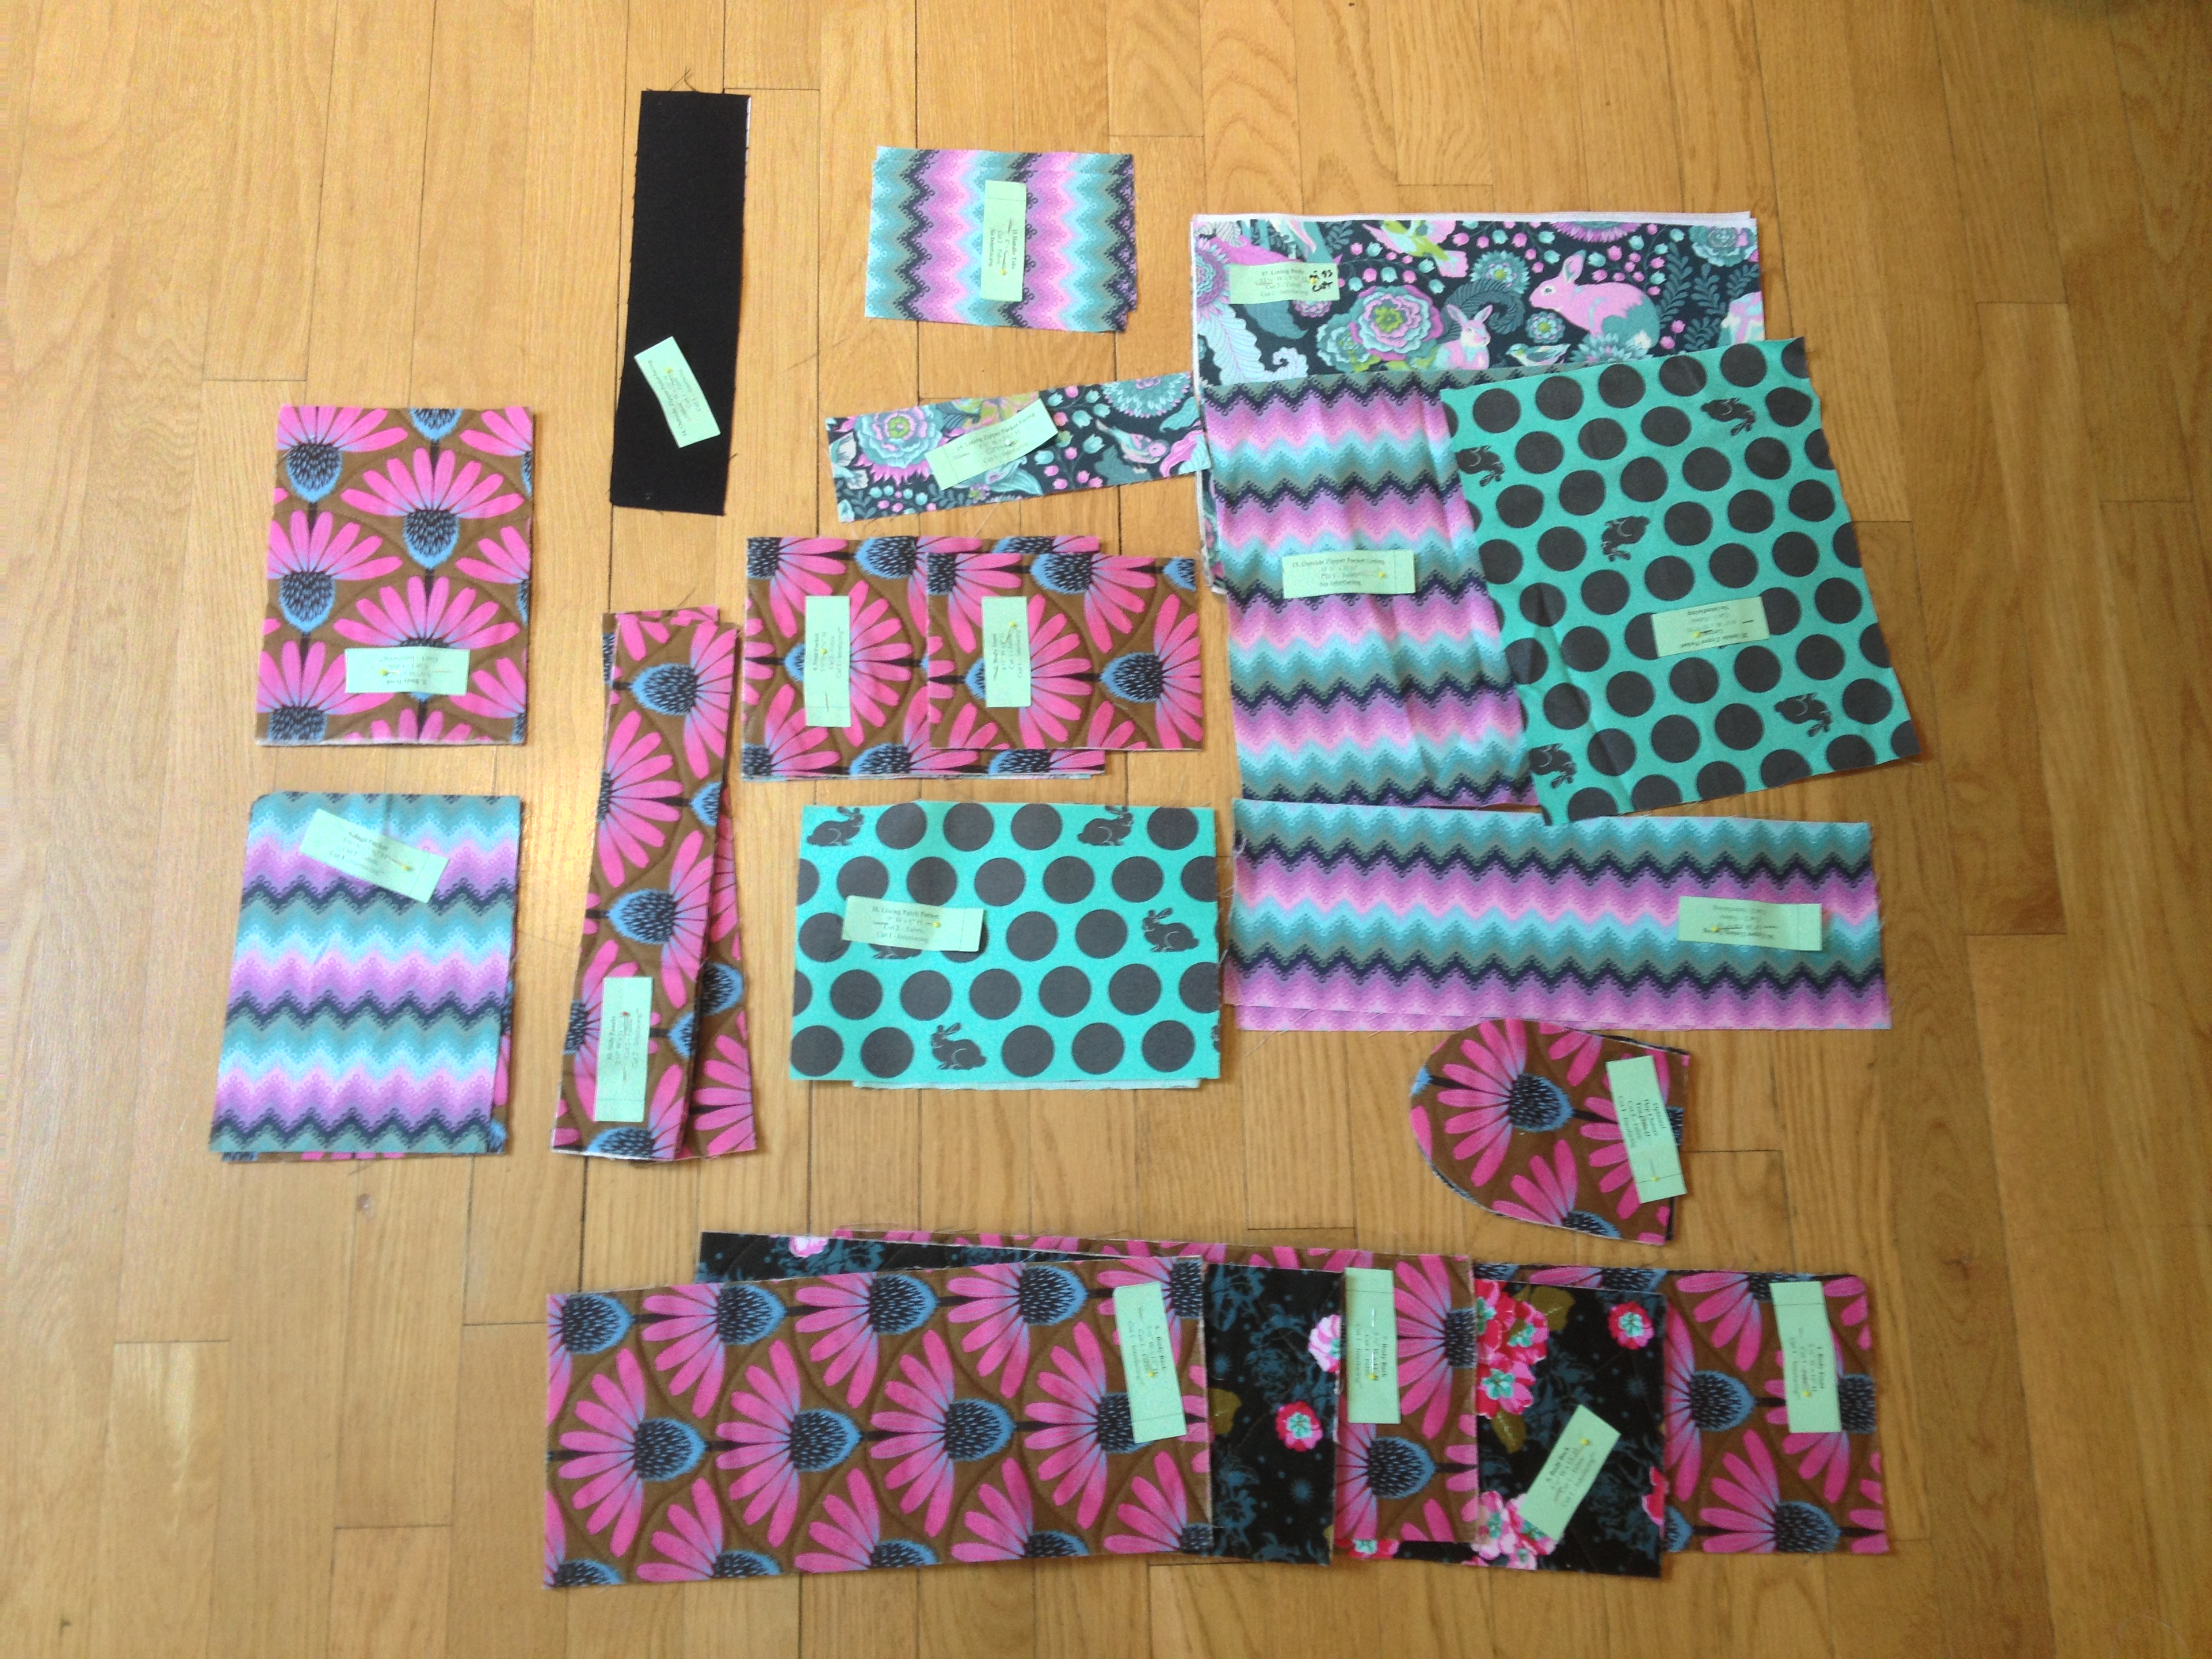
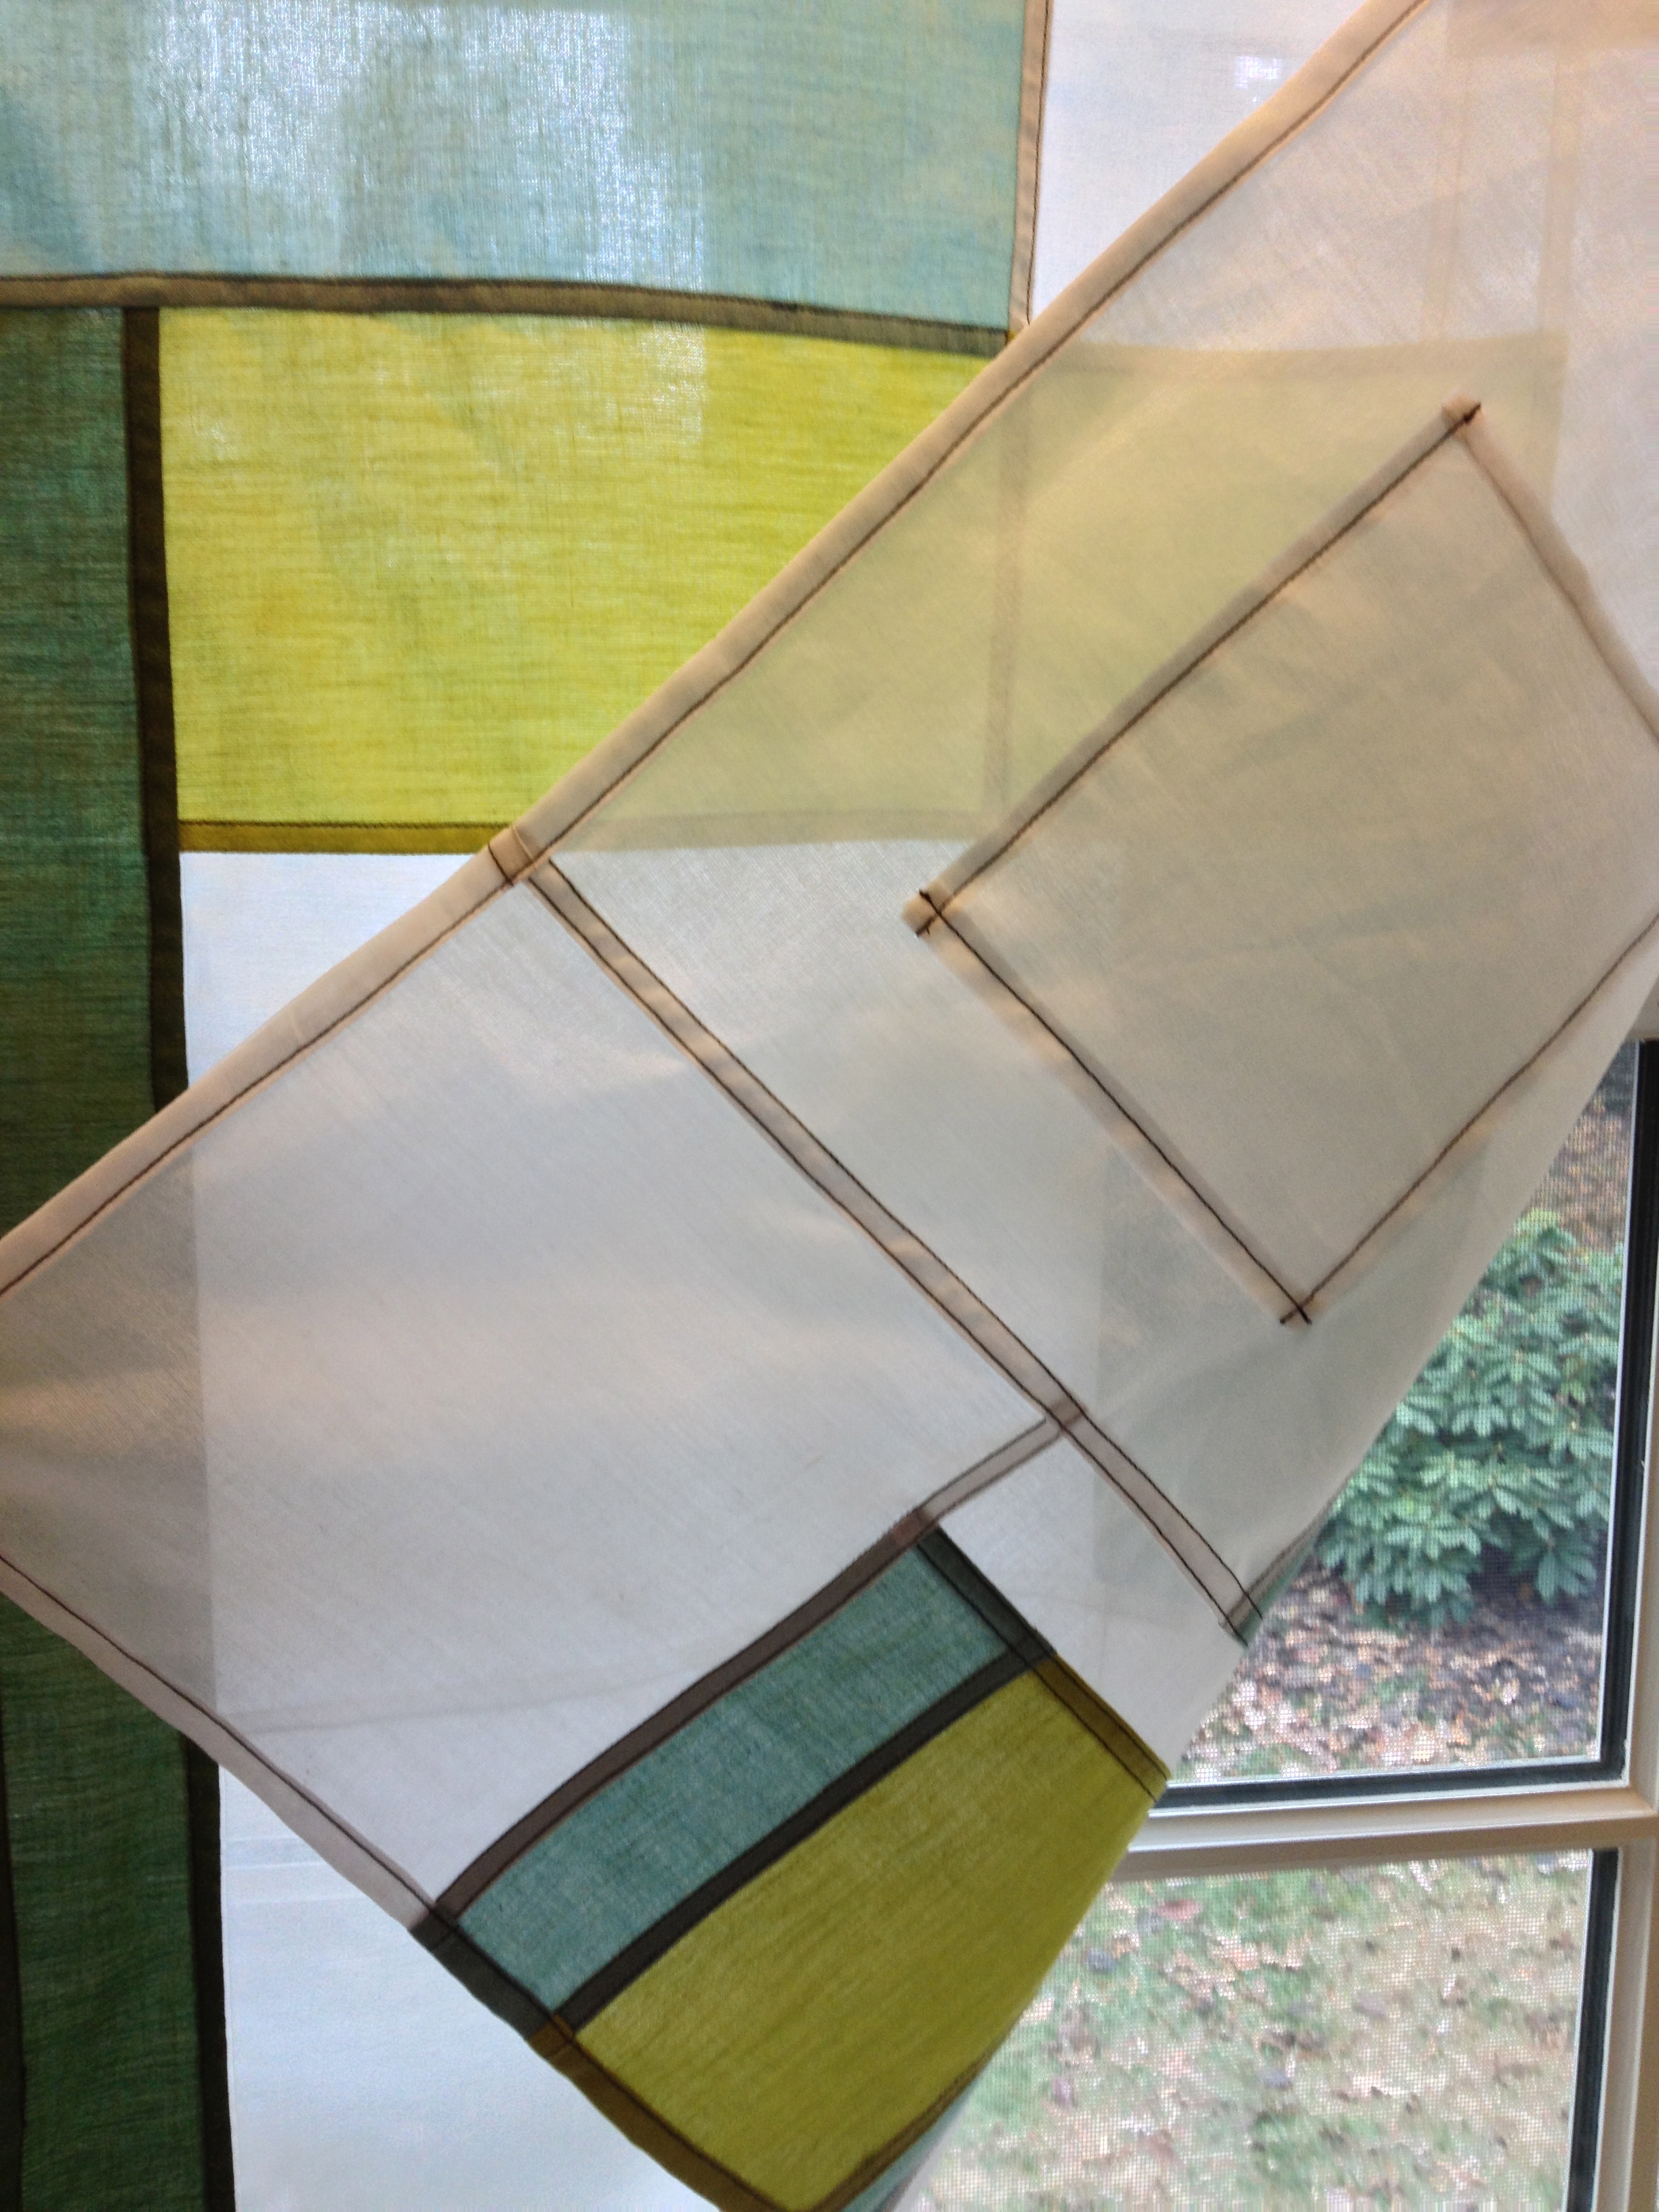
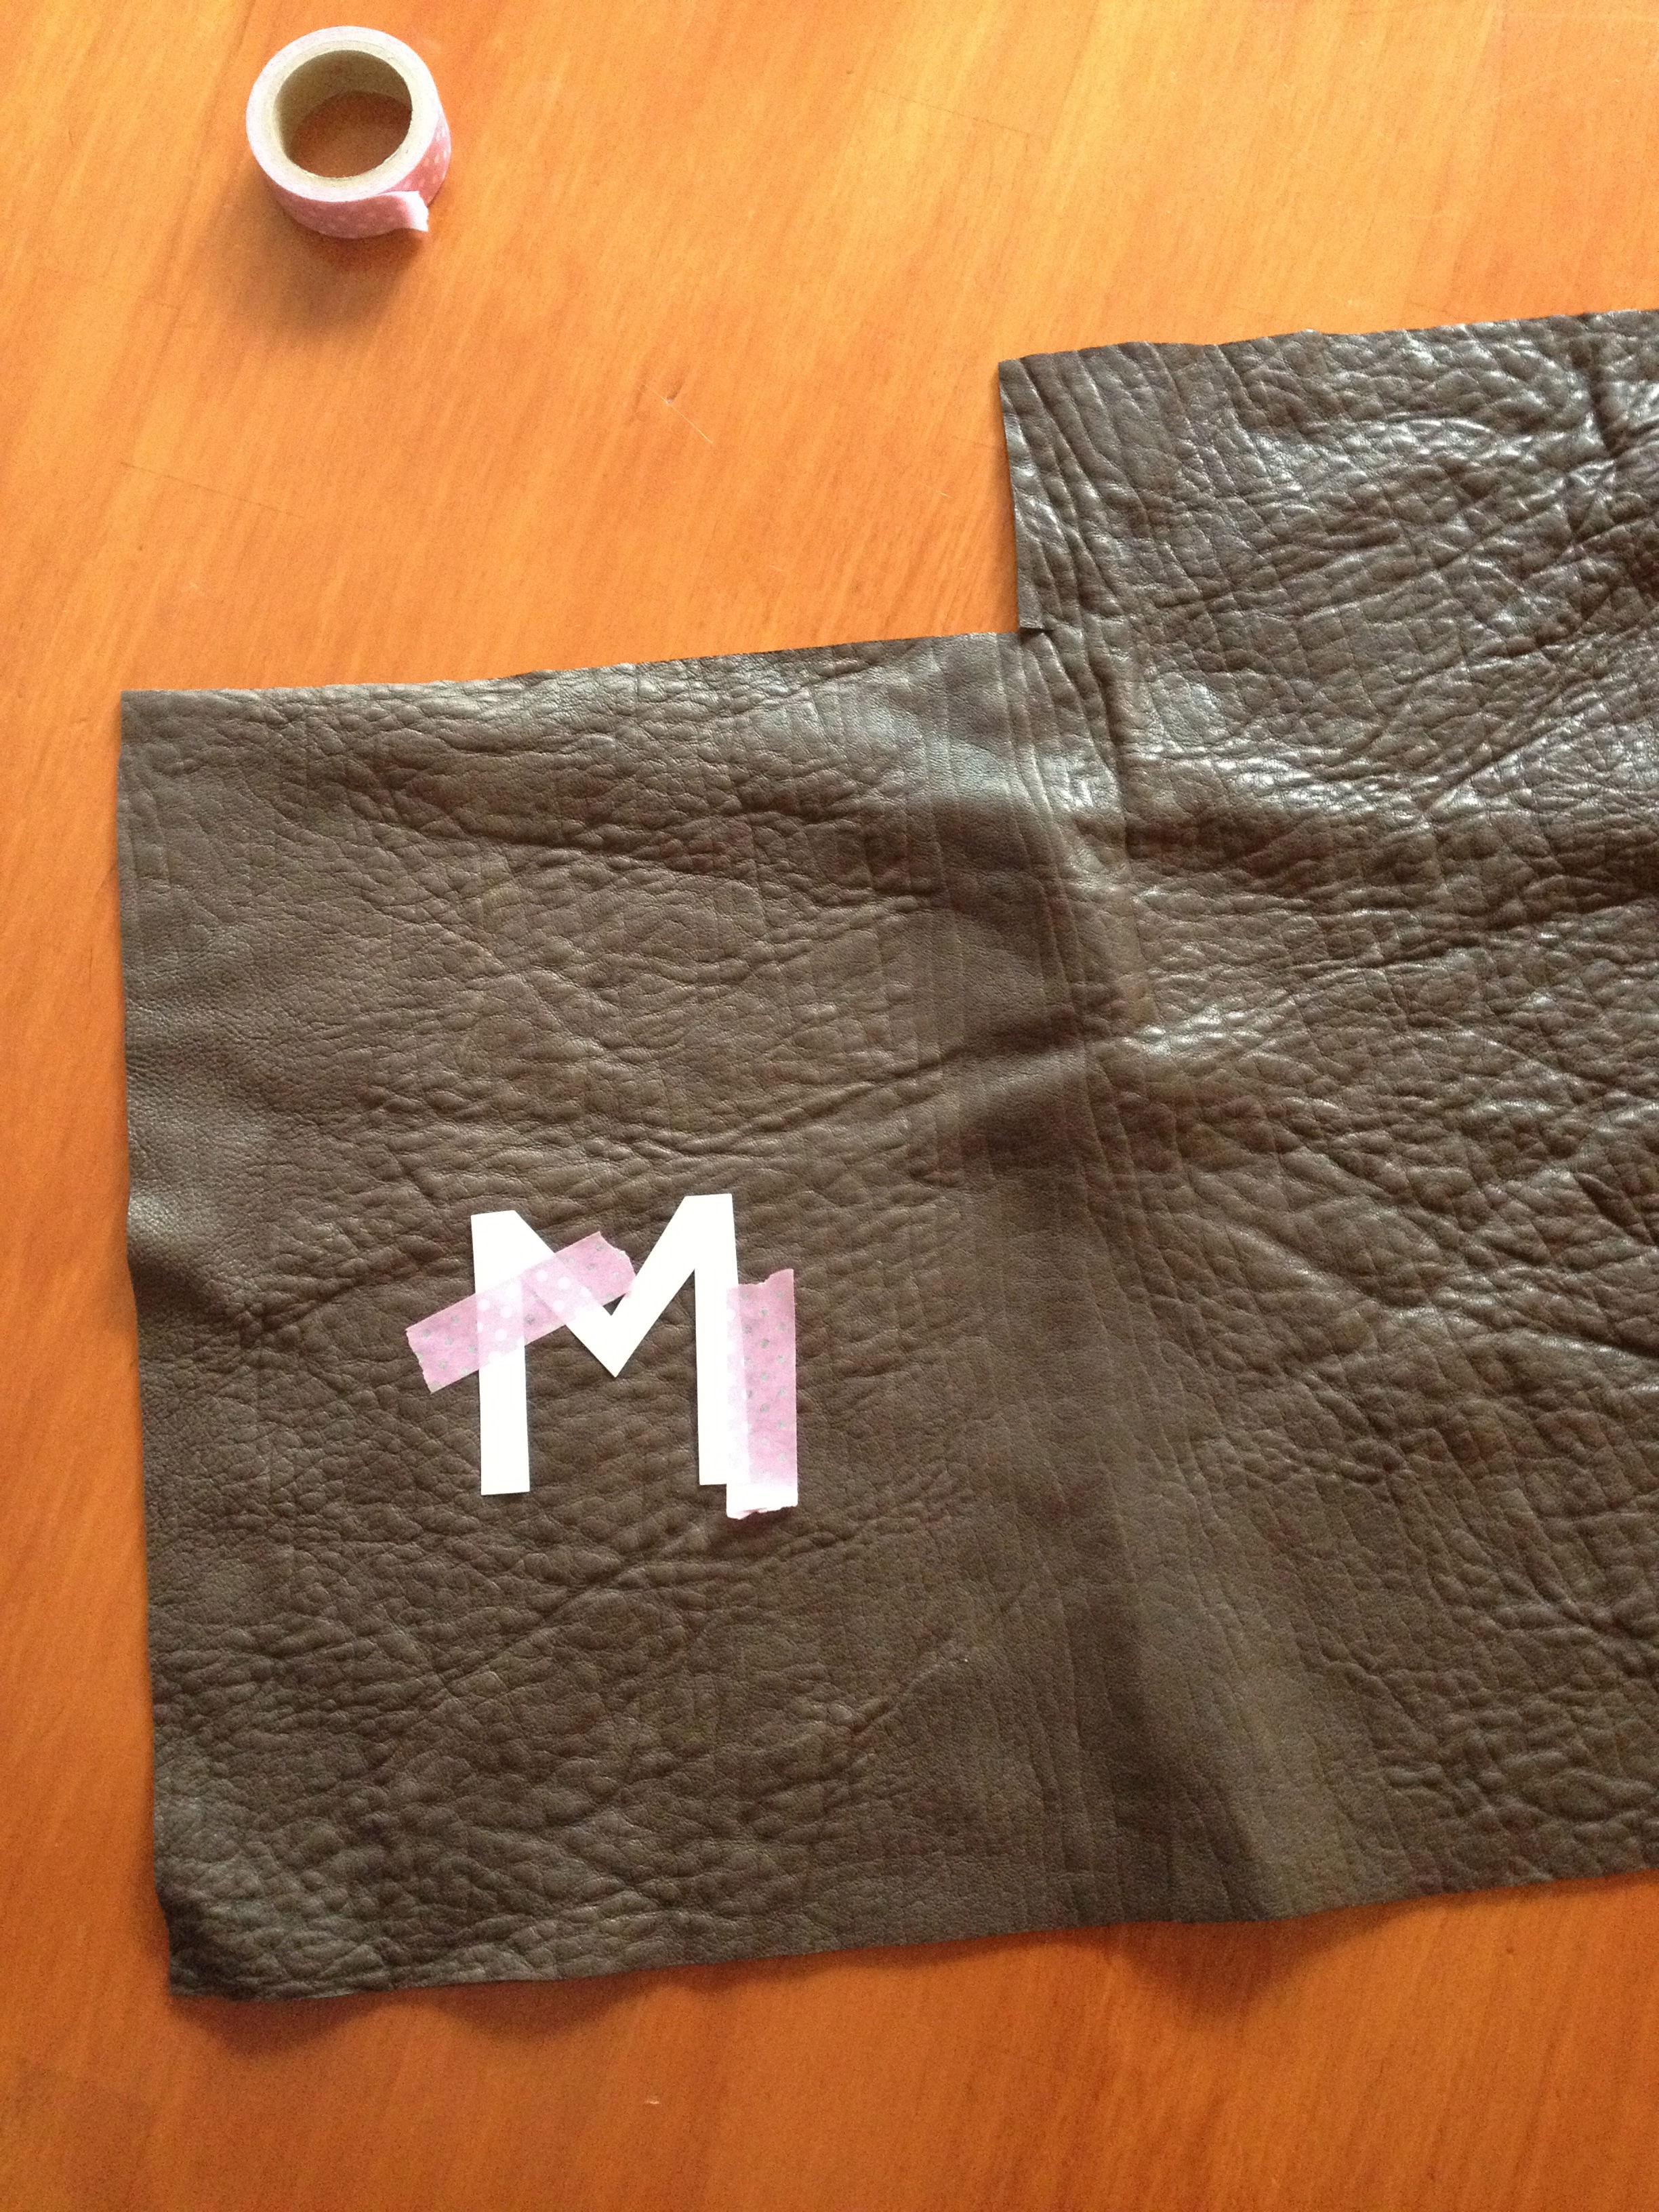
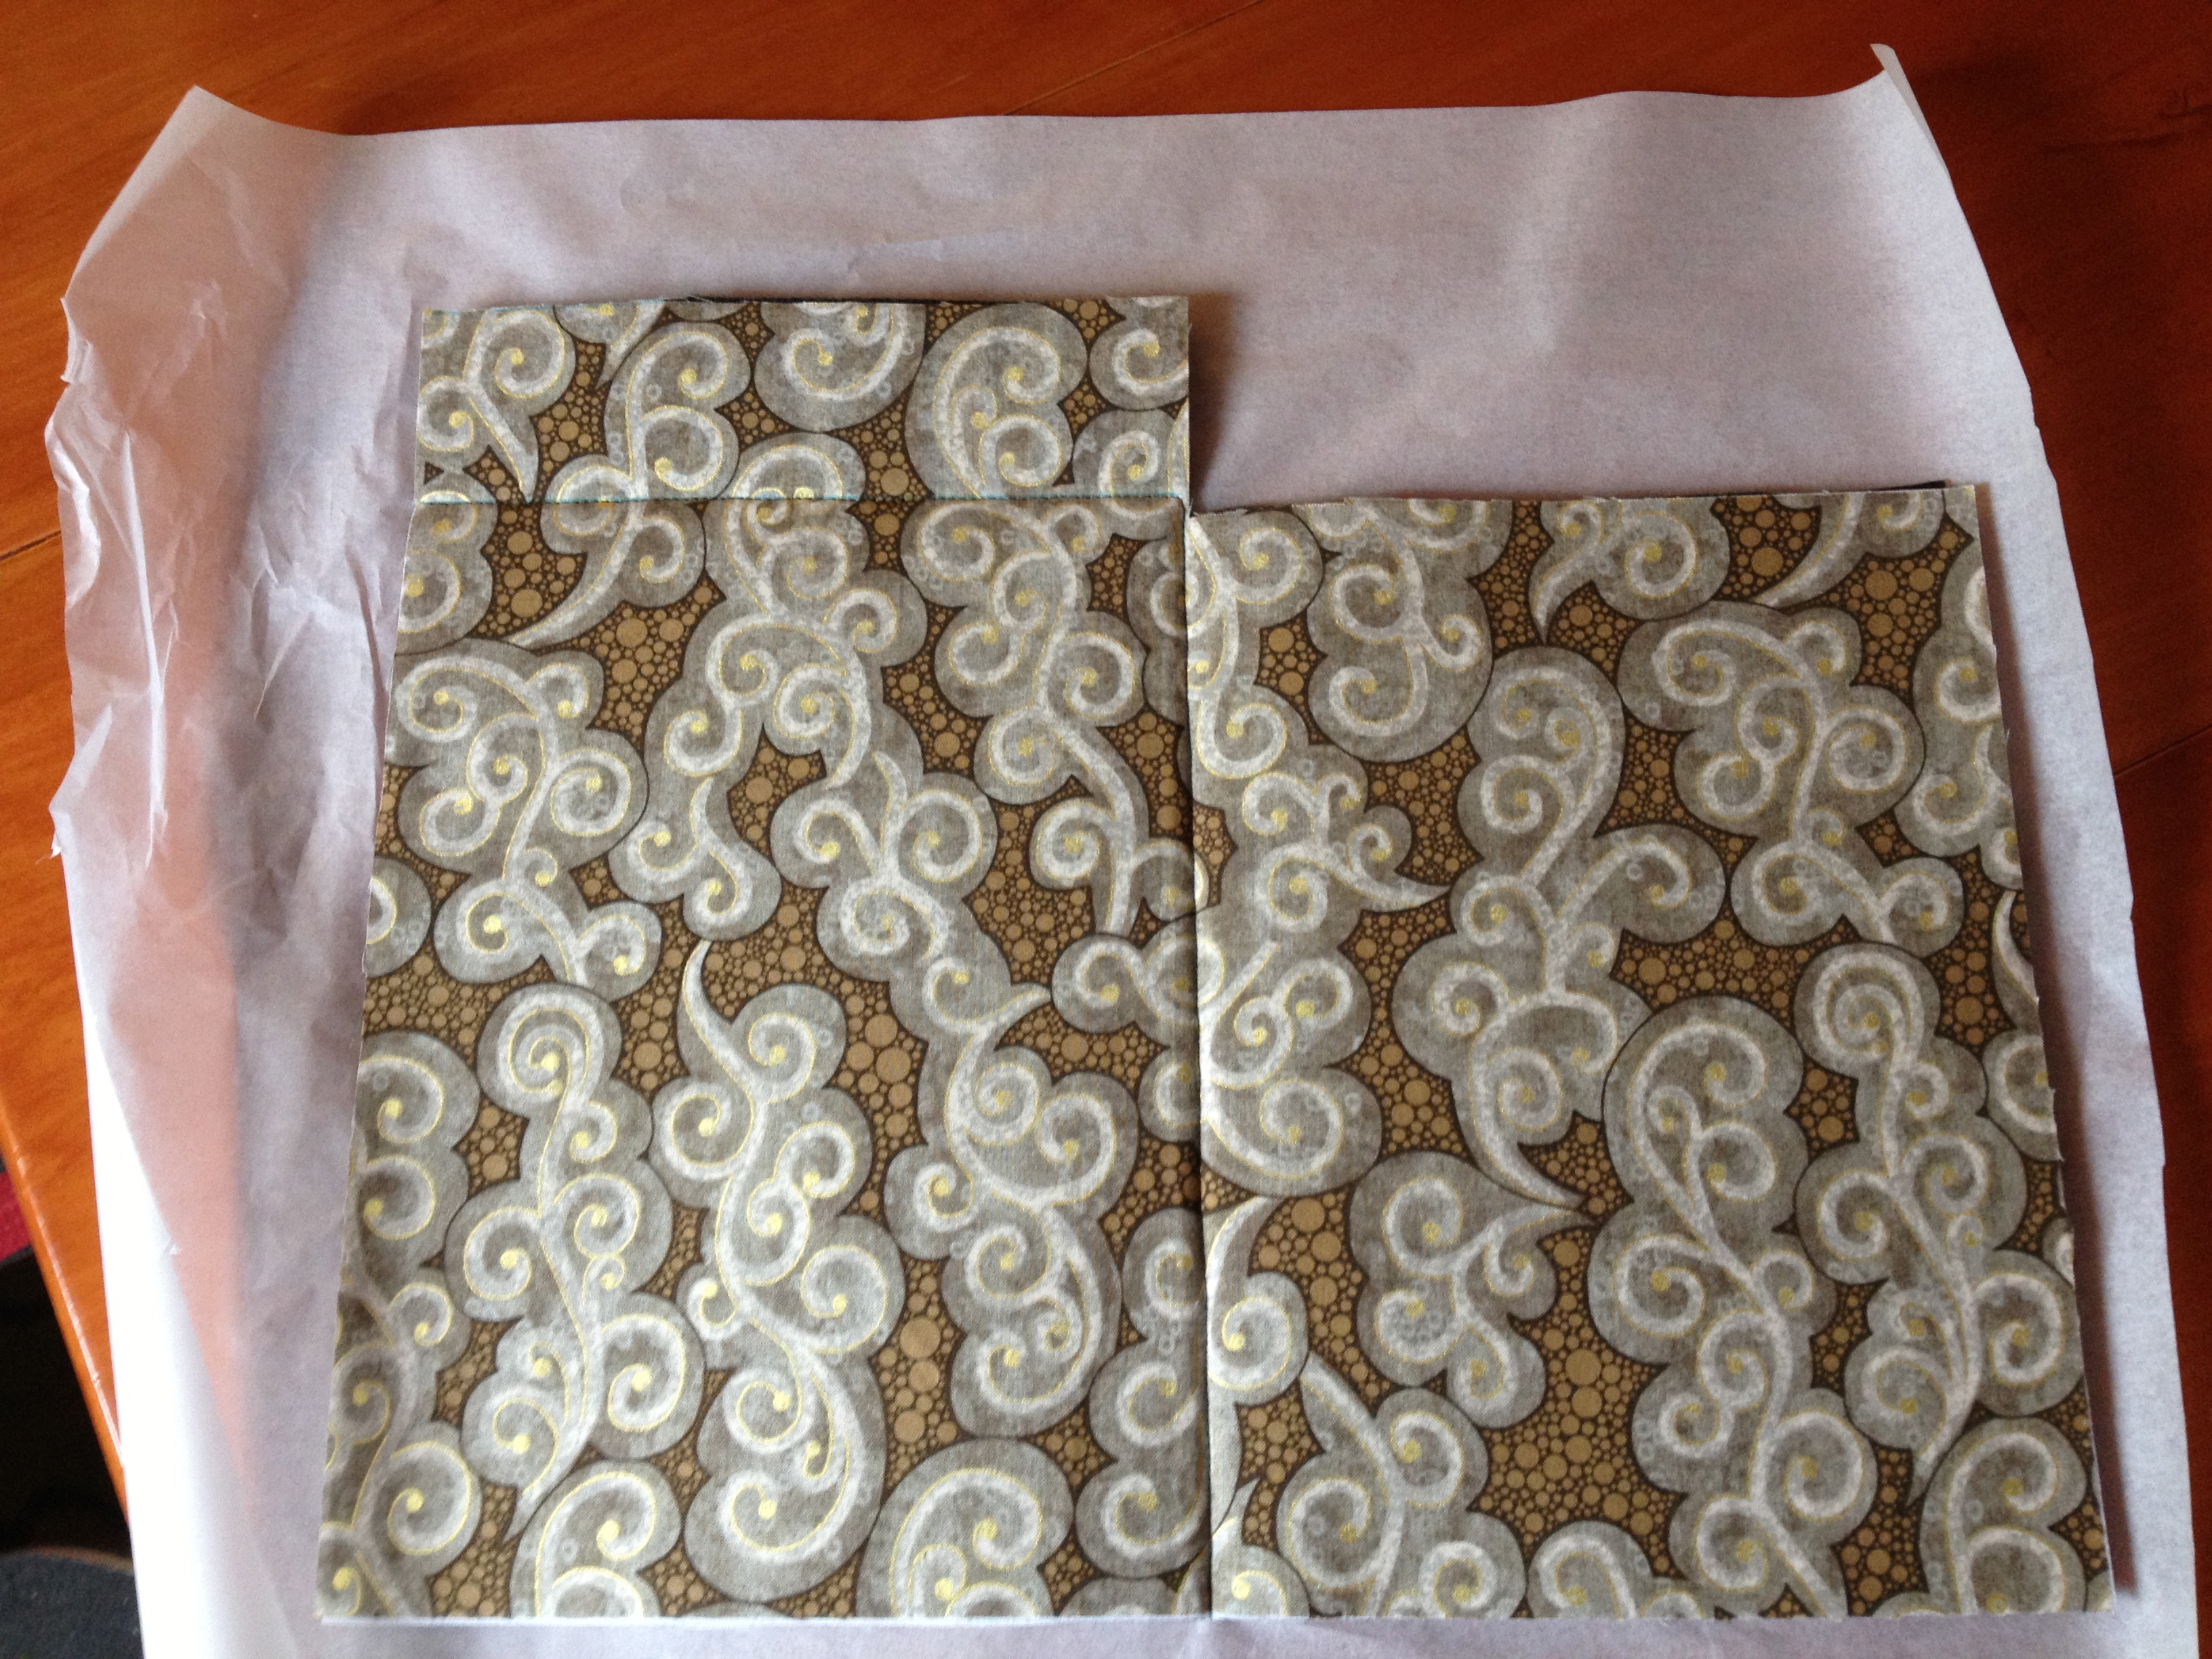
Low volume fabric squares for the top and leather for the bottom
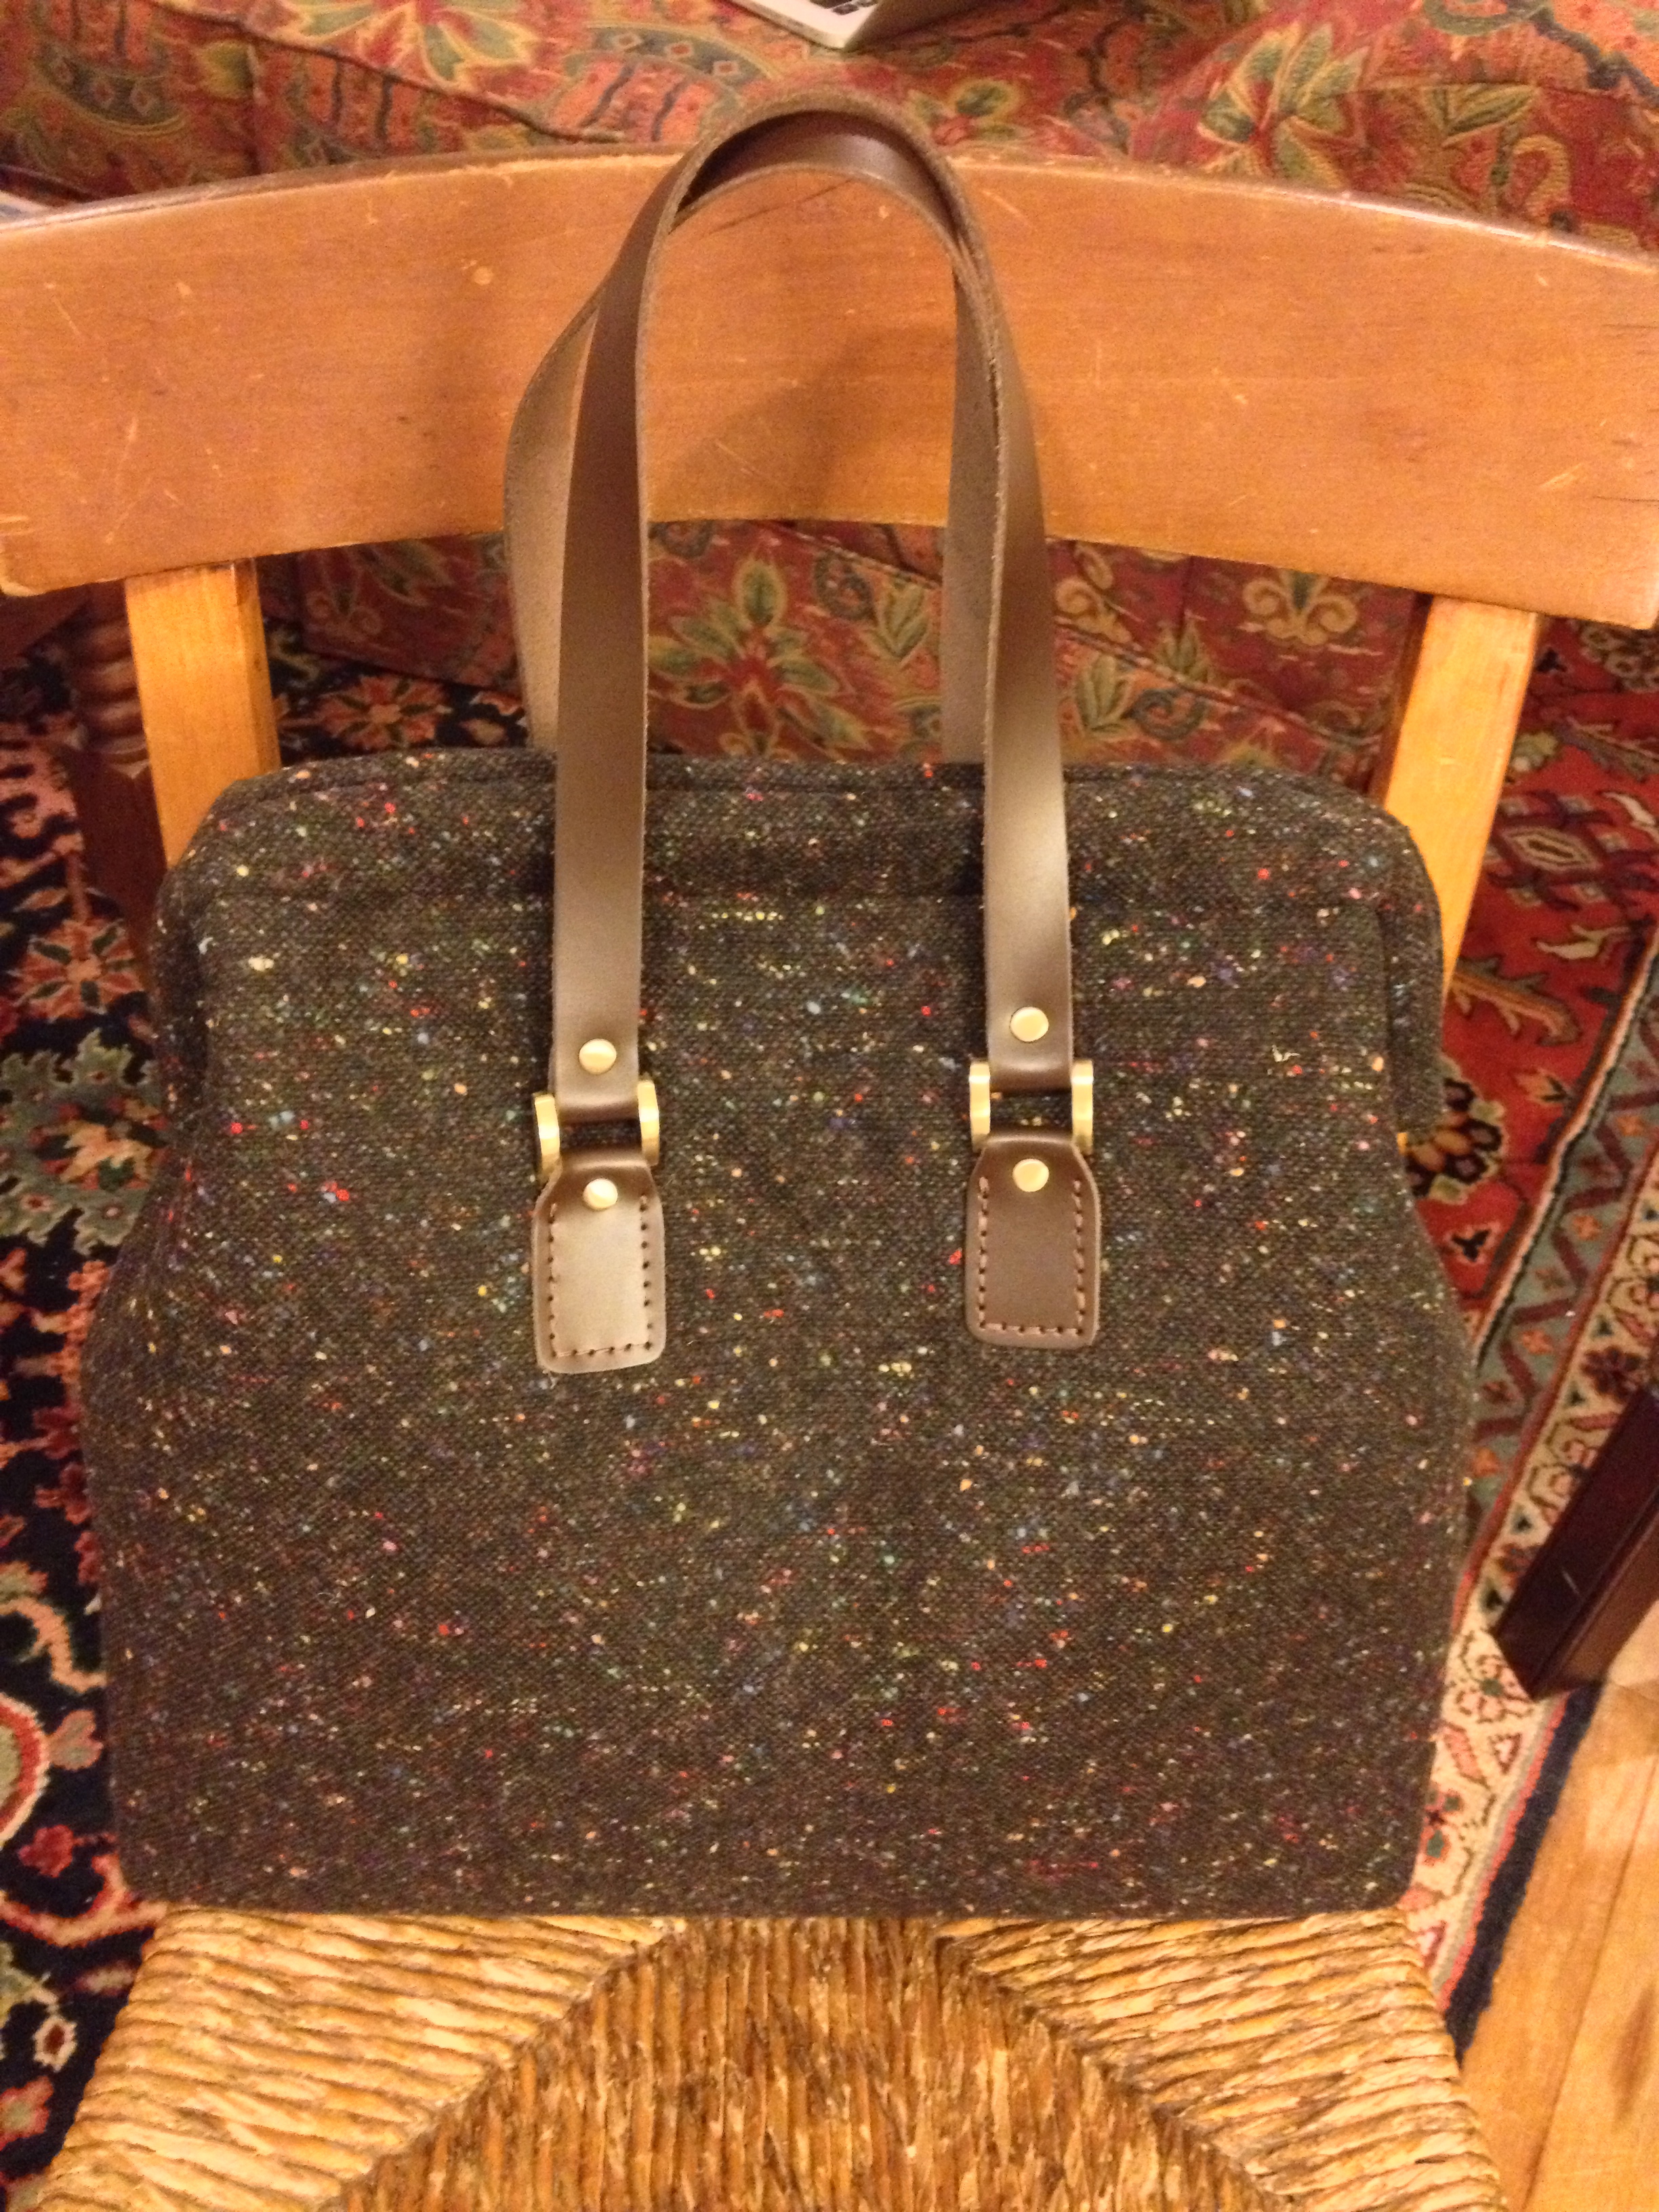
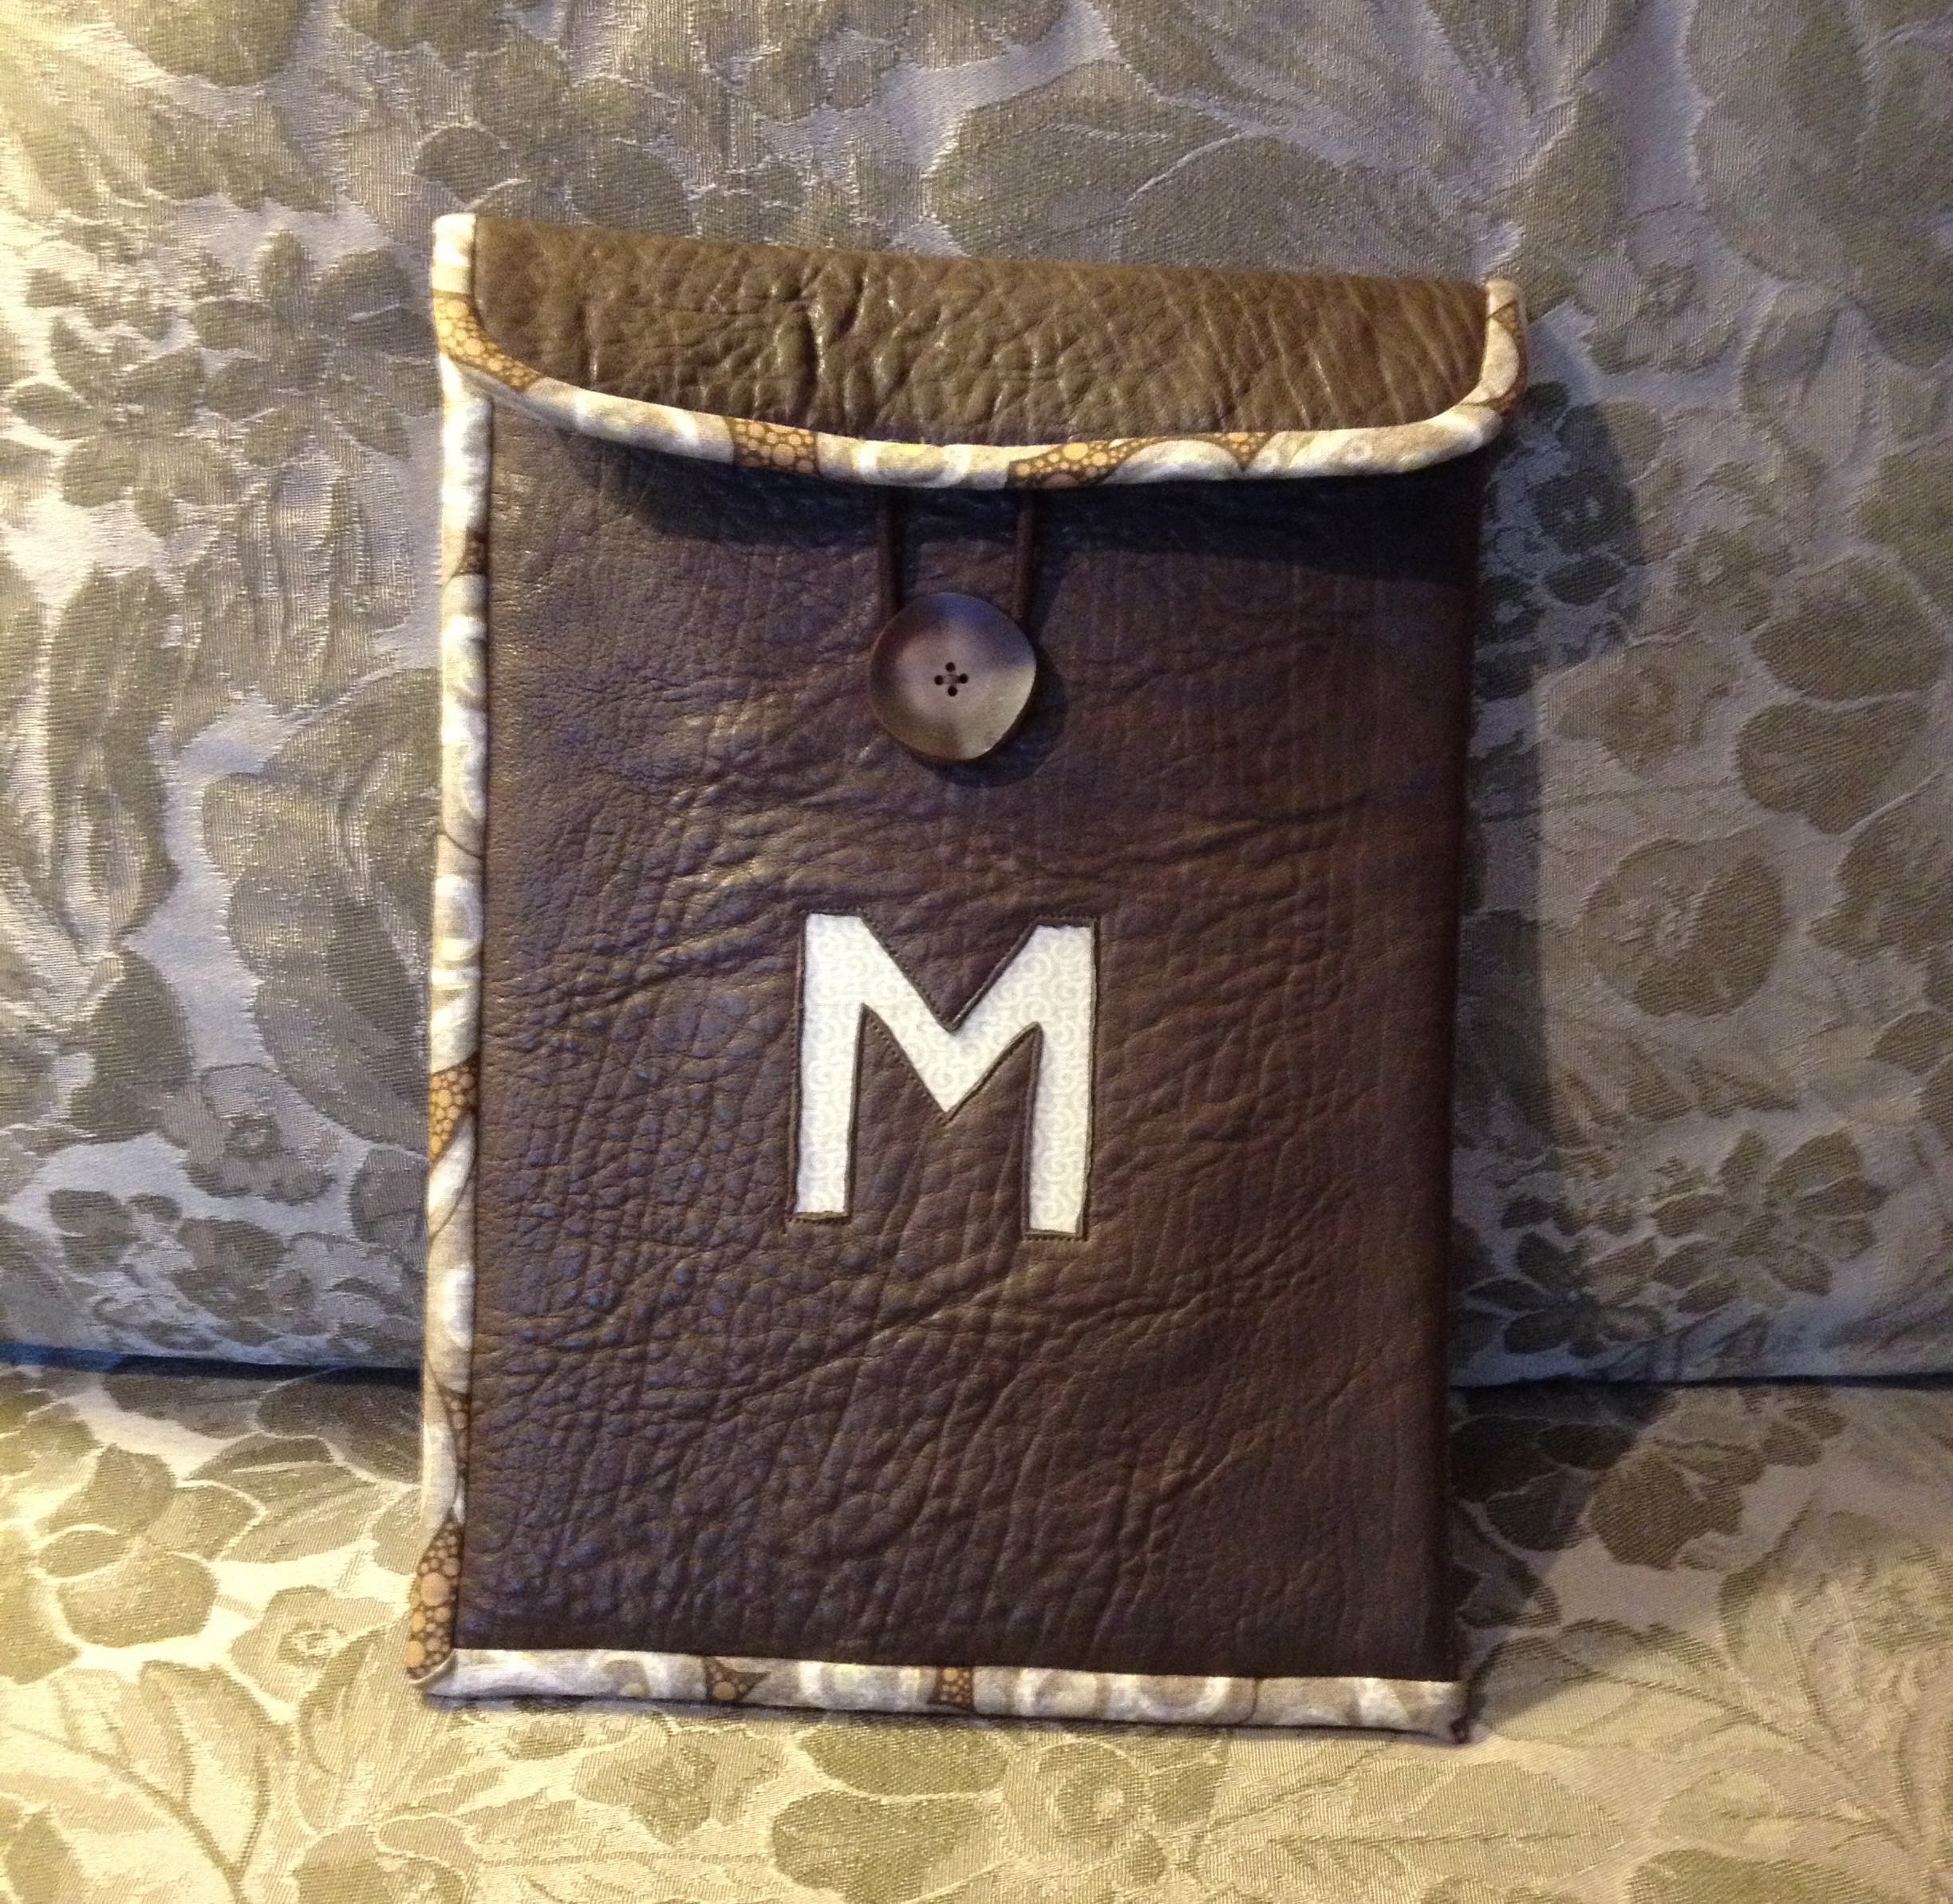
I decided to make the largest size of the Open Wide Pouch by Noodlehead. This is a free pattern on her blog and I LOVE it. It’s easy to make and it does open wider than other pouches which makes it easier to find things inside. I’ve made a lot of the medium size bag, but hadn’t tried the larger size. This was my chance.

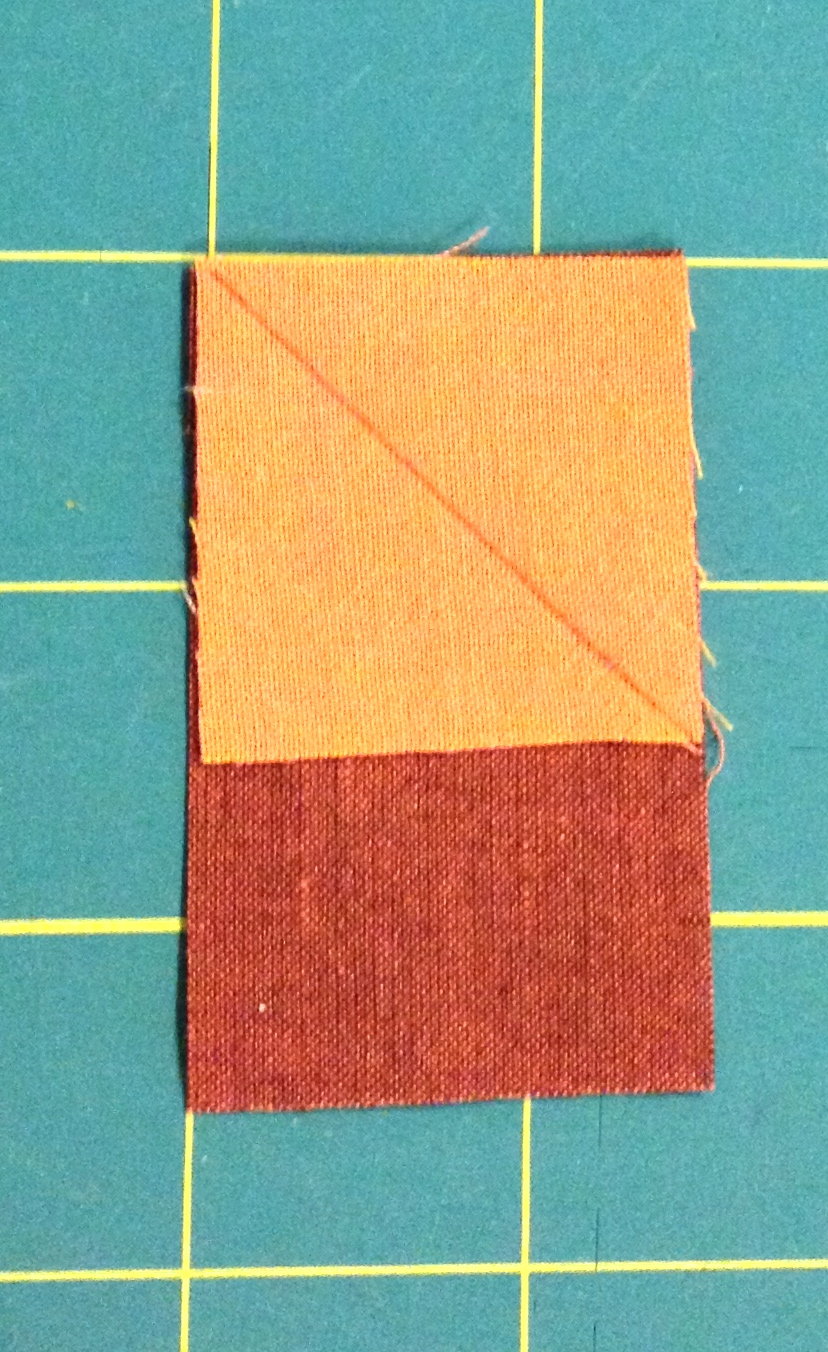
Squares all sewn together and then cut to the width of the leather.
I decided to use a piece of creamy colored (and feeling) leather that I had bought years ago. This might make the pouch more “special”. I had just enough leather to cut four pieces in order to make two pouch bottoms. I know so many “sewists” who make something for a swap and then have trouble giving it away because they love it so much. Not me! I made myself one too!

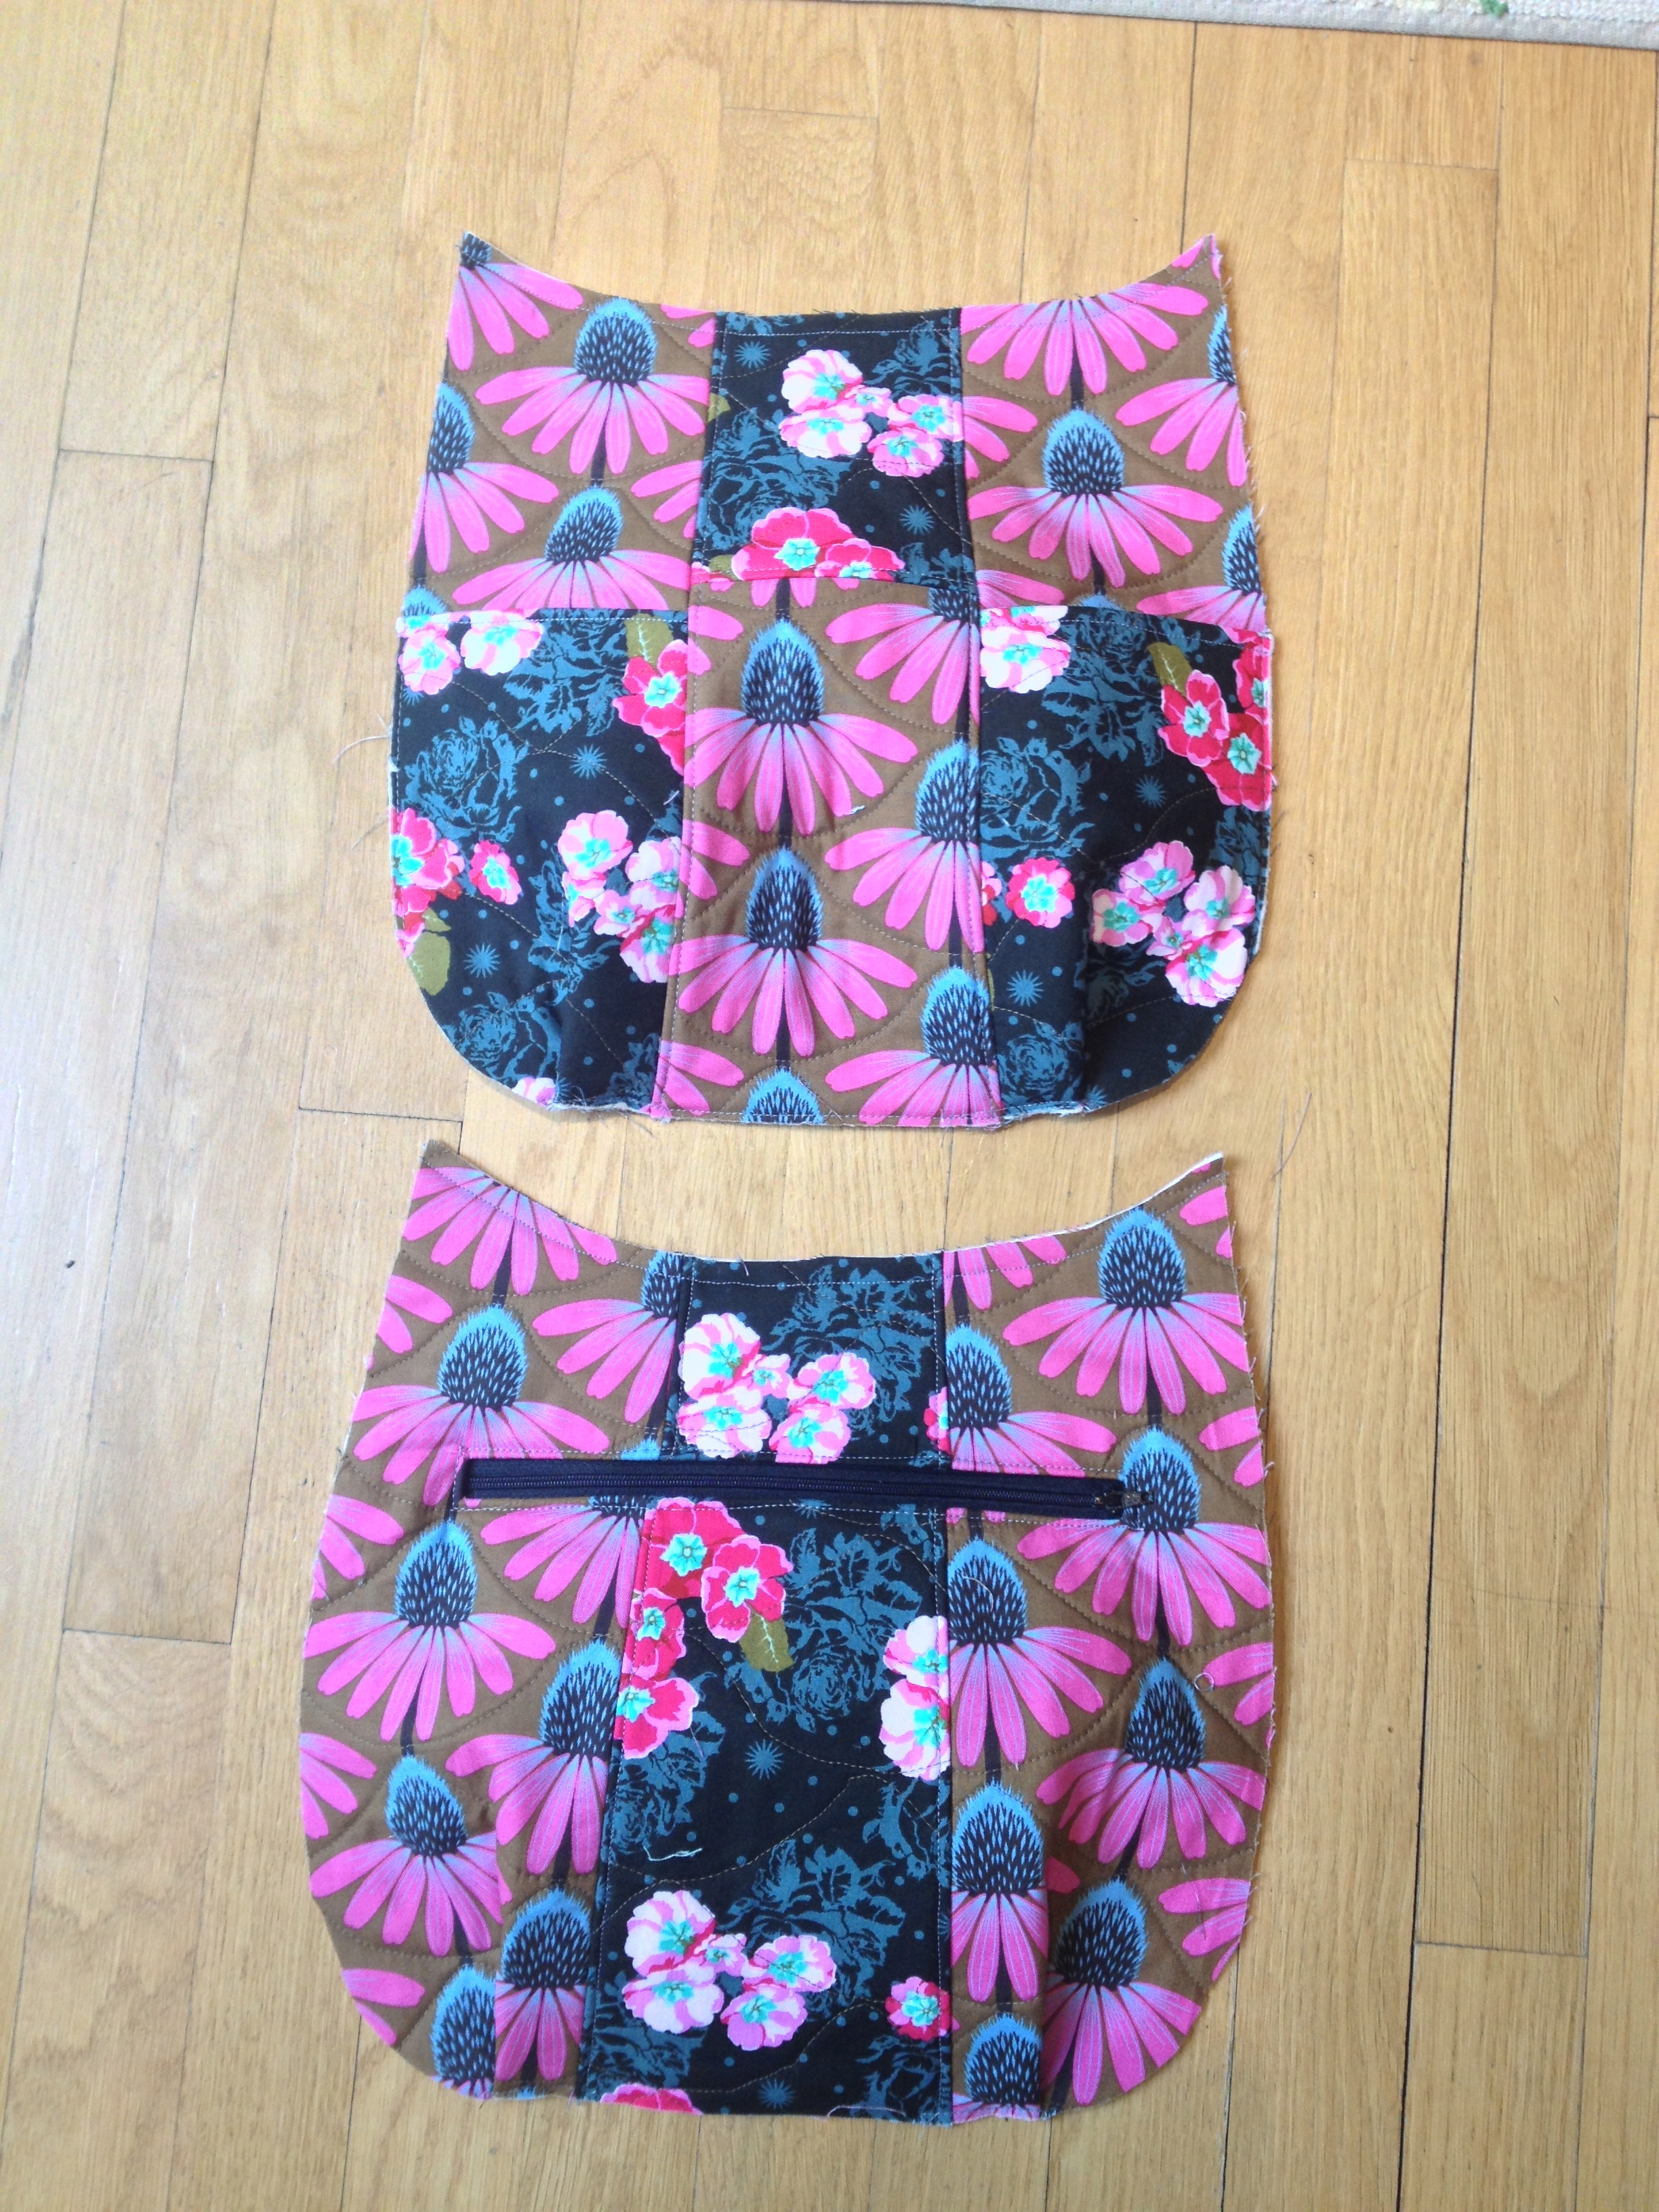
Top and bottom sewn together
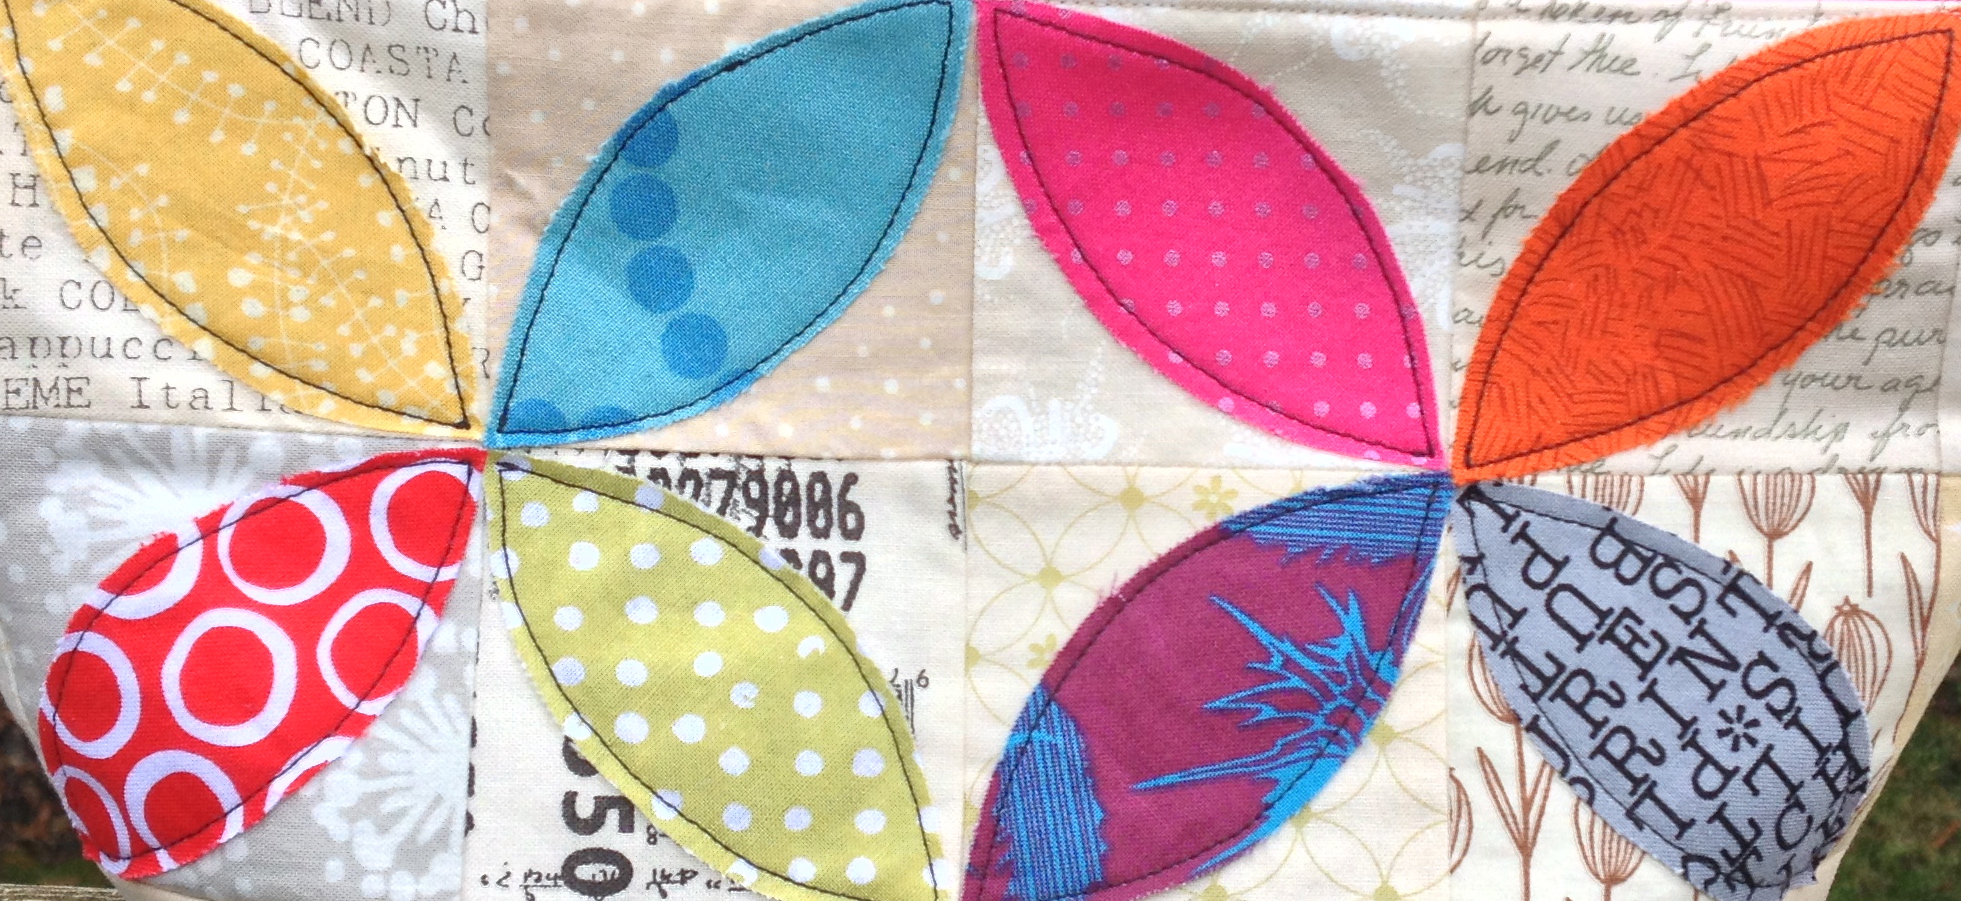
I’ve been noticing and loving a few quilts and pillows I’ve seen recently that have low volume backgrounds with bright orange-peel shapes appliquéd on top. In fact, I just bought the new book Playful Petals by Corey Yoder which has this pillow project in it that is a good example of what has inspired me.

From the book Playful Petals by Corey Yoder.
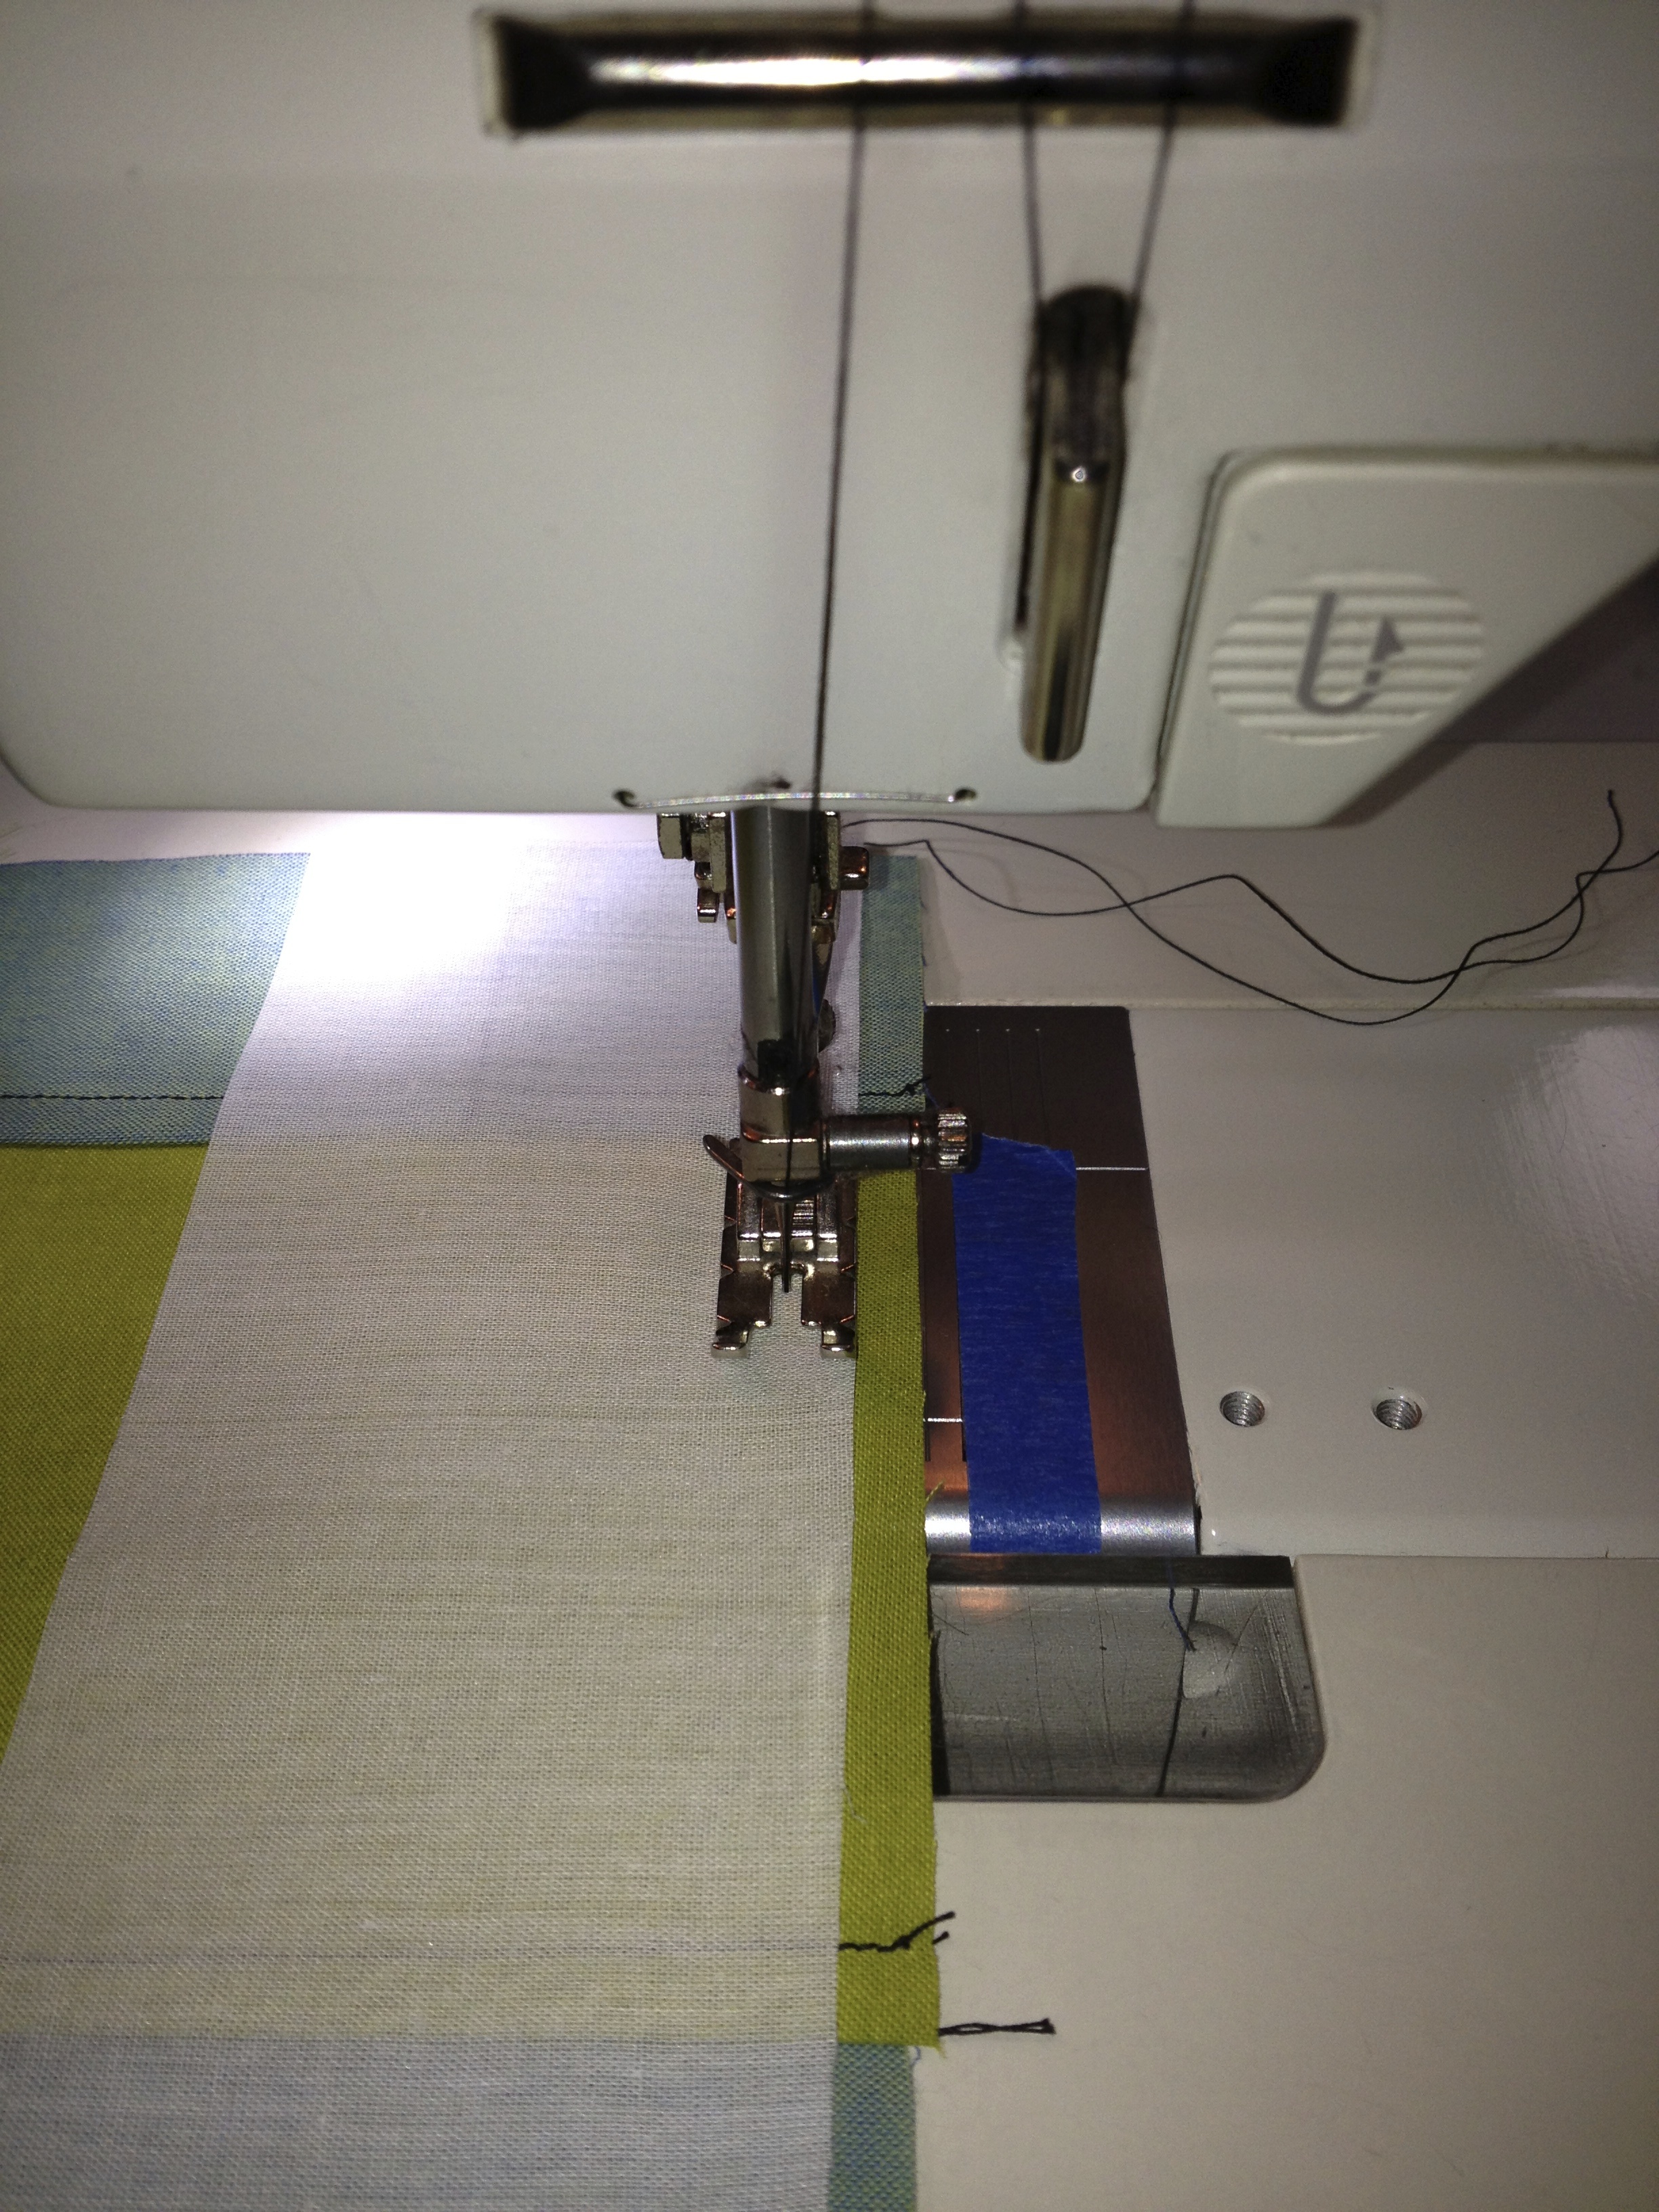
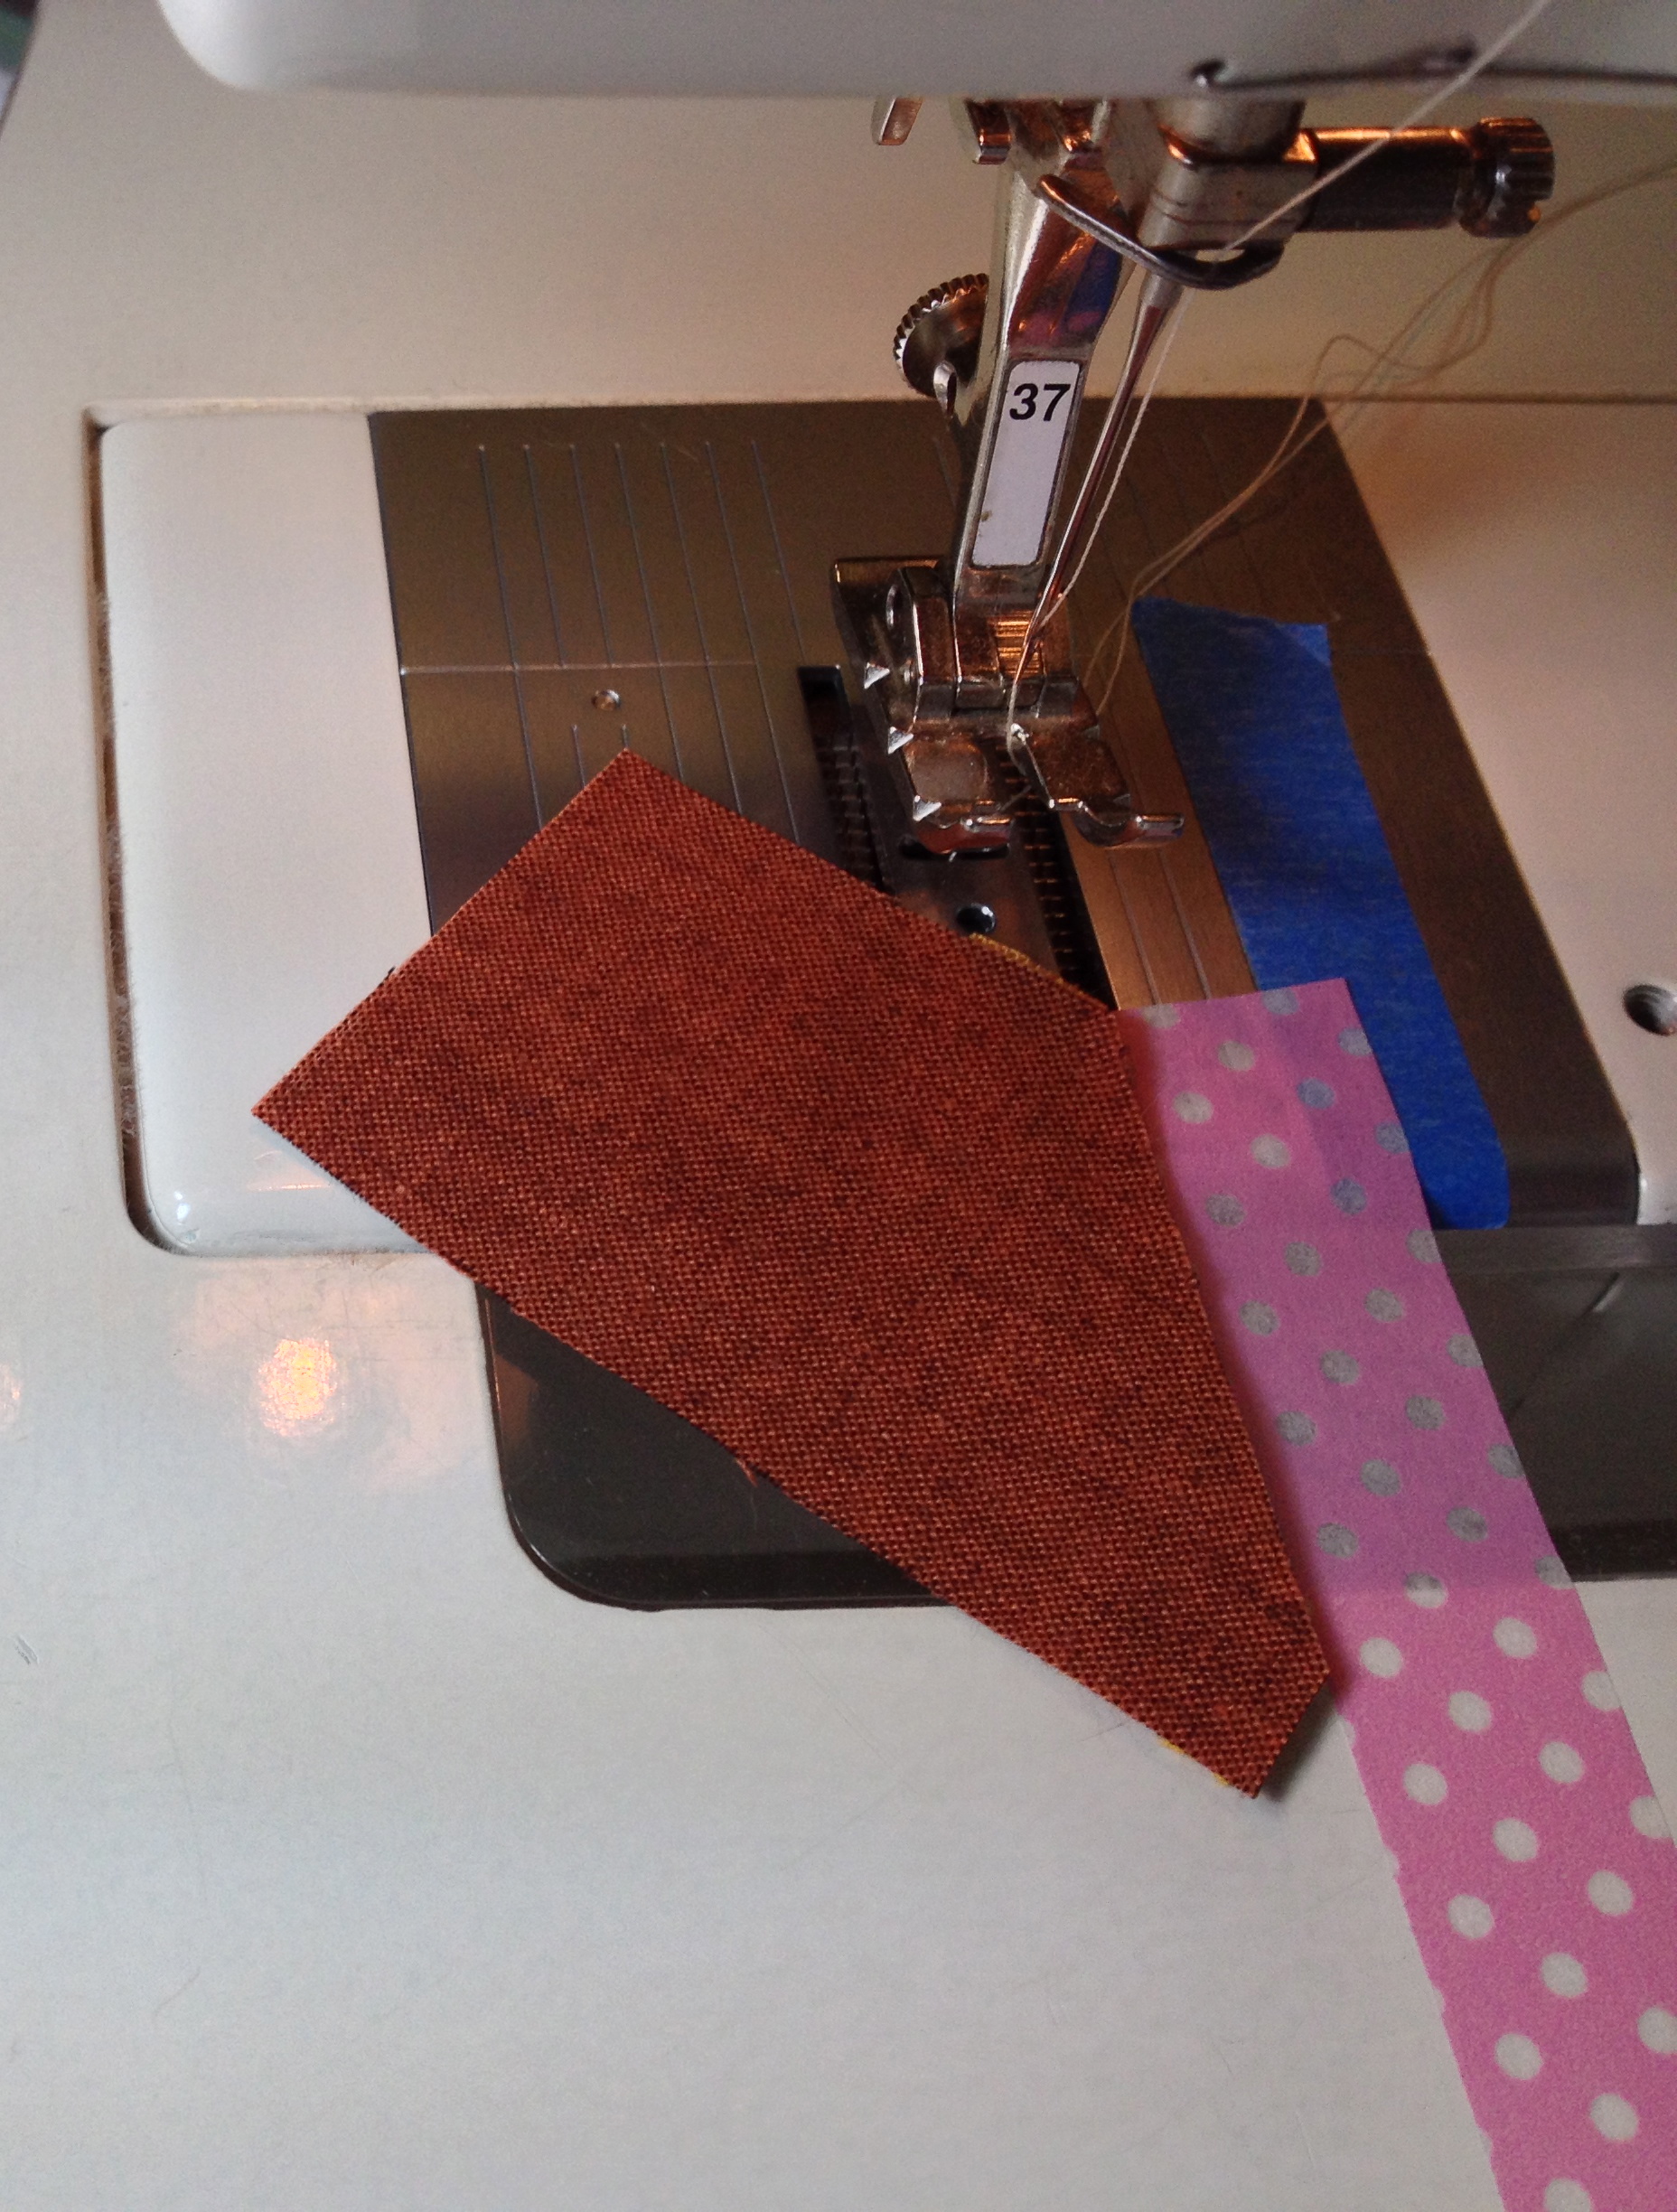
Adding the bright colors to my project sure did liven it up! I added the “peels” by fusing them in place with double sided fusible (Wonder Under) and then straight stitched around the edges after adding a layer of fusible batting to the whole backside. This stitching sort of disappeared in the darker colors but made the lighter colors stand out against the low volume background.
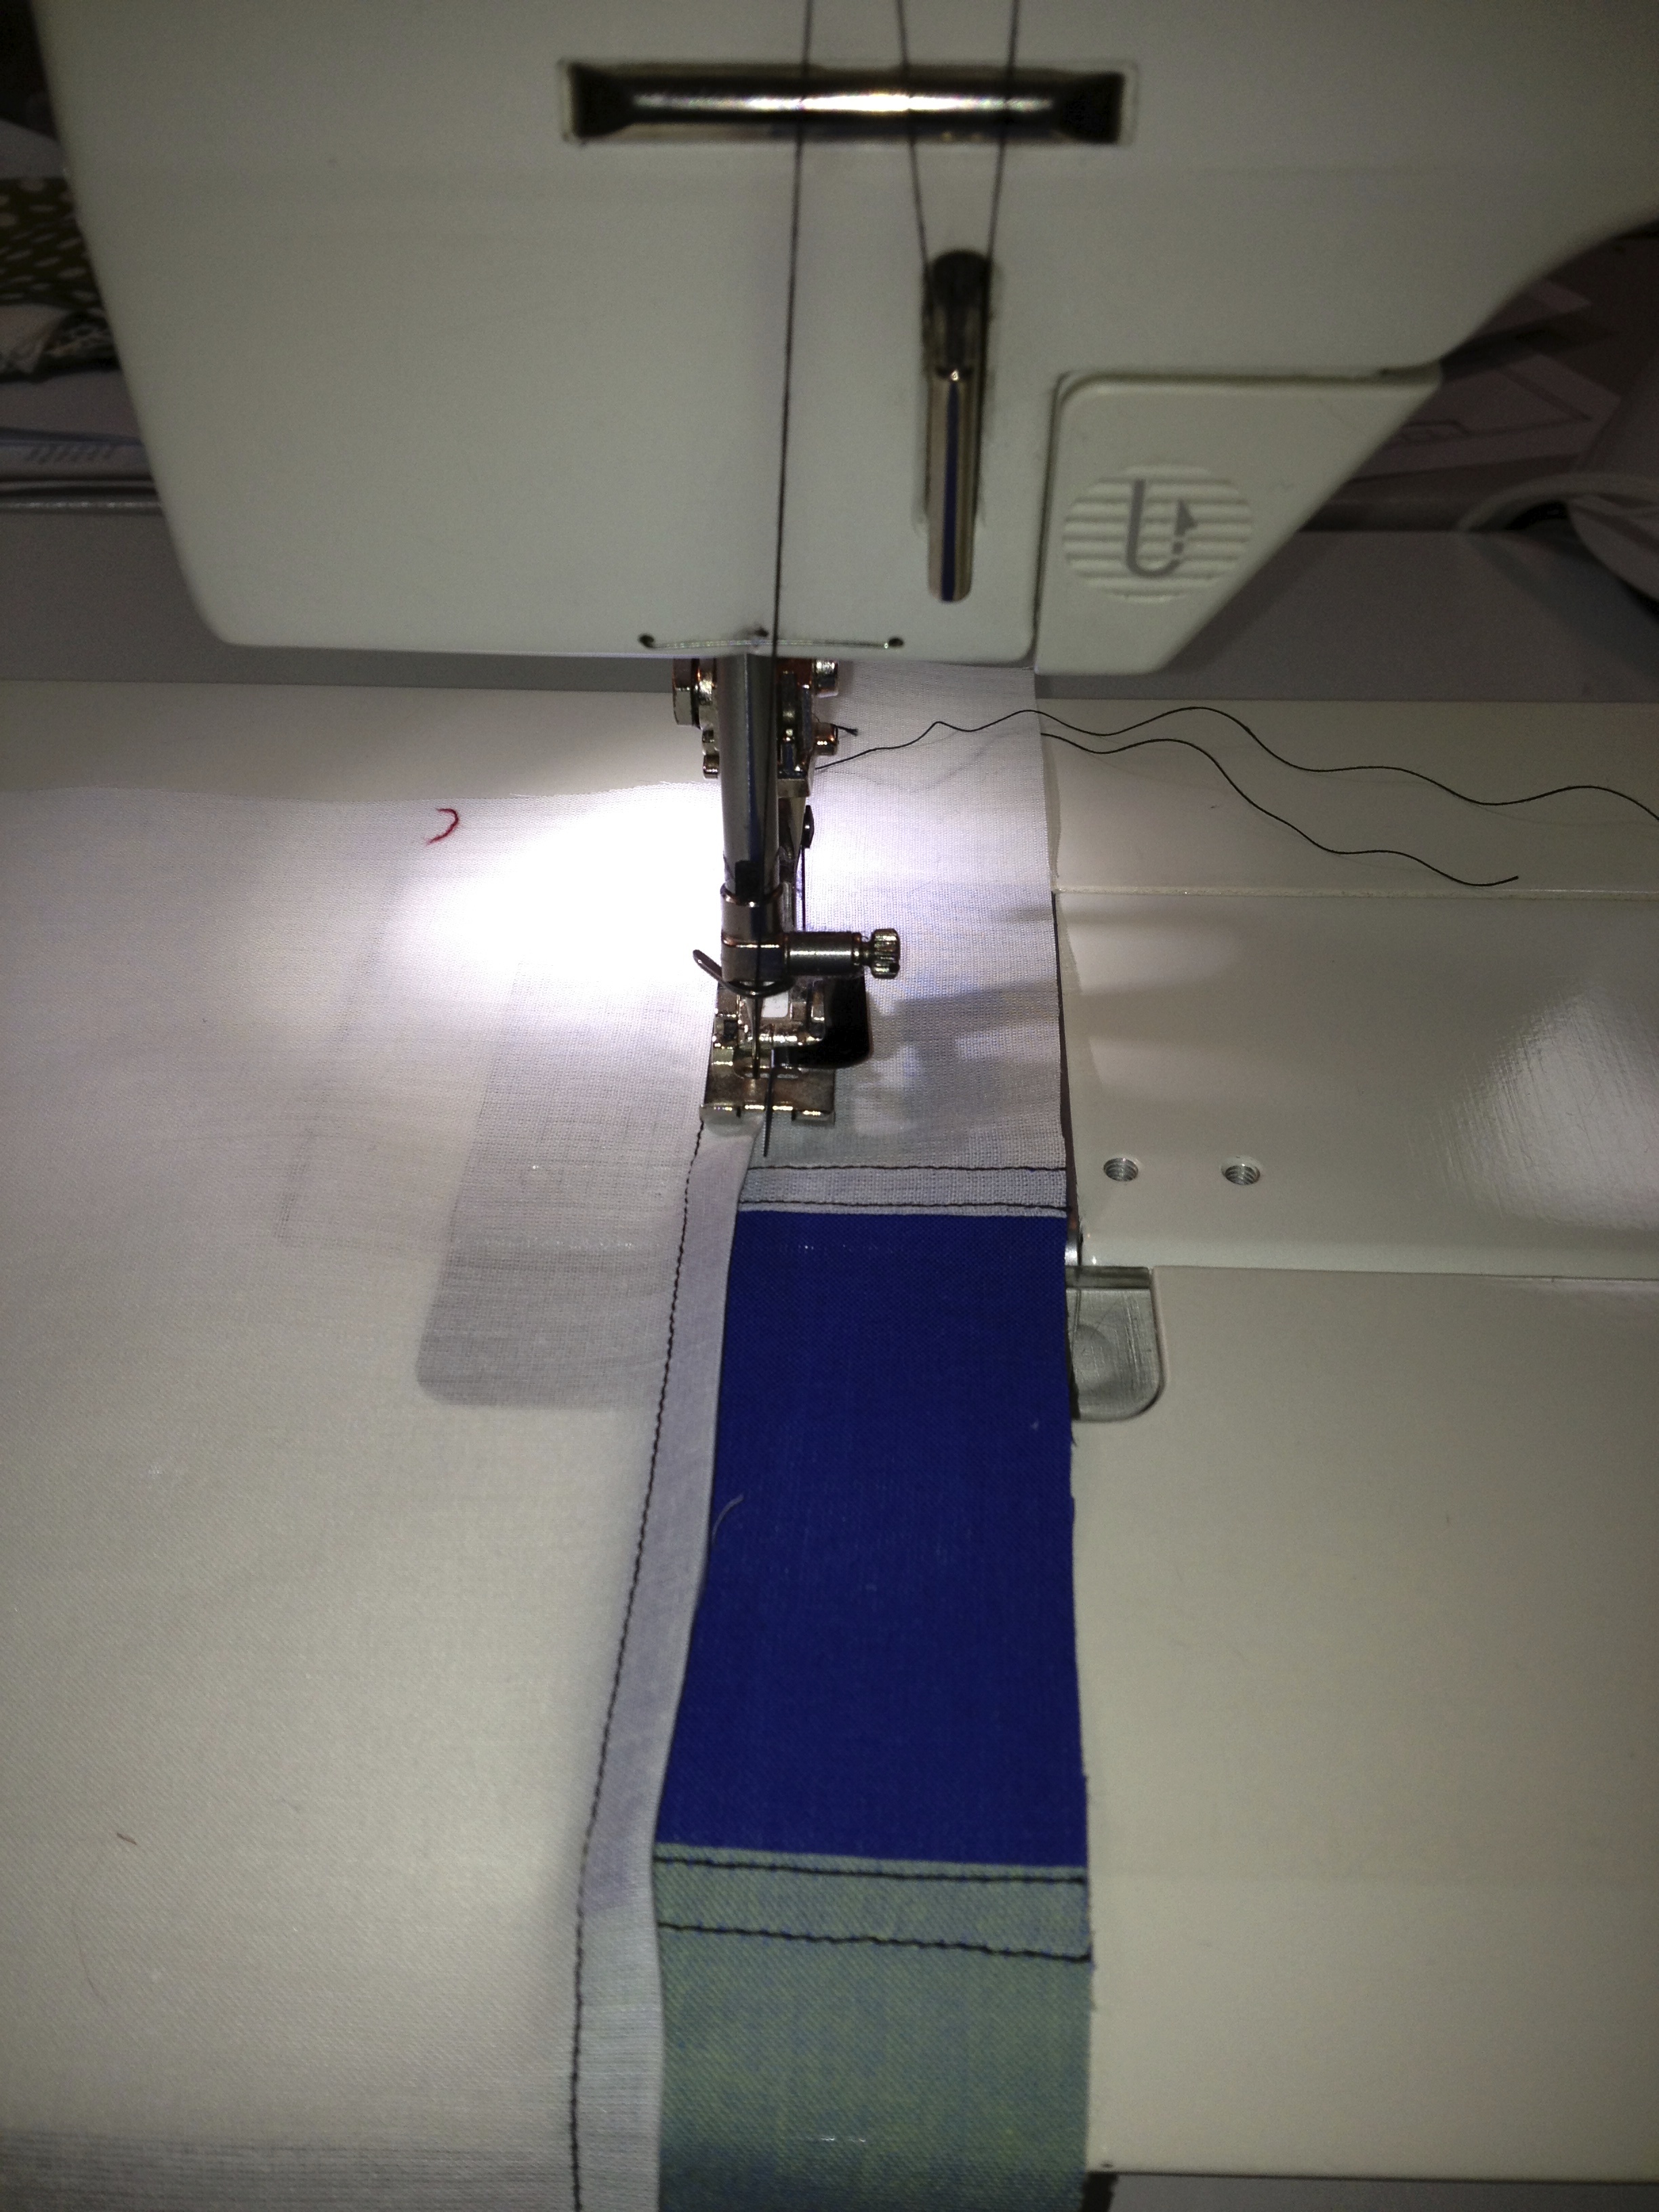
Straight stitching around edges.
My swap partner’s flickr name is fatdoxiesstudio. I had to actually look up what “doxie” meant and it’s a slang term for dachshund. She did have some photos of her doxie on her flickr site and so I found some great fabric to put on the inside of the pouch. The little shirts on the dogs even sparkled.
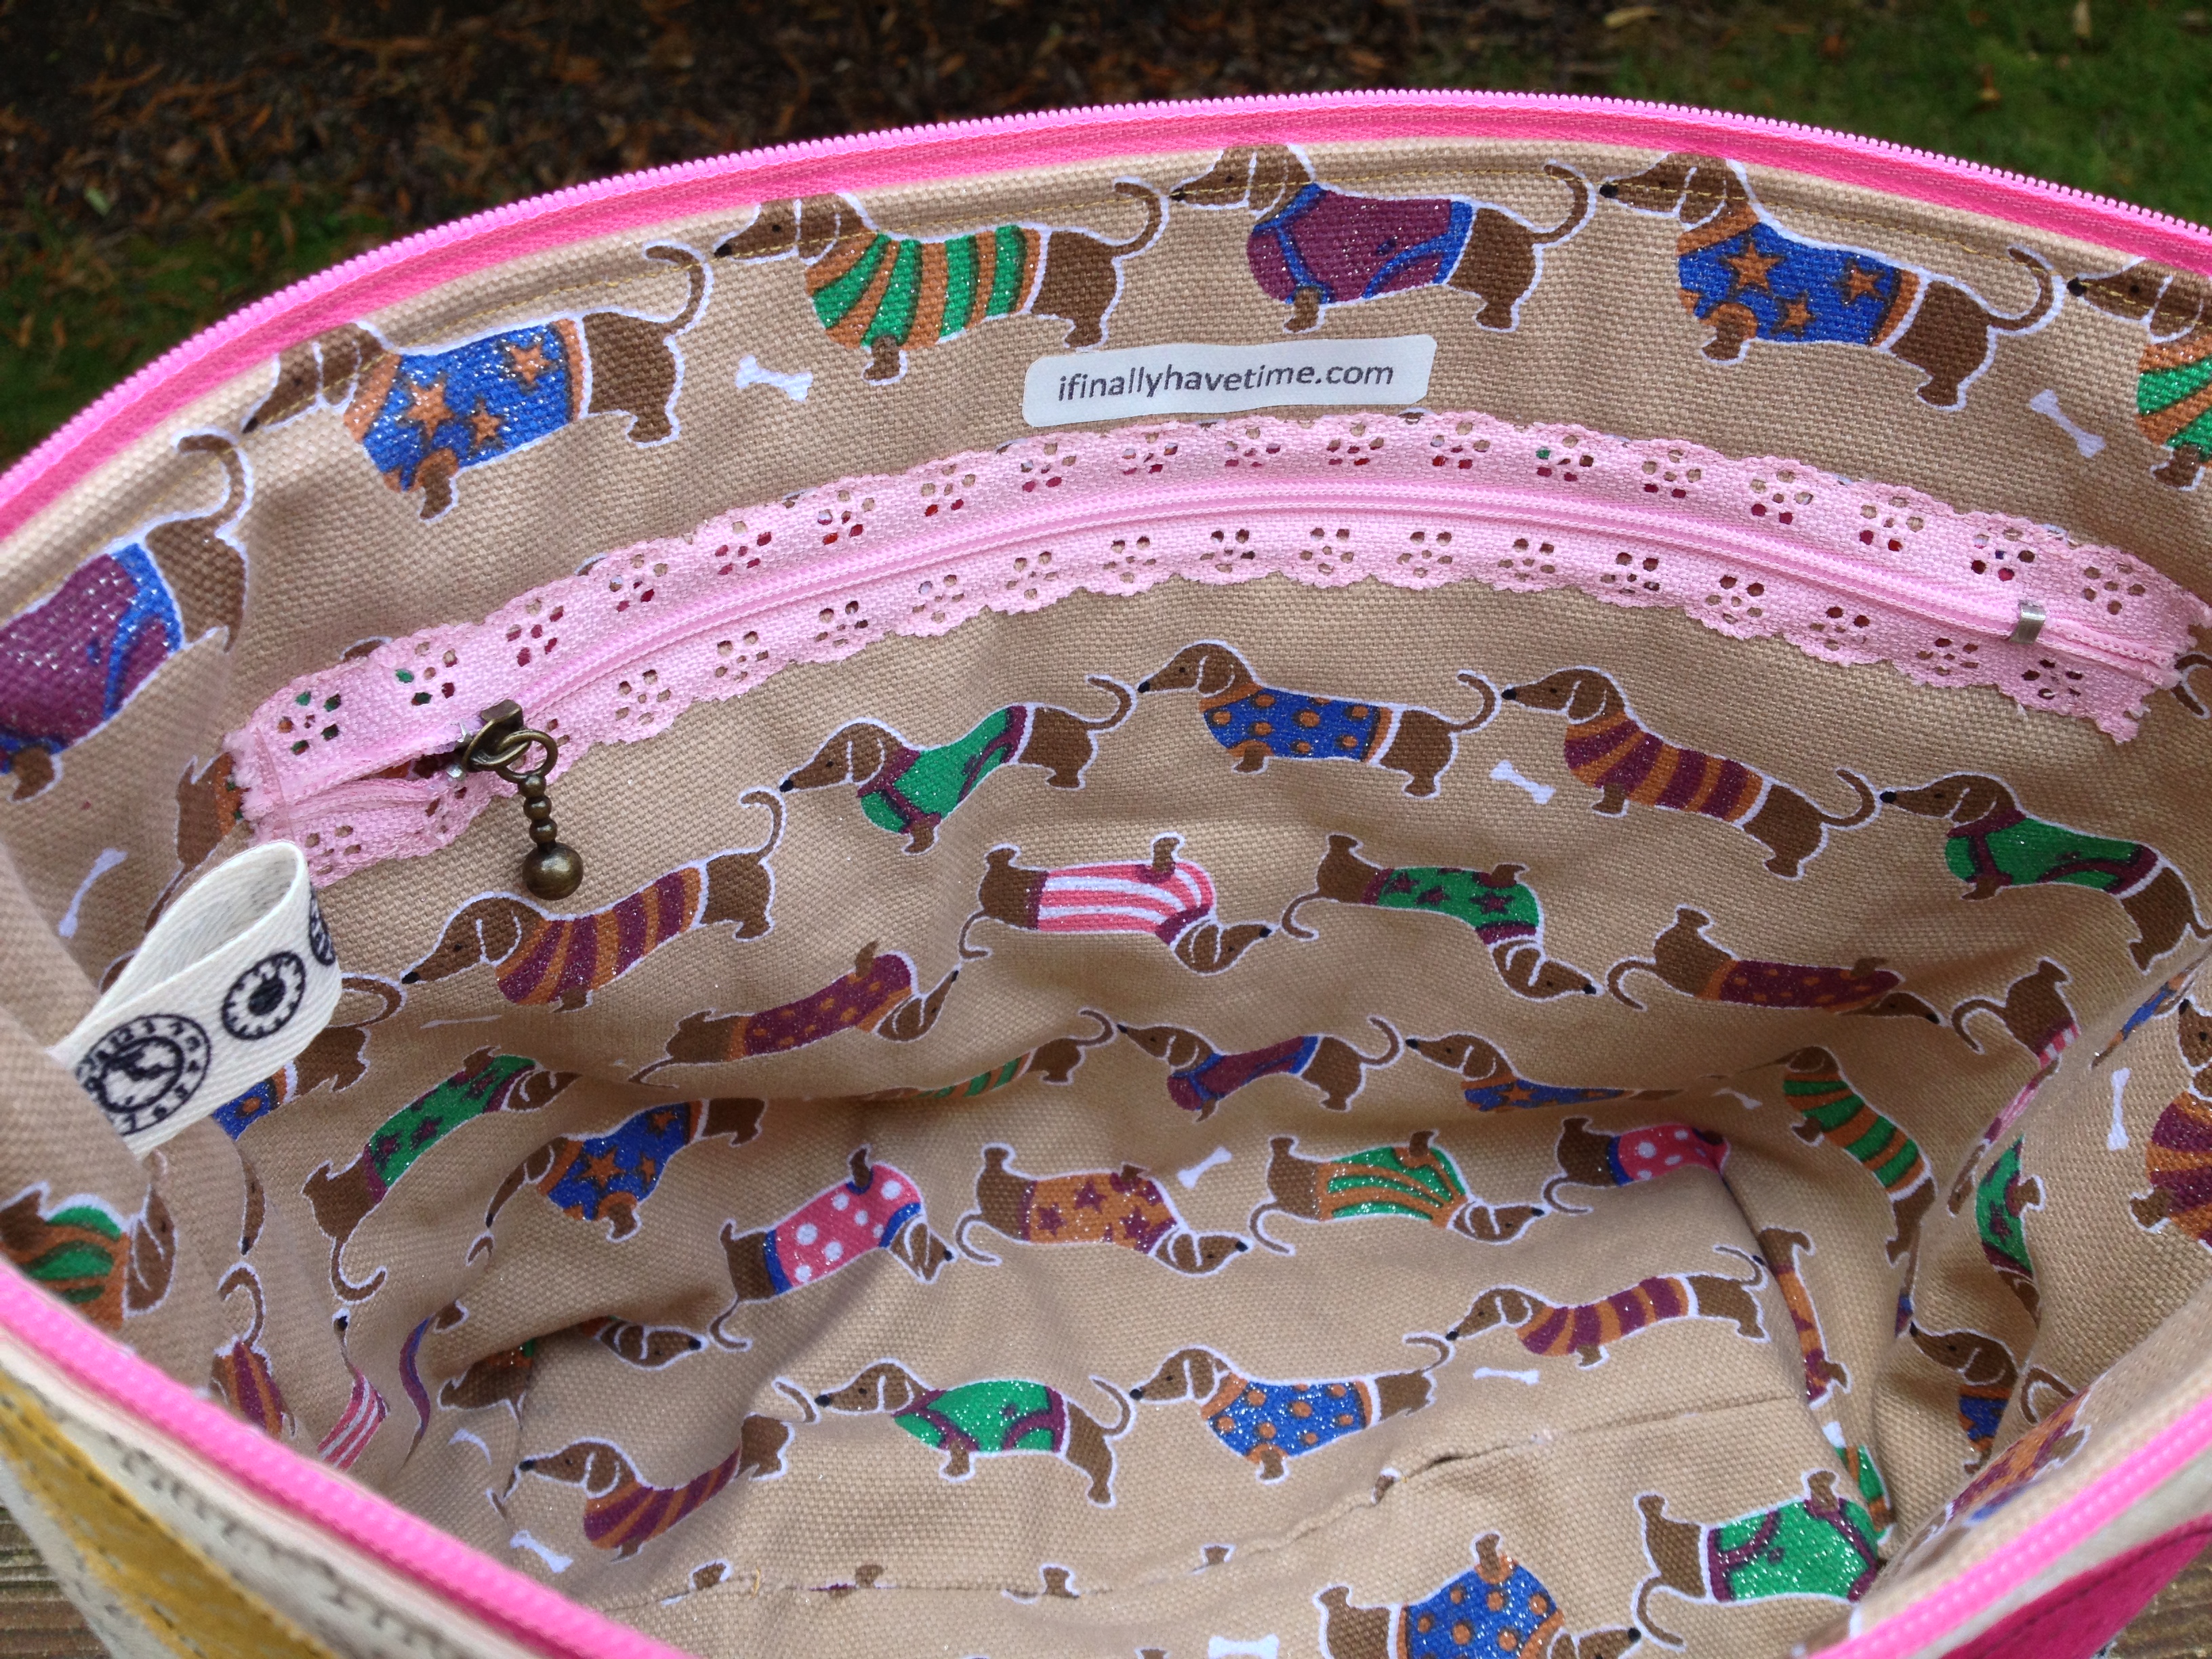
Doxies and a great zipper.
I also added a zip pocket to the inside and used one of these lacy zippers to that.
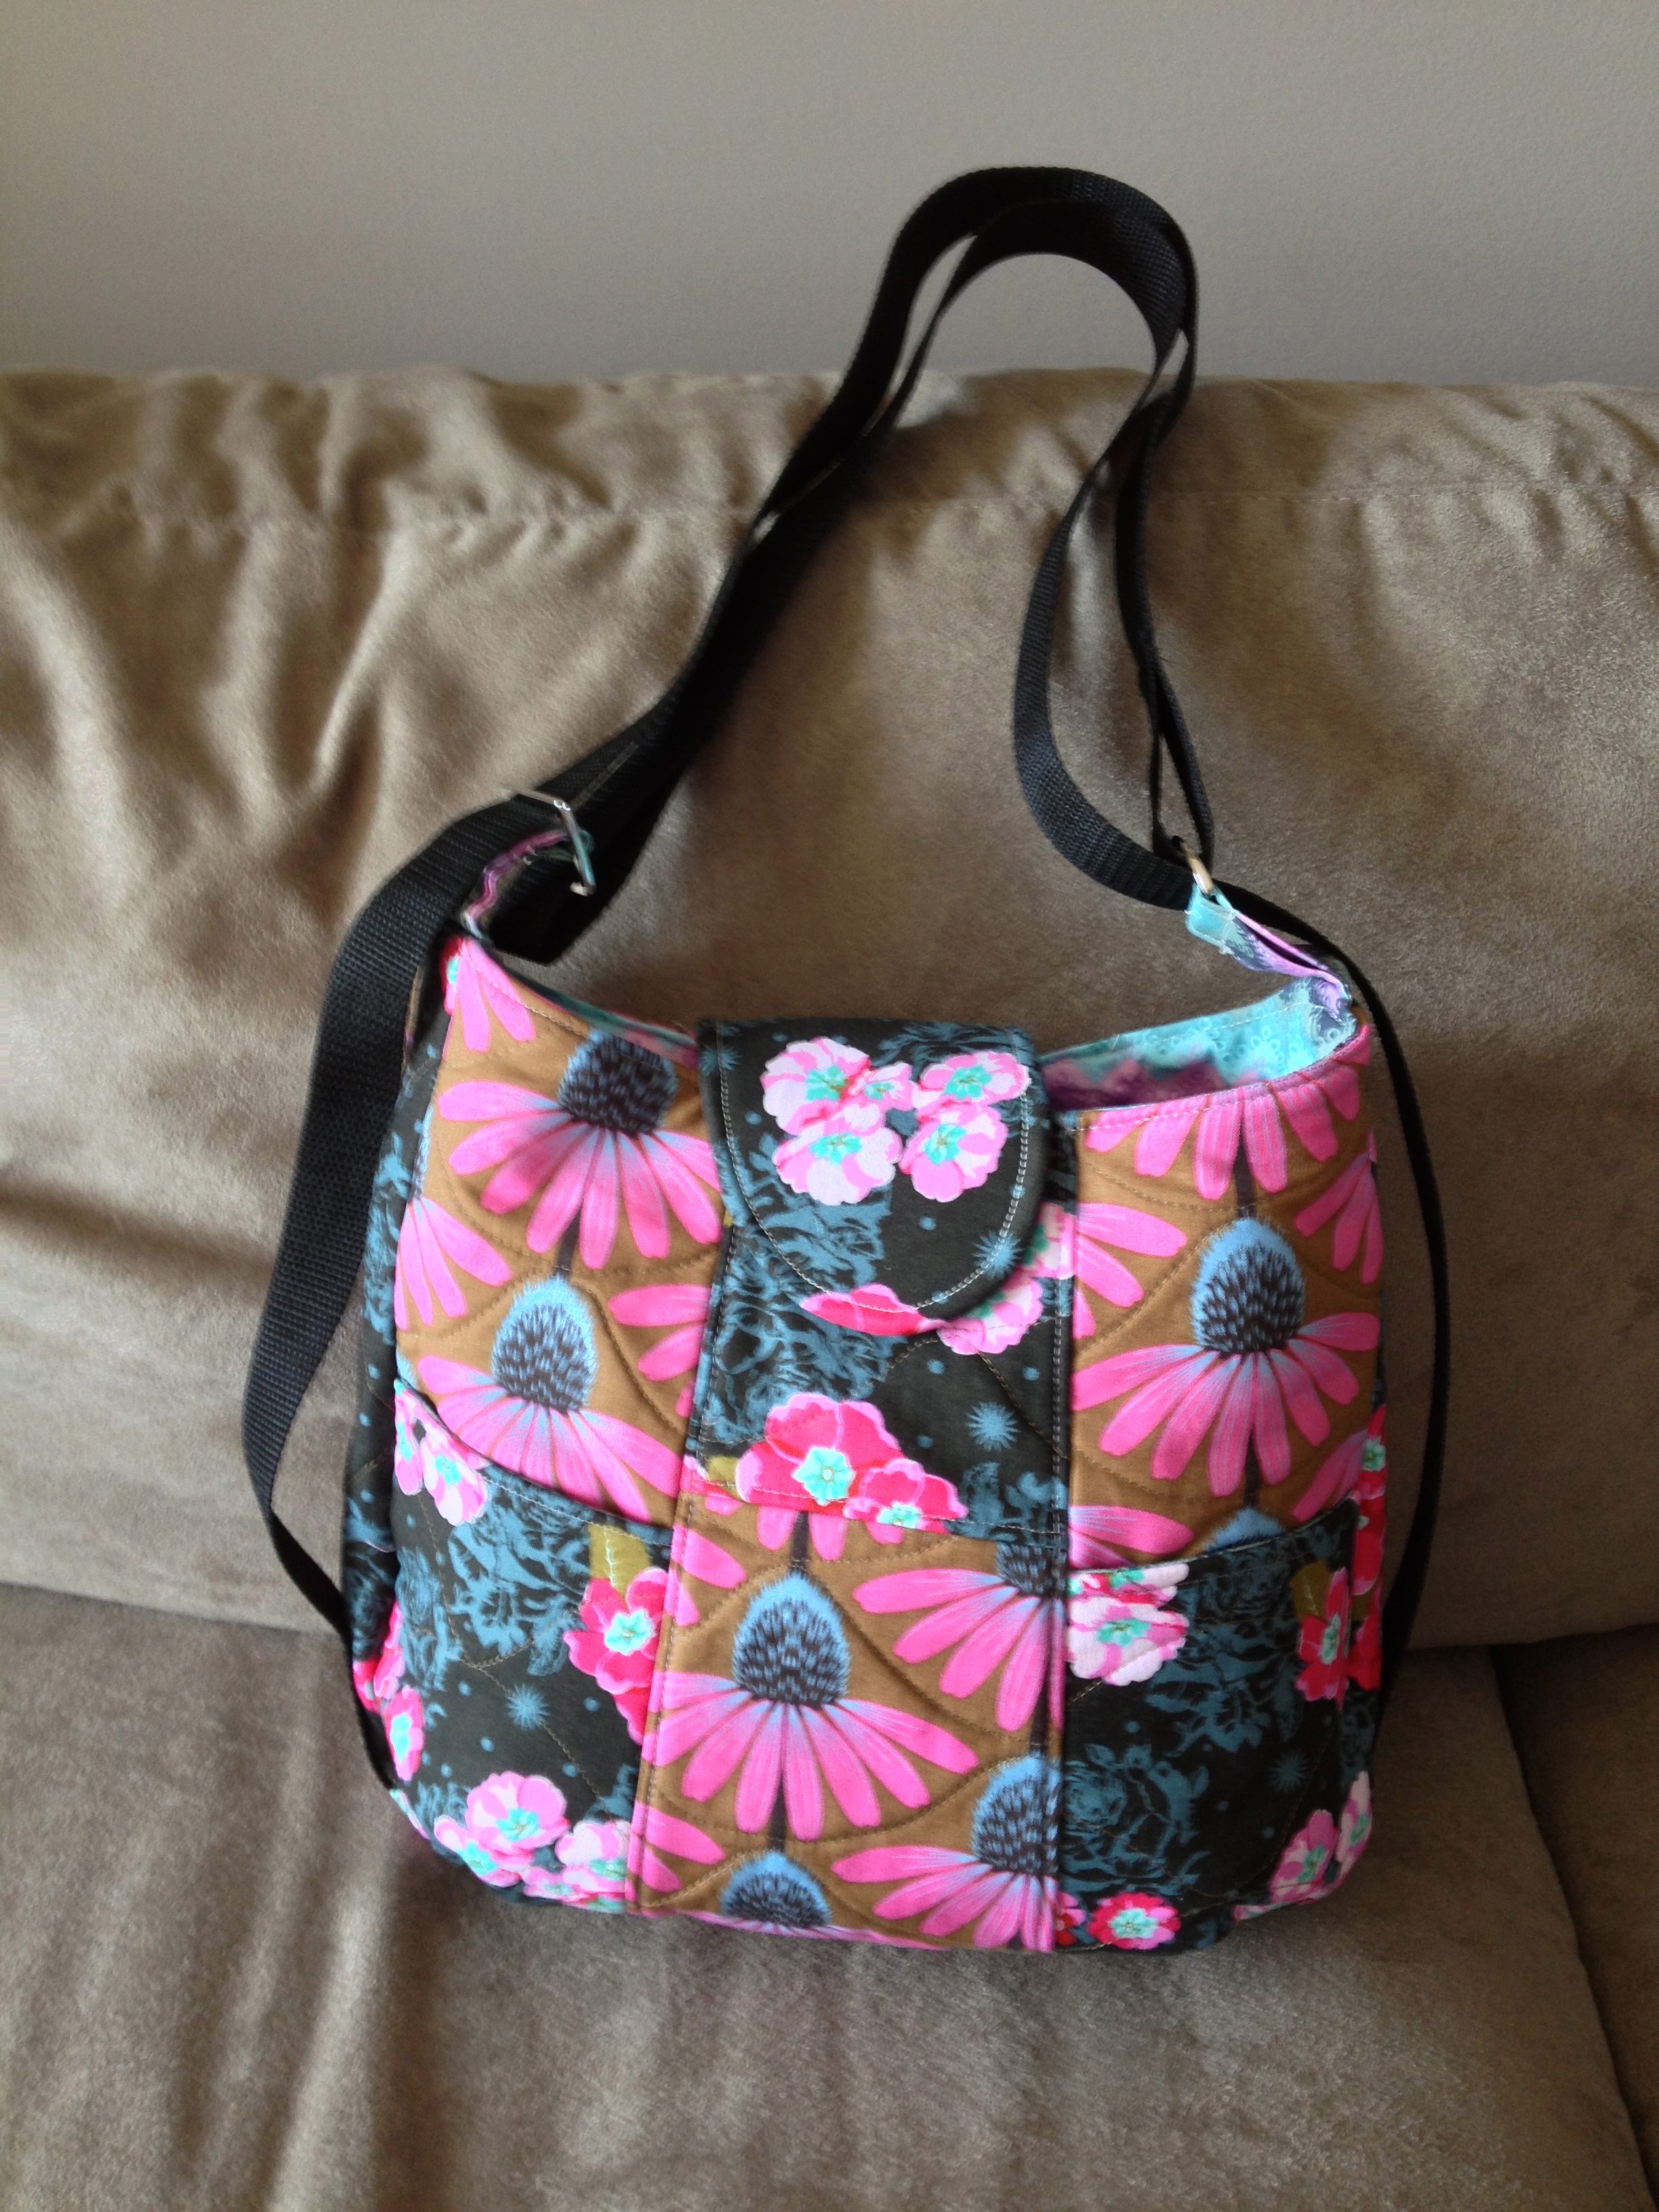
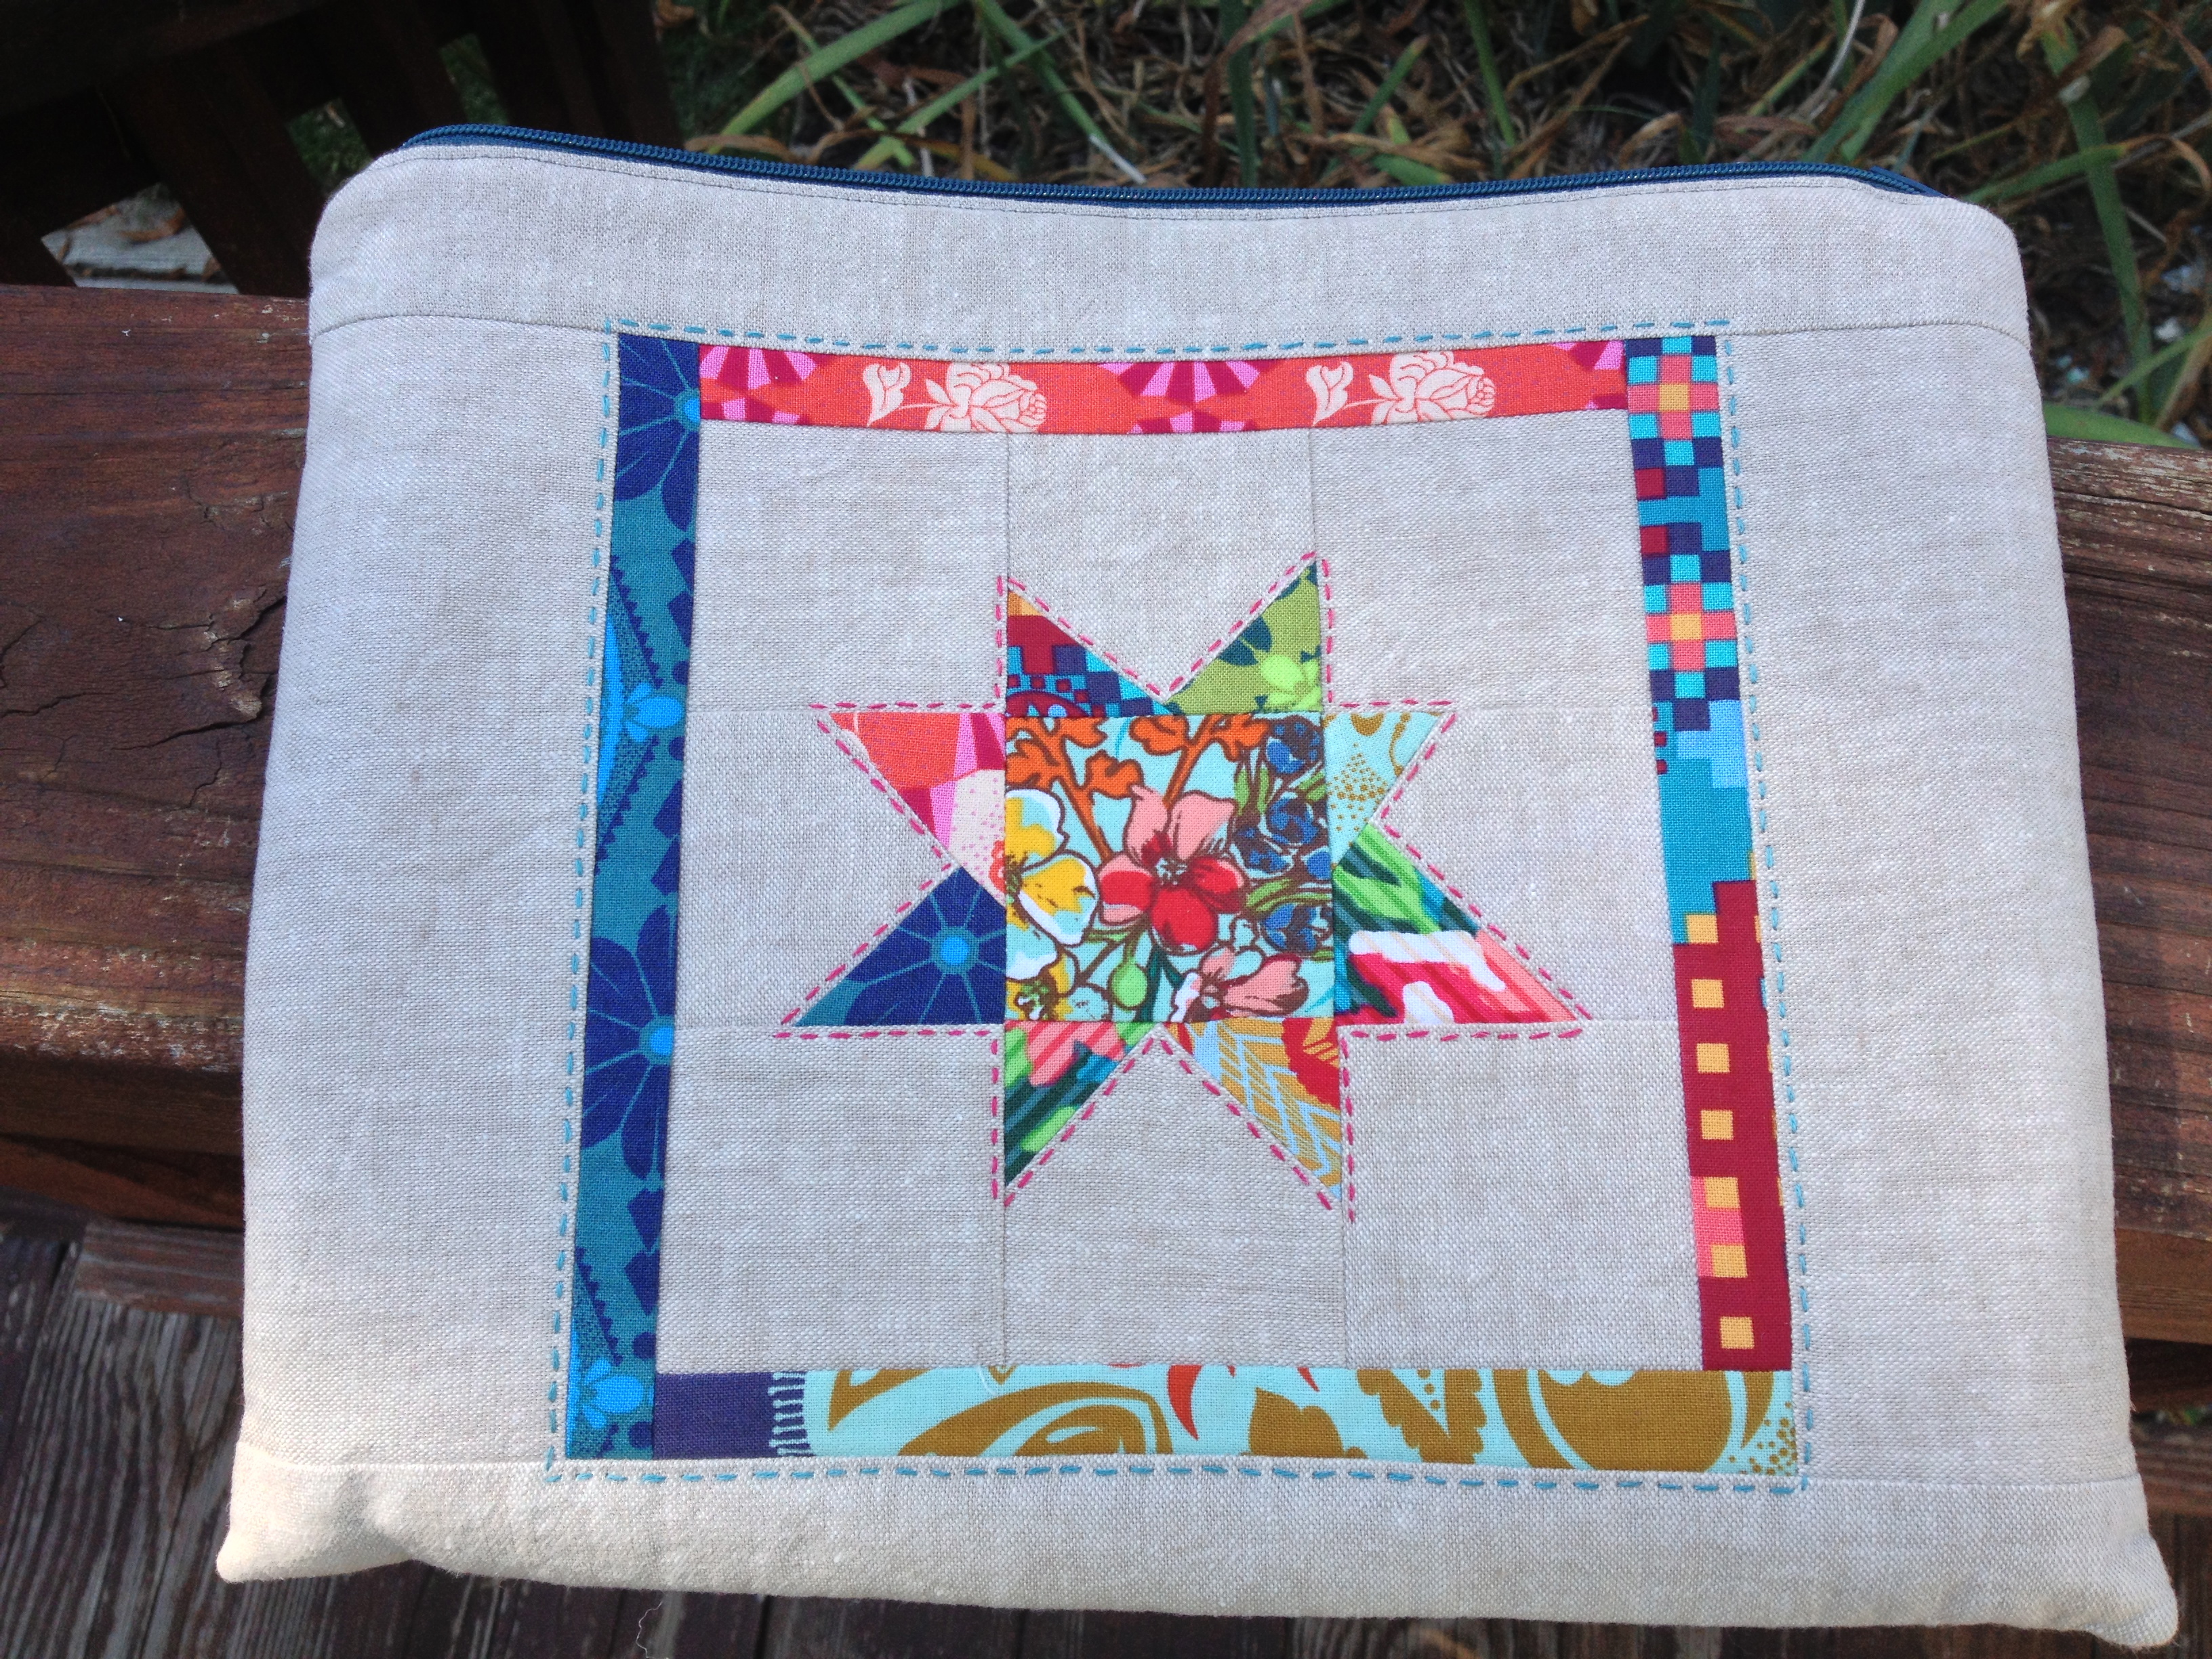
All done and received by my swap partner.
Chen received this over the weekend and sent me a note on Instagram. I hope she puts it to good use! Is mine done? Of course not! But the sides are all pieced and it won’t be hard for me to finish it up. (when I finally have time!)
Addendum: I received this amazing pouch filled with fun office supplies (all sorts of post it notes, paperclips and “to do” lists) the day after I posted the pouch I made. Sonia made this fabulous pouch and it incorporates all of the things that I love! Thank you so much Sonia!
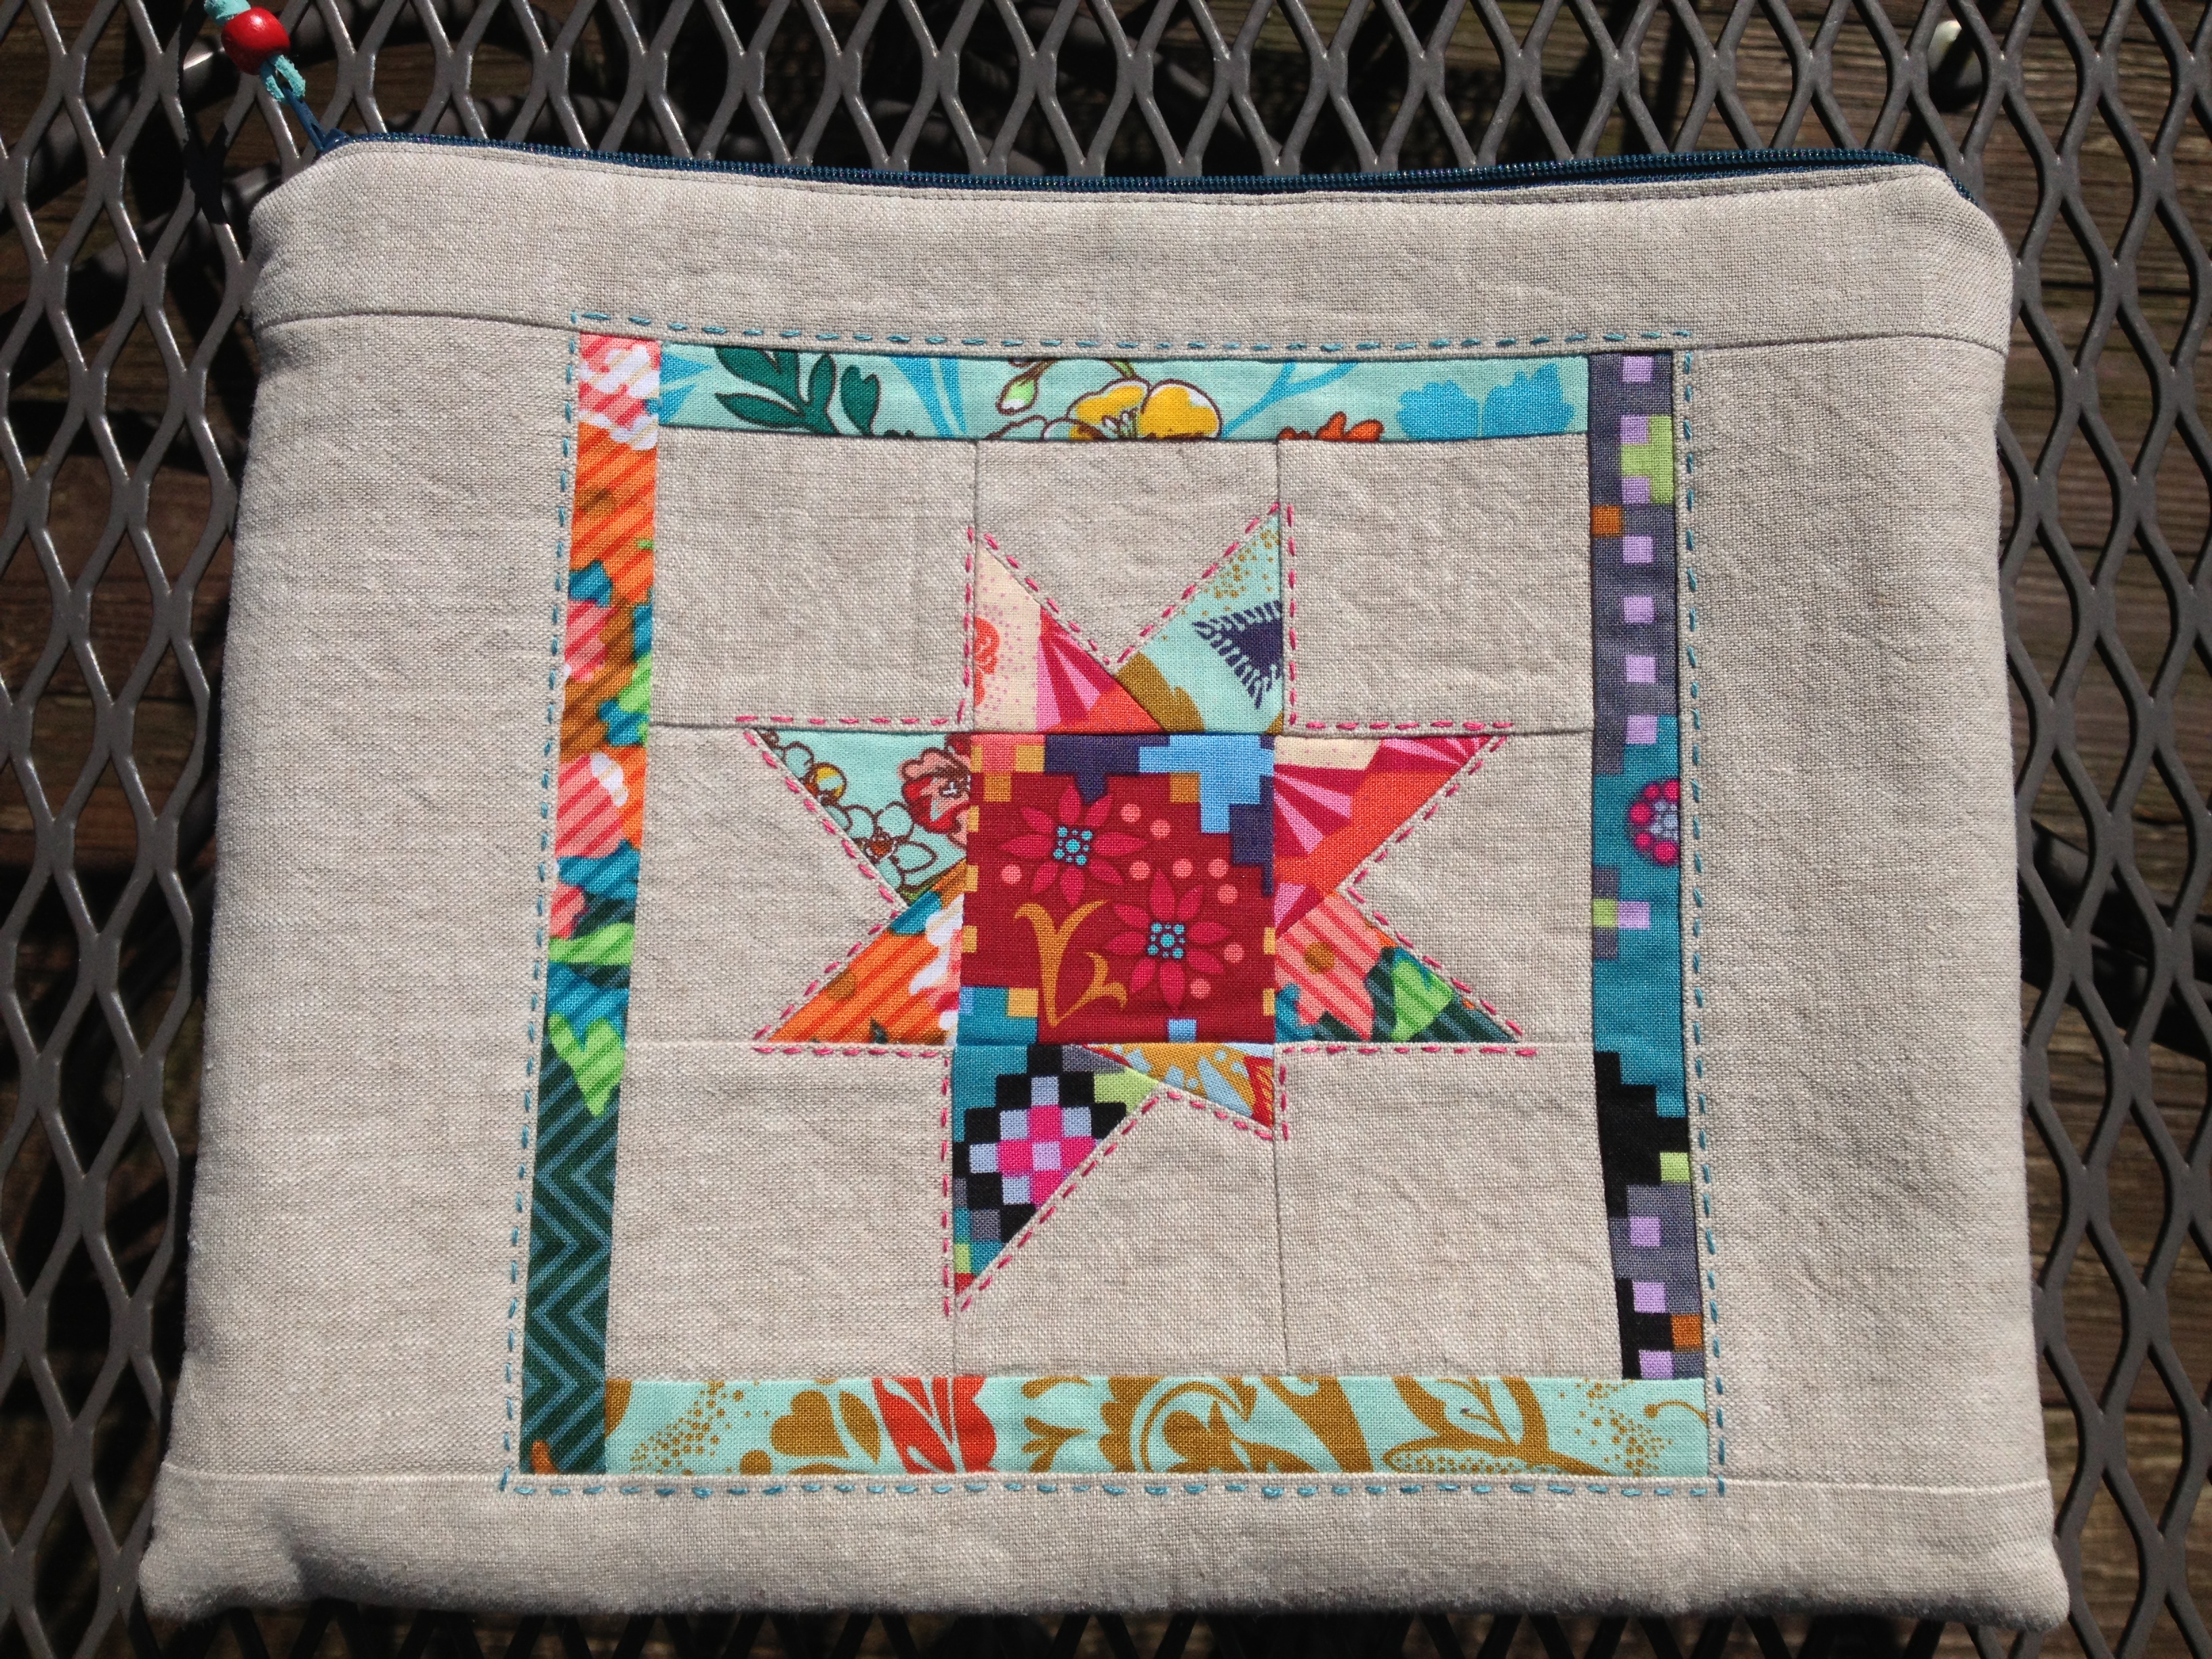
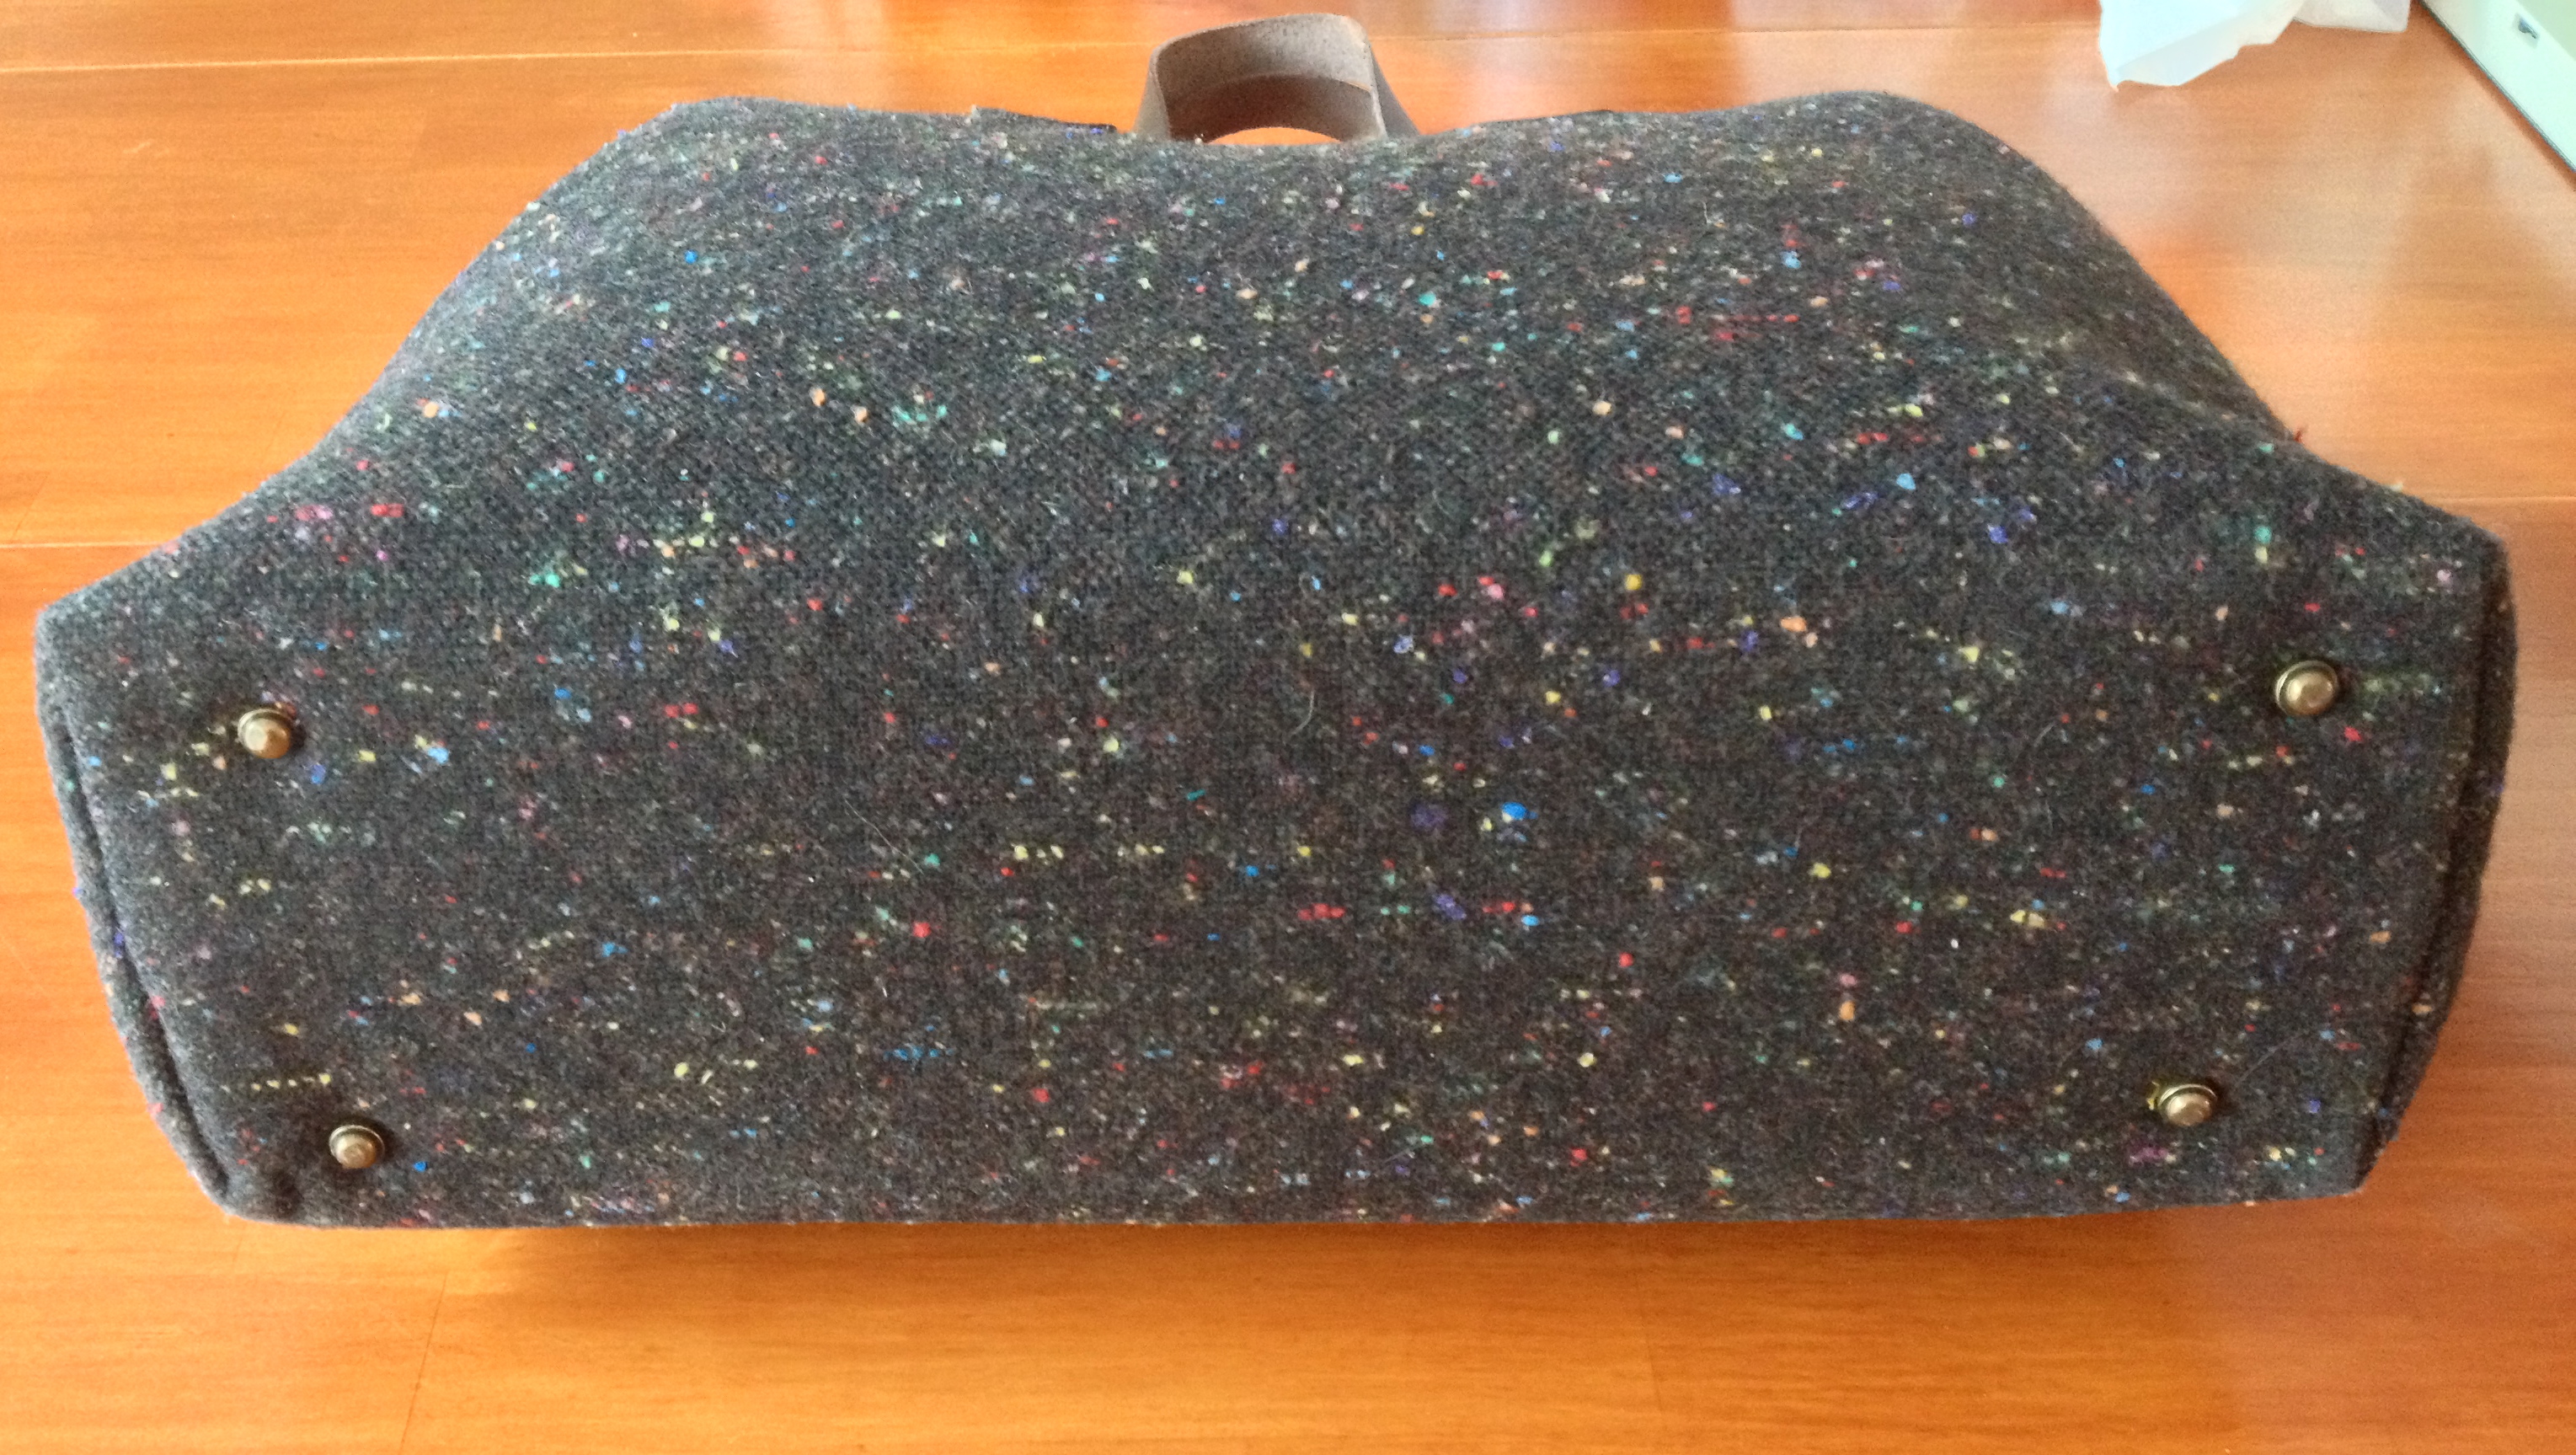
Other side

Inside