
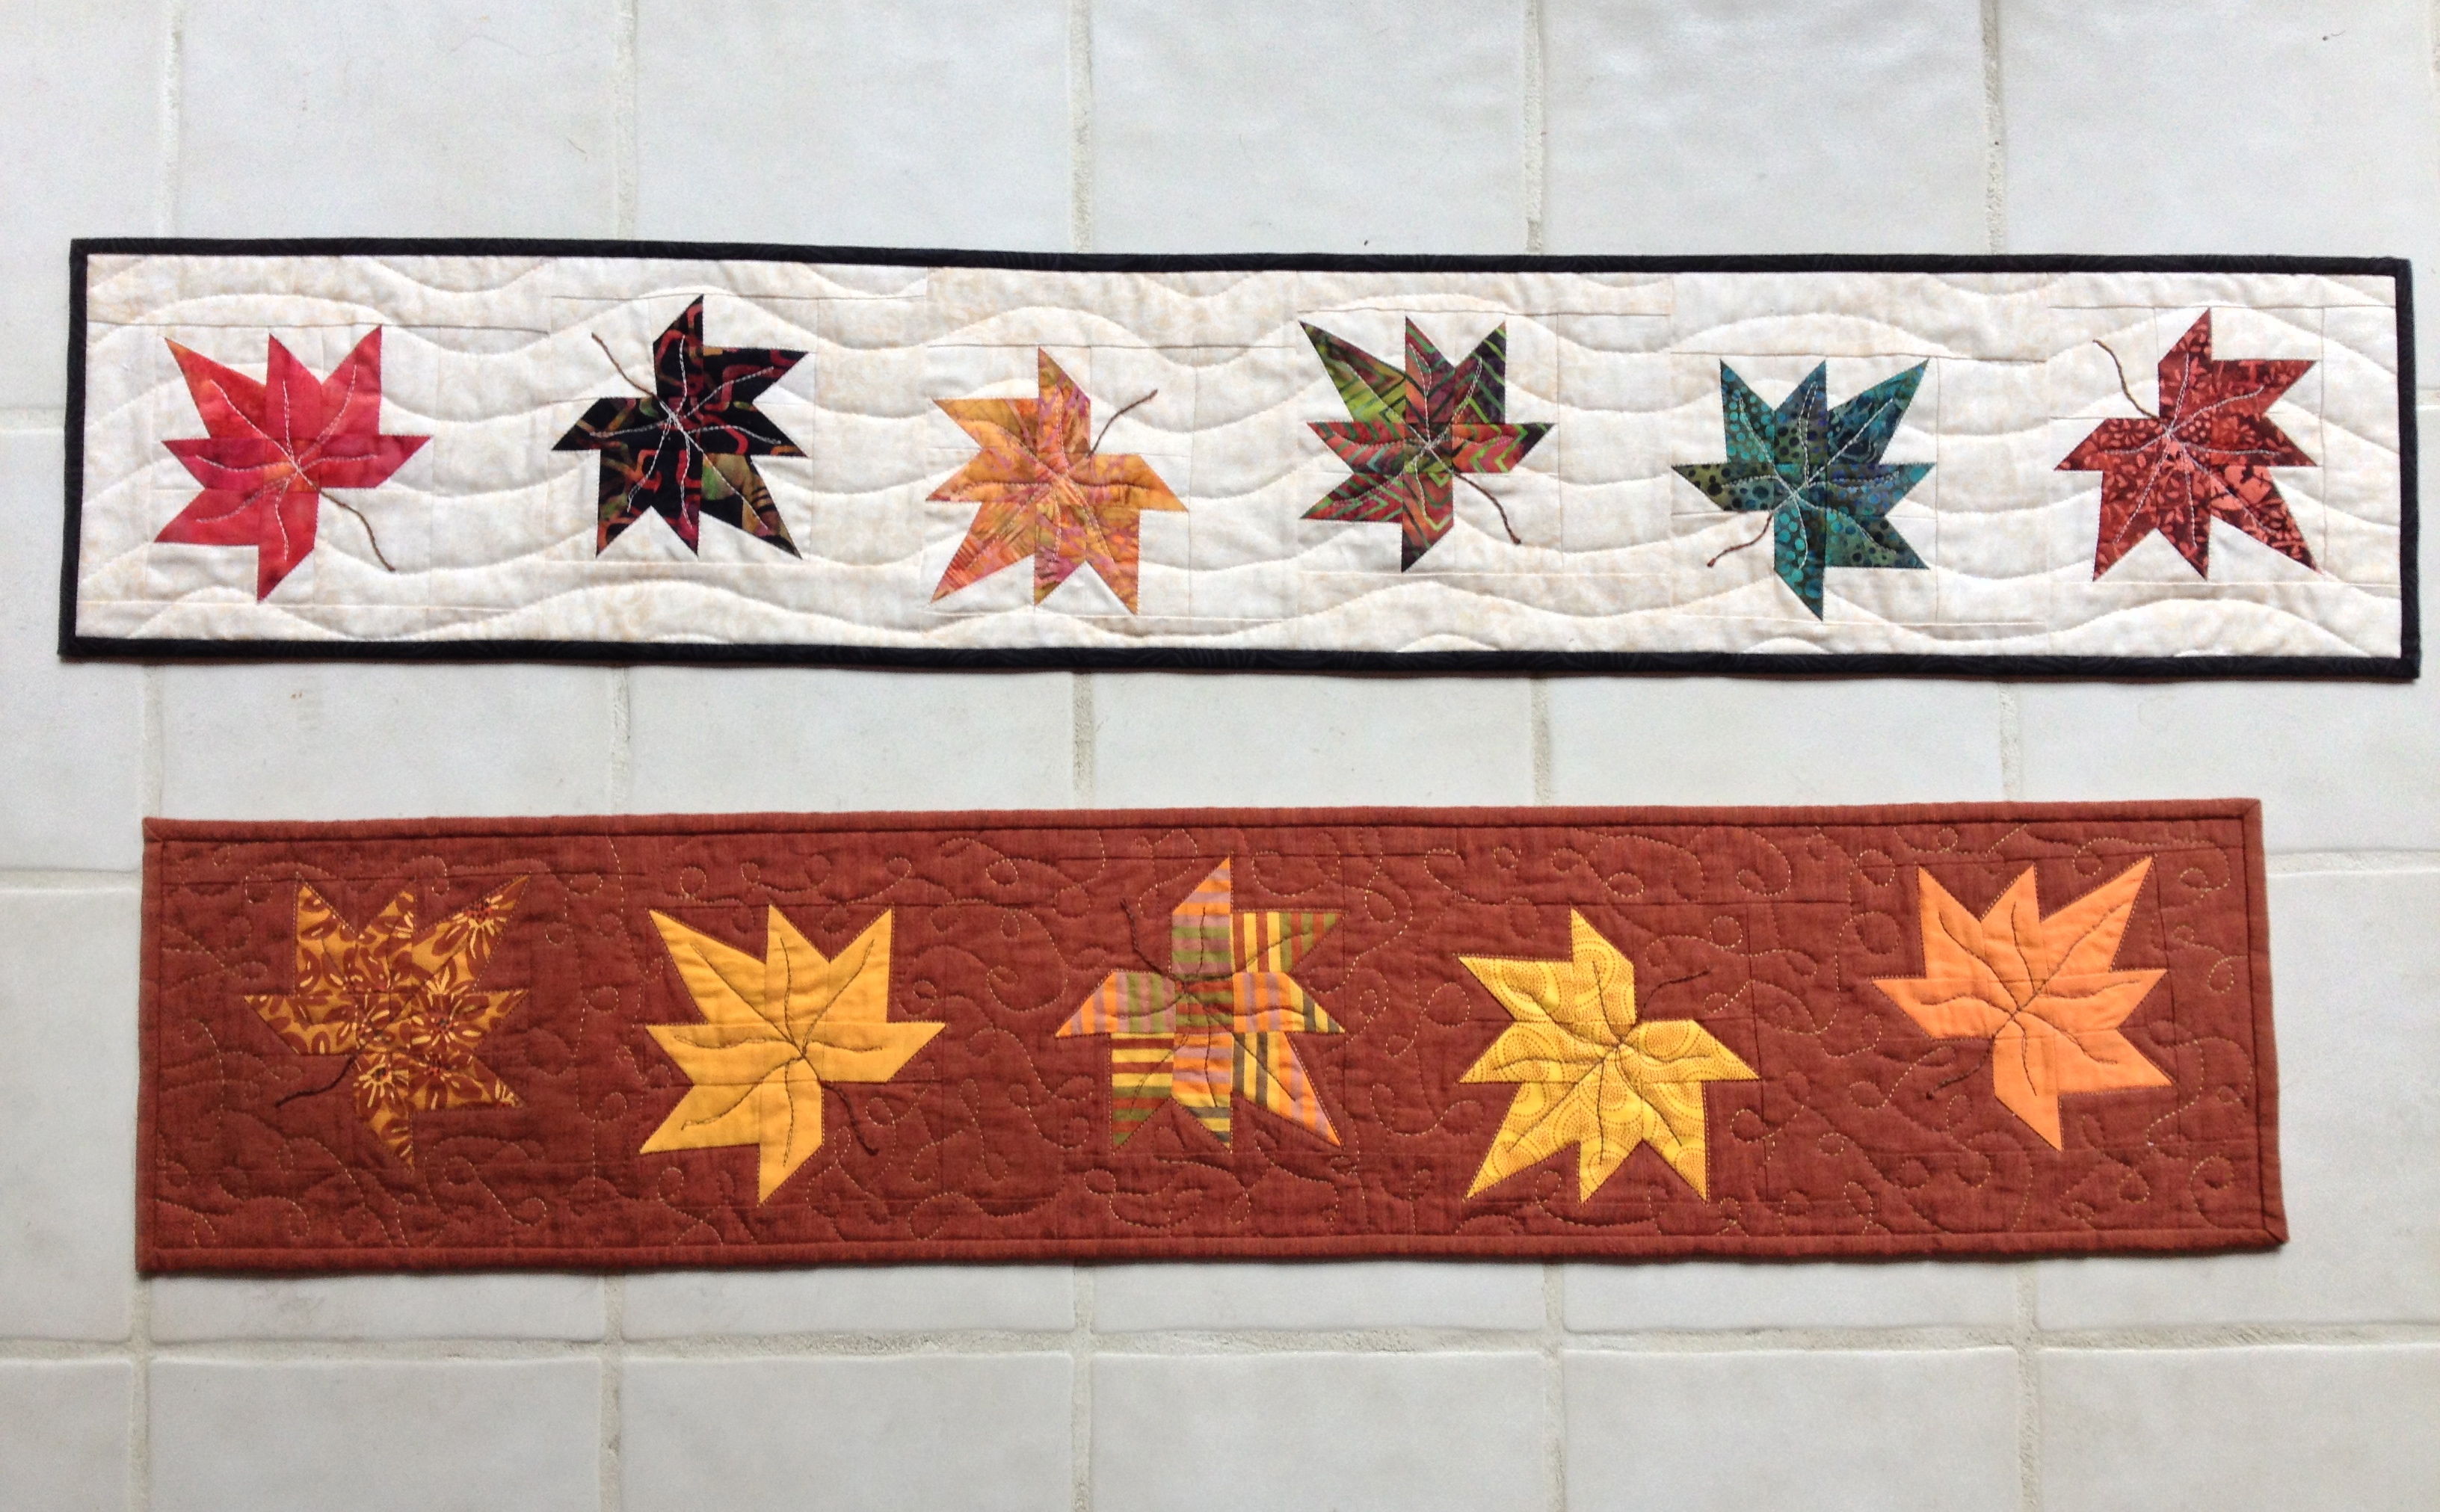
Aren’t these beautiful? My friend, Jane, made the top one and mine is on the bottom.
This is a pattern by my friend Anjeanette. You can find the tutorial on her blog here. I have been in love with this since Anjeanette showed it to me last fall. This fall she offered a class on it at our local quilt store Capital Quilts and I could not resist.

Detail of quilting and leaves
Jane was going to be visiting me from out of town at the time of the class. I sent her a picture of Anjeanette’s table runner and asked her if she wanted to come.

Anjeanette’s table runner (used with permission)
Jane couldn’t resist it either! The leaves can be easily cut from a charm pack. Jane used a charm pack of batiks and I bought some fat quarters of Kaffe Fassett fabrics in fall colors.
My first attempt at piecing a leaf at home before the class turned out like this:

First attempt at home
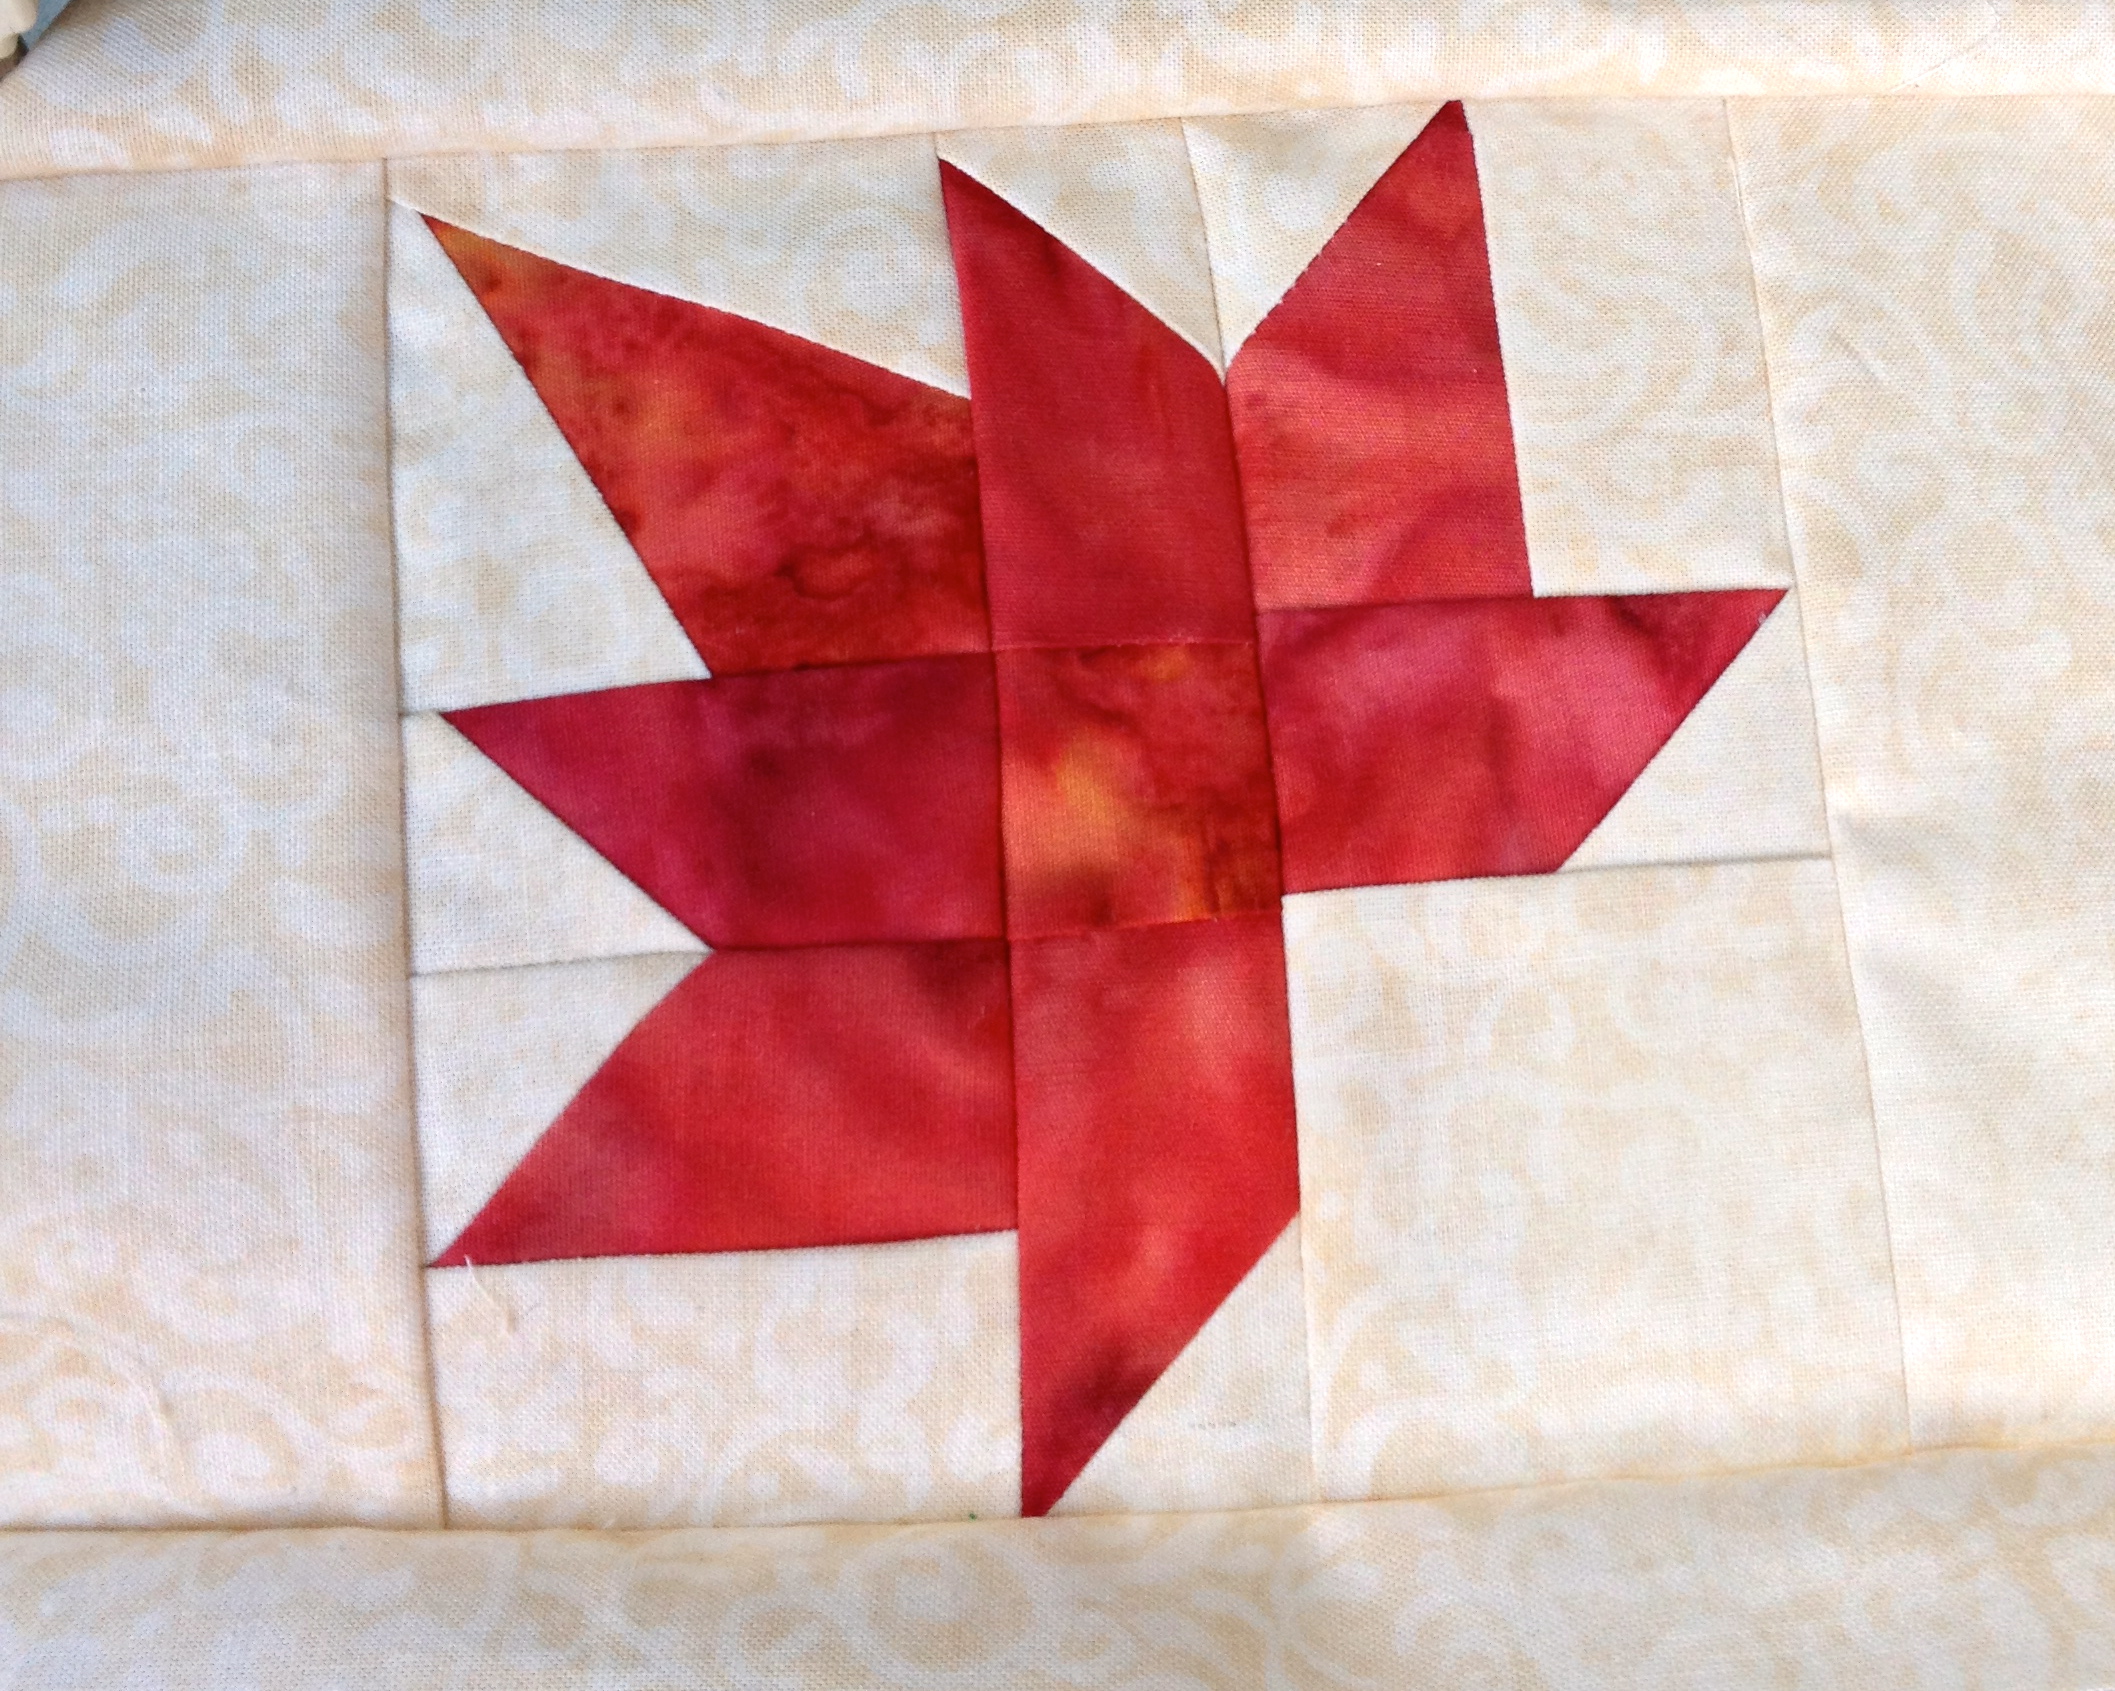
Yeah, not exactly square. However, I was trying to decide whether I liked the mix of fabrics sewn together in one leaf. I did decide to do each leaf in a separate fabric instead of mixing them all. Here is the leaf I did during class:
Second attempt during class (with sashing)
And here’s Janes:
Anjeanette went over a lot of little details during class about piecing that helped us to get an accurate result. These blocks, without sashing are about 5-1/2″ square. The pieces are small.
Another version by Anjeanette
Luckily I wrote the tips down on the class handout, and so I still have it to refer to. And now I’m going to write it here so that it is even further embedded in my mind (and I can refer back when I’ve lost the class handout). If you are a quilter you will think I’m stating the obvious, but here goes:
1. Use a 1/4″ foot if you have one.
2. Line up a piece of colored tape to extend the 1/4″ mark forward on your sewing table so you have a much longer guide to sew against.
3. Hold the piece you are sewing all the way through the presser foot. Don’t let go right at the end. If you have to use a tool to guide it under the foot, do so.
4. Use a scrap piece of fabric as a leader before sewing your little pieces. This will keep the threads from being sucked down into the machine.
5. Each fabric piece usually has a little stretch in one direction. If you determine this ahead of time, you can often position it in such a way that the non-stretchy edge ends up on the edge instead of along the sewn line.
6. Lead with the least “pointy” part of the pieces you are sewing together. This may mean that you flip the pieces over and sew with the smaller one on the bottom. (See photos below)
7. Ironing – Set the pieces by pressing them flat first. Then open up the seam and press. Don’t use steam.
8. Anytime you can make your pieces a little larger, sew them together, and then cut them into the exact size you need, the easier it will be to get them perfectly square. This was the case for the kite shape that is in this block.
There are many ways to cut and sew this shape: (and there are 6 of this shape in each leaf)

It begins with a rectangle, a square and the need to sew a diagonal line. You could mark each of these and sew on the line and then trim.
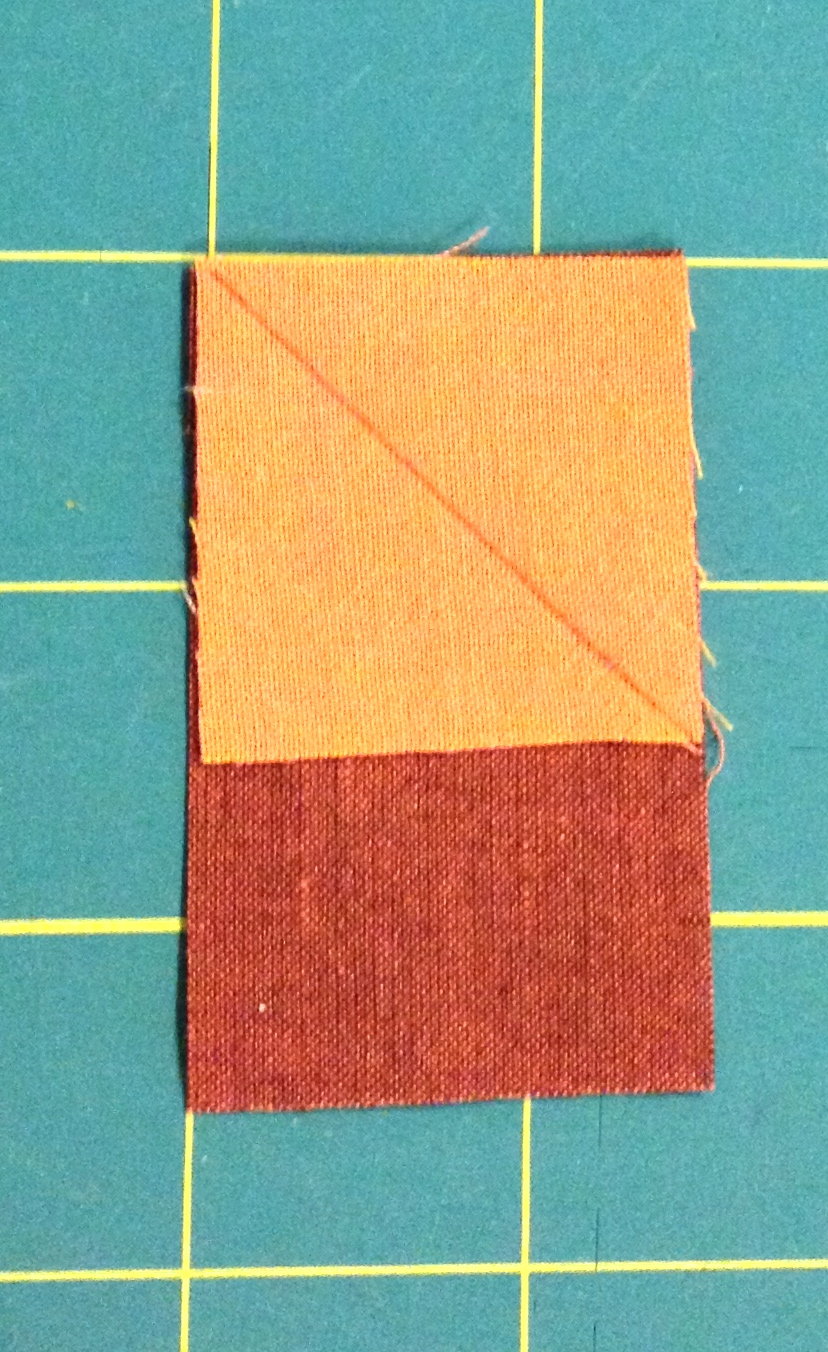
But here is the easier way –

Don’t mark, trim first, then sew.
Line the 1/4″ mark of your ruler on that diagonal and then trim the excess away. This way you are ready to sew using the edge of the piece as a guide.
Here are pictures to illustrate tip #6 above regarding how to stitch this piece.

Point first! Don’t do this.
That point is sure to get caught up if you try to sew it like this.
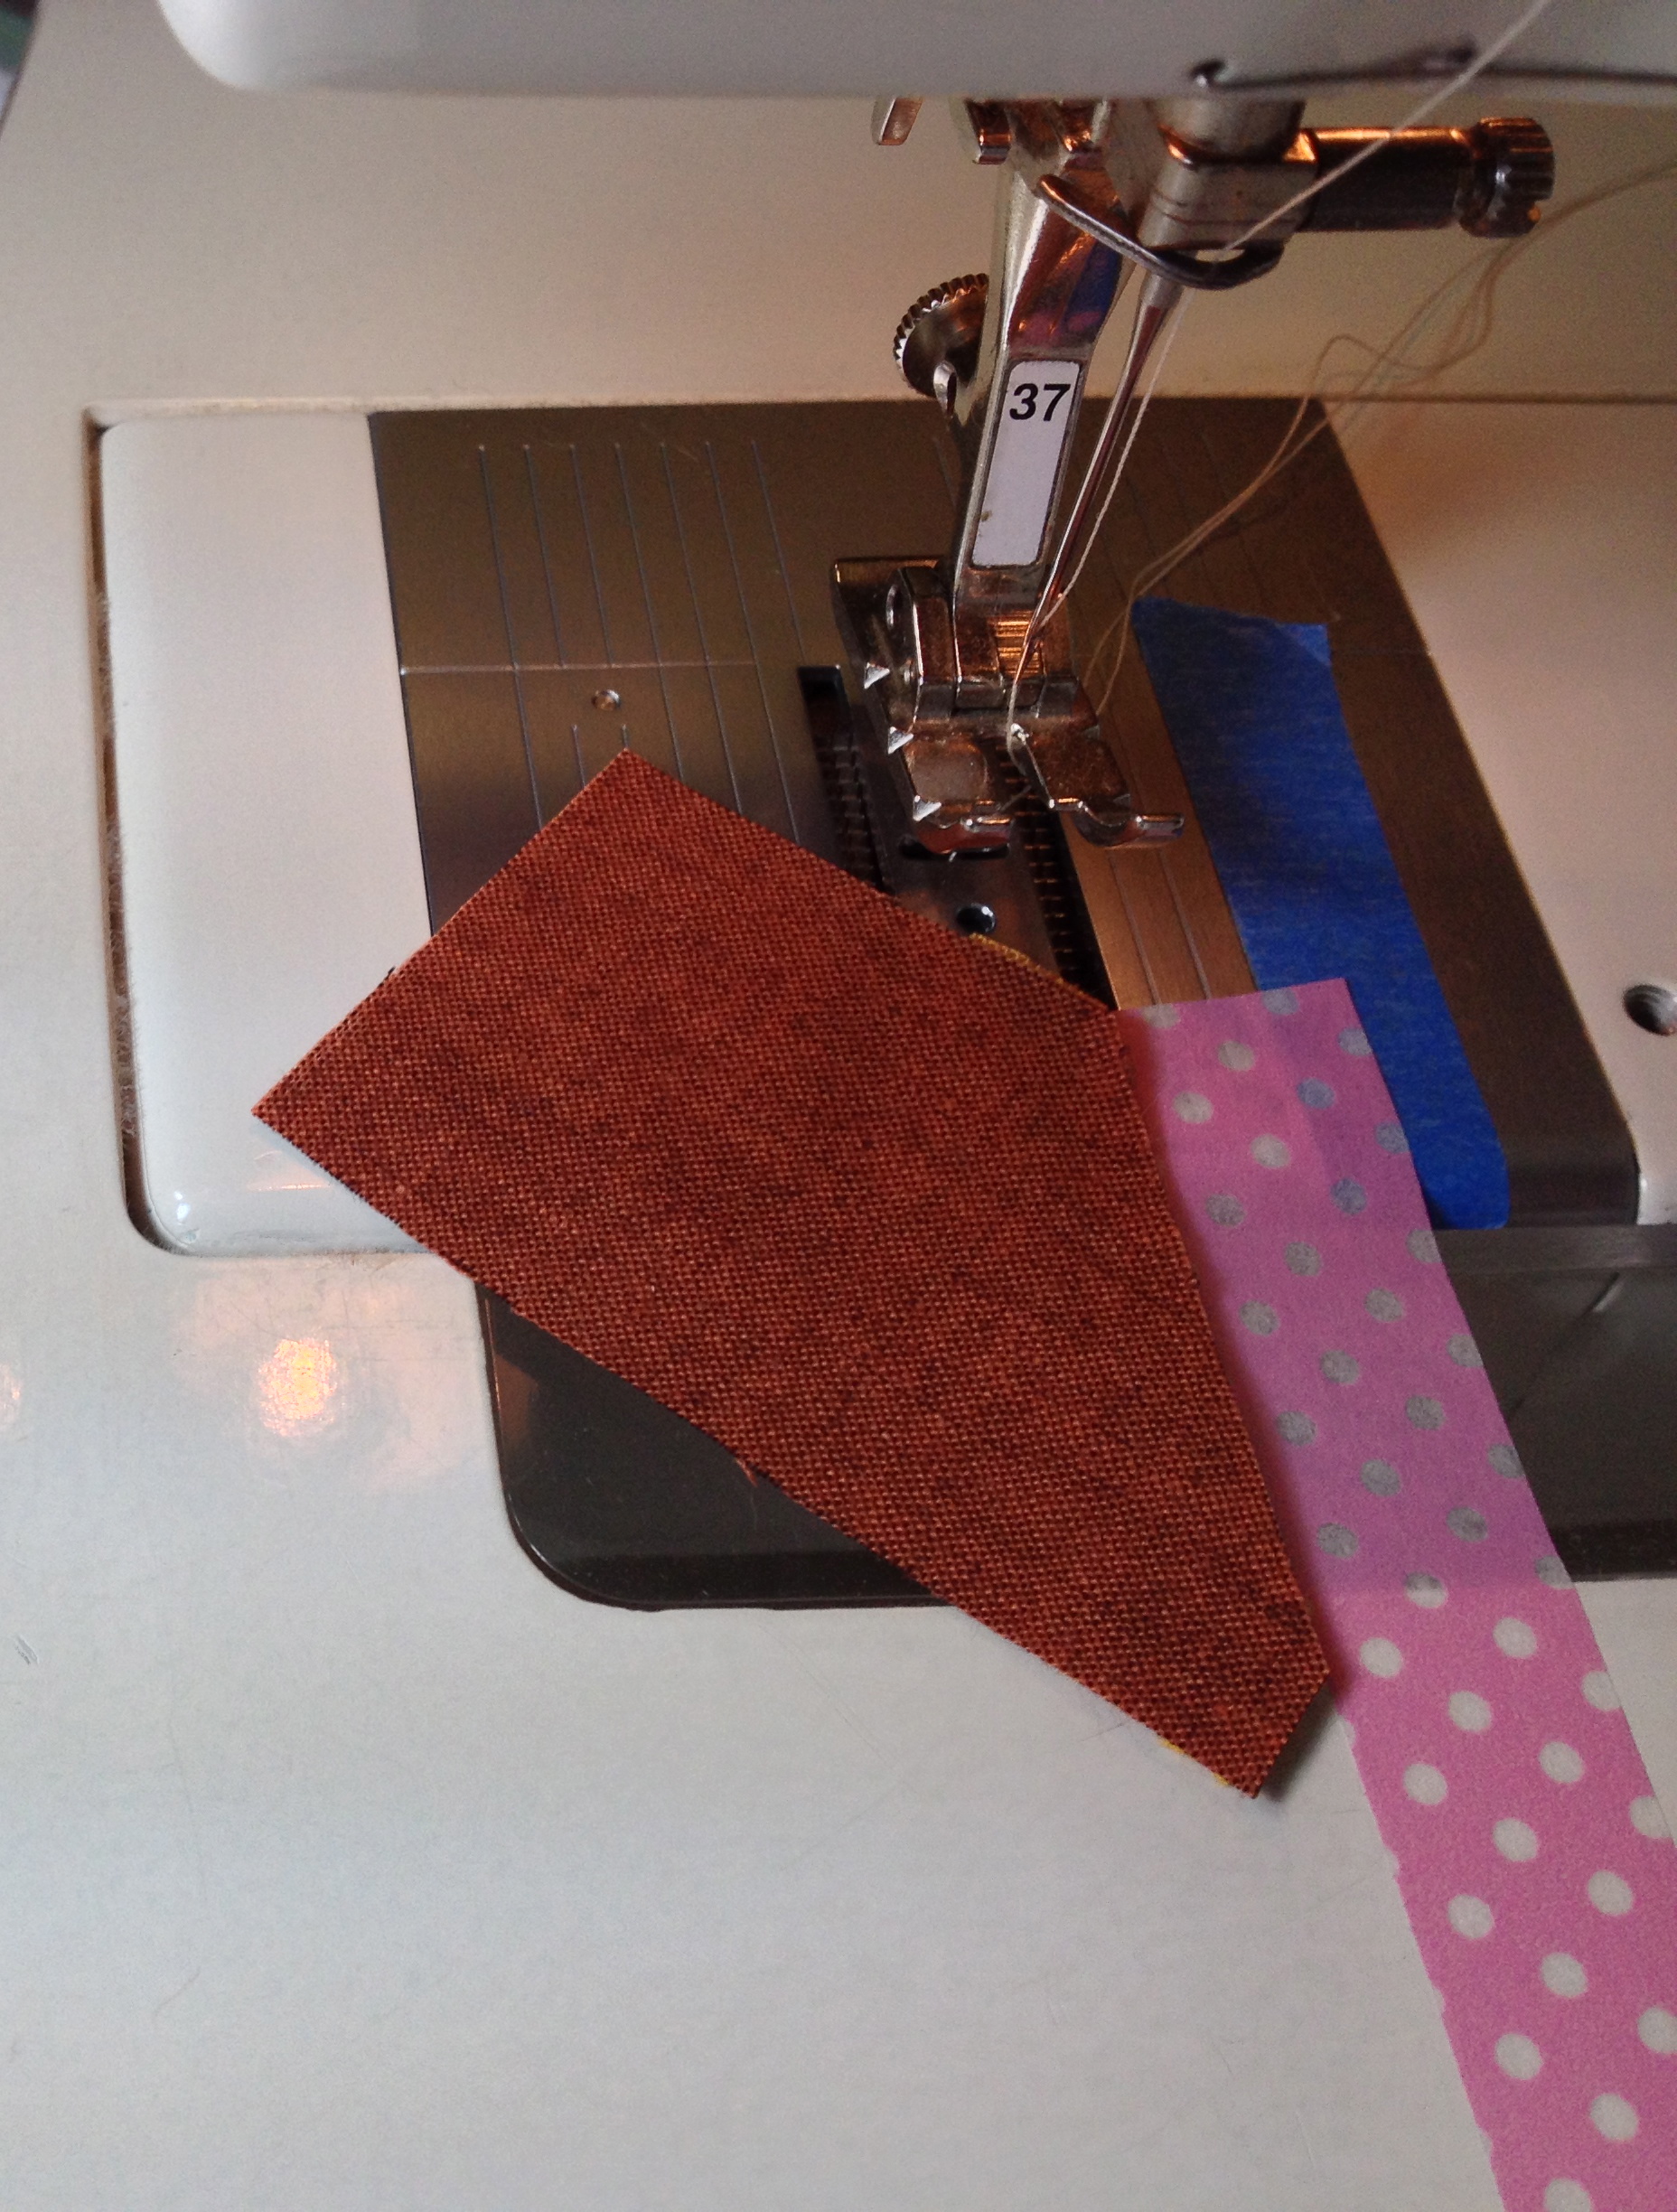
Flip it over and sew this way so that the point goes through last.
I promise that the orange piece is lined up nicely under there and sewing it this way will give you a much better result.
Once the leaves are pieced, they are bordered with sashing in different widths. I think this is what makes this table runner so special. It has movement to it because the leaves are not all lined up in a row and facing the same direction. When sewing on the sashing, always have the pieced block facing towards you so that you can see that you are sewing to the right of the leaf tips and not cutting them off.
Jane’s table runner has an extra layer of batting under the leaves in order to make them stand out a bit more.

Batting sewn and then trimmed away from back of leaf.
Once this was done, a layer of batting was applied to the whole runner top and veins were free motion quilted on the leaves and then a stem was embroidered on.

Leaf veins and stems
This was done before the backing was put on so that this stitching would not show on the back.
Now the backing was added and the piece was quilted and then the binding put on.

I love the way that Jane’s (the light colored one) is framed by the dark binding and mine was bound in the background fabric so that the leaves are the whole show. This is such a good example of how the same pattern can look totally different.
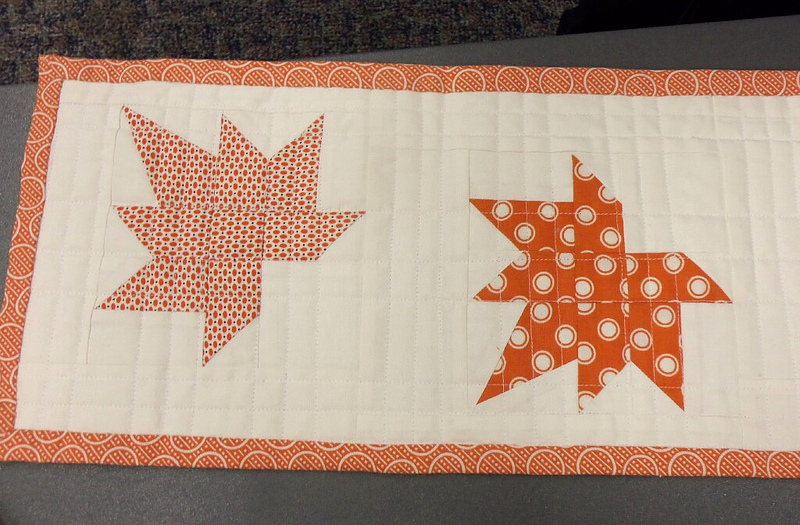
Please look closely at those points. We are so proud of them!
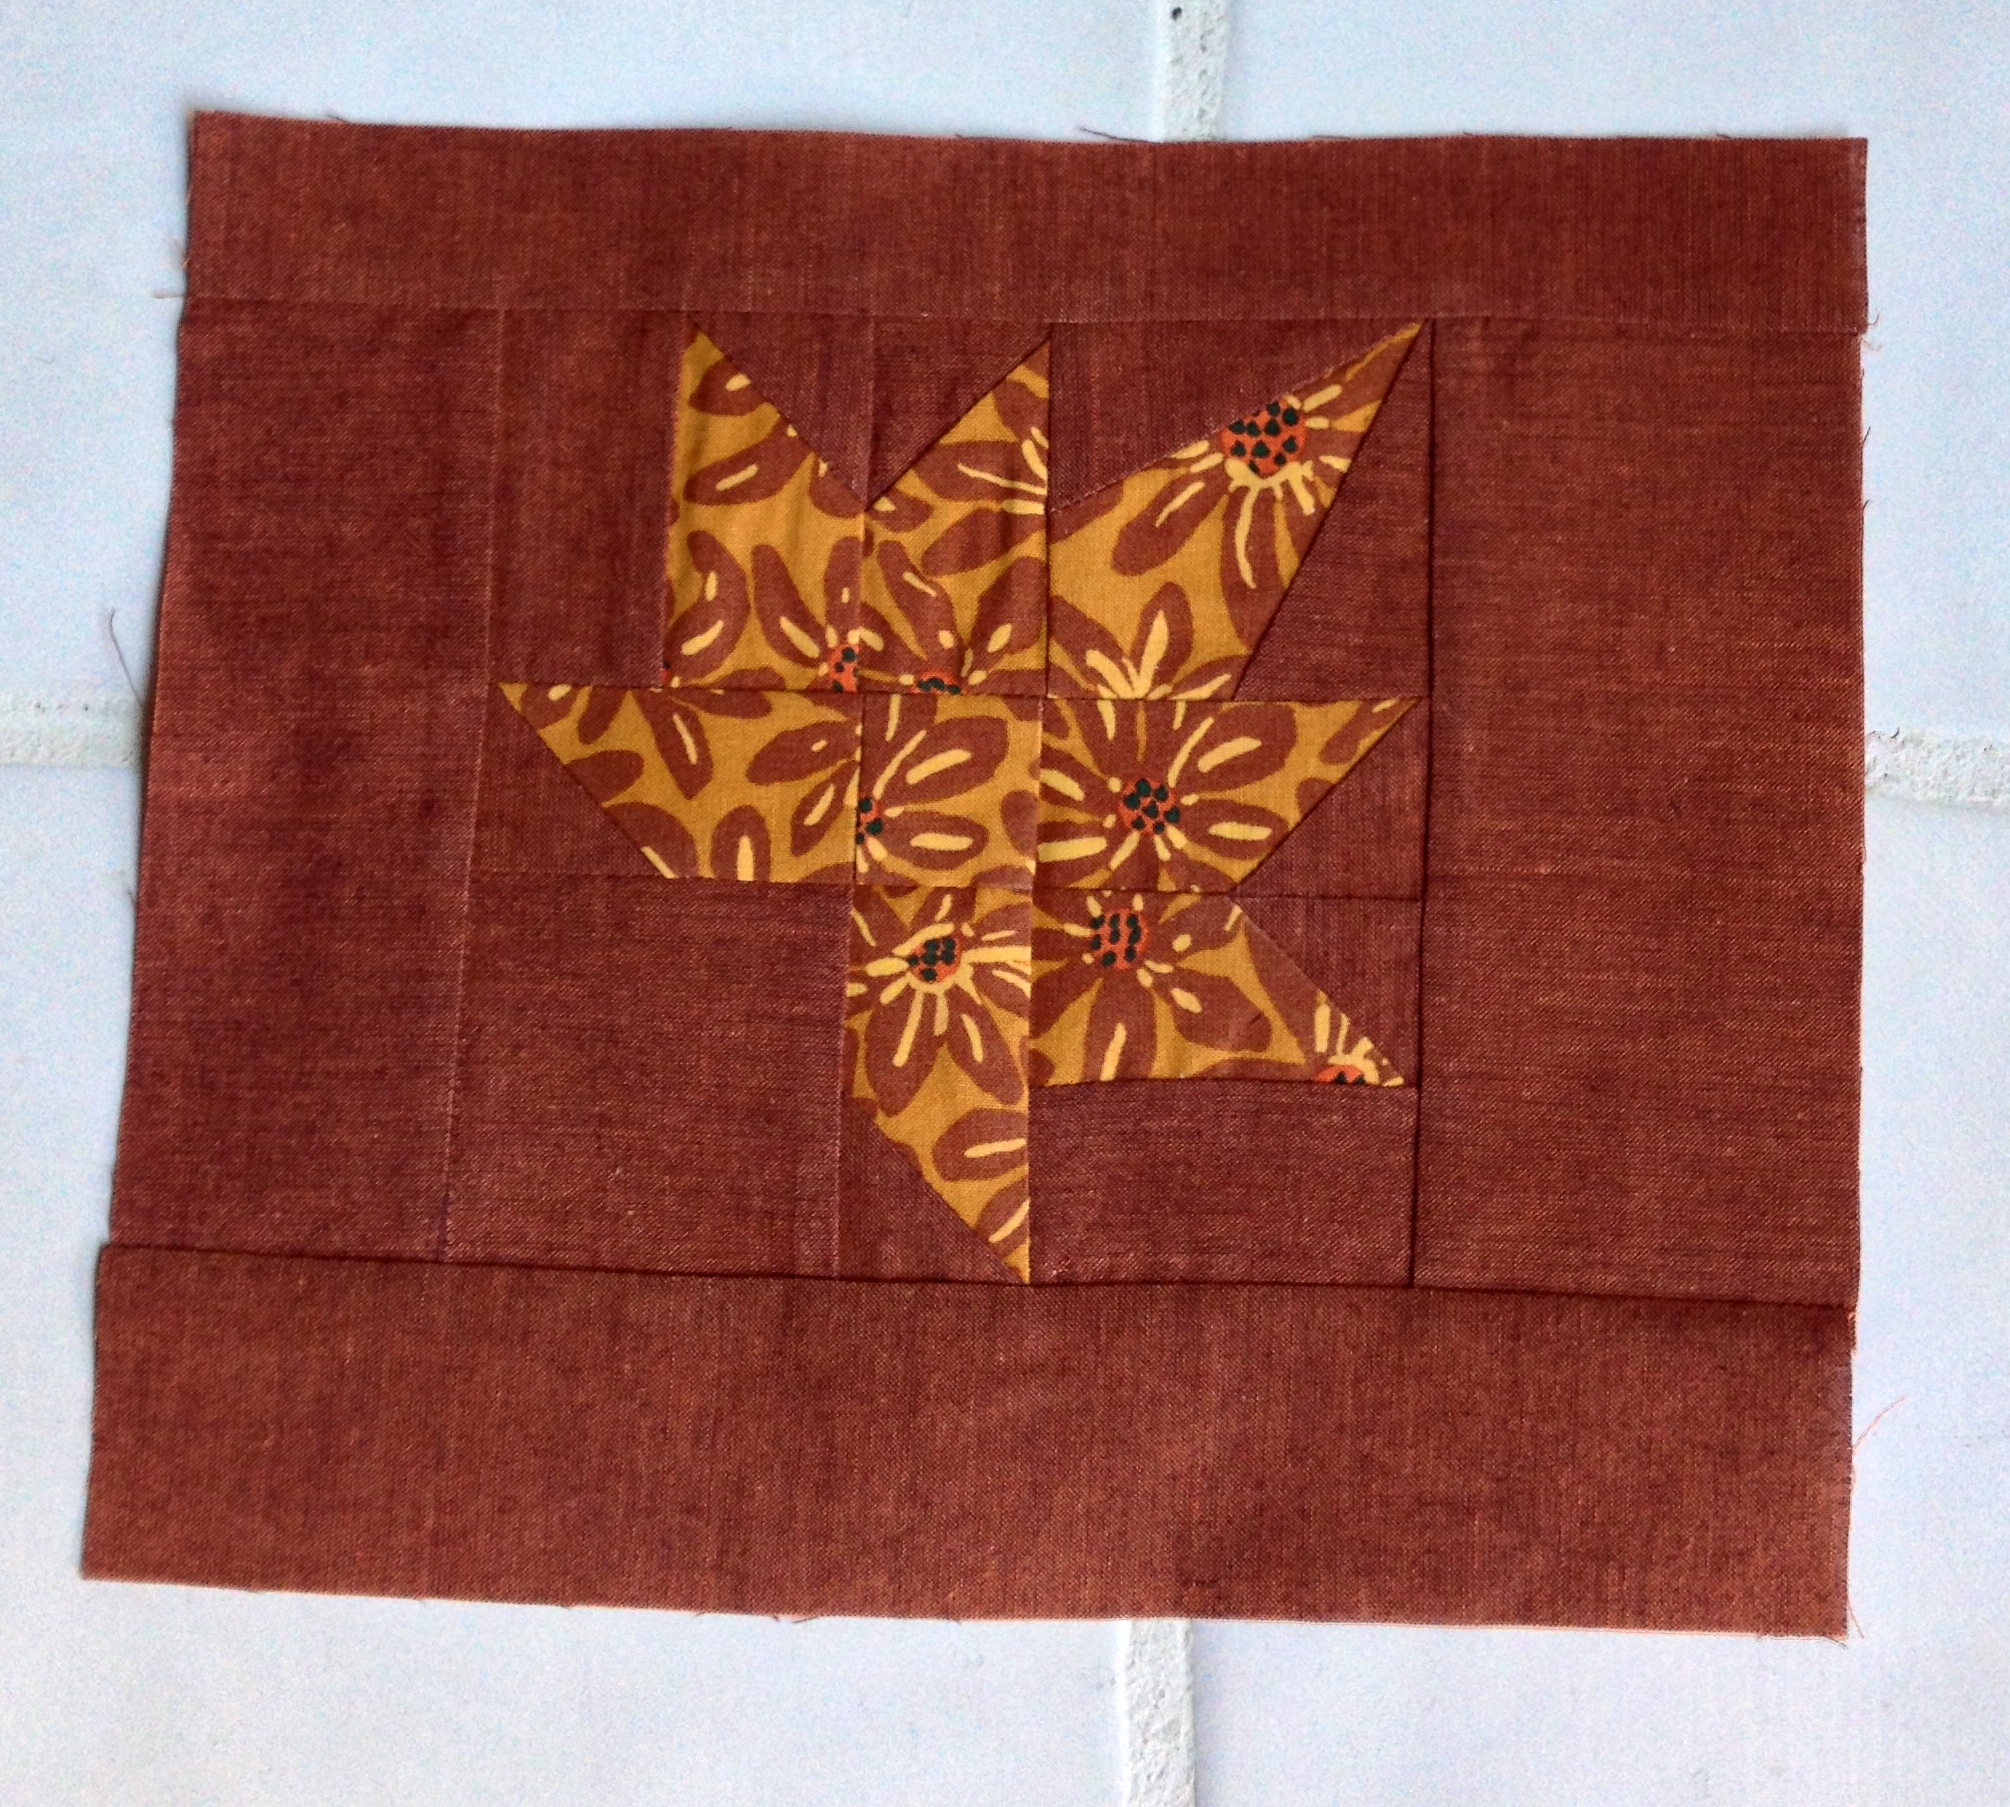
Here is what I ended up making from that first wonky block I made with the mix of fabrics:

Fabric “basket”
Again, you can find Anjeanette’s tutorial for this table runner here and the homepage to her blog here. You may just want to go there to look and see what she’s up to now. This isn’t the only beautiful project that she has designed!
Addendum: Moda Bake Shop has just posted a throw size quilt by Anjeanette using the same leaf block but double the size! Find it here.


