My dinosaur baby quilt and the soon-to-be parents.
My daughter and her husband are expecting a baby boy in May and I wanted to make him a special quilt. My daughter suggested that I make one with a dinosaur theme. After doing an online search for ideas I found this wonderful quilt by Daniel Rouse titled Hero’s nemesis.

Quilt by Daniel Rouse (photo used with his permission)
I basically copied what Daniel had done except I used different colors and a different dinosaur.
I started by making a quilt top out of Disappearing Nine Patch Blocks.

Disappearing Nine Patch quilt top.
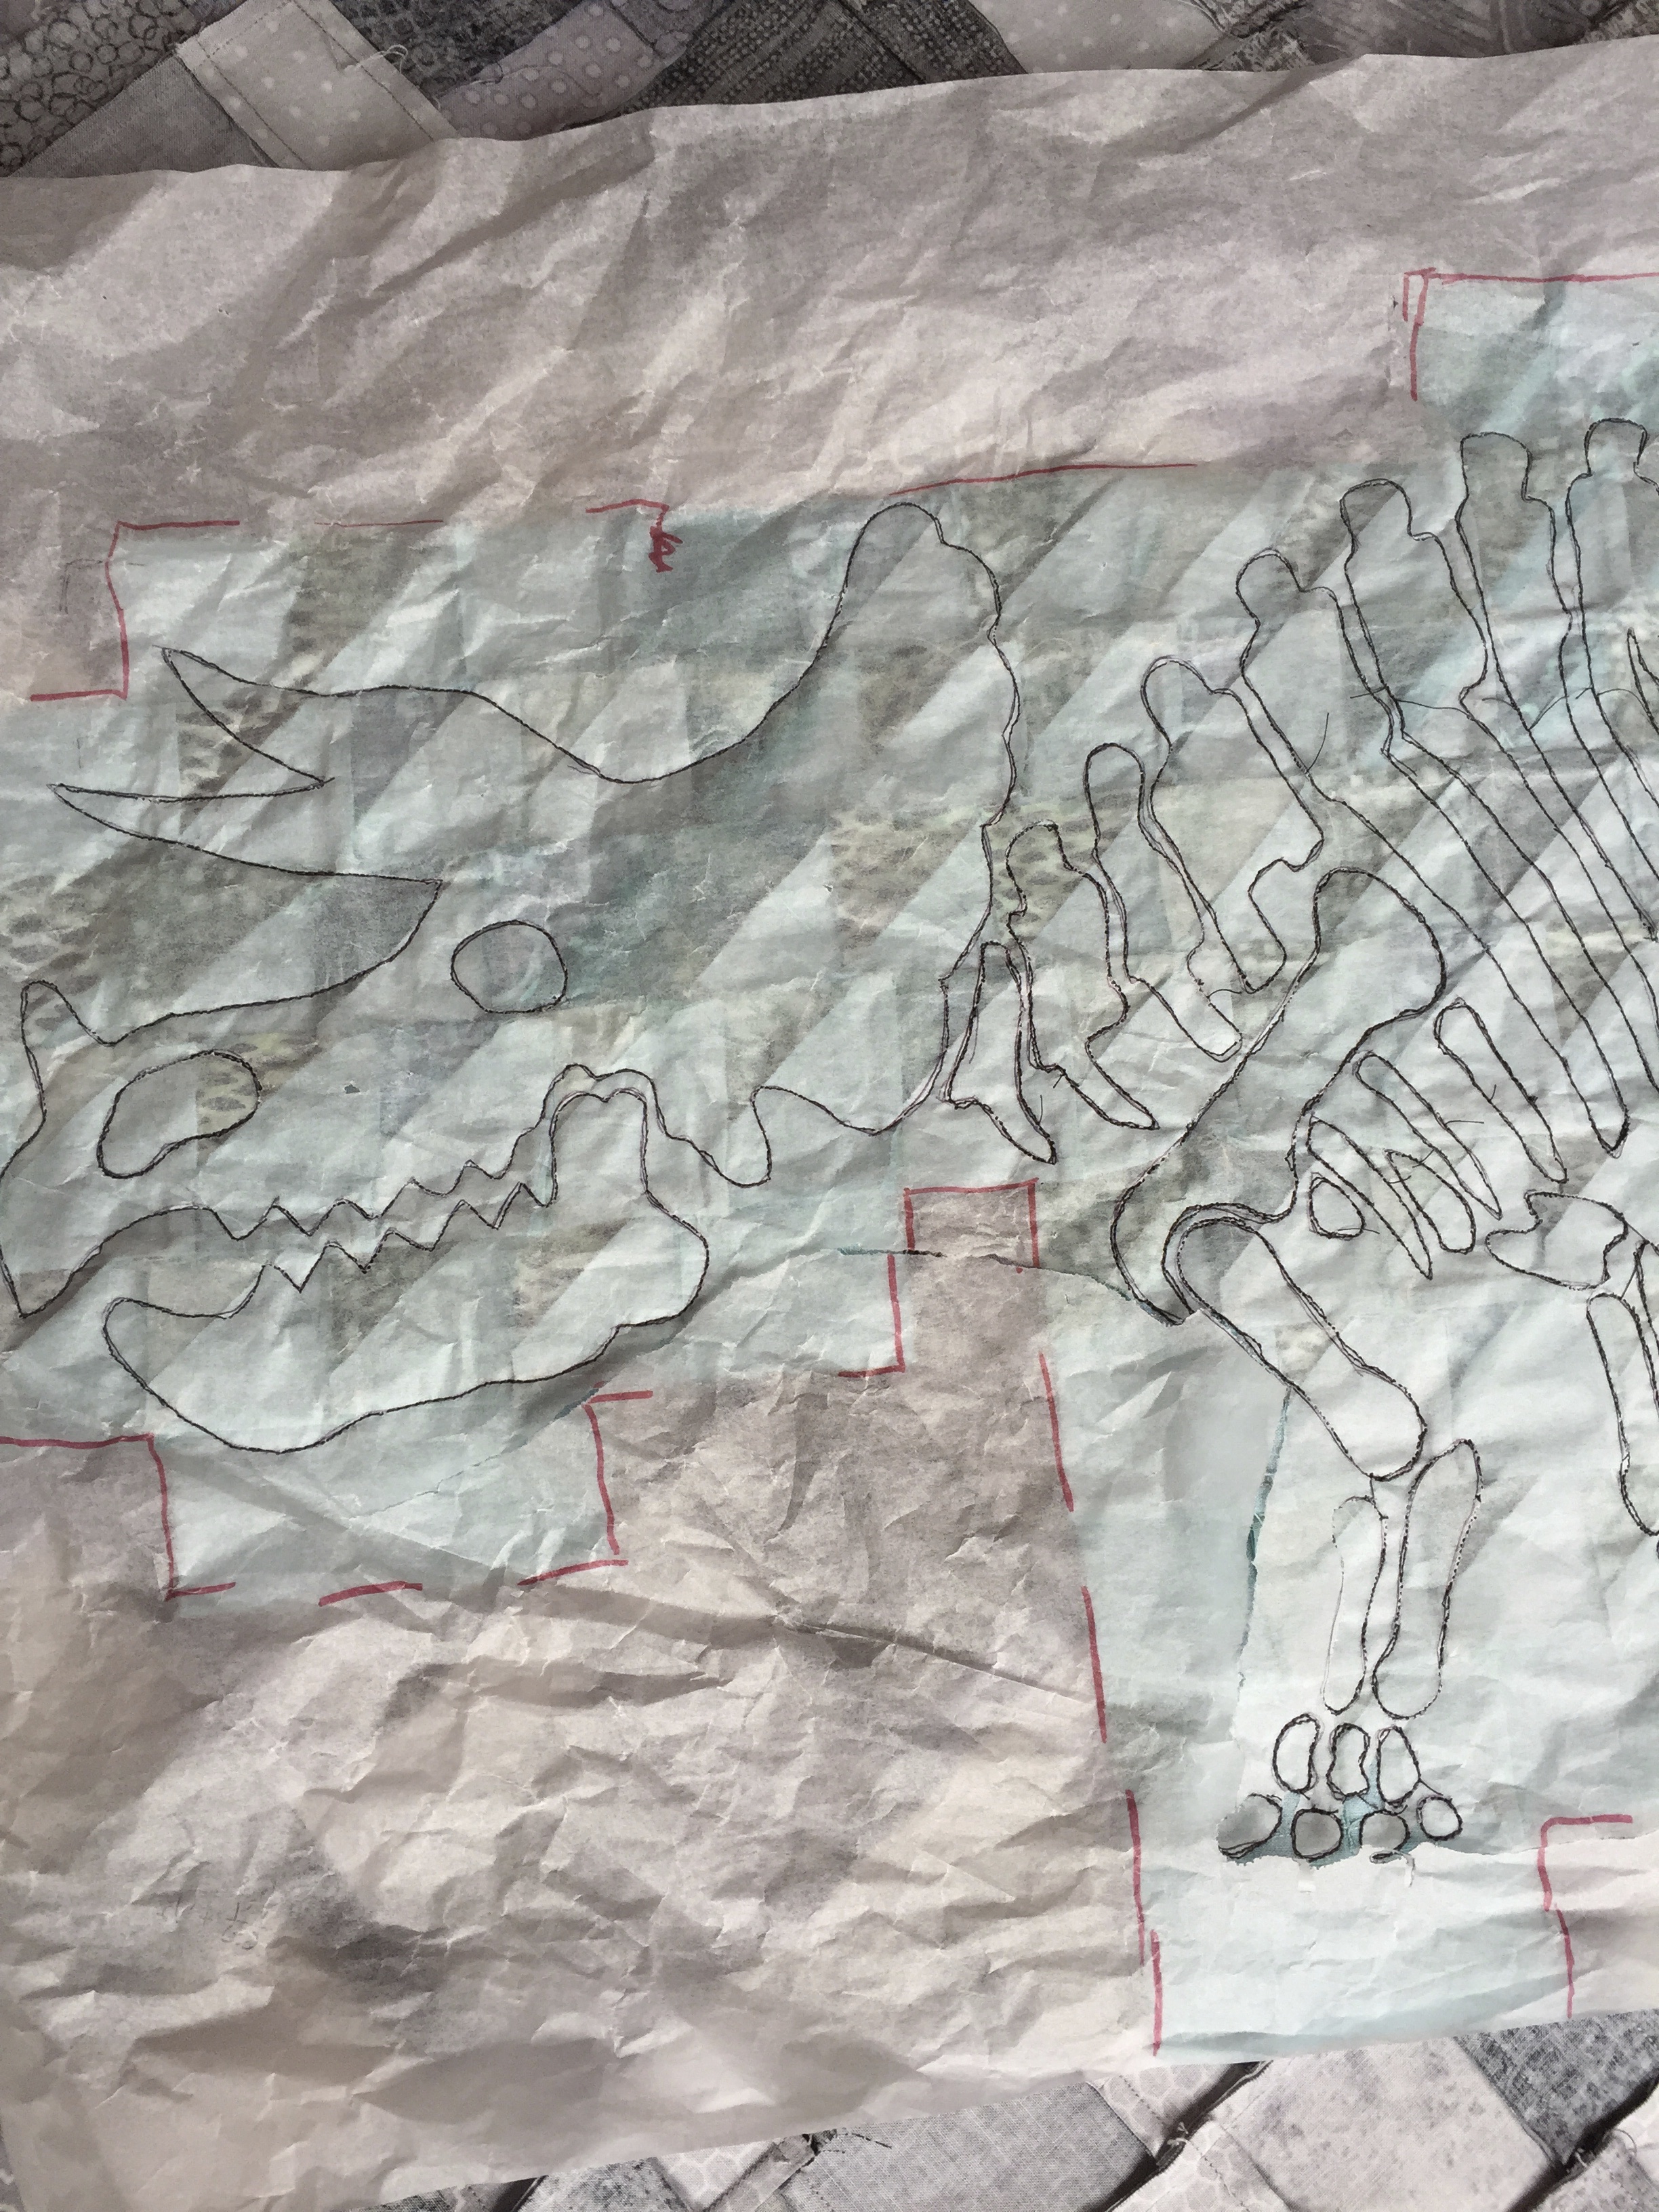
I wanted my quilt to have a triceratops on it. My family has spent a lot of time in Montana and the Museum of the Rockies has a wonderful display of triceratops skeletons. I found a wall decal of a triceratops skeleton that was the right size and traced around it.
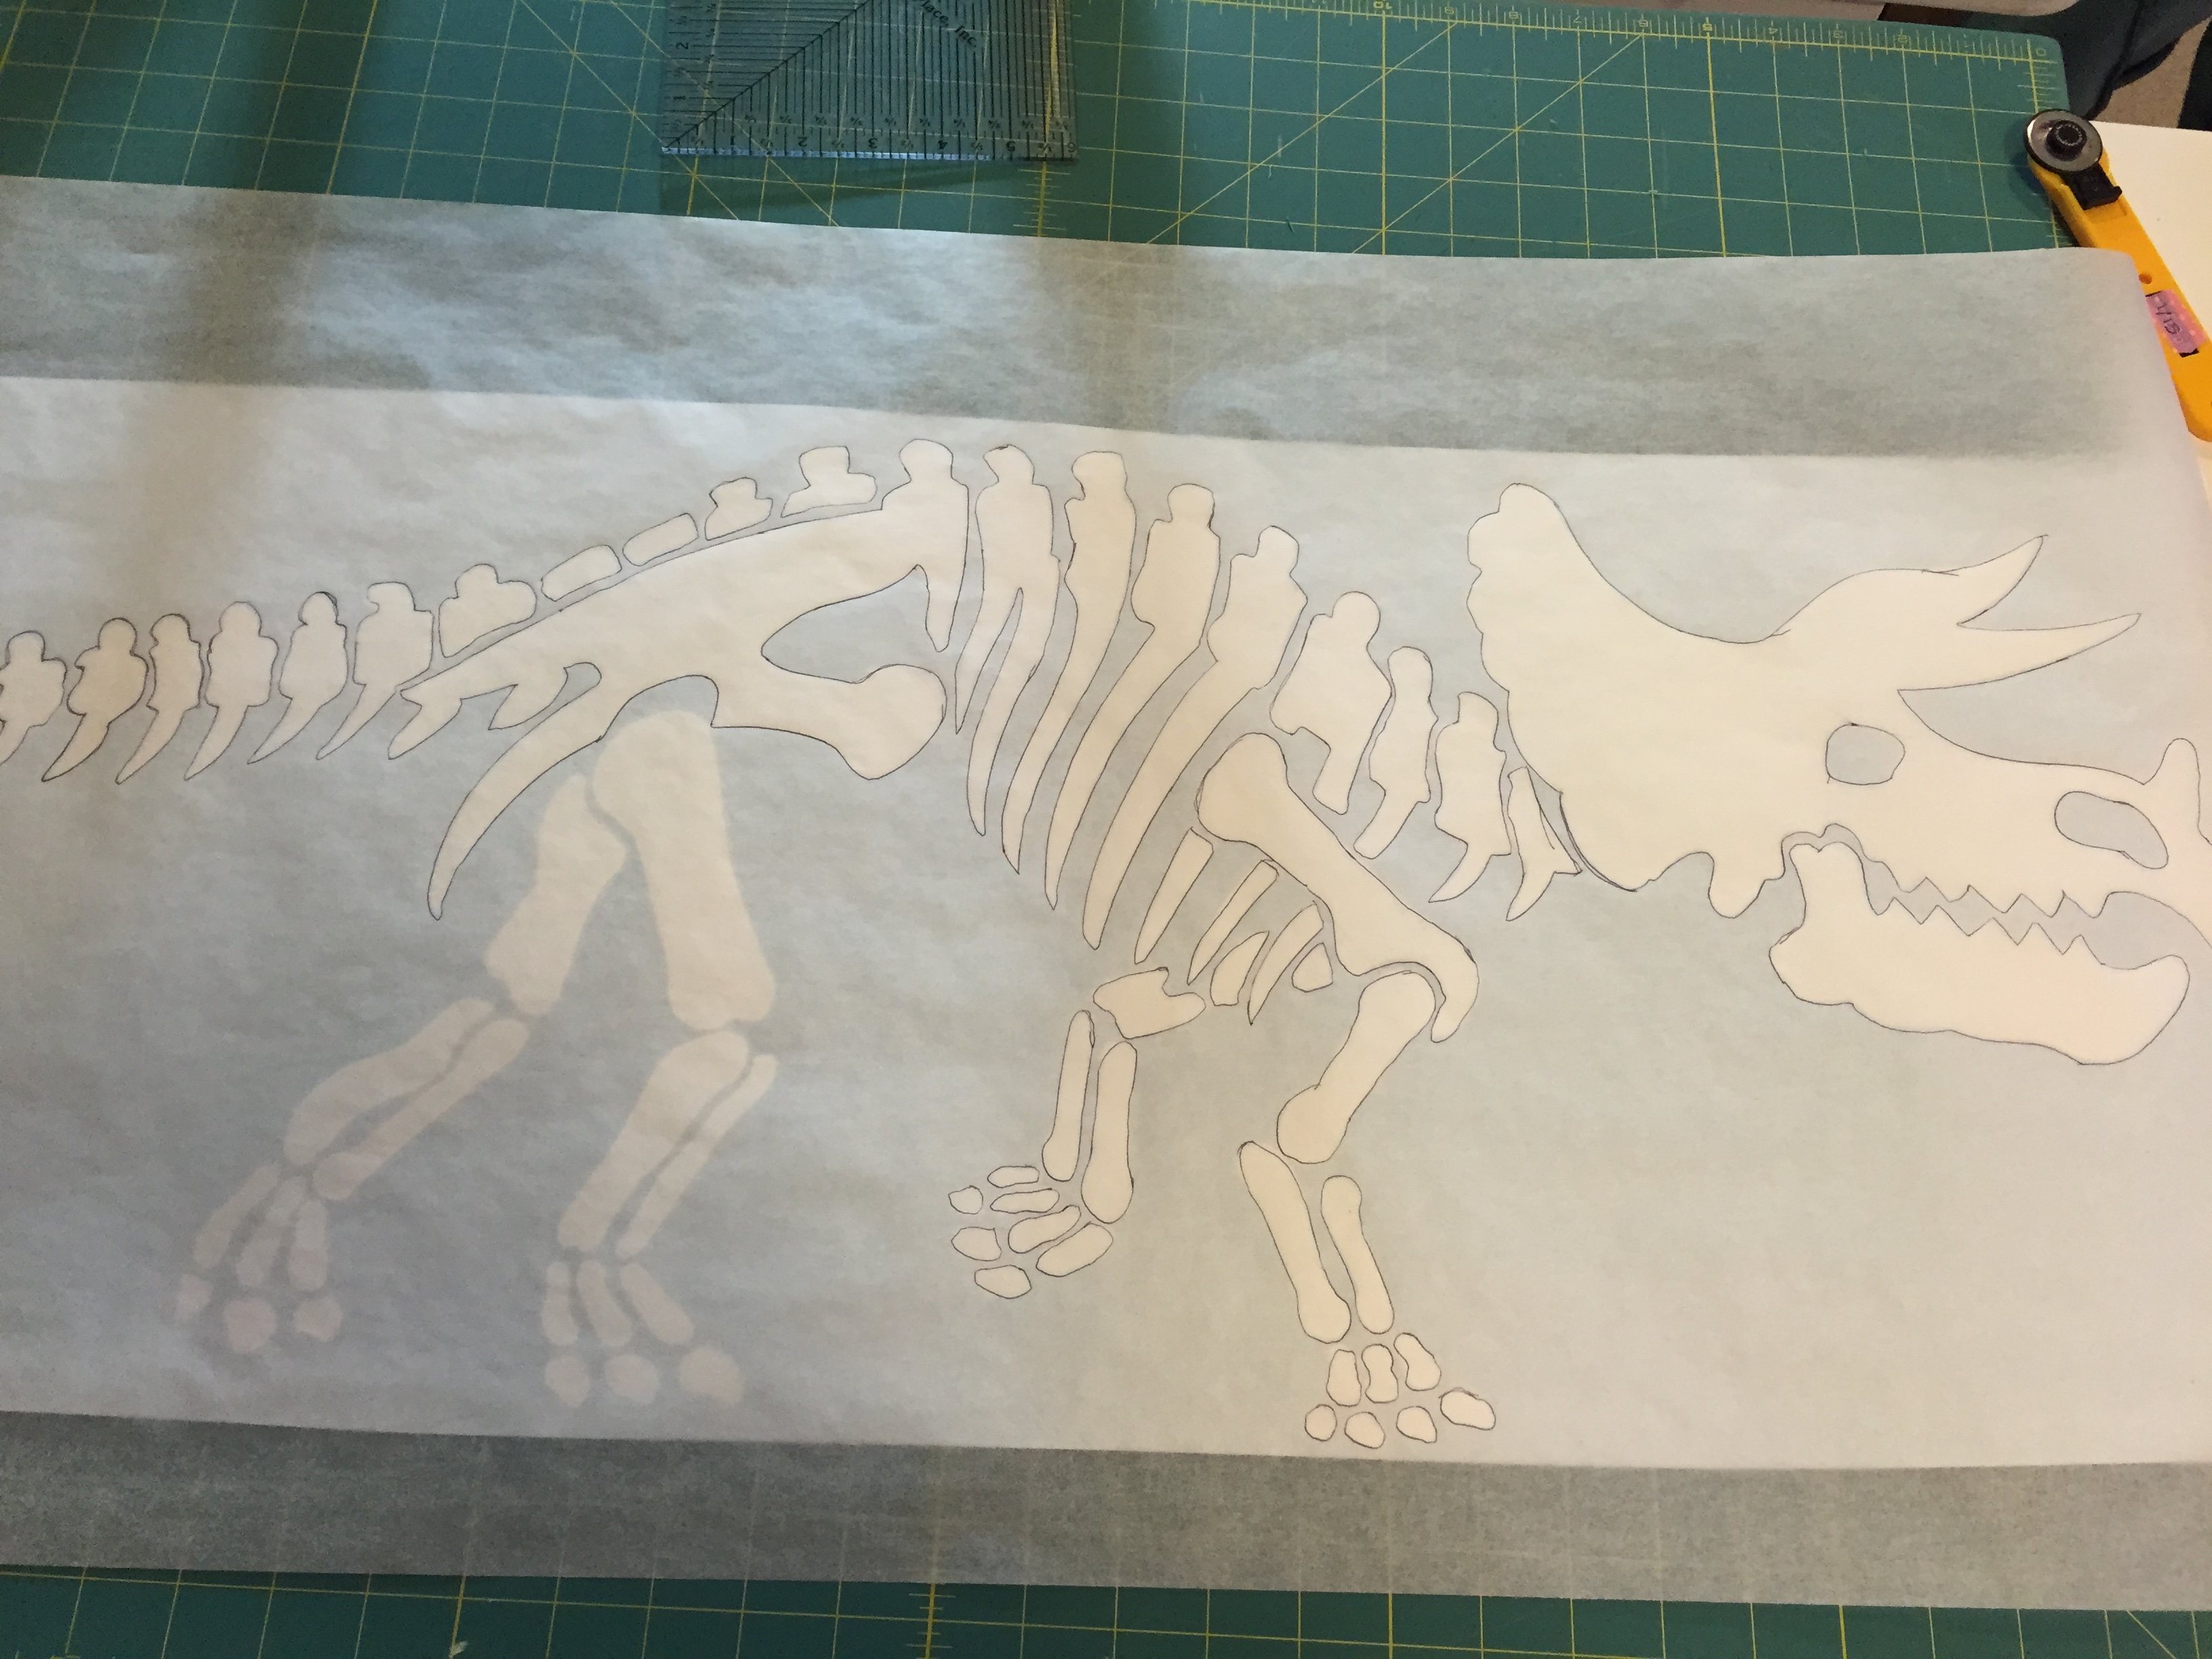
Tracing around the wall decal.
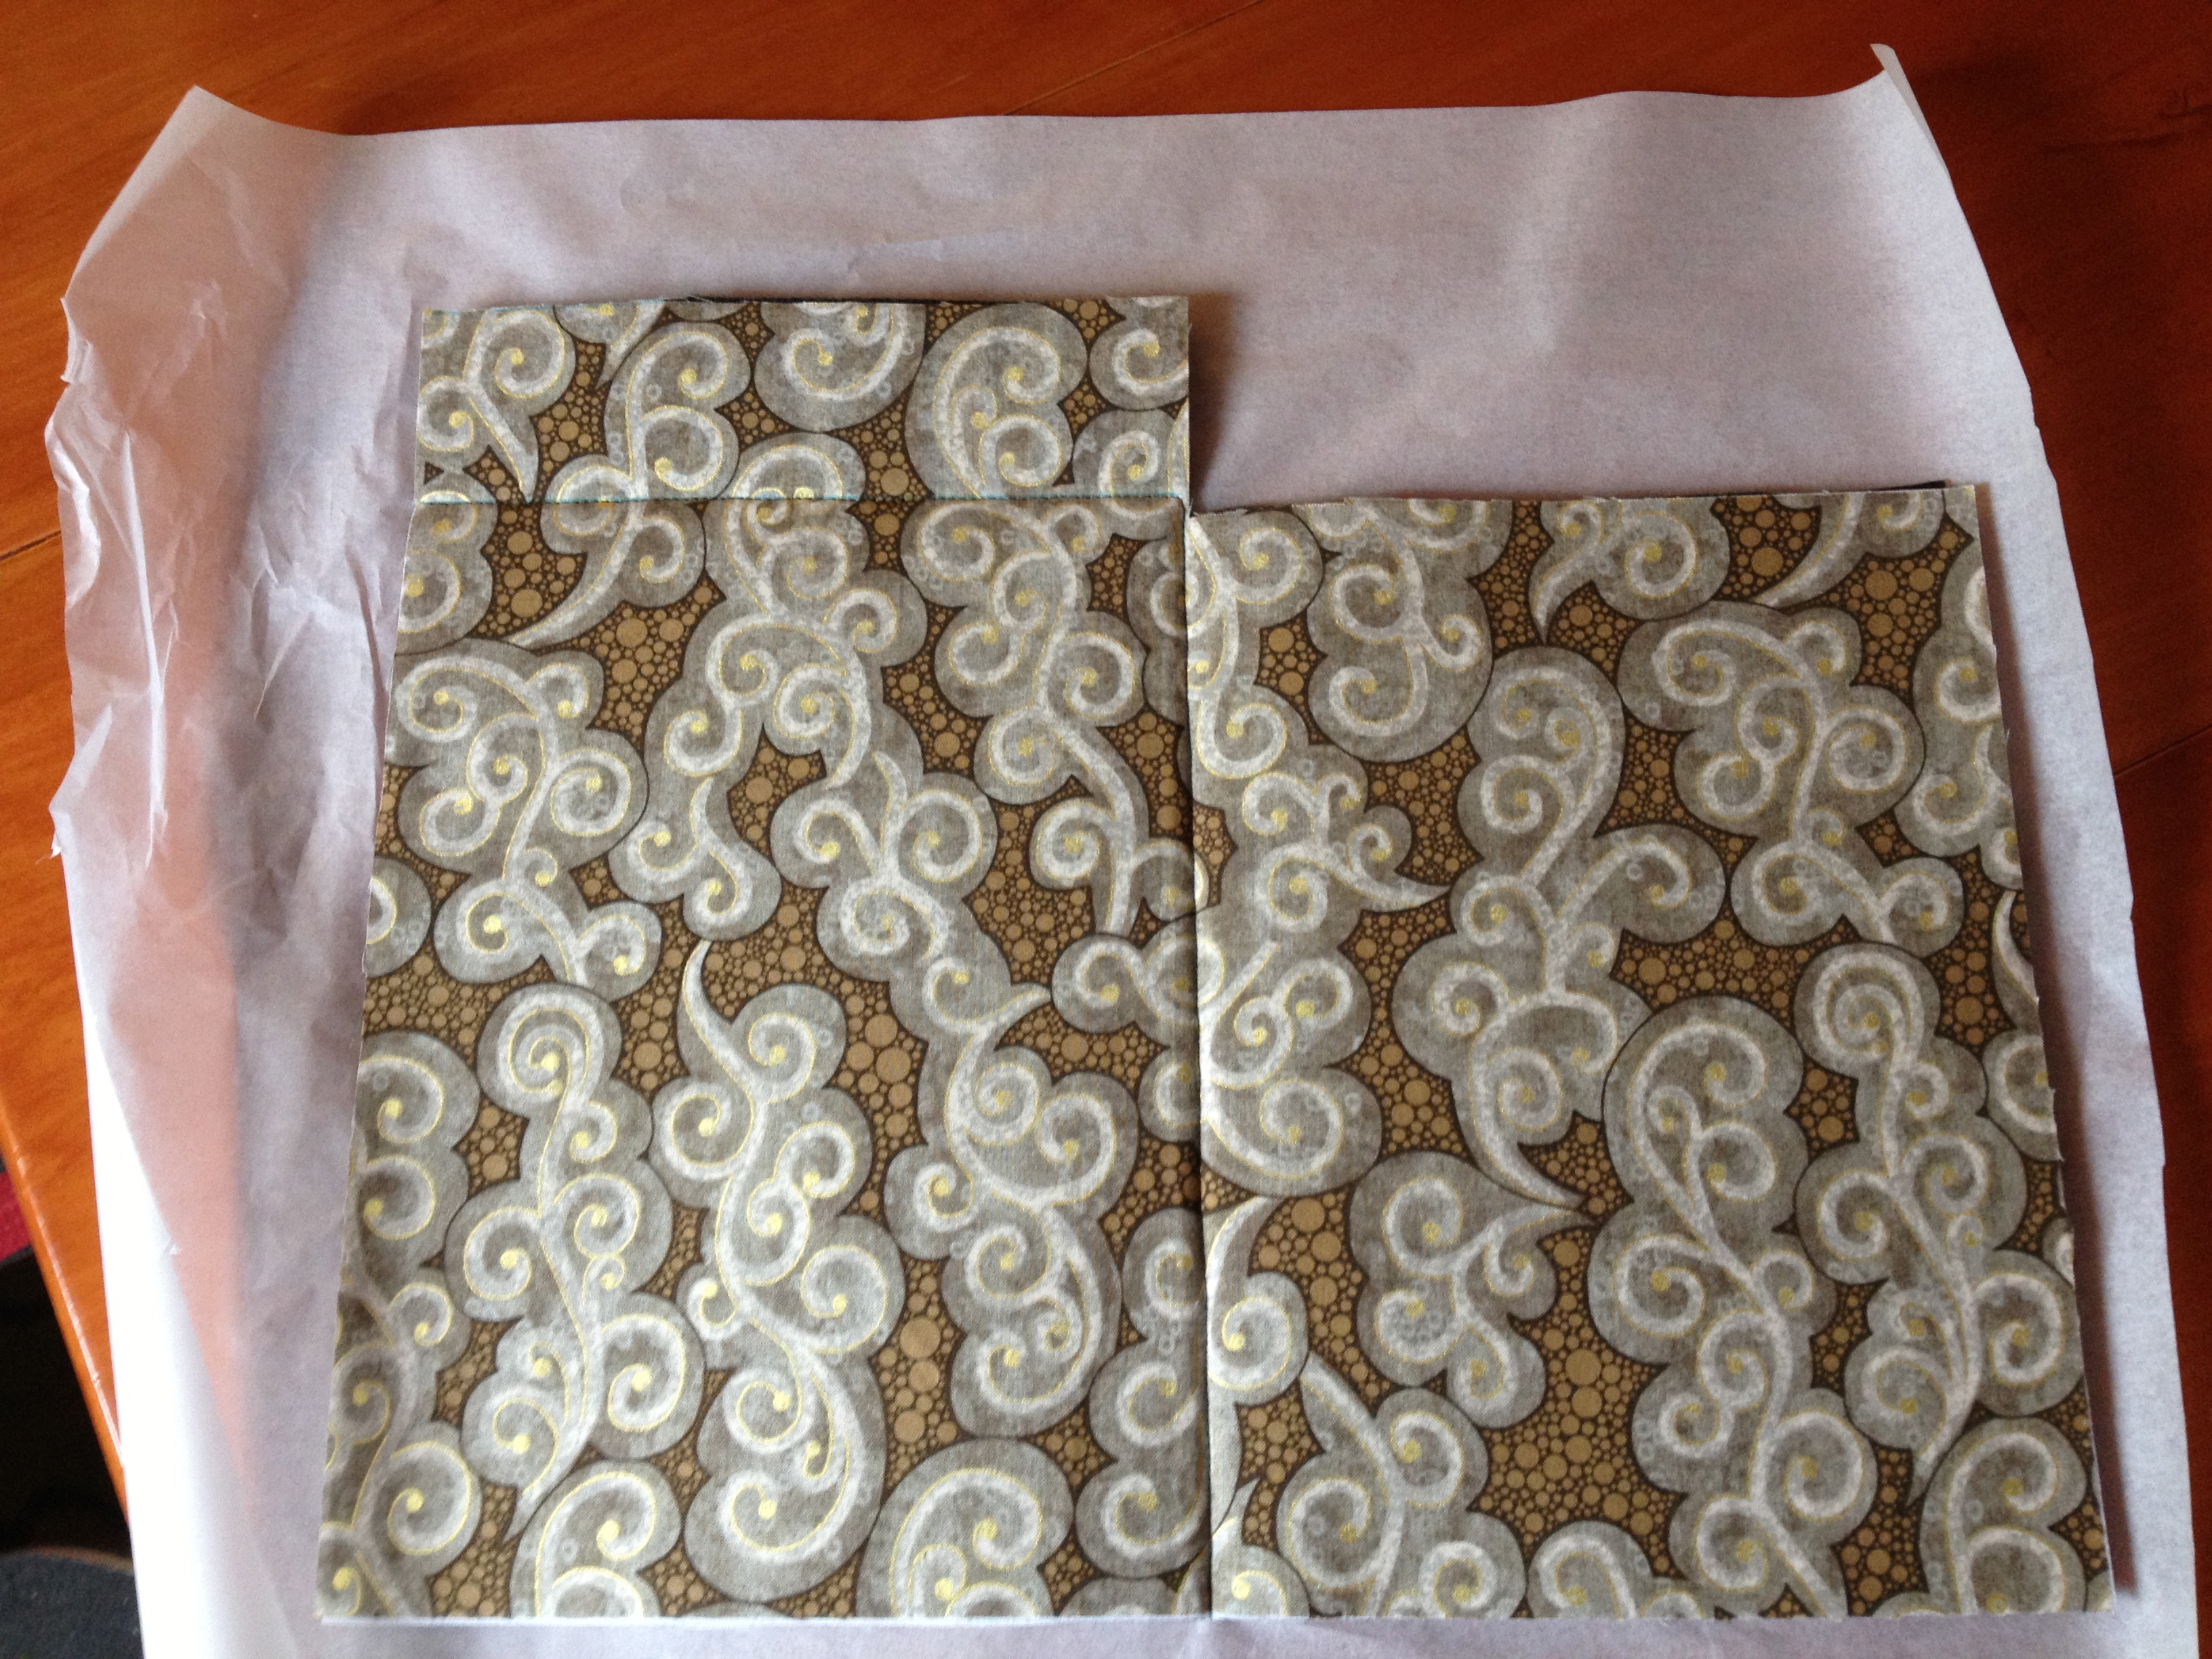
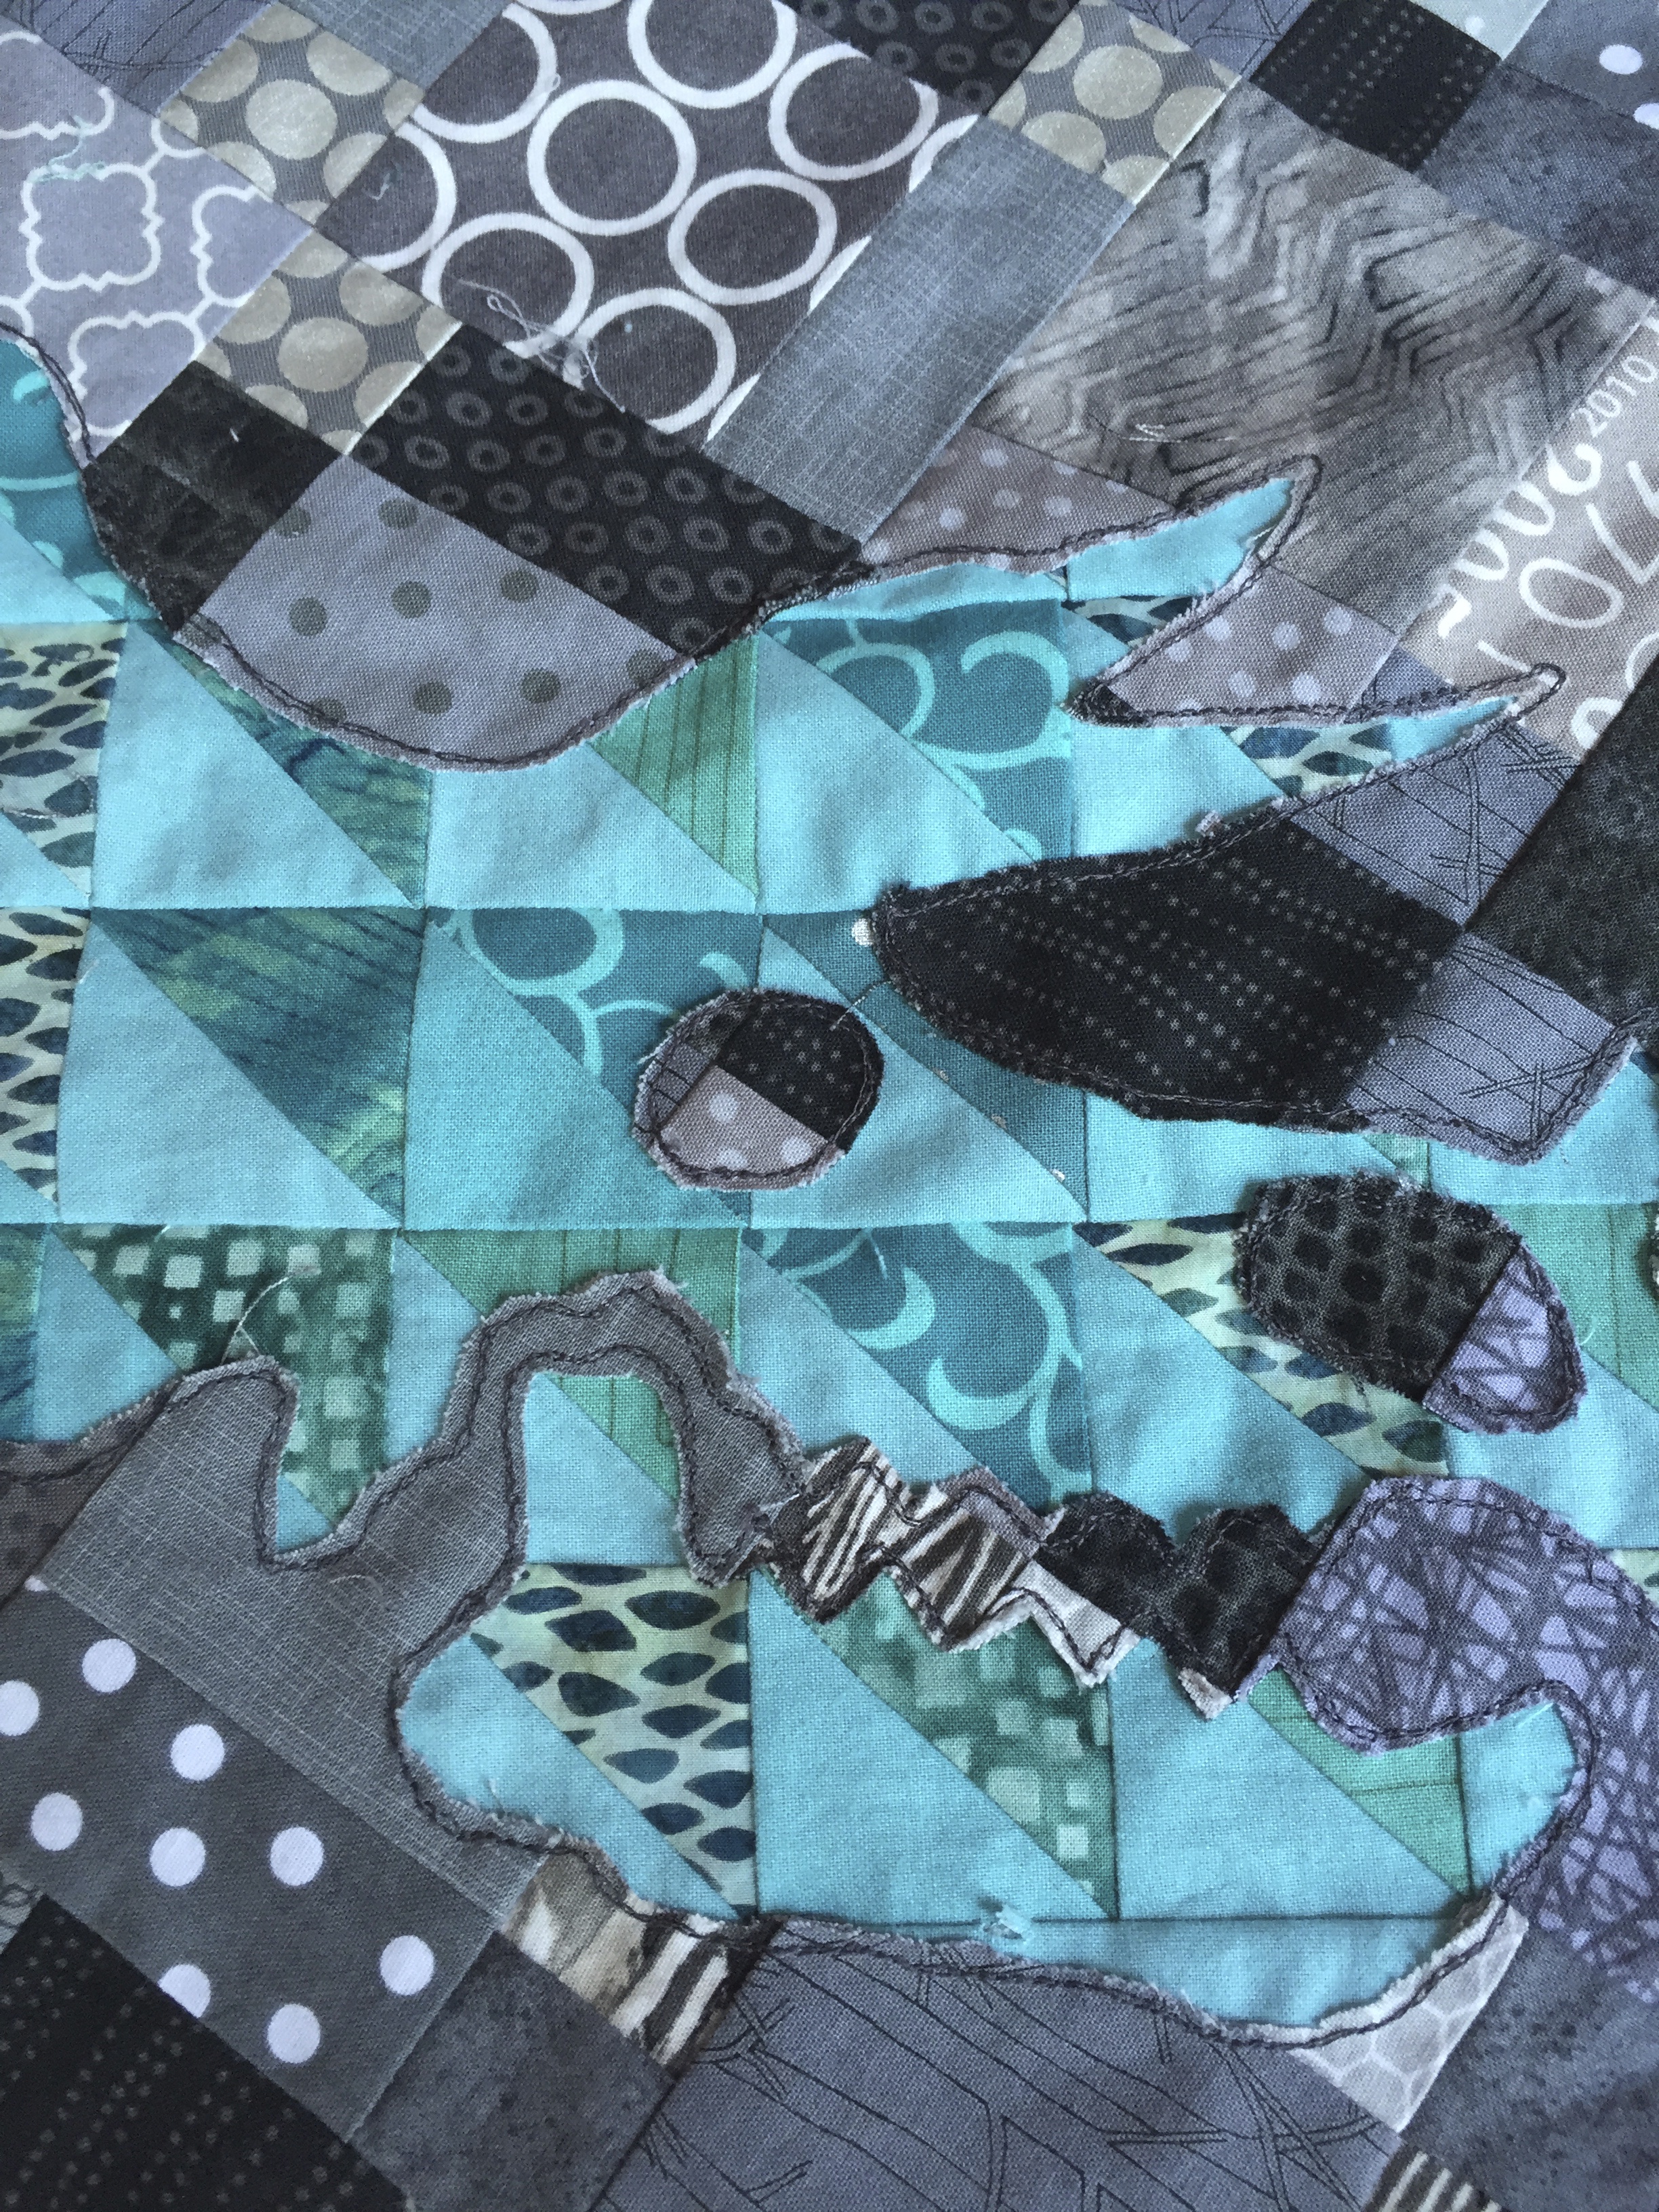
I then made a patchwork of half square triangles that was somewhat larger than this tracing.

I used the product Thangles to make my half square triangles and they made the process go pretty quickly. They come in all sizes, but I used the 1 1/2″ size.
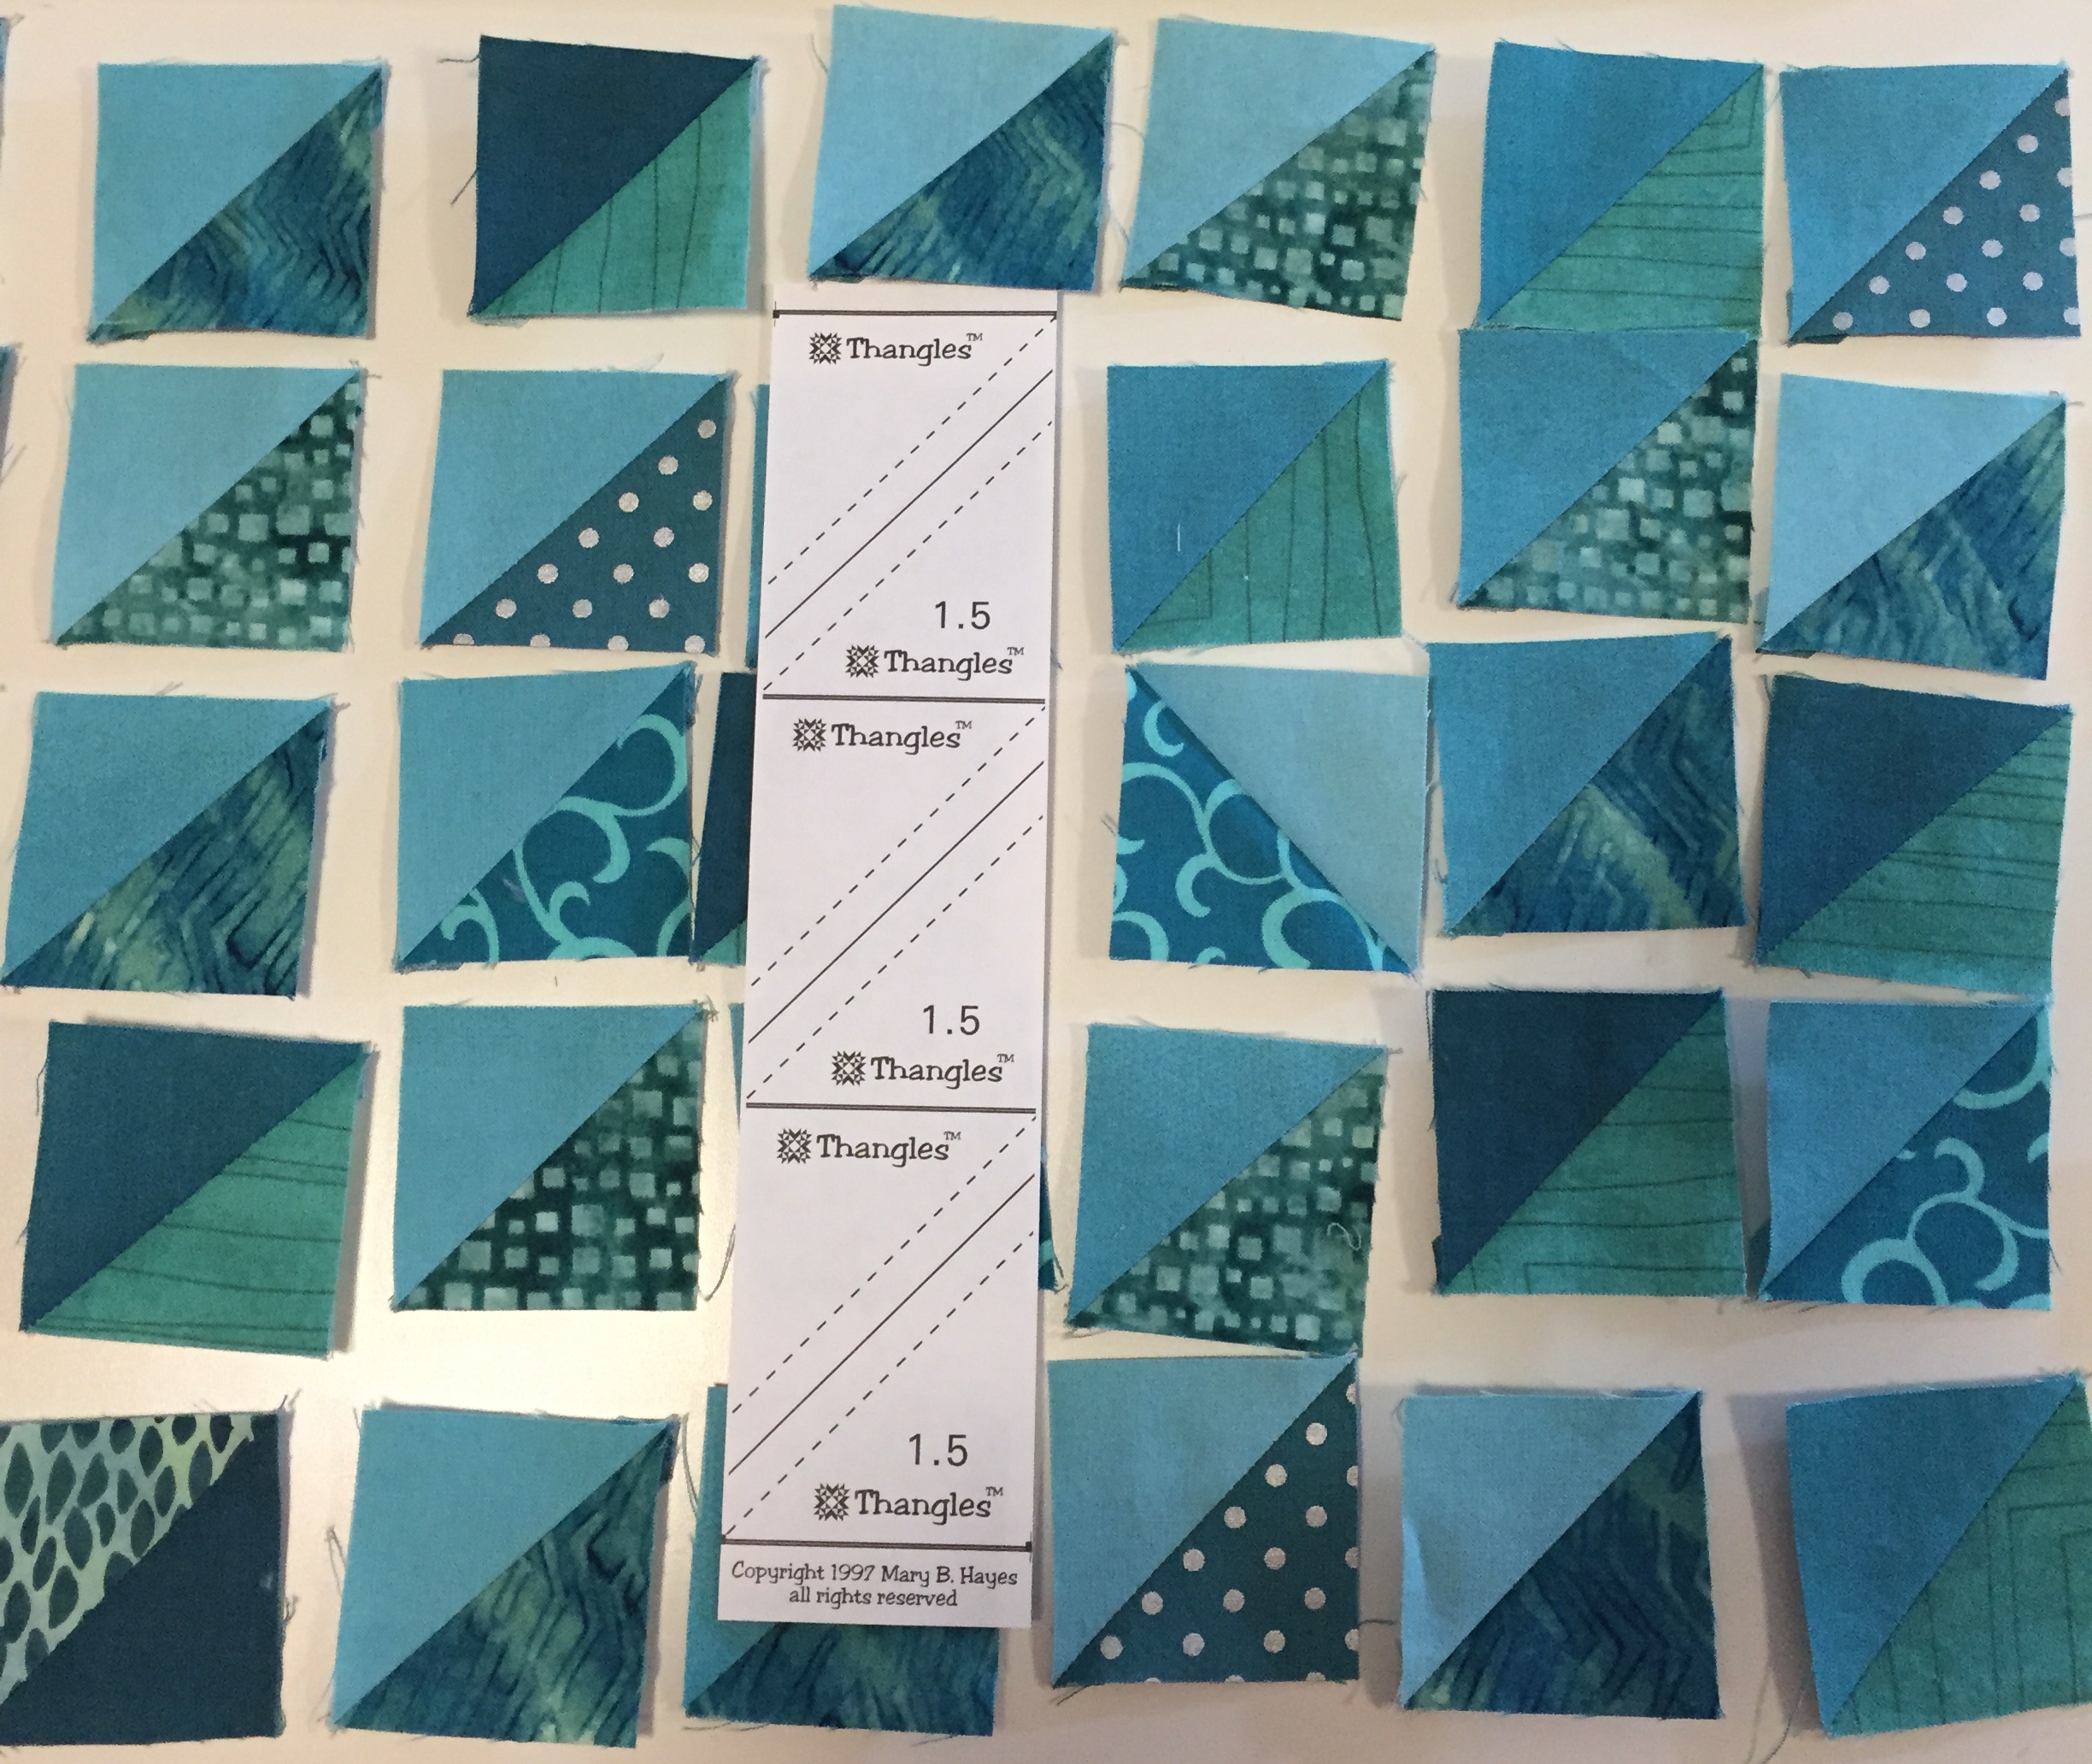
Thangles
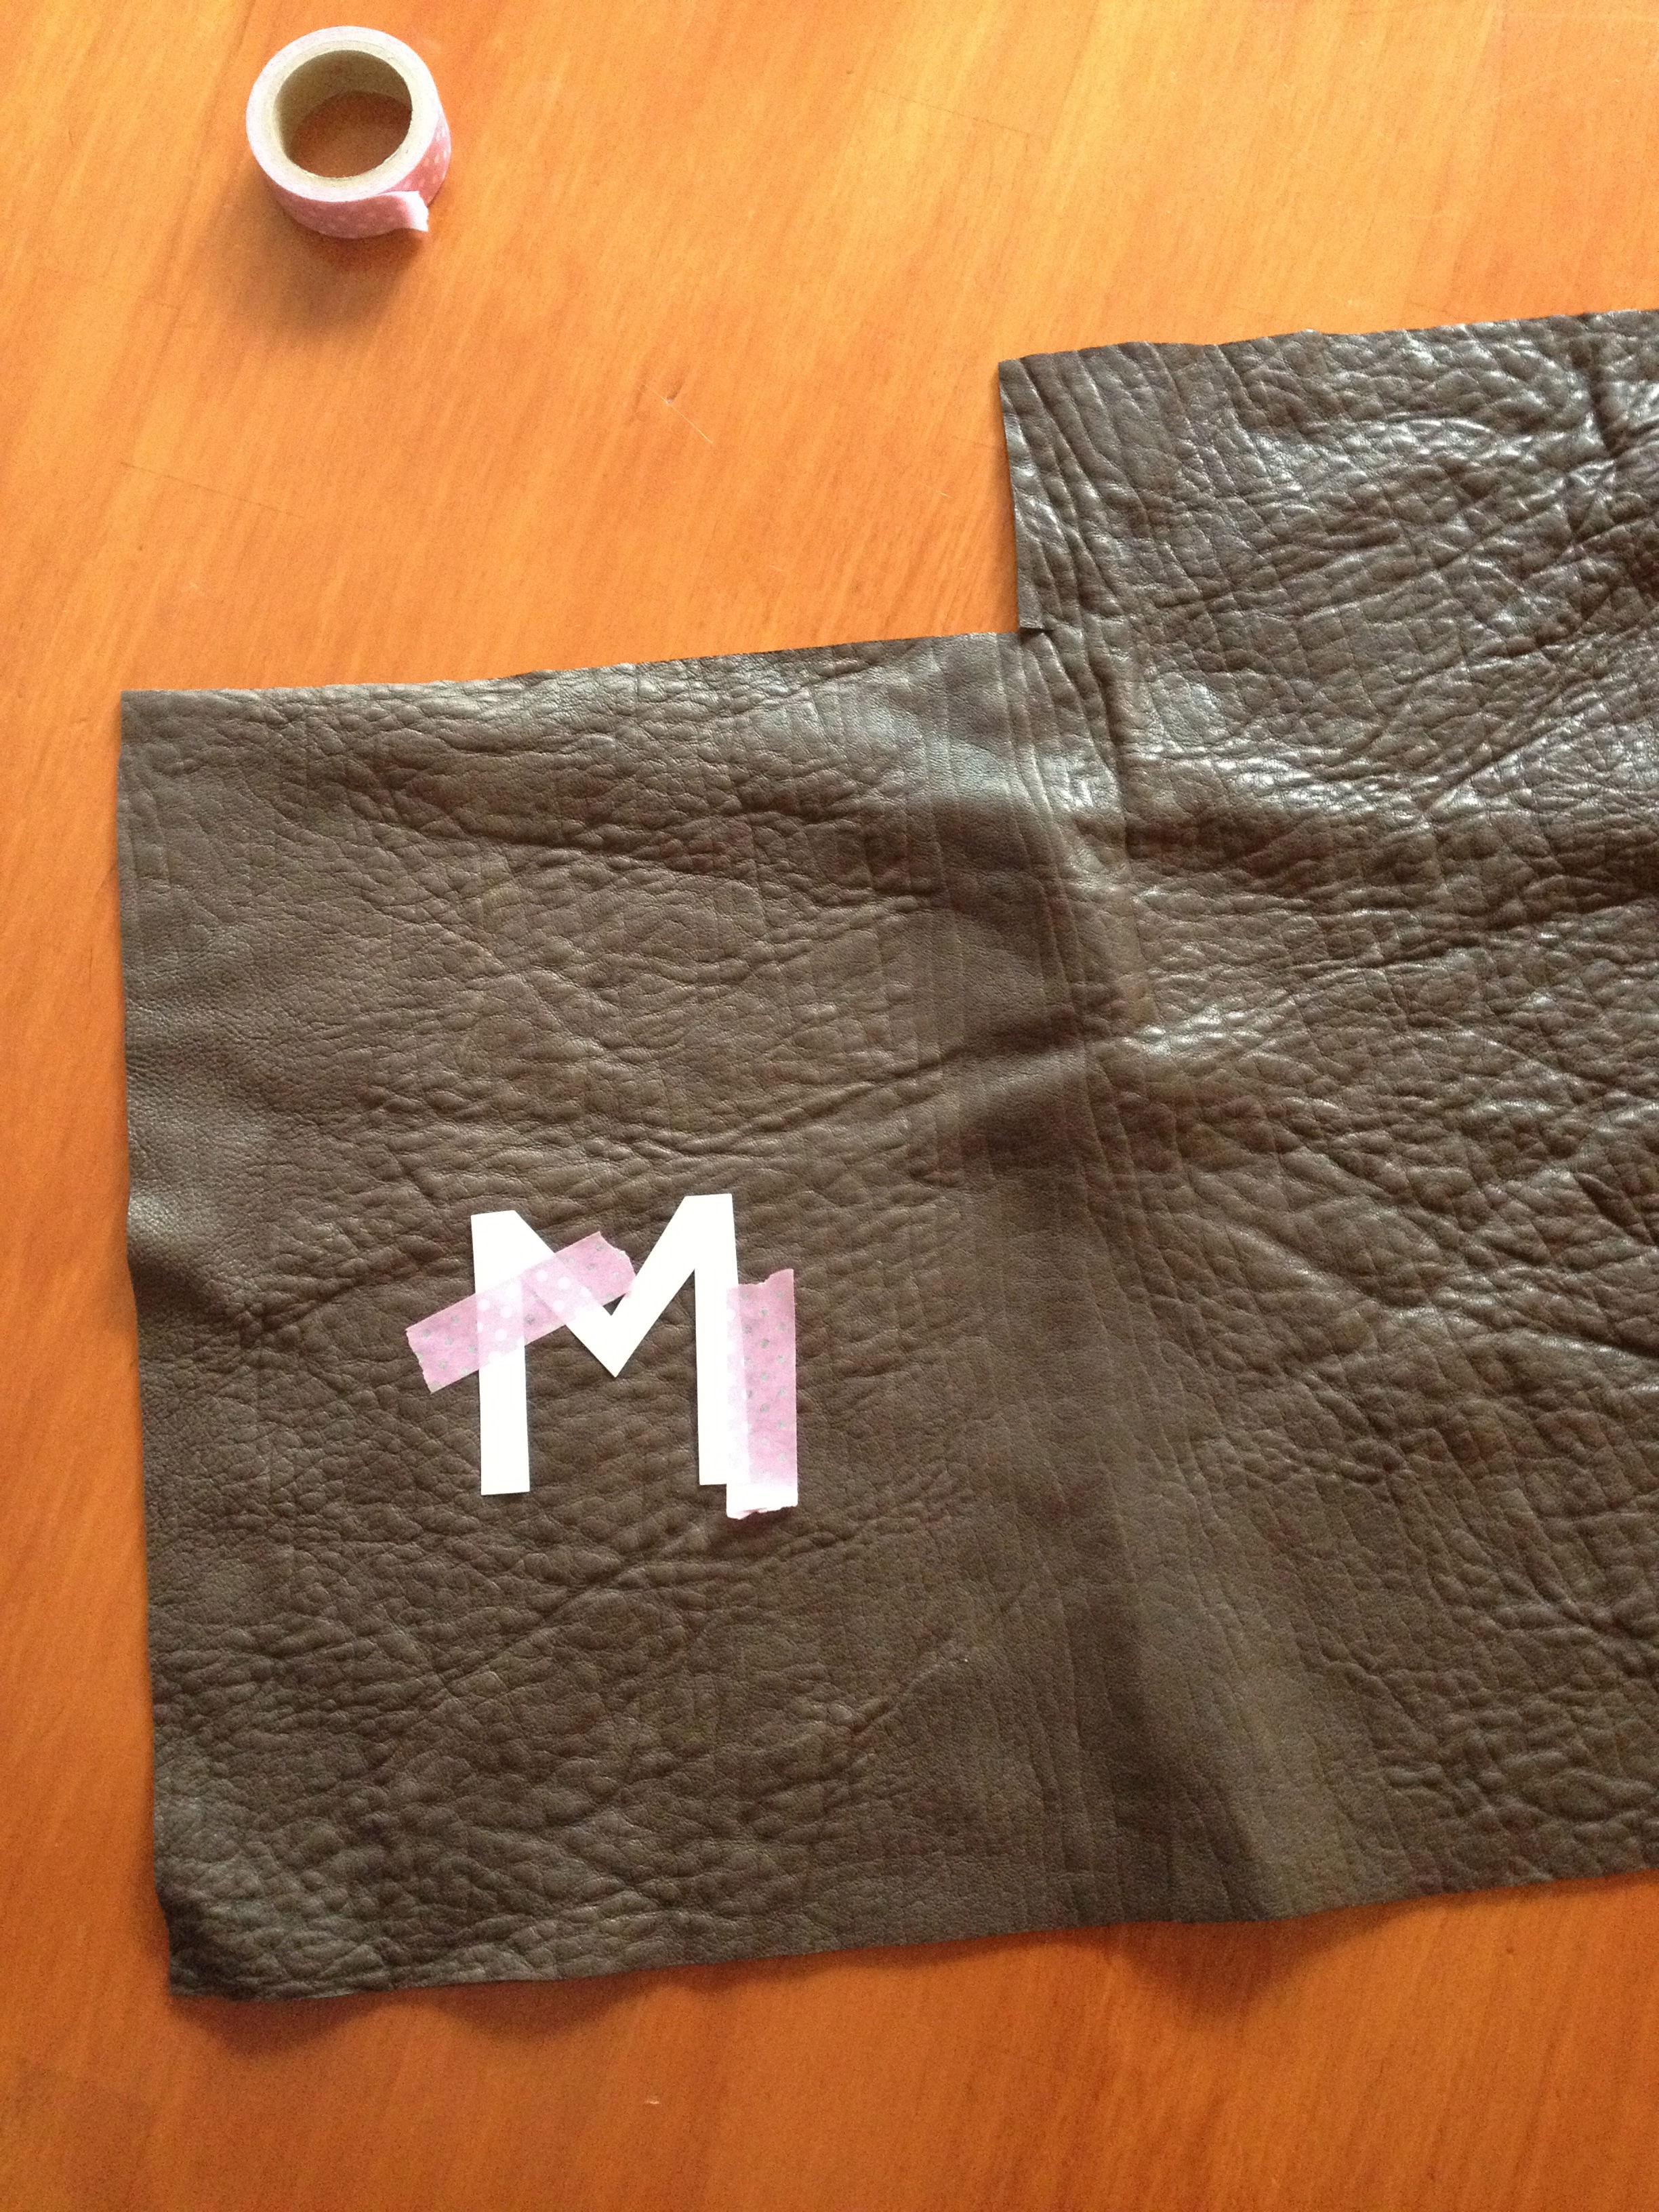
I then layered the grey quilt top wrong side up with the teal patchwork on top also with the wrong side up and then put the traced skeleton on top of that.

I pinned these pieces together well and brought it to my sewing machine and stitched around all of the skeleton pieces using my free motion foot.
I stitched around each bone in the skeleton (twice).
I ended up sewing around each piece twice. I just was not confident that one line of stitching would be secure enough. I am not the best at free motion stitching!
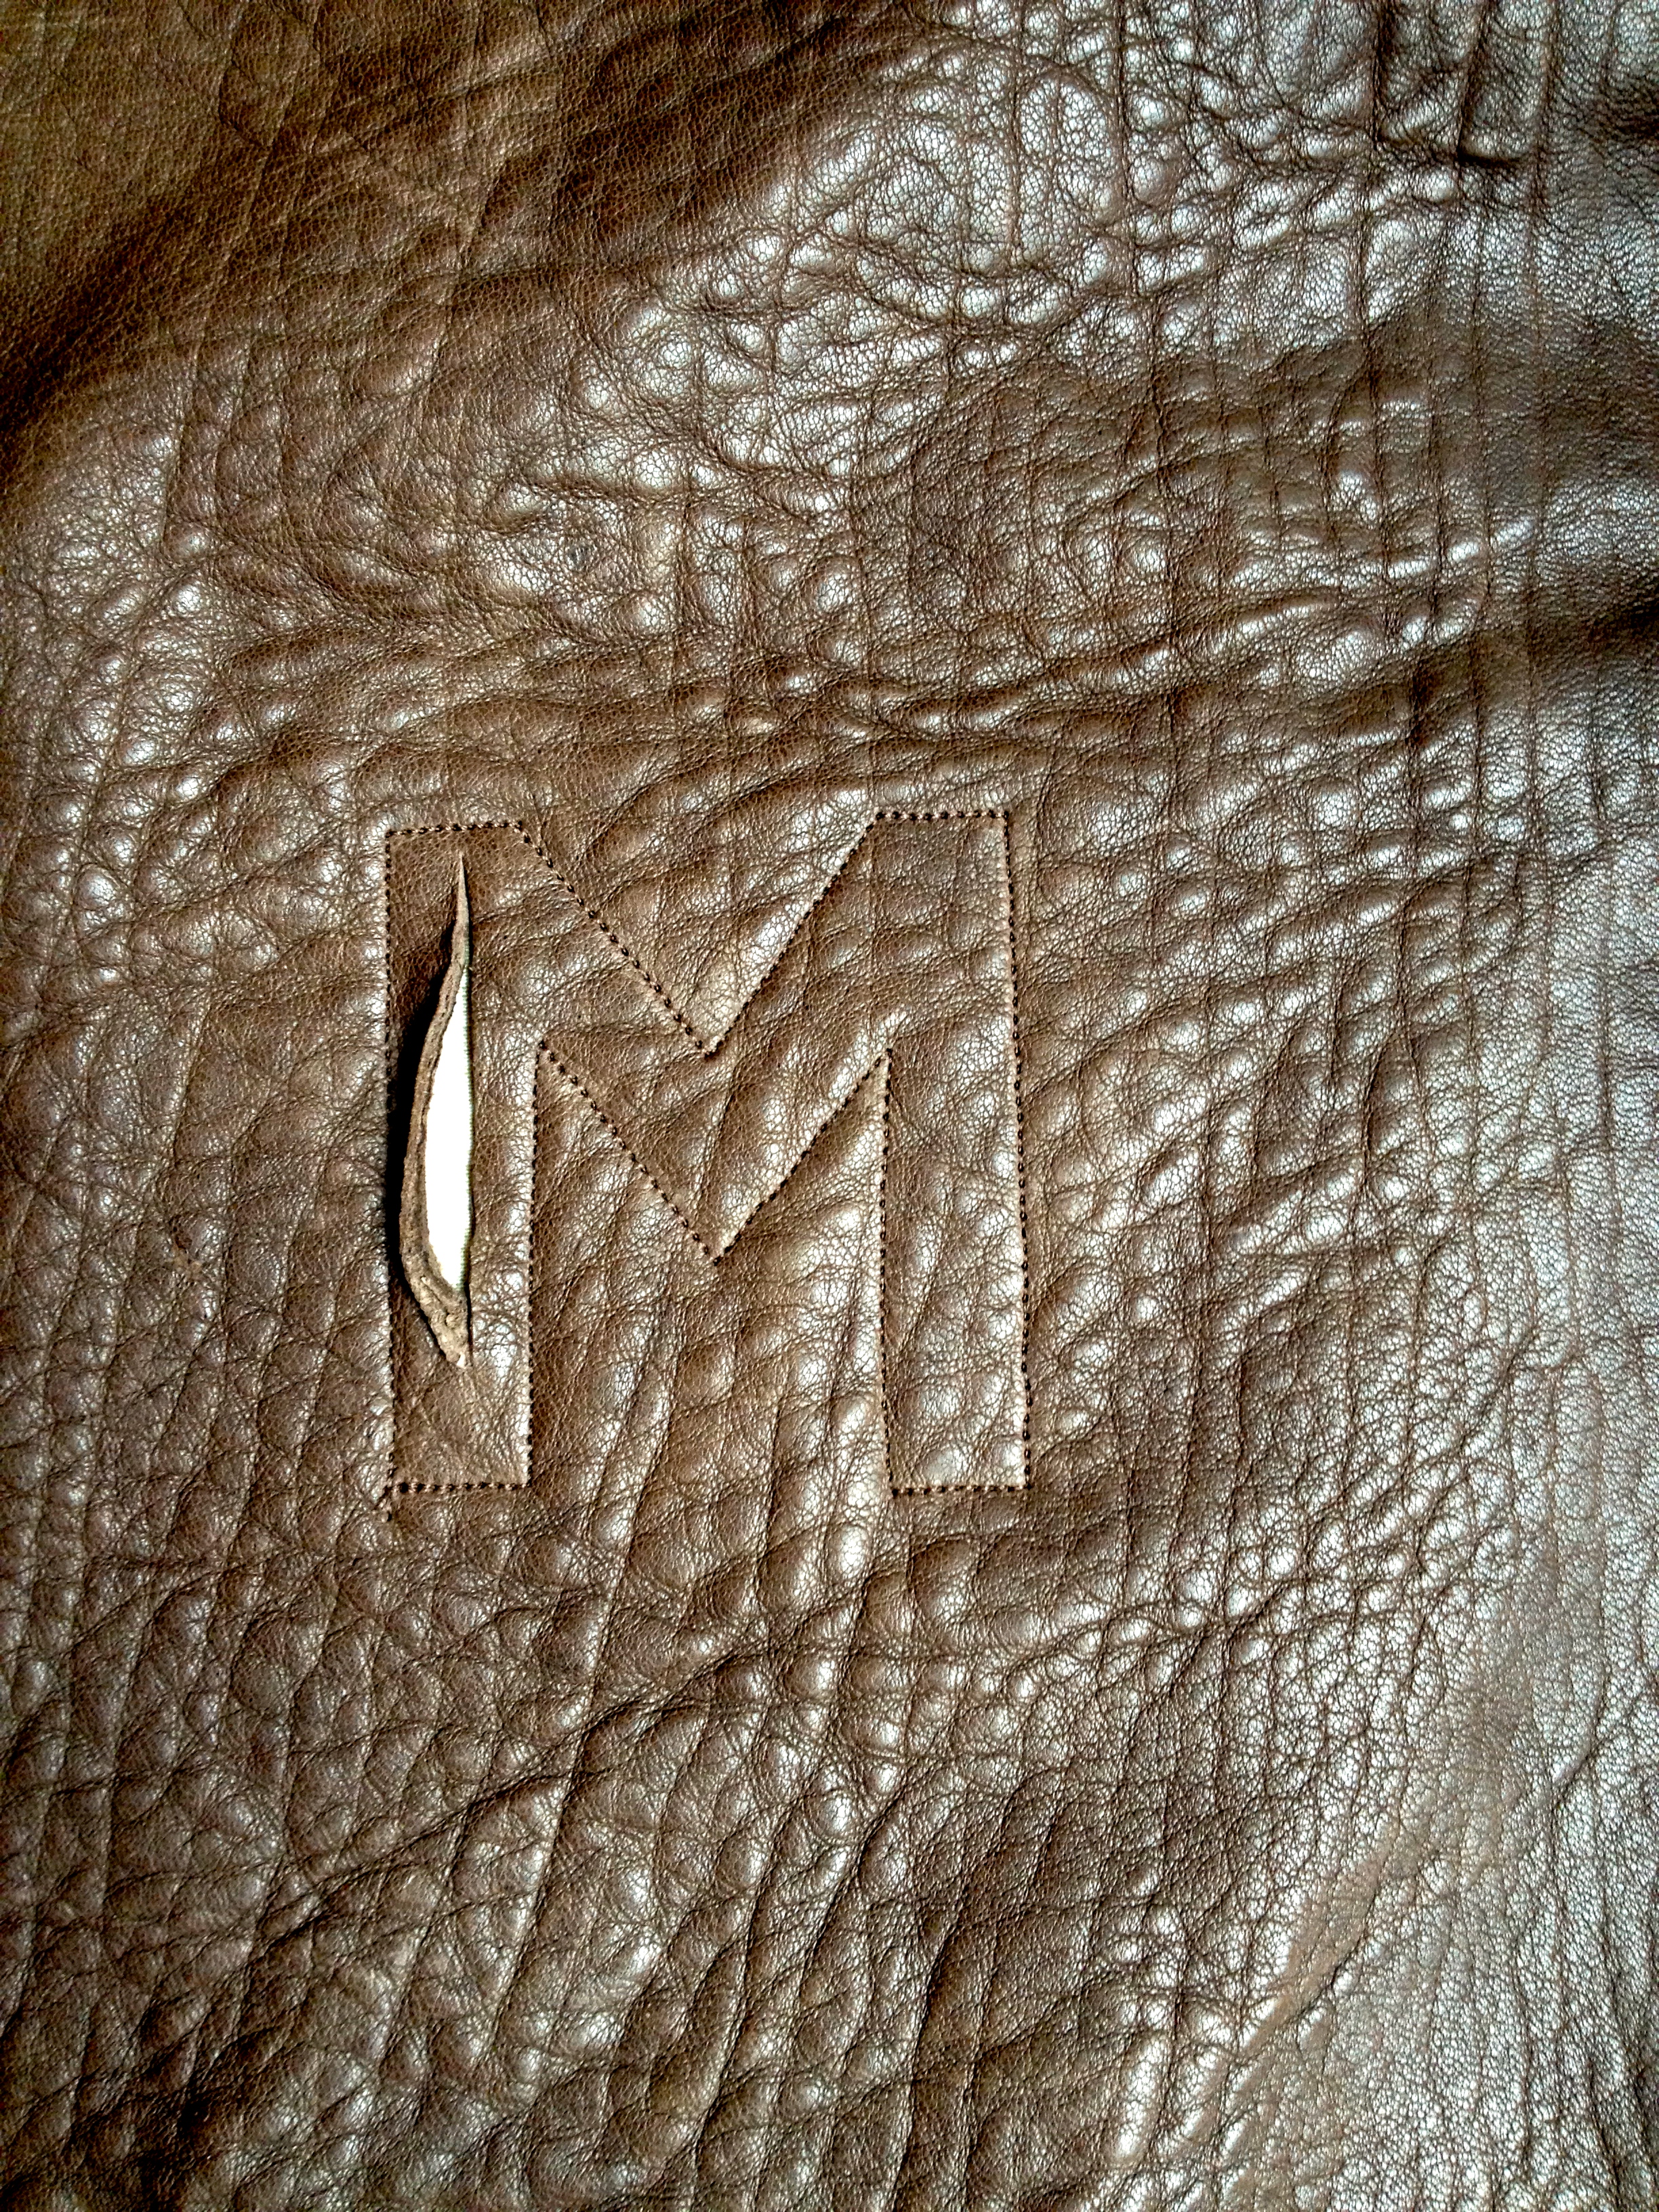
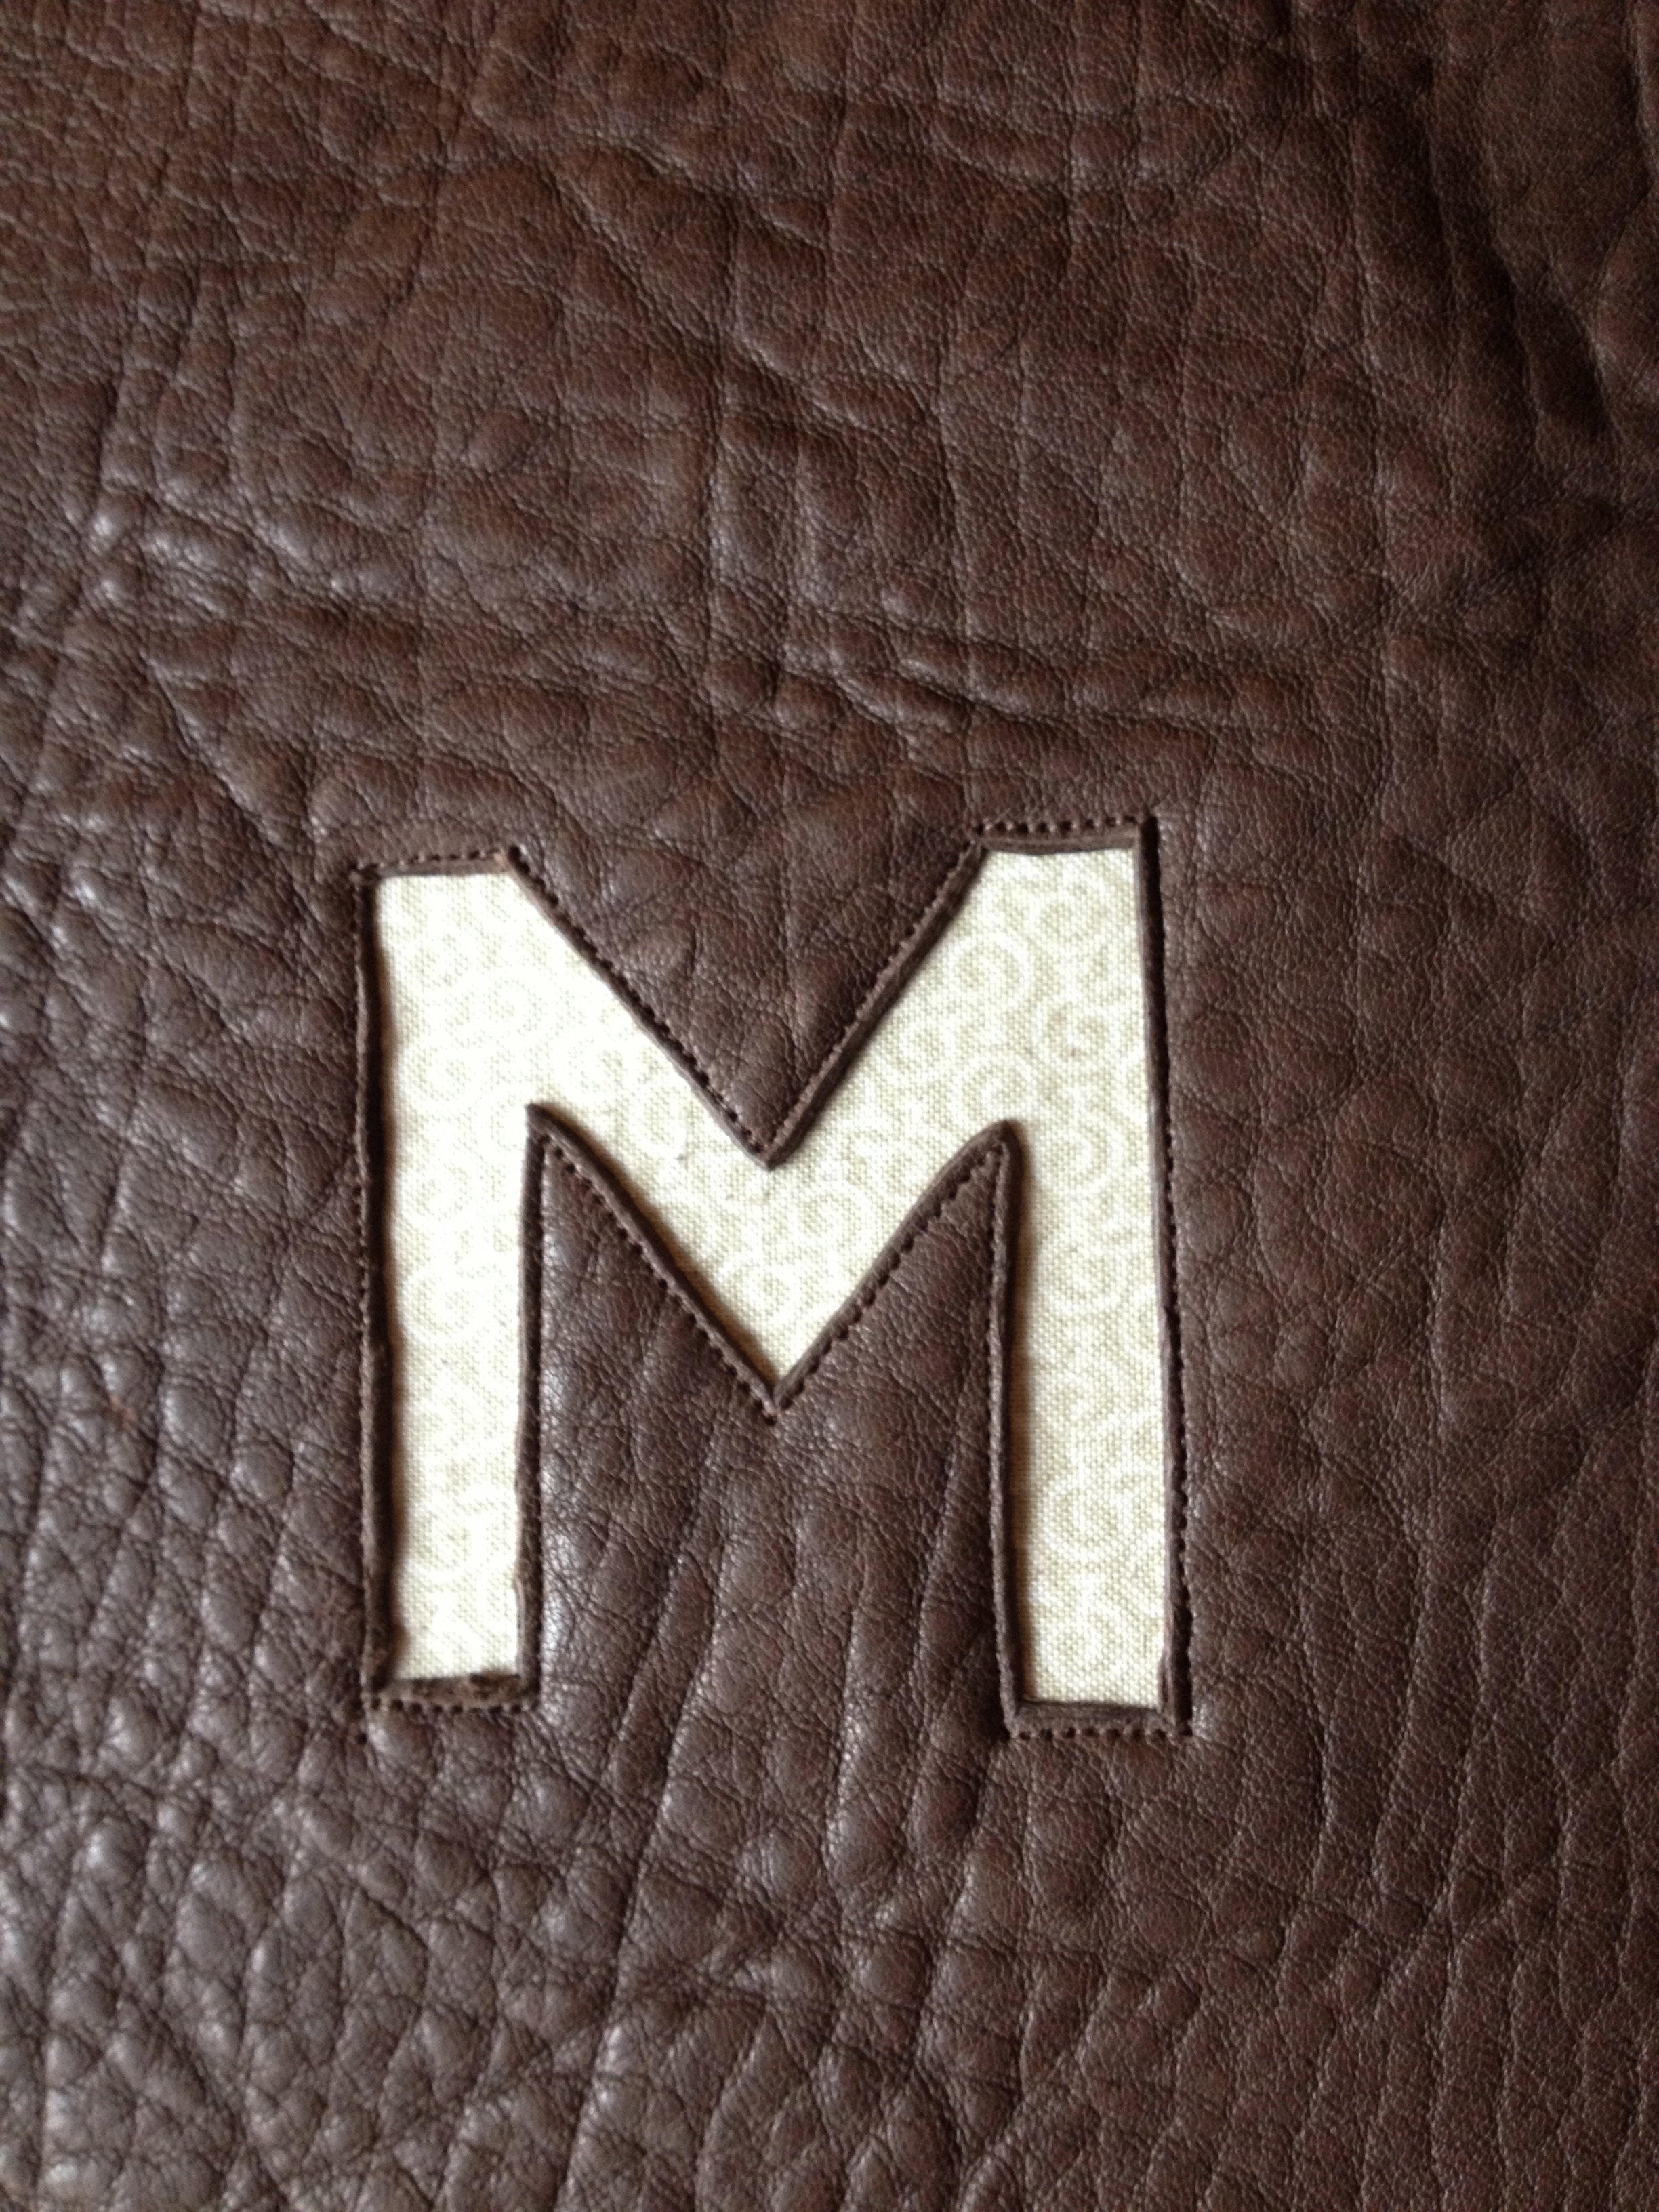
After tearing the paper off, I turned the piece around and started to trim the grey away from inside each of the bones which exposed the teal patchwork underneath.
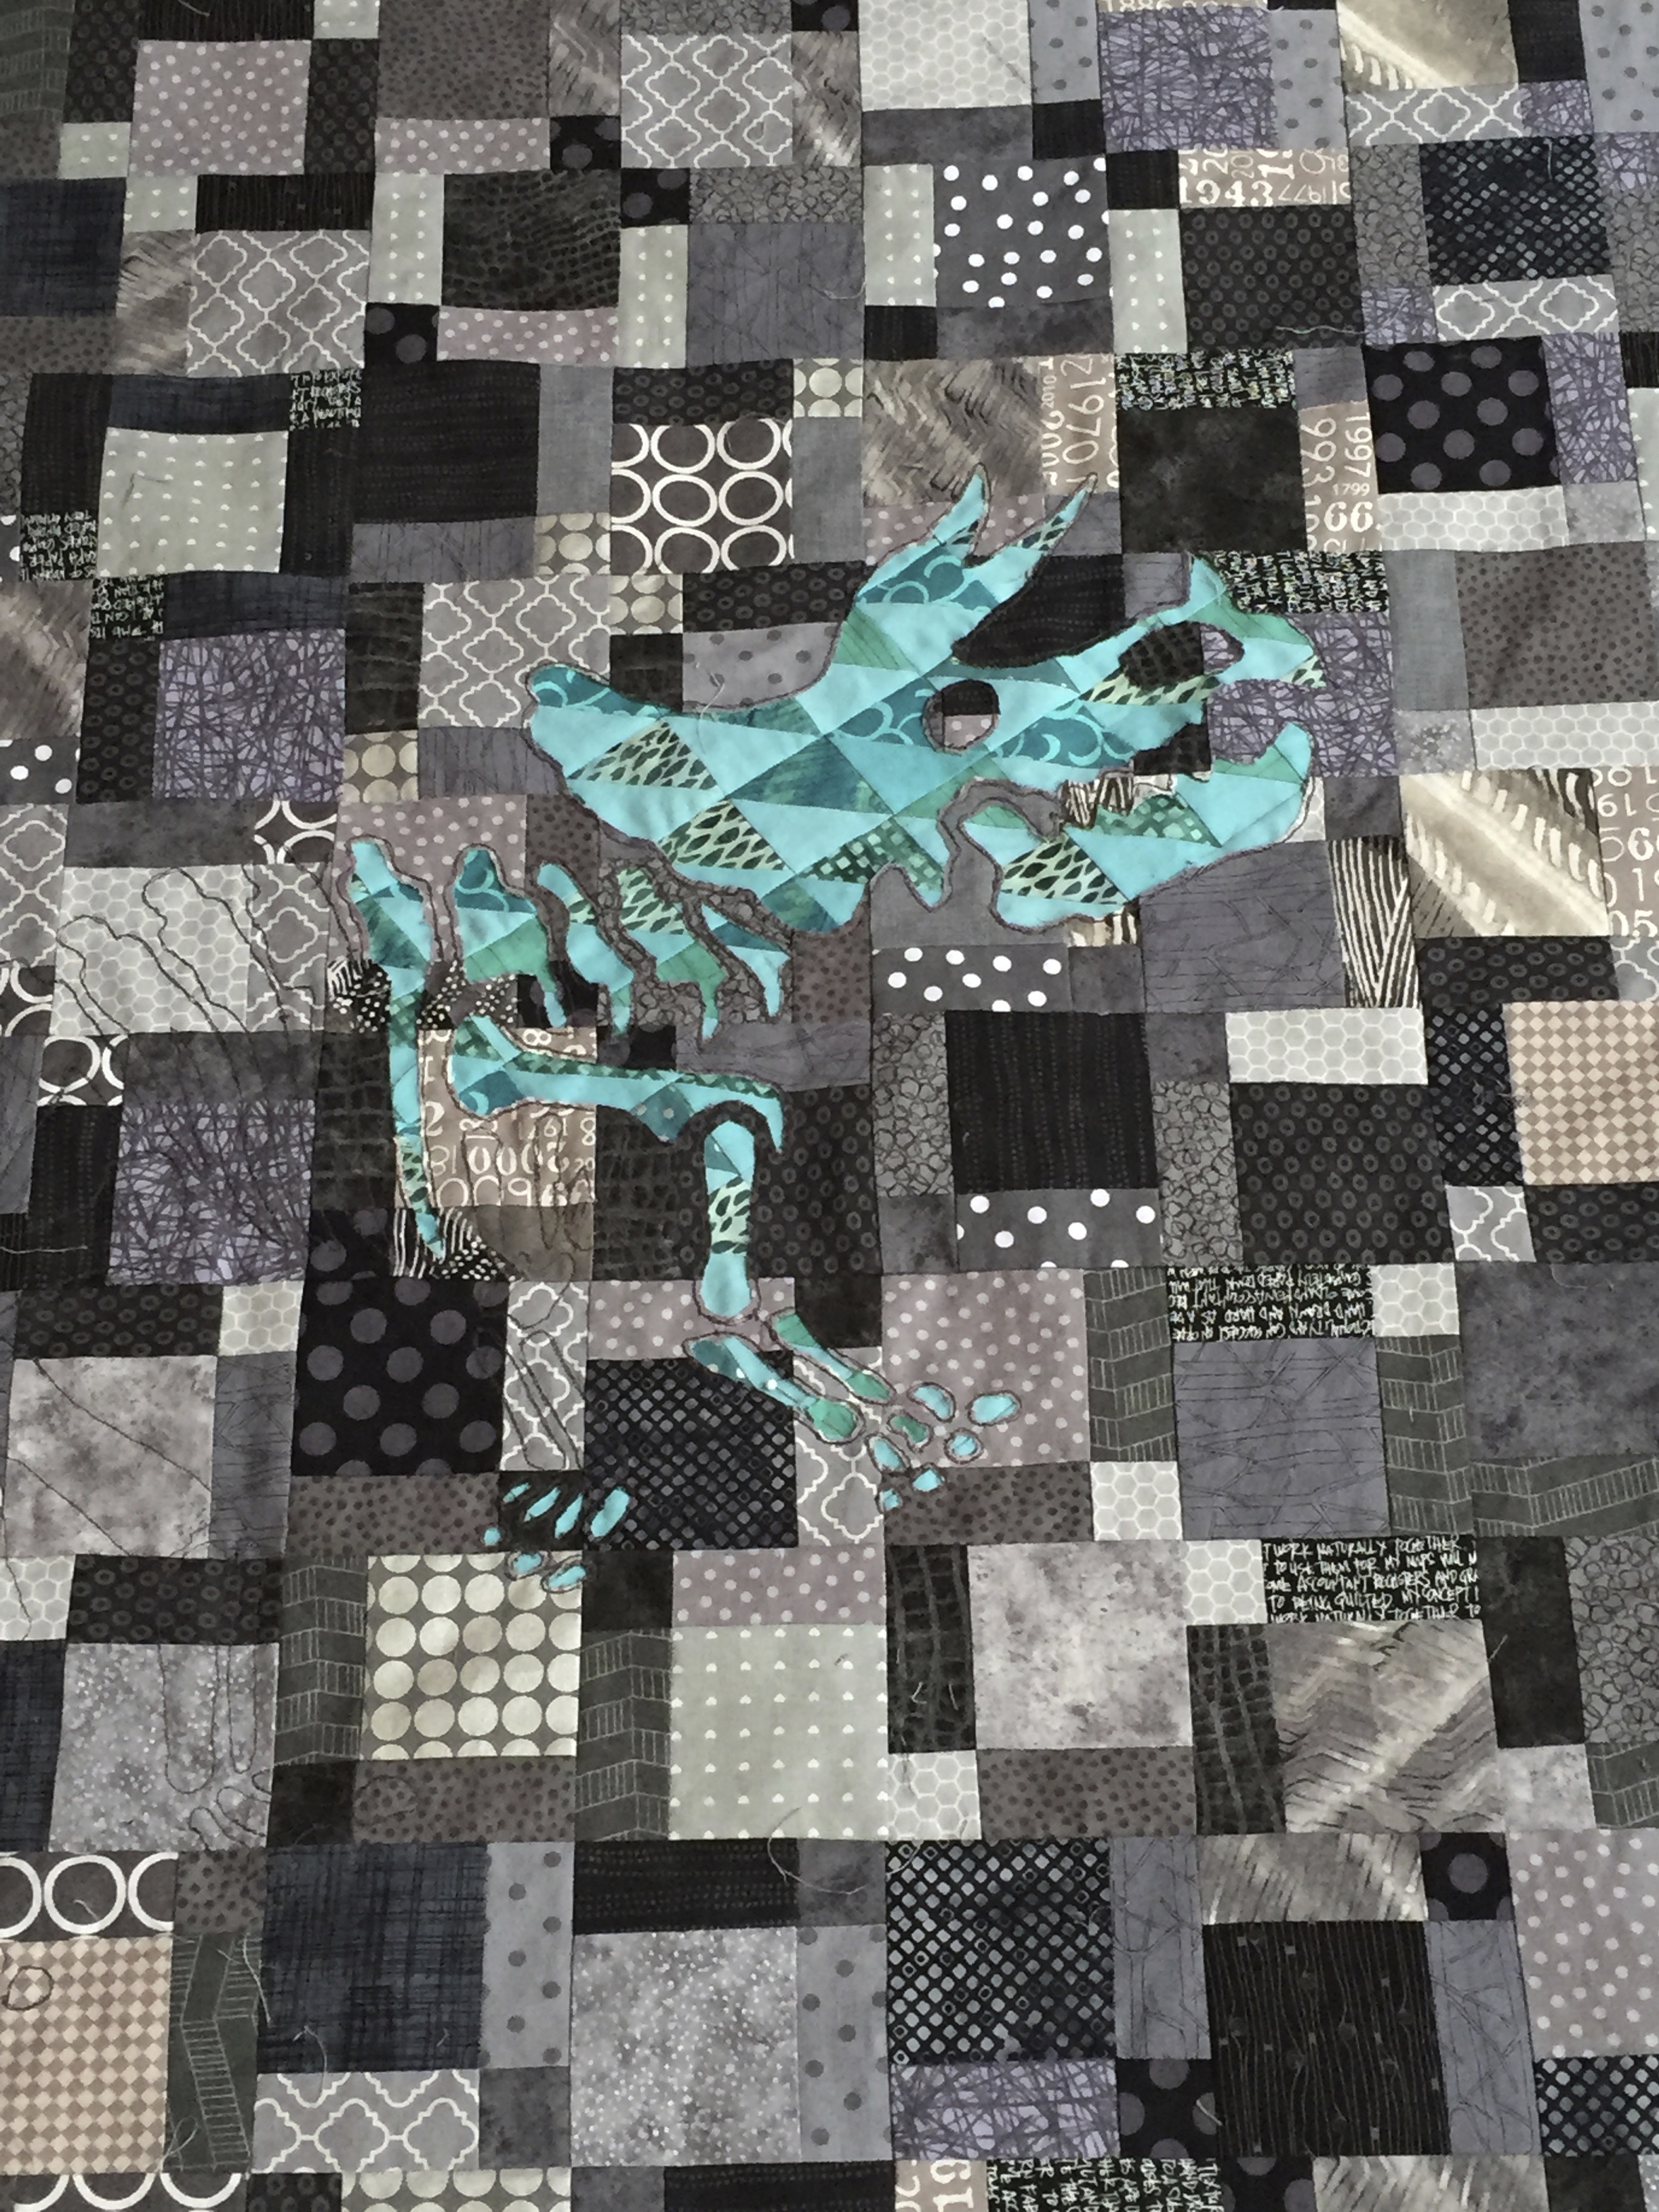
This is the fun part!
As you can see, this is a raw edge reverse appliqué technique.

I used some leftover fabric and HSTs to piece together a fun backing.

The back.
I knew that the quilting would not be very obvious due to how busy the grey top is. I did some straight line quilting in sort of a sunshine fashion arising from the dinosaur and then some landscape type quilting underneath and bound it in teal.

Finished quilt.
This quilt was so much fun to make. Thank you to Daniel Rouse for sharing his process on his blog. He has made several quilts using a stencil technique and each one is absolutely amazing and unique!
My hope is that this quilt will keep my new grandson warm and secure for years to come. I can’t wait to meet him!
Notes: Stencil was 13 X 35″ Finished quilt is 41 X 54″.