

My daughter, Megan, asked me if I could make a protective case for her new iPad. She carries it in a large book bag and wanted something padded to put it in. This seemed like it could be a quick and easy project and I wanted to make it from materials on hand. After looking through some fabric of hers, my thoughts wandered to the leather that we recently used for a skirt yoke. Was there enough left? Yes!

iPad is 6.75″ x 9.5″
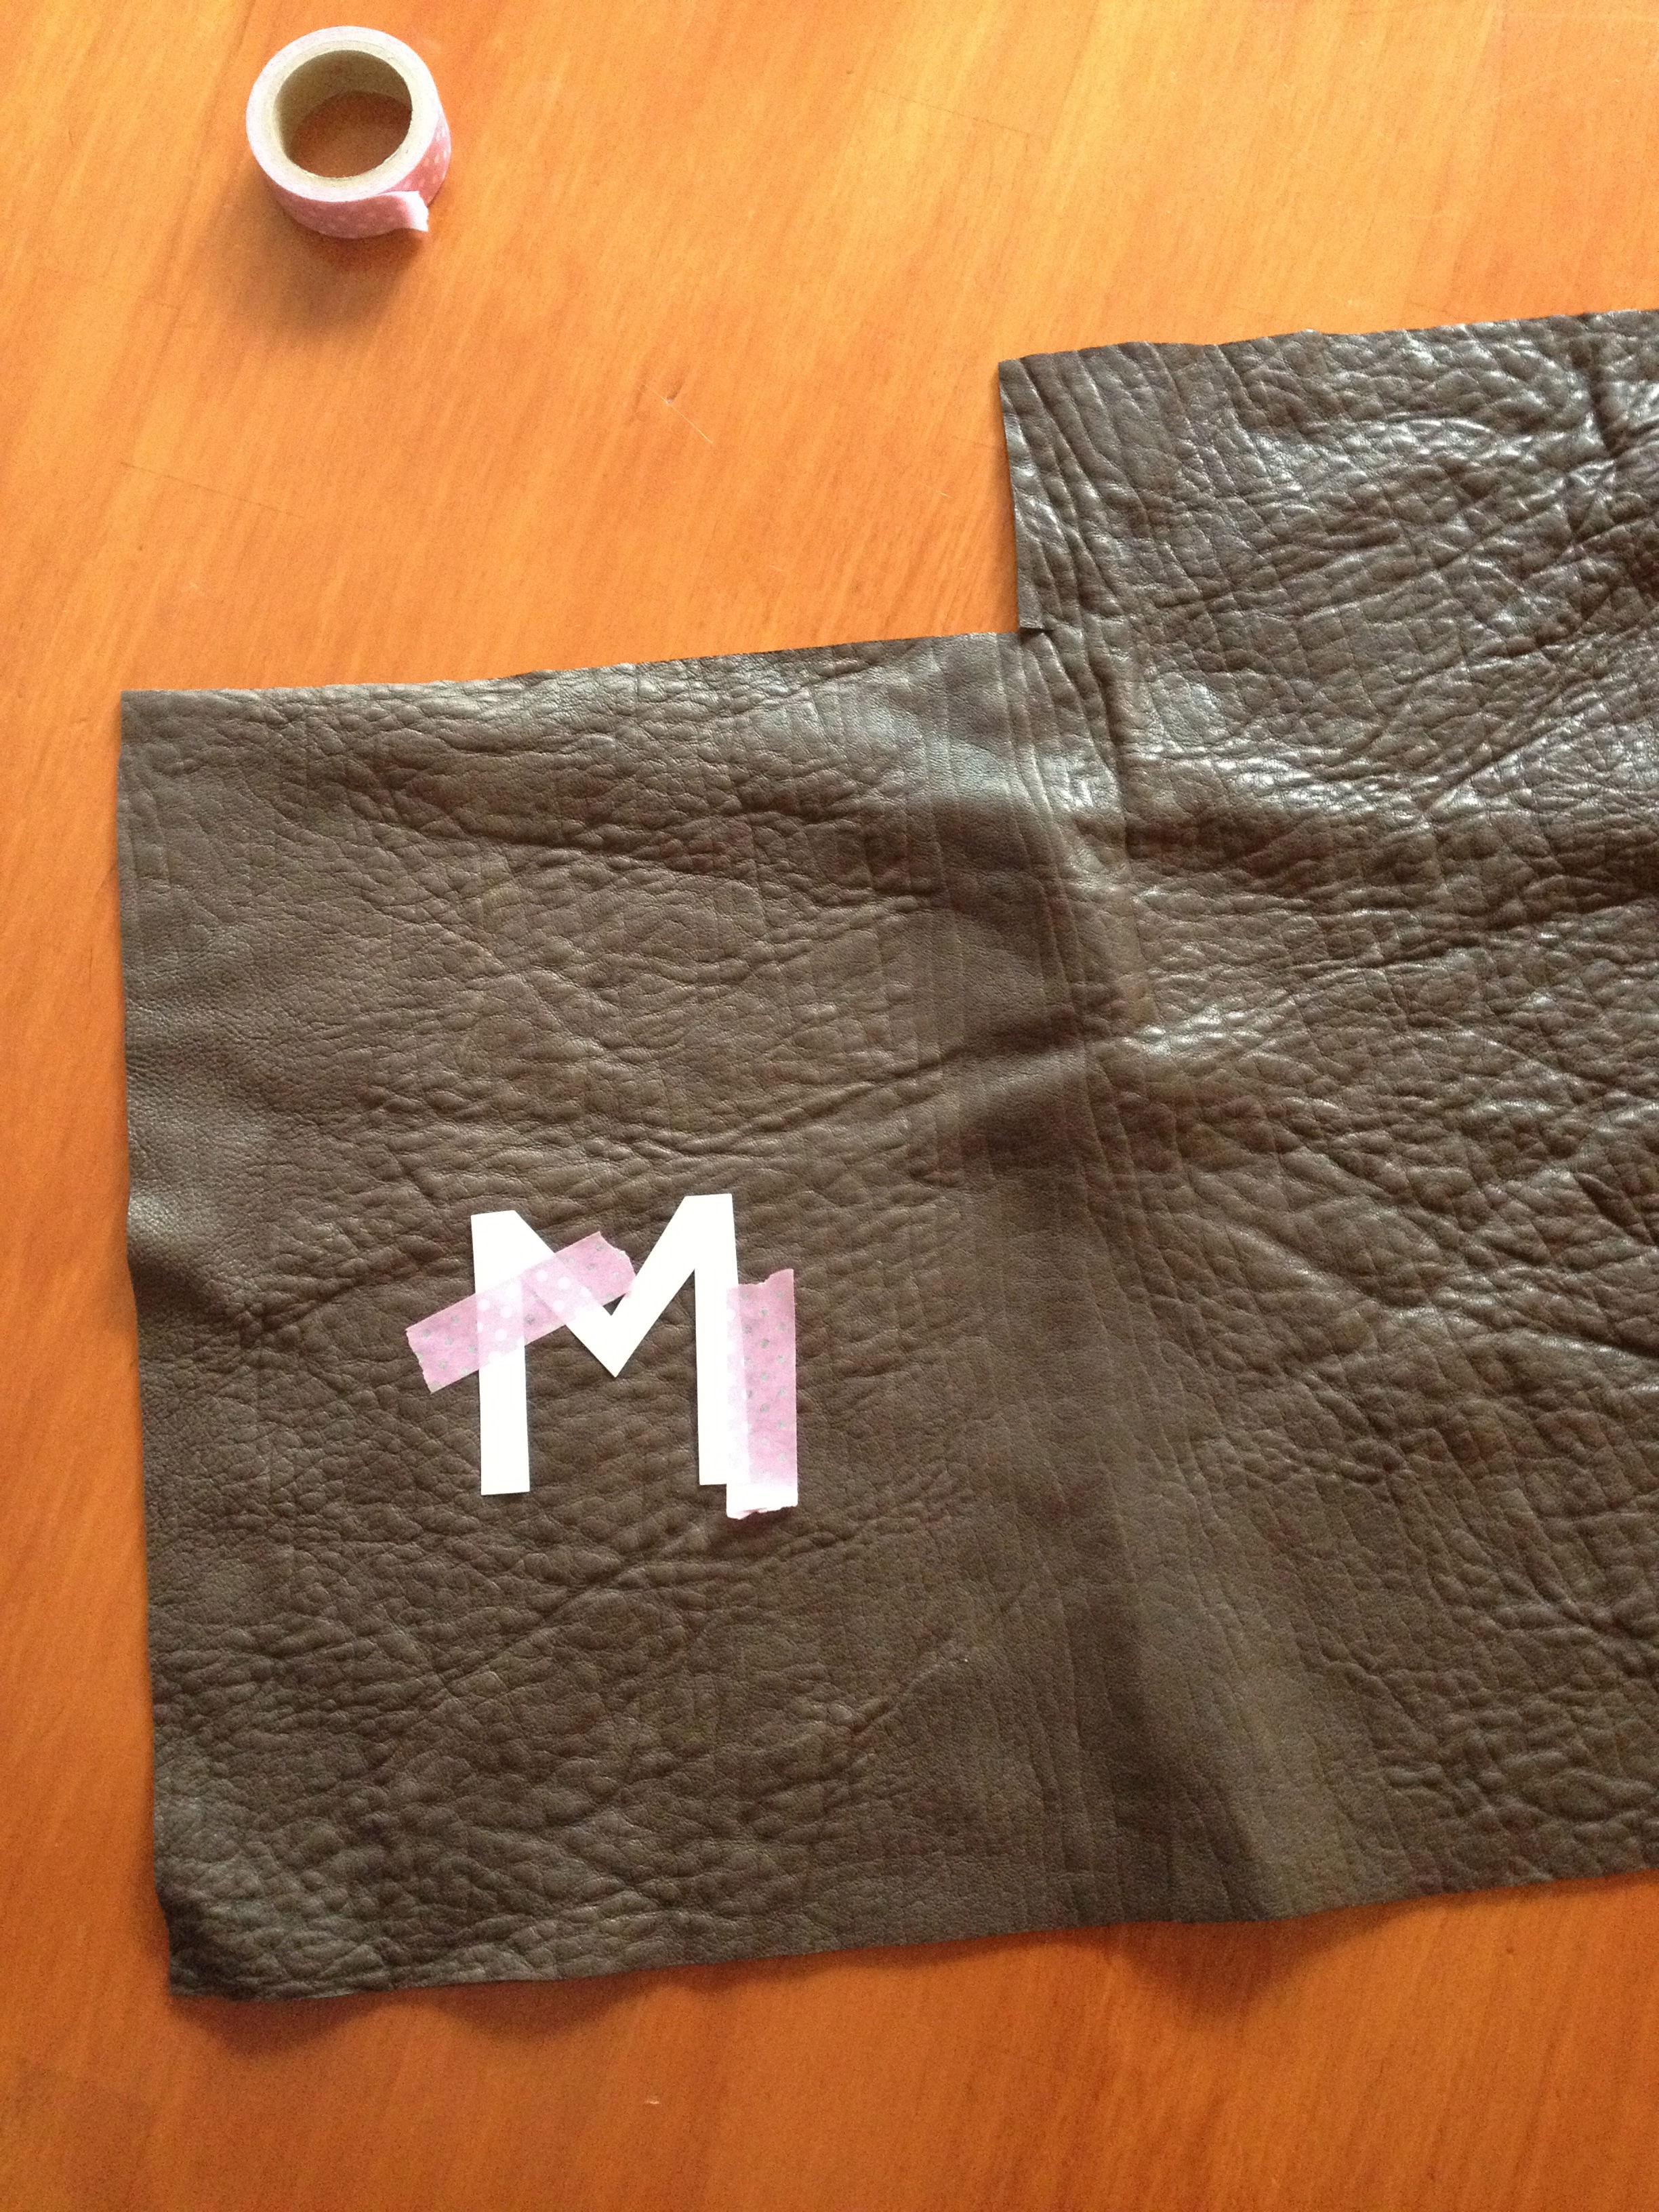
Leather cut 16″ x 11″ and 2 inch “flap” added to top of one side.
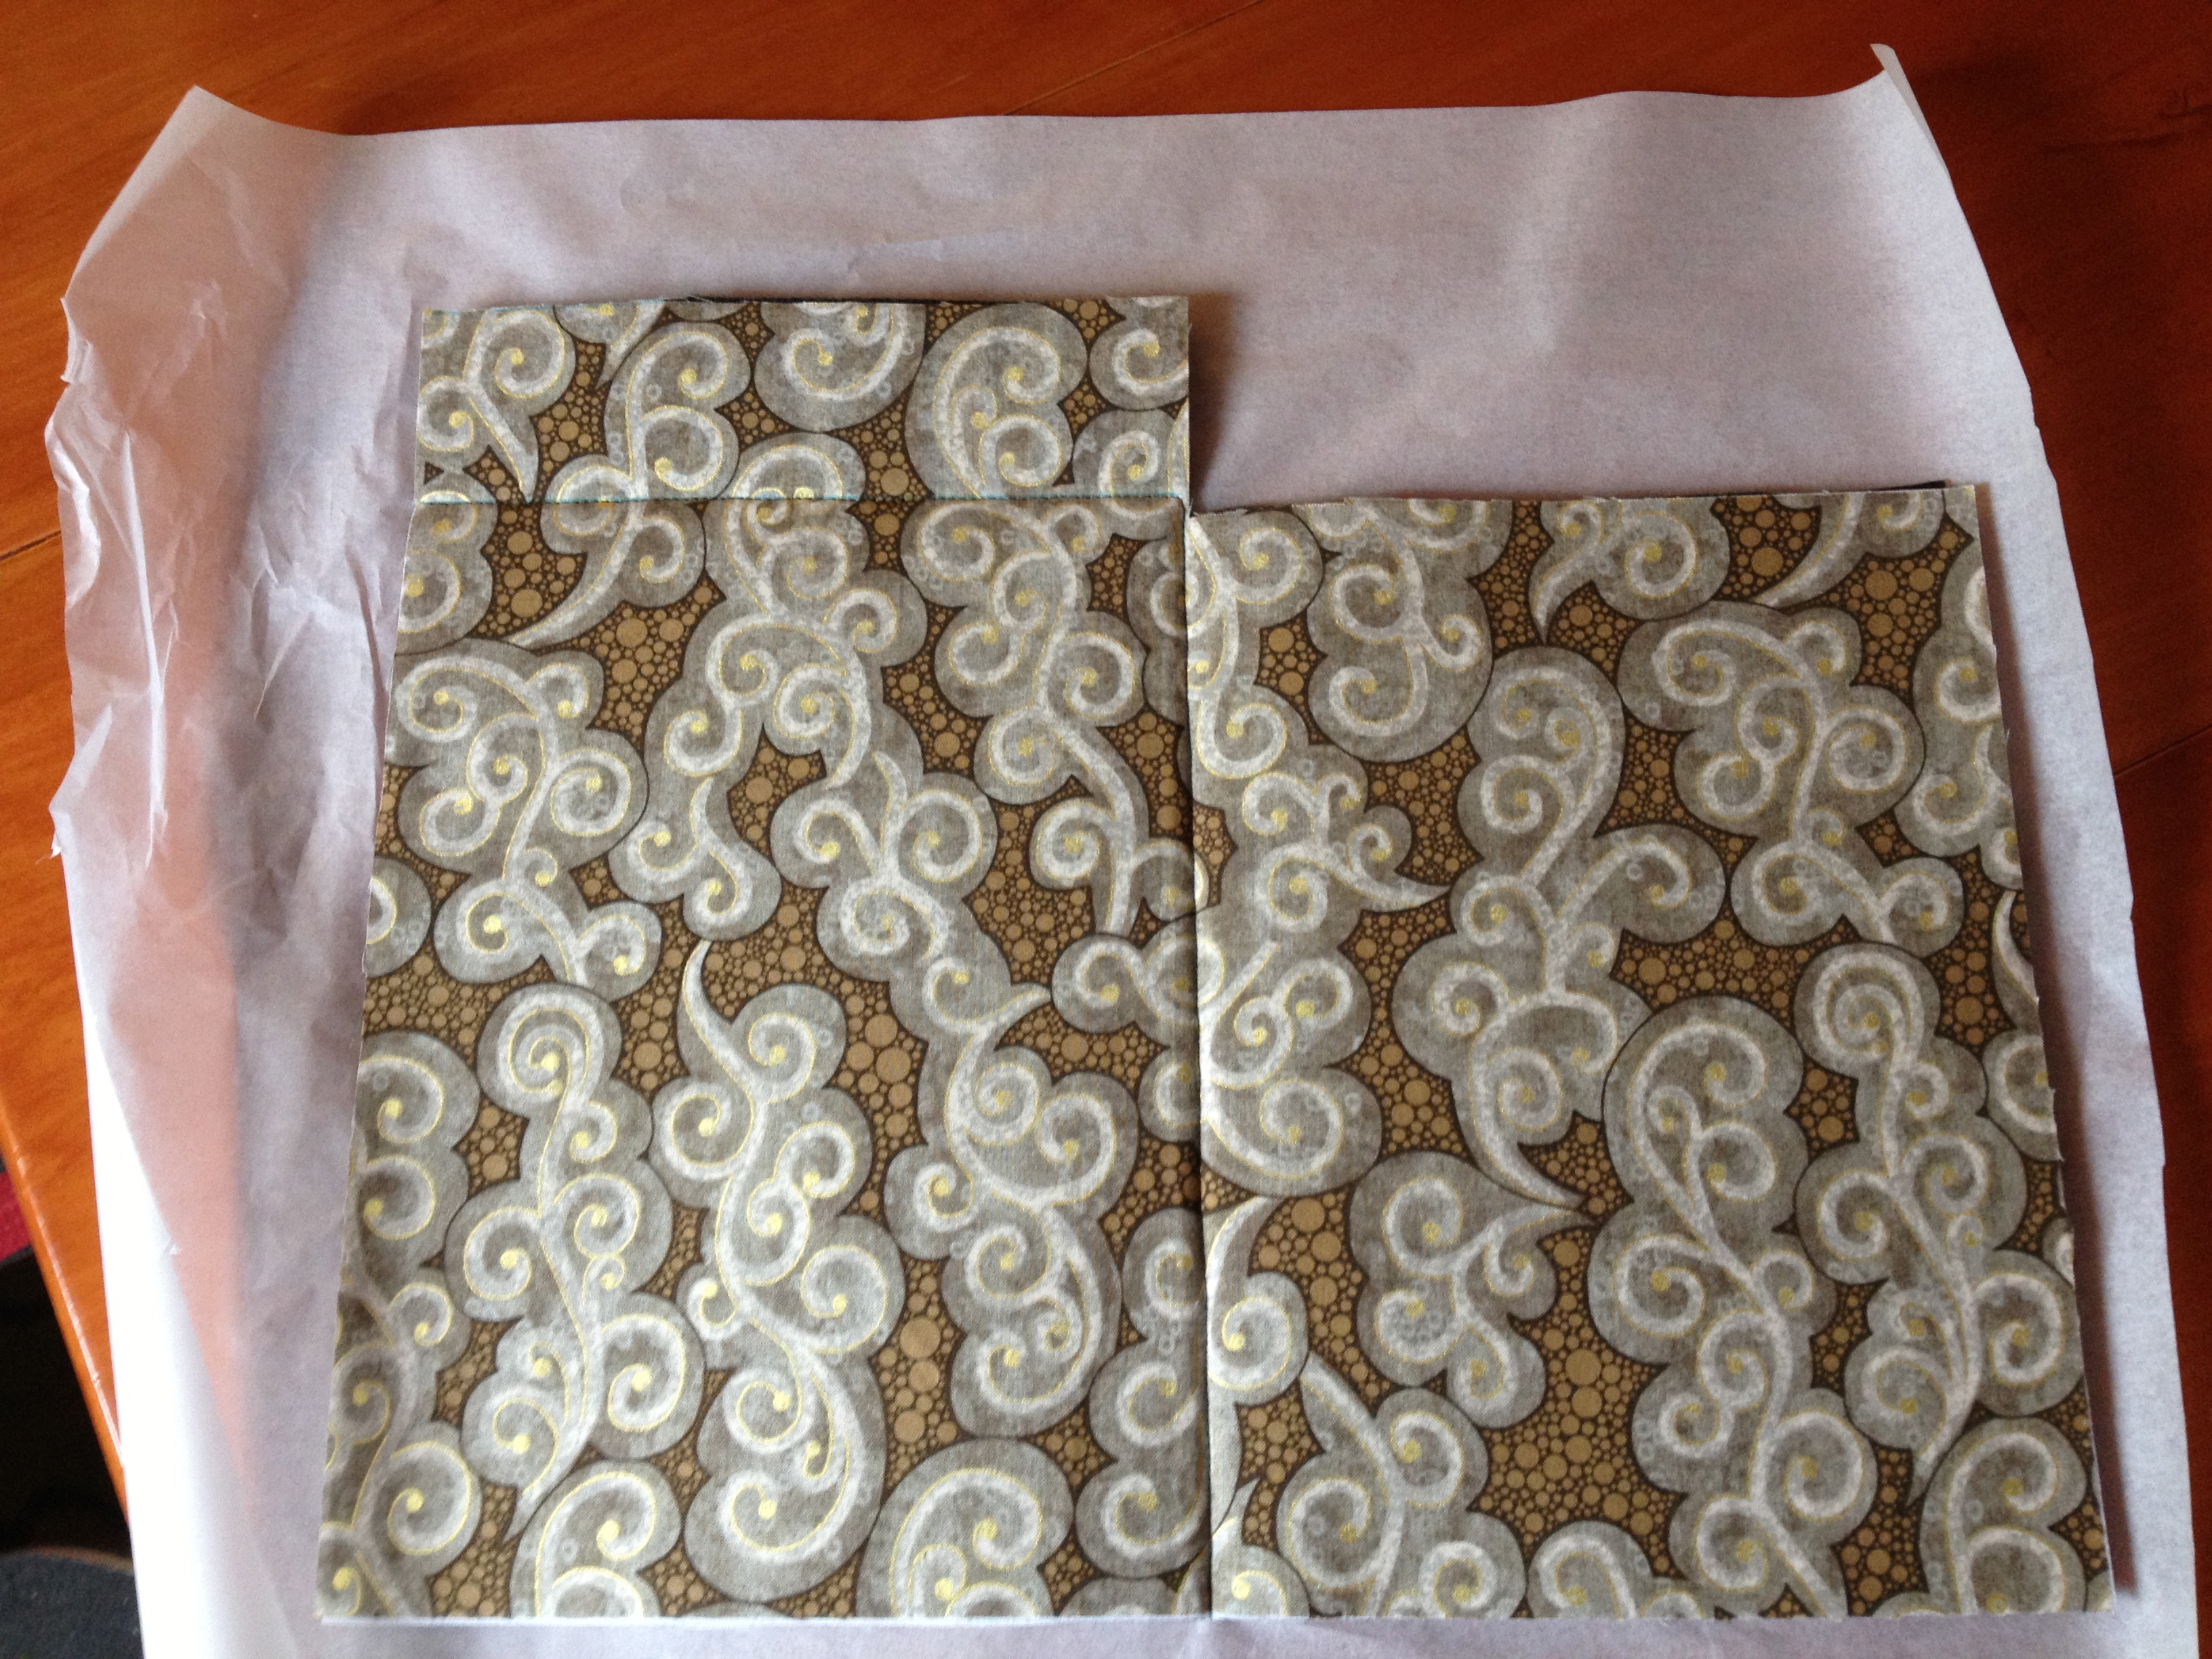
I wanted to personalize this case in some way and decided to put an “M” on it in reverse appliqué. I picked out a fabric that would show from underneath and ironed a heavy interfacing on the back. I taped it on to the back of the leather piece since pins would leave permanent pin holes.

Interfaced fabric put right side to wrong side of leather.
On the front, I taped the letter “M” and stitched around it. I just kept moving the tape as I sewed!
Once the stitching was done. . .

I made a slit with a small pair of embroidery scissors. . .
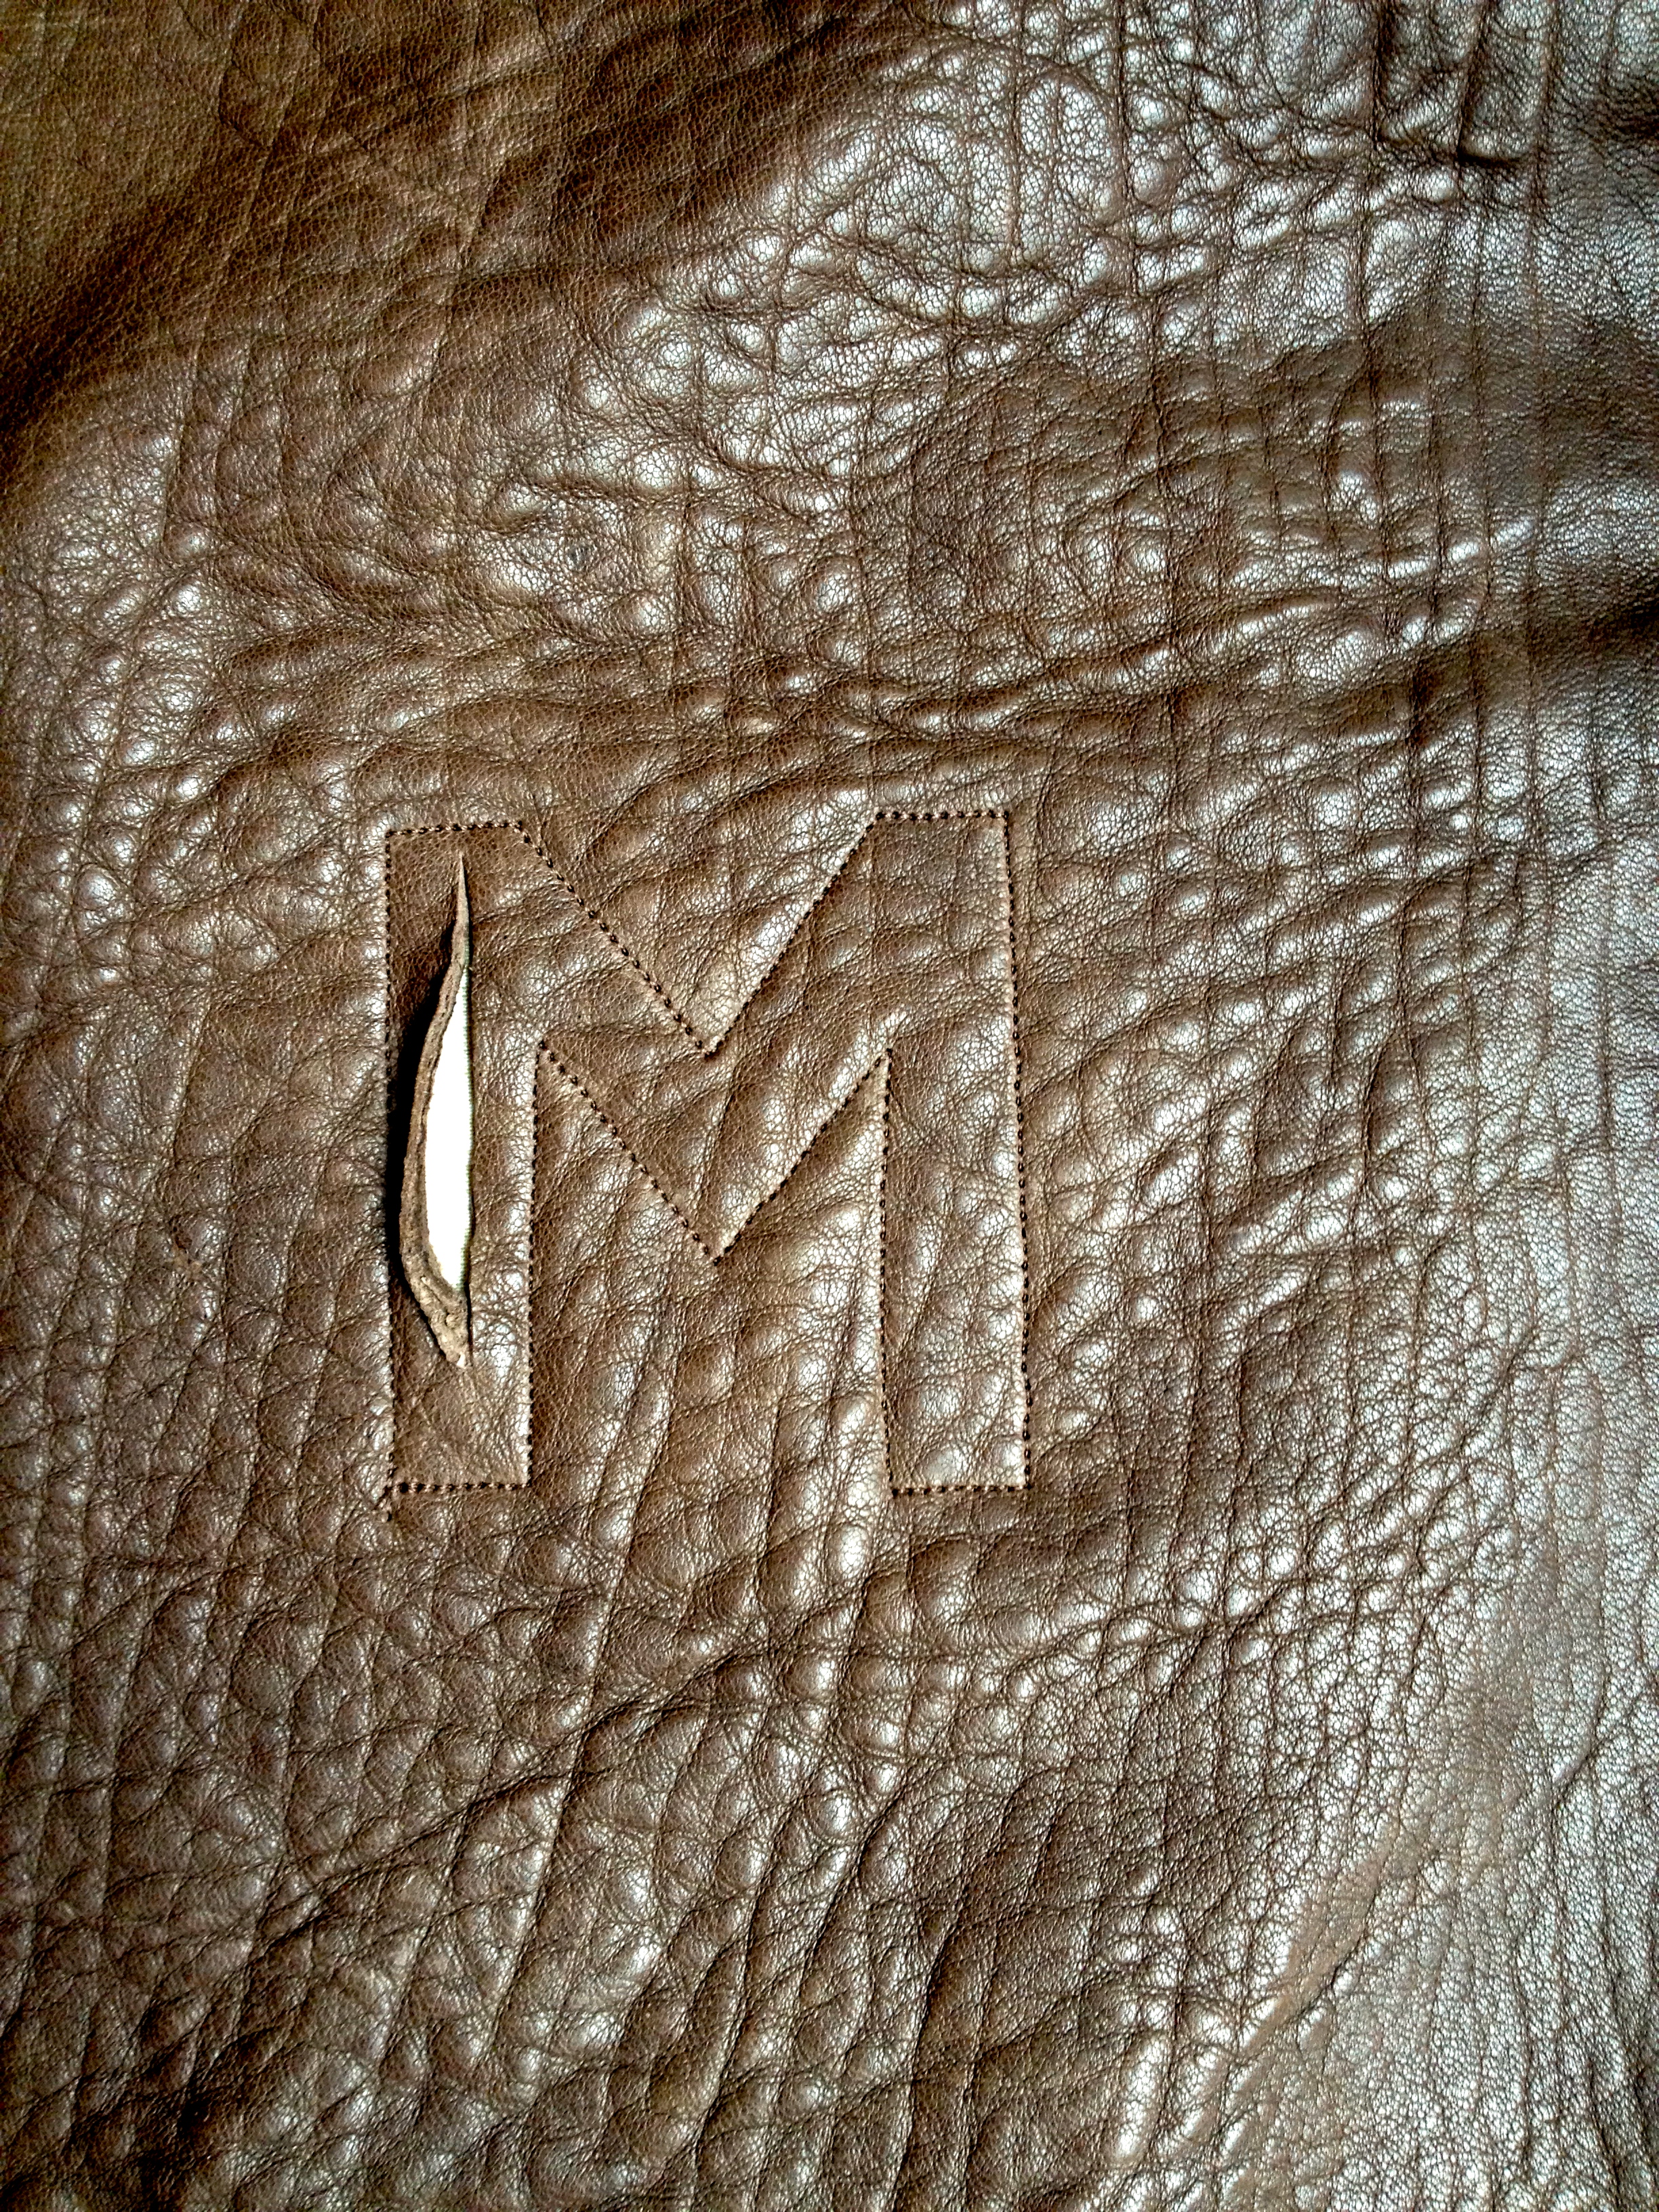
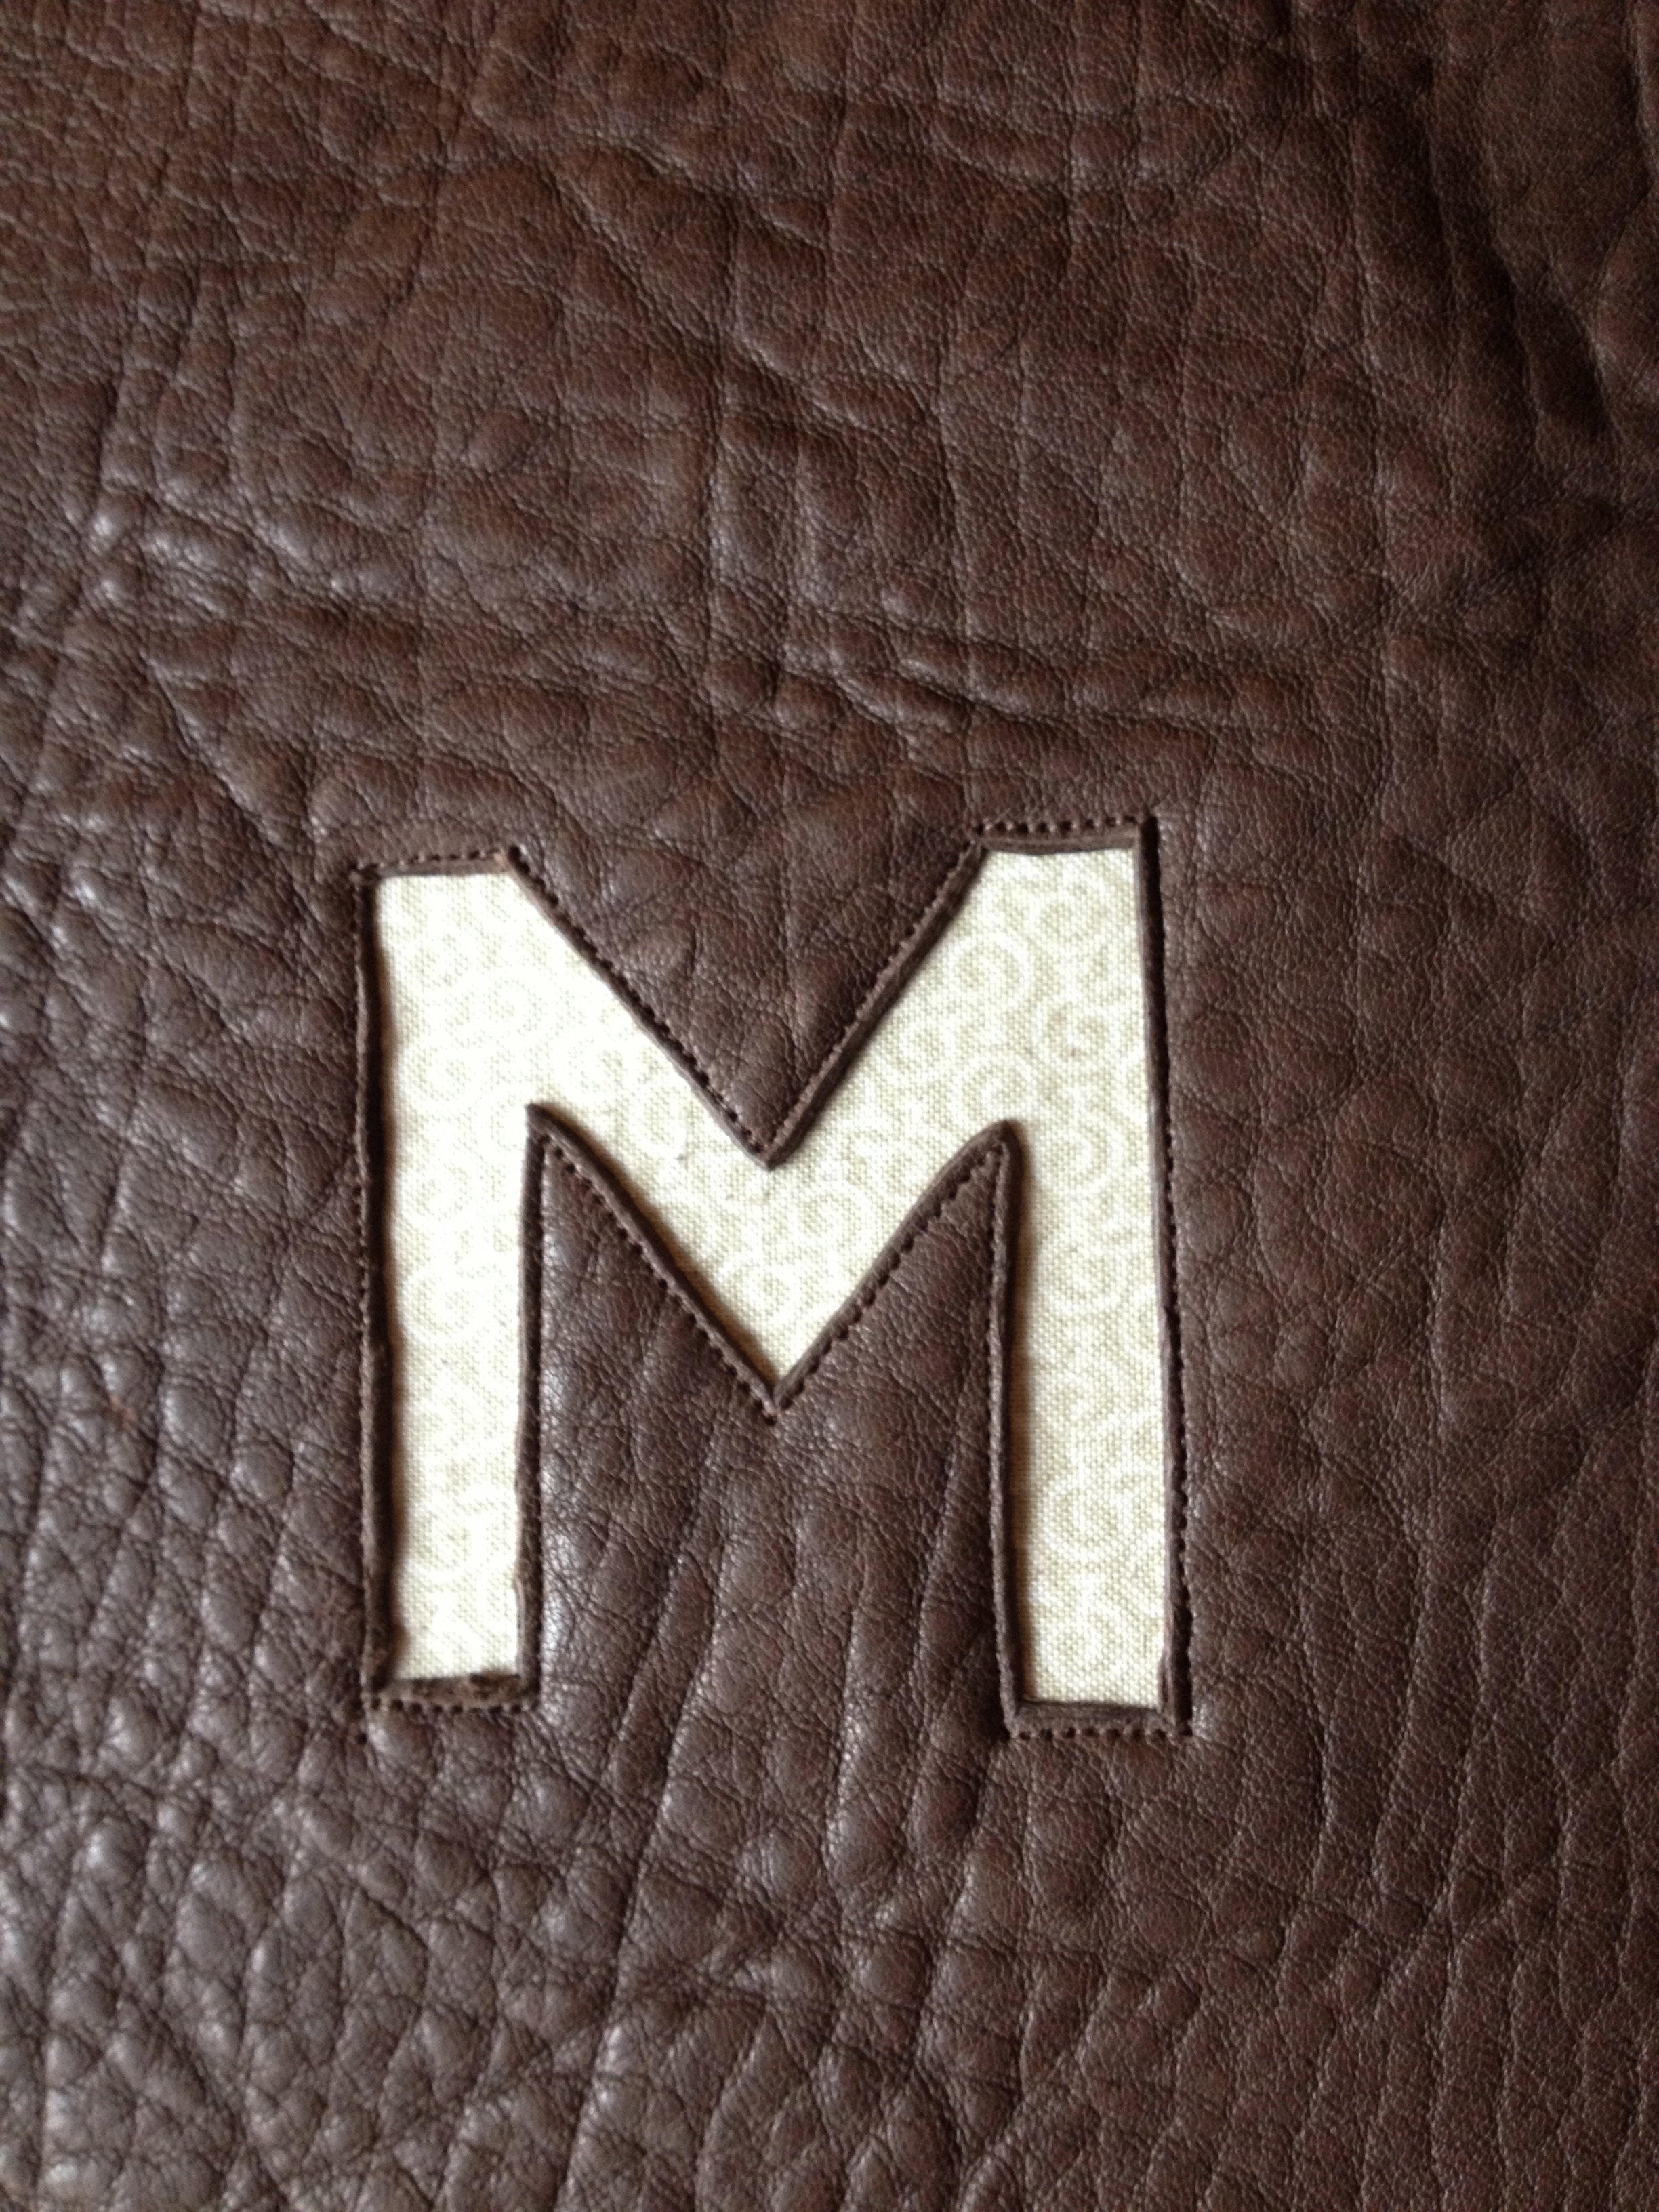
and cut as close to the stitching as I could, revealing the fabric underneath.
Next I cut a piece of Annie’s Soft and Stable (foam stabilizer) and a lining fabric to the same size as the leather piece.

These were spray basted together and then stitched at the “fold” lines of the finished case.
Leather sticks to the throat plate of the sewing machine, so I did this stitching with a piece of thin paper underneath which was easily torn away after the stitching was done.
Now what? I decided the best way to finish the edges was to bind them in the same lining fabric. I started with the top of the front of the case. This is double folded binding cut 2-1/4″ on the straight of grain.

Binding on top of front of case.
Next I bound the flap. I rounded the corners and made bias binding (also 2-1/4″ wide) to do this part.

Binding across the flap.
The final binding was cut 2-3/4″ wide on the straight of grain and was applied to the final 2 sides after folding the piece.

Final binding complete.
I used a hair elastic and a button from my button jar for the closure.
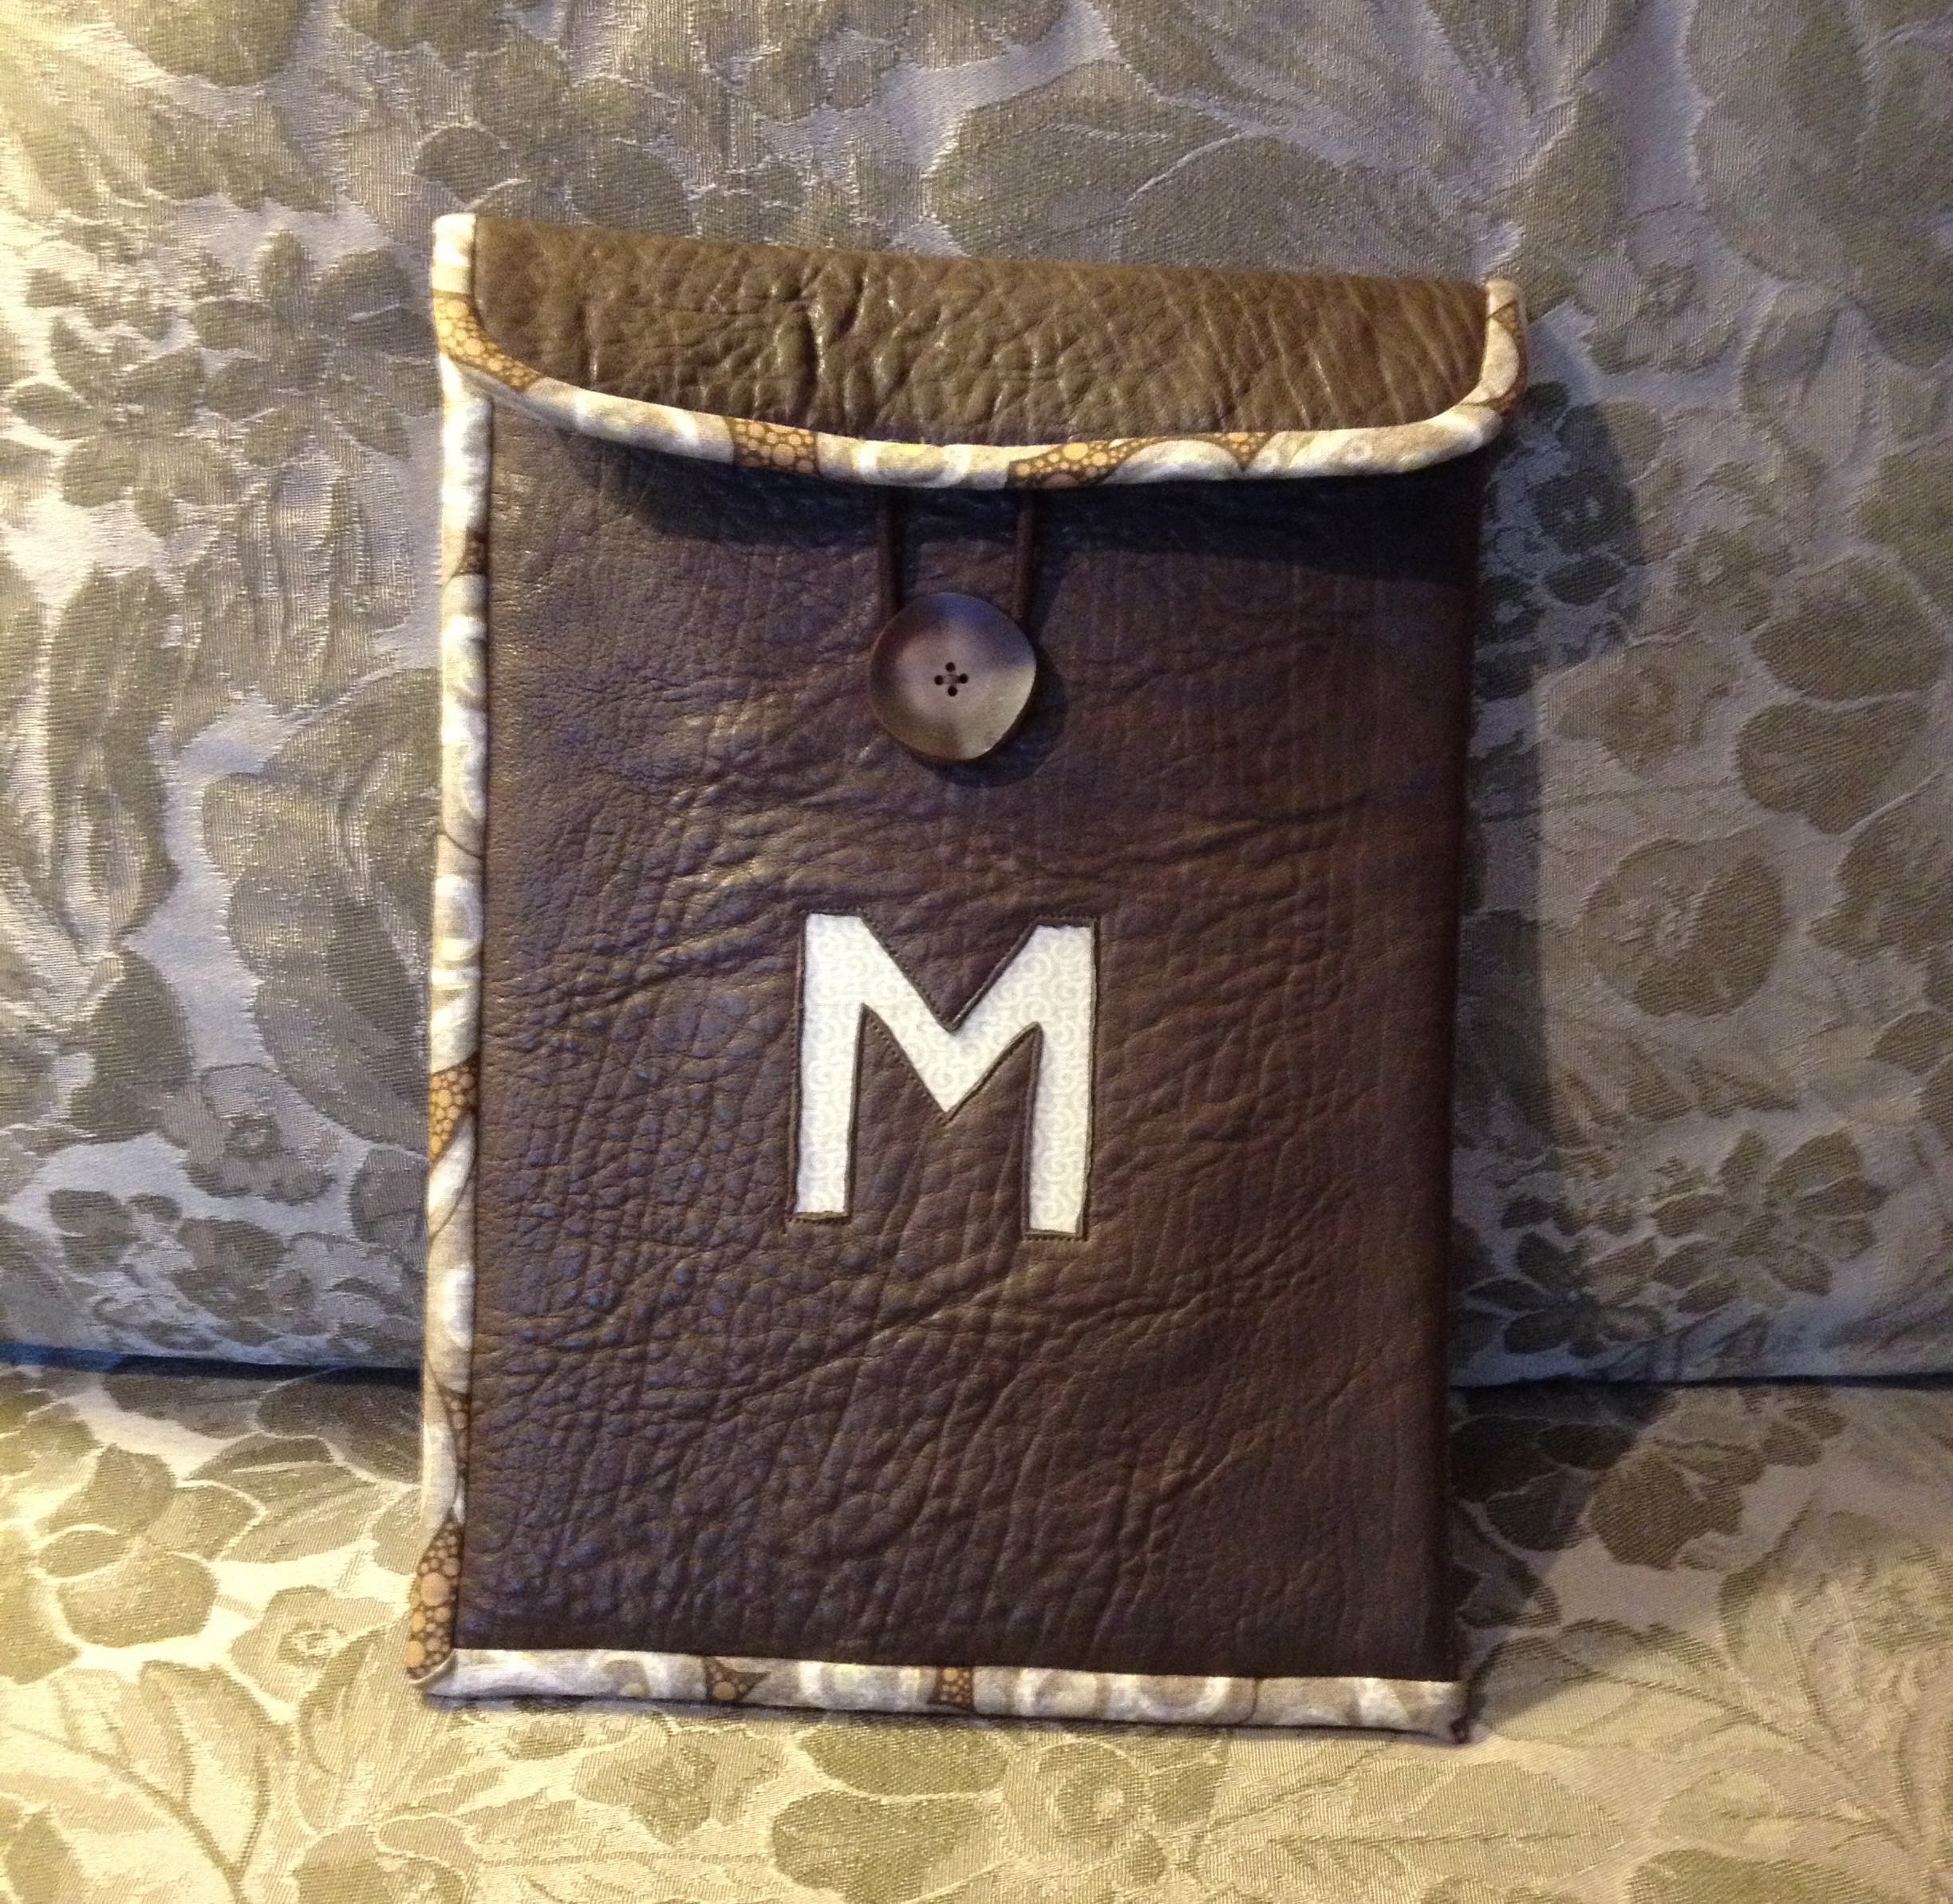
Now her new iPad should be nice and protected from scratches in her book bag.
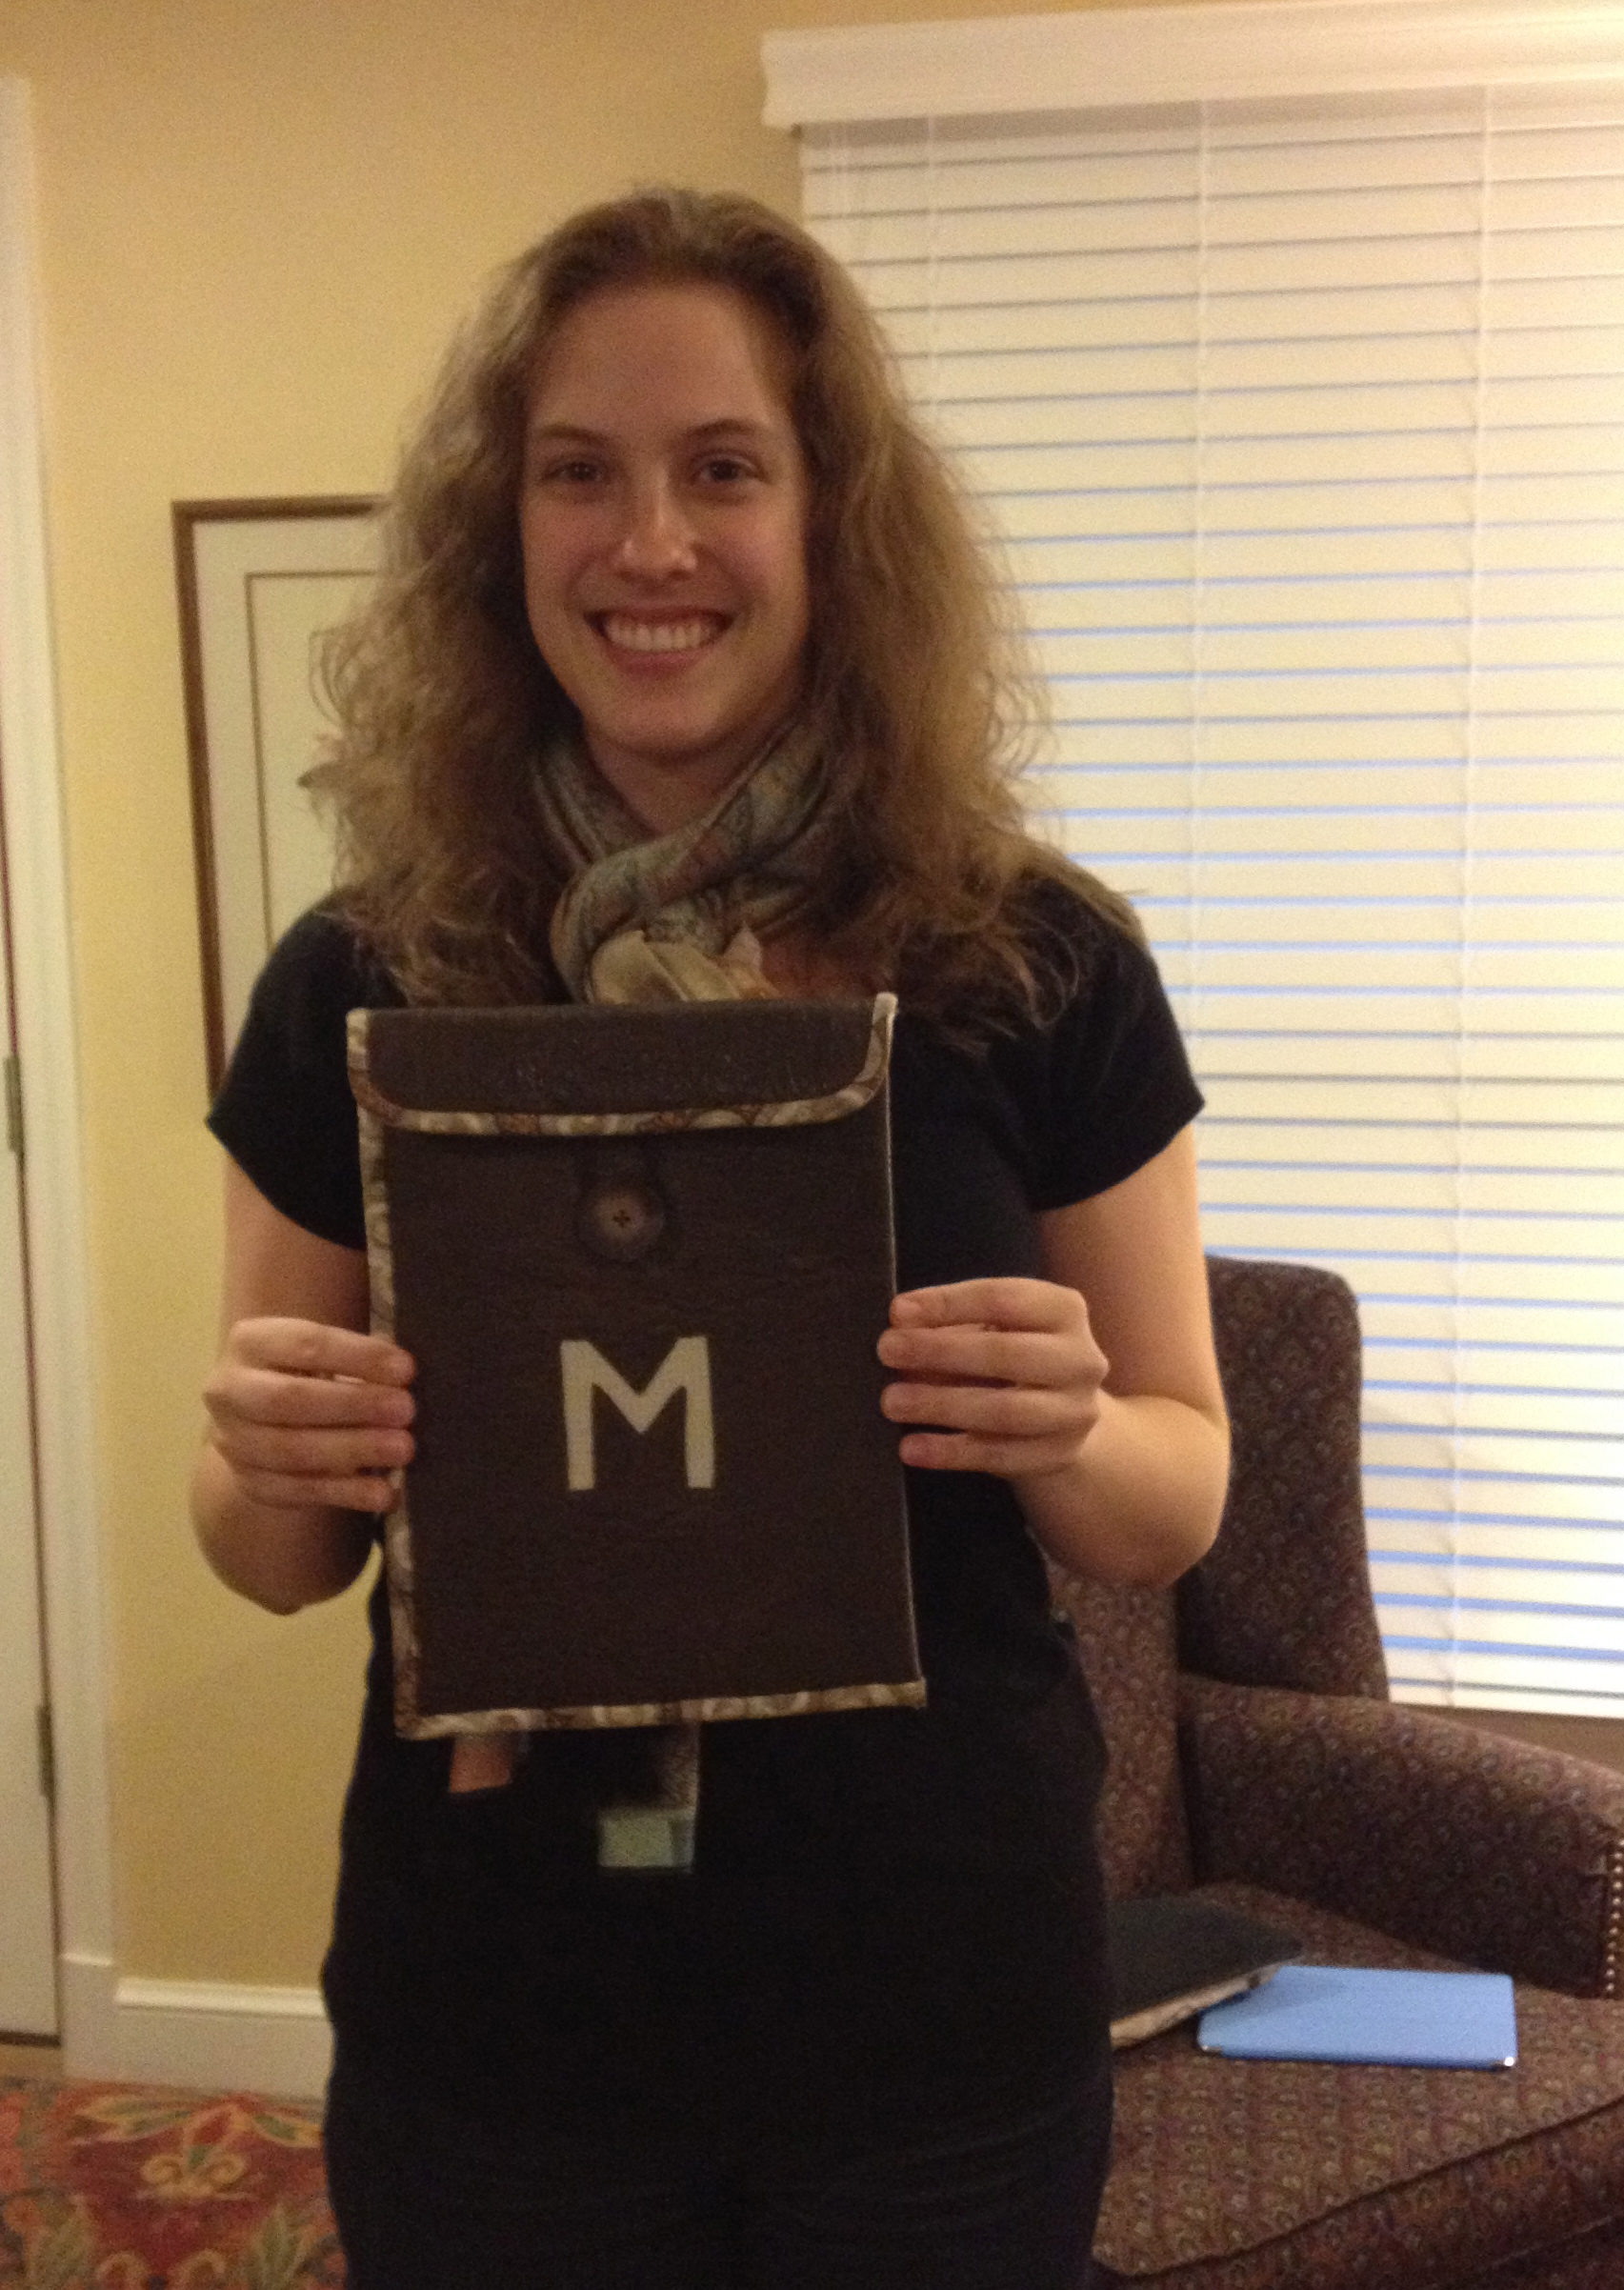
Megan was very happy with it!


Okay, you are a genius! That is too cool. No wonder she has such a big smile.
I really do feel like I just “whipped this up” today and I’m happy with how it came out. The iPad fits perfectly in it and it’s padded without being too bulky.
Awesome! This was a great project. Fabulous way to use your cloth and your leather stash!!
Wow! Leather, reverse applique, three different binding applications,,,a fantastic job!
The final binding did involve hand sewing the binding to the leather on the second side and that was not easy to do. I had to use a thimble to push the needle and a “grabber” to pull it through. There may be special needles for hand sewing leather, but I just used the sharpest one I had.
It’s astonishing how brave you are to attack a piece of leather and whip up a case that has all these cool details. I especially like the reverse applique initial letter. Thanks for sharing the process, you have a talent for writing and illustrating your sewing process.
You got it right with the needles on leather, sharp is important and strong. It’s just a matter of forcing the stuff to make anything.
I have seen pliers used to pull the needles through thick layers and a metal thimble to push.