Finch Sewing Studio – Leesburg, VA (Photo from FinchHandmade on Flickr)
The Finch Sewing Studio is owned and operated by Nicole Morgenthau in Leesburg, Virginia. Nicole runs this business out of her home and she has a great space set up for it – complete workspaces for up to 6 sewers with plenty of room for cutting and ironing.

Nicole Morgenthau
I know Nicole through the DC Modern Quilt Guild. I’ve been following her blog and reading about the different classes that she offers. She has occasionally brought some of her bolts of fabric to the DCMQG meetings, so I know she has a great collection. She is also frequently wearing something that she has made and it always looks great! I’ve been wanting to see her studio and take a class, so when my sister decided to come for a visit from Connecticut, I thought this was a fun thing that we could do together – even though I am an avid sewer and my sister hasn’t touched a sewing machine in at least 30 years.

Sisters
So, off we went yesterday, with my daughter, to Leesburg for a 3 hour tote bag class. We had a blast! It was such a fun thing to do together. We didn’t have to bring any machines or sewing supplies, the Finch Sewing Studio had it all. We just showed up and Nicole had us pick out our fabrics and got us started.

My sister at the ironing station
This was basically a beginner sewing class. It is probably a great thing for any of us that think we know a lot about something, to go through listening to the instructions given to someone who is just learning. There is always more to learn!

My daughter and her fabric.
My daughter was quick to point out all of the things I had taught her that weren’t quite right – like how I pin my fabric pieces together before sewing them. Of course, there isn’t really a right and a wrong way of doing it (is there?), but one way is easier to remove the pins as you sew.

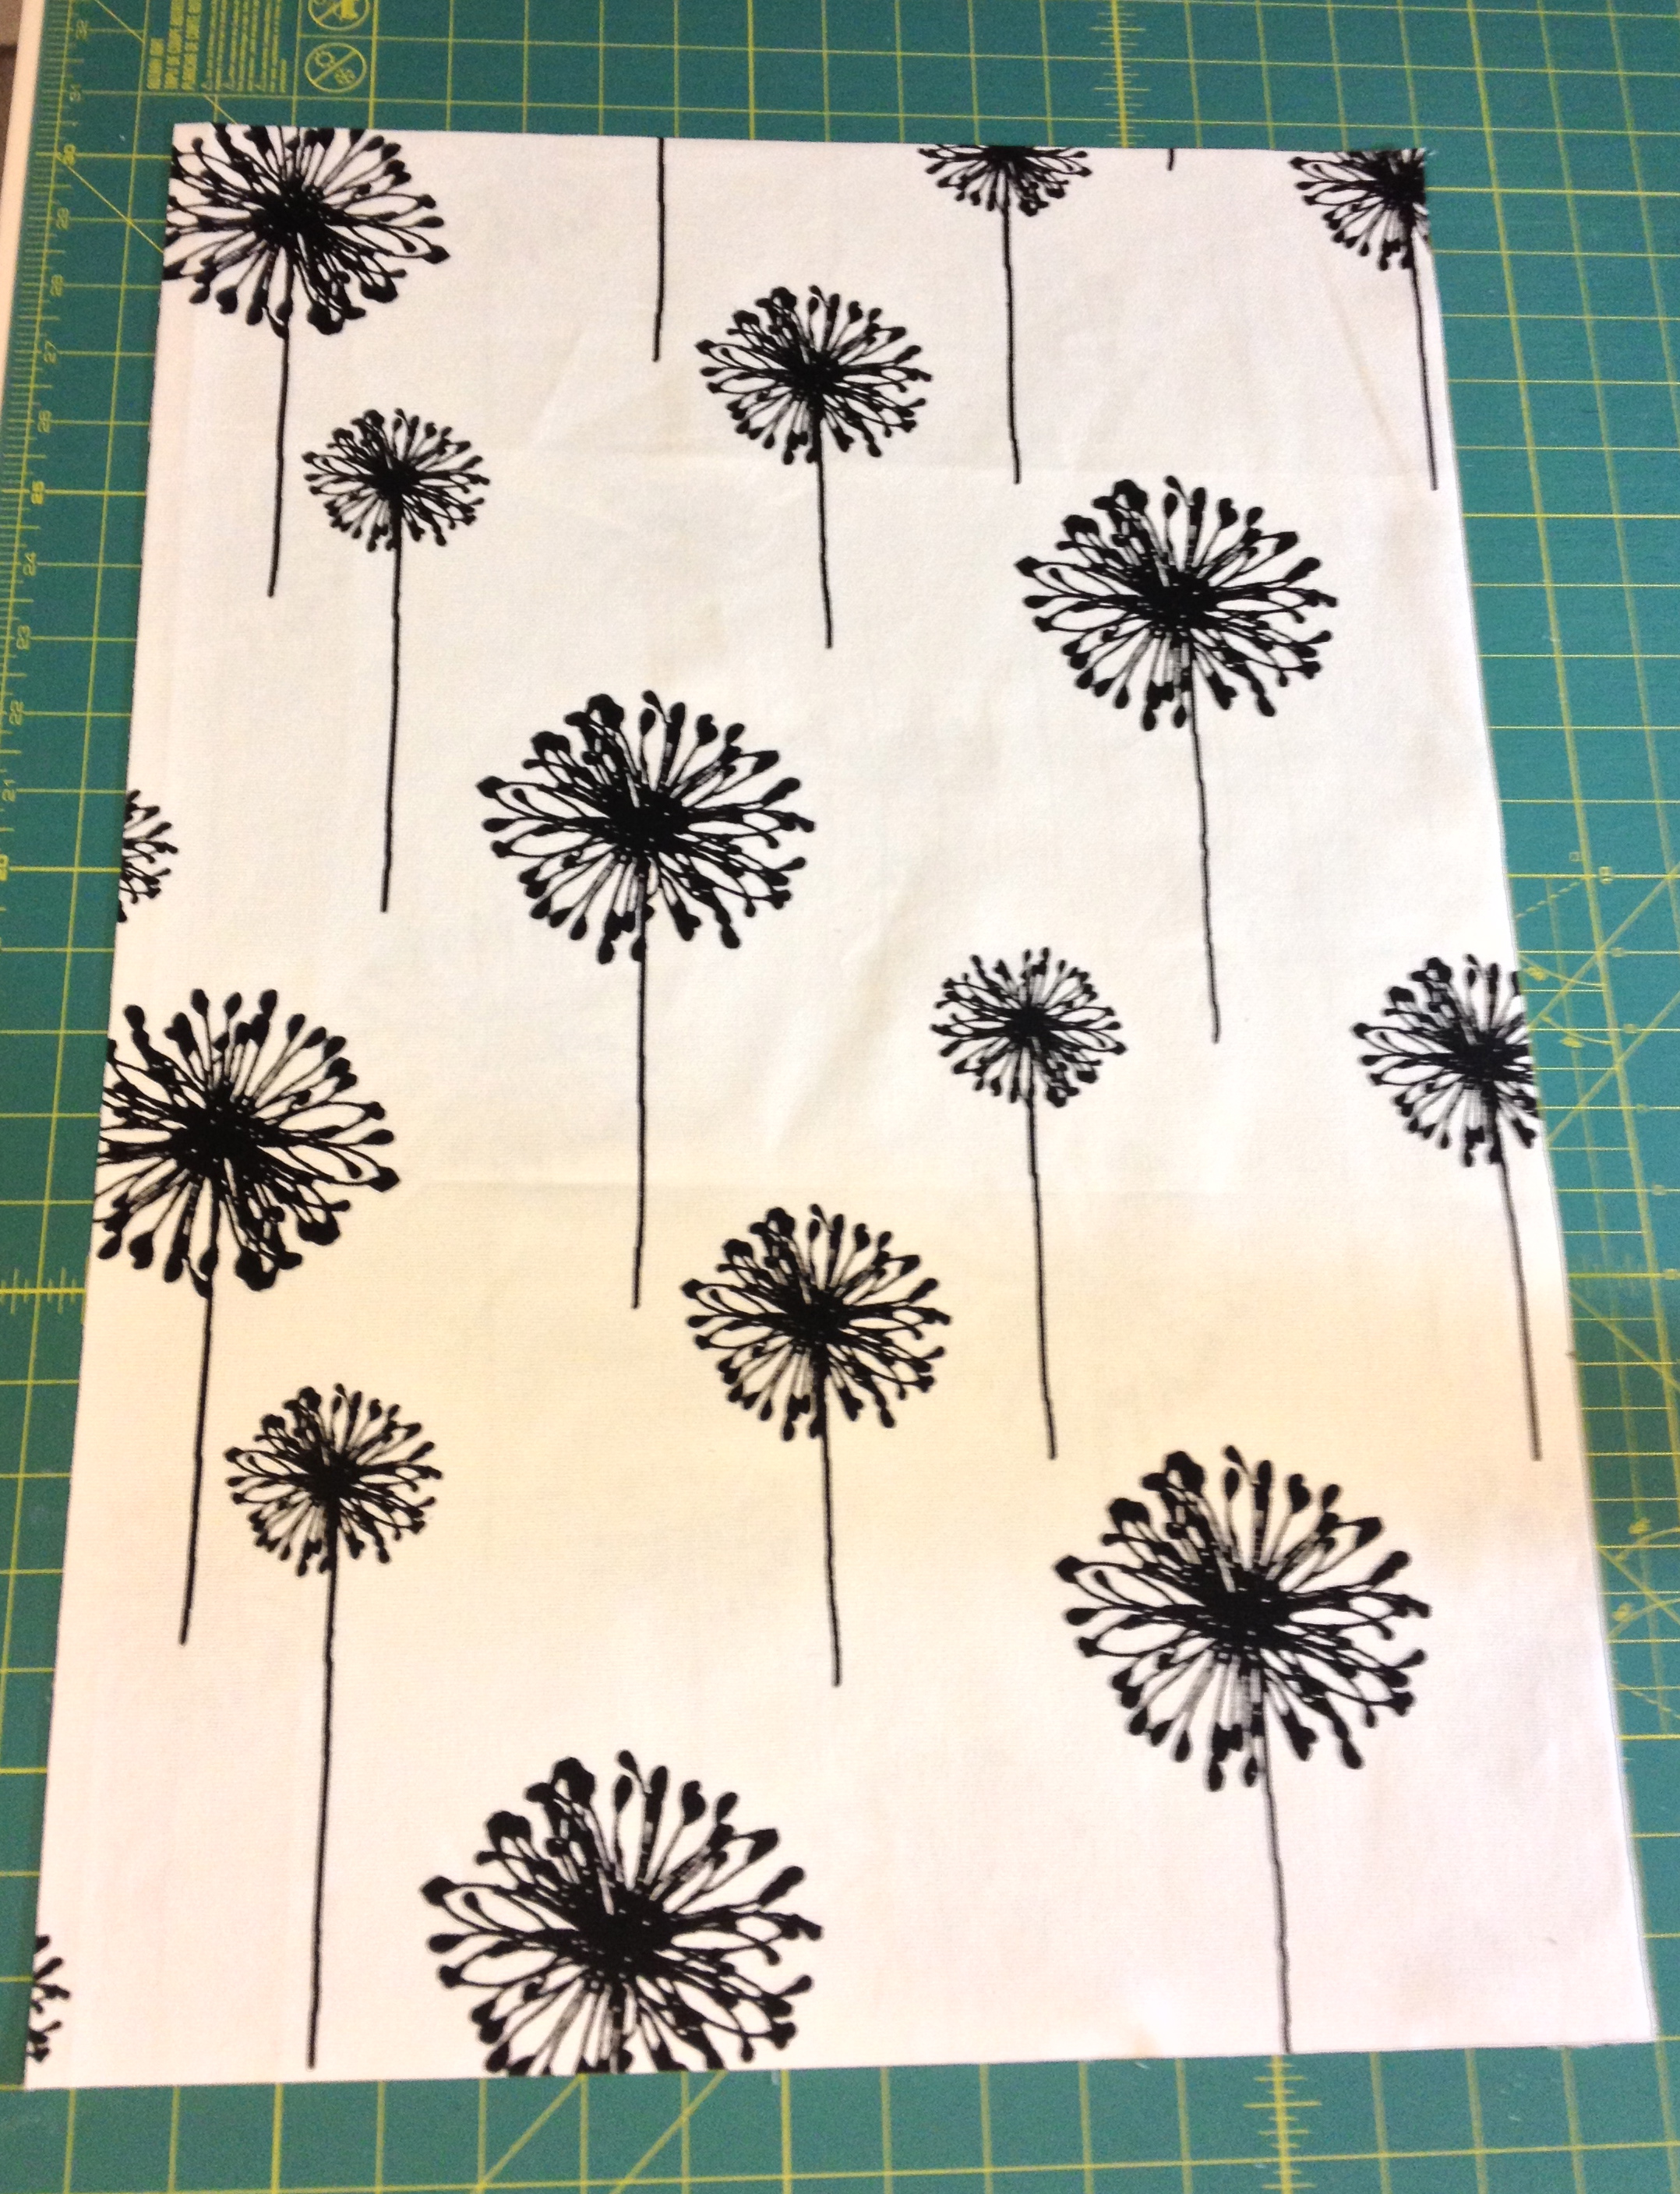
Here I am cutting out my fabric.
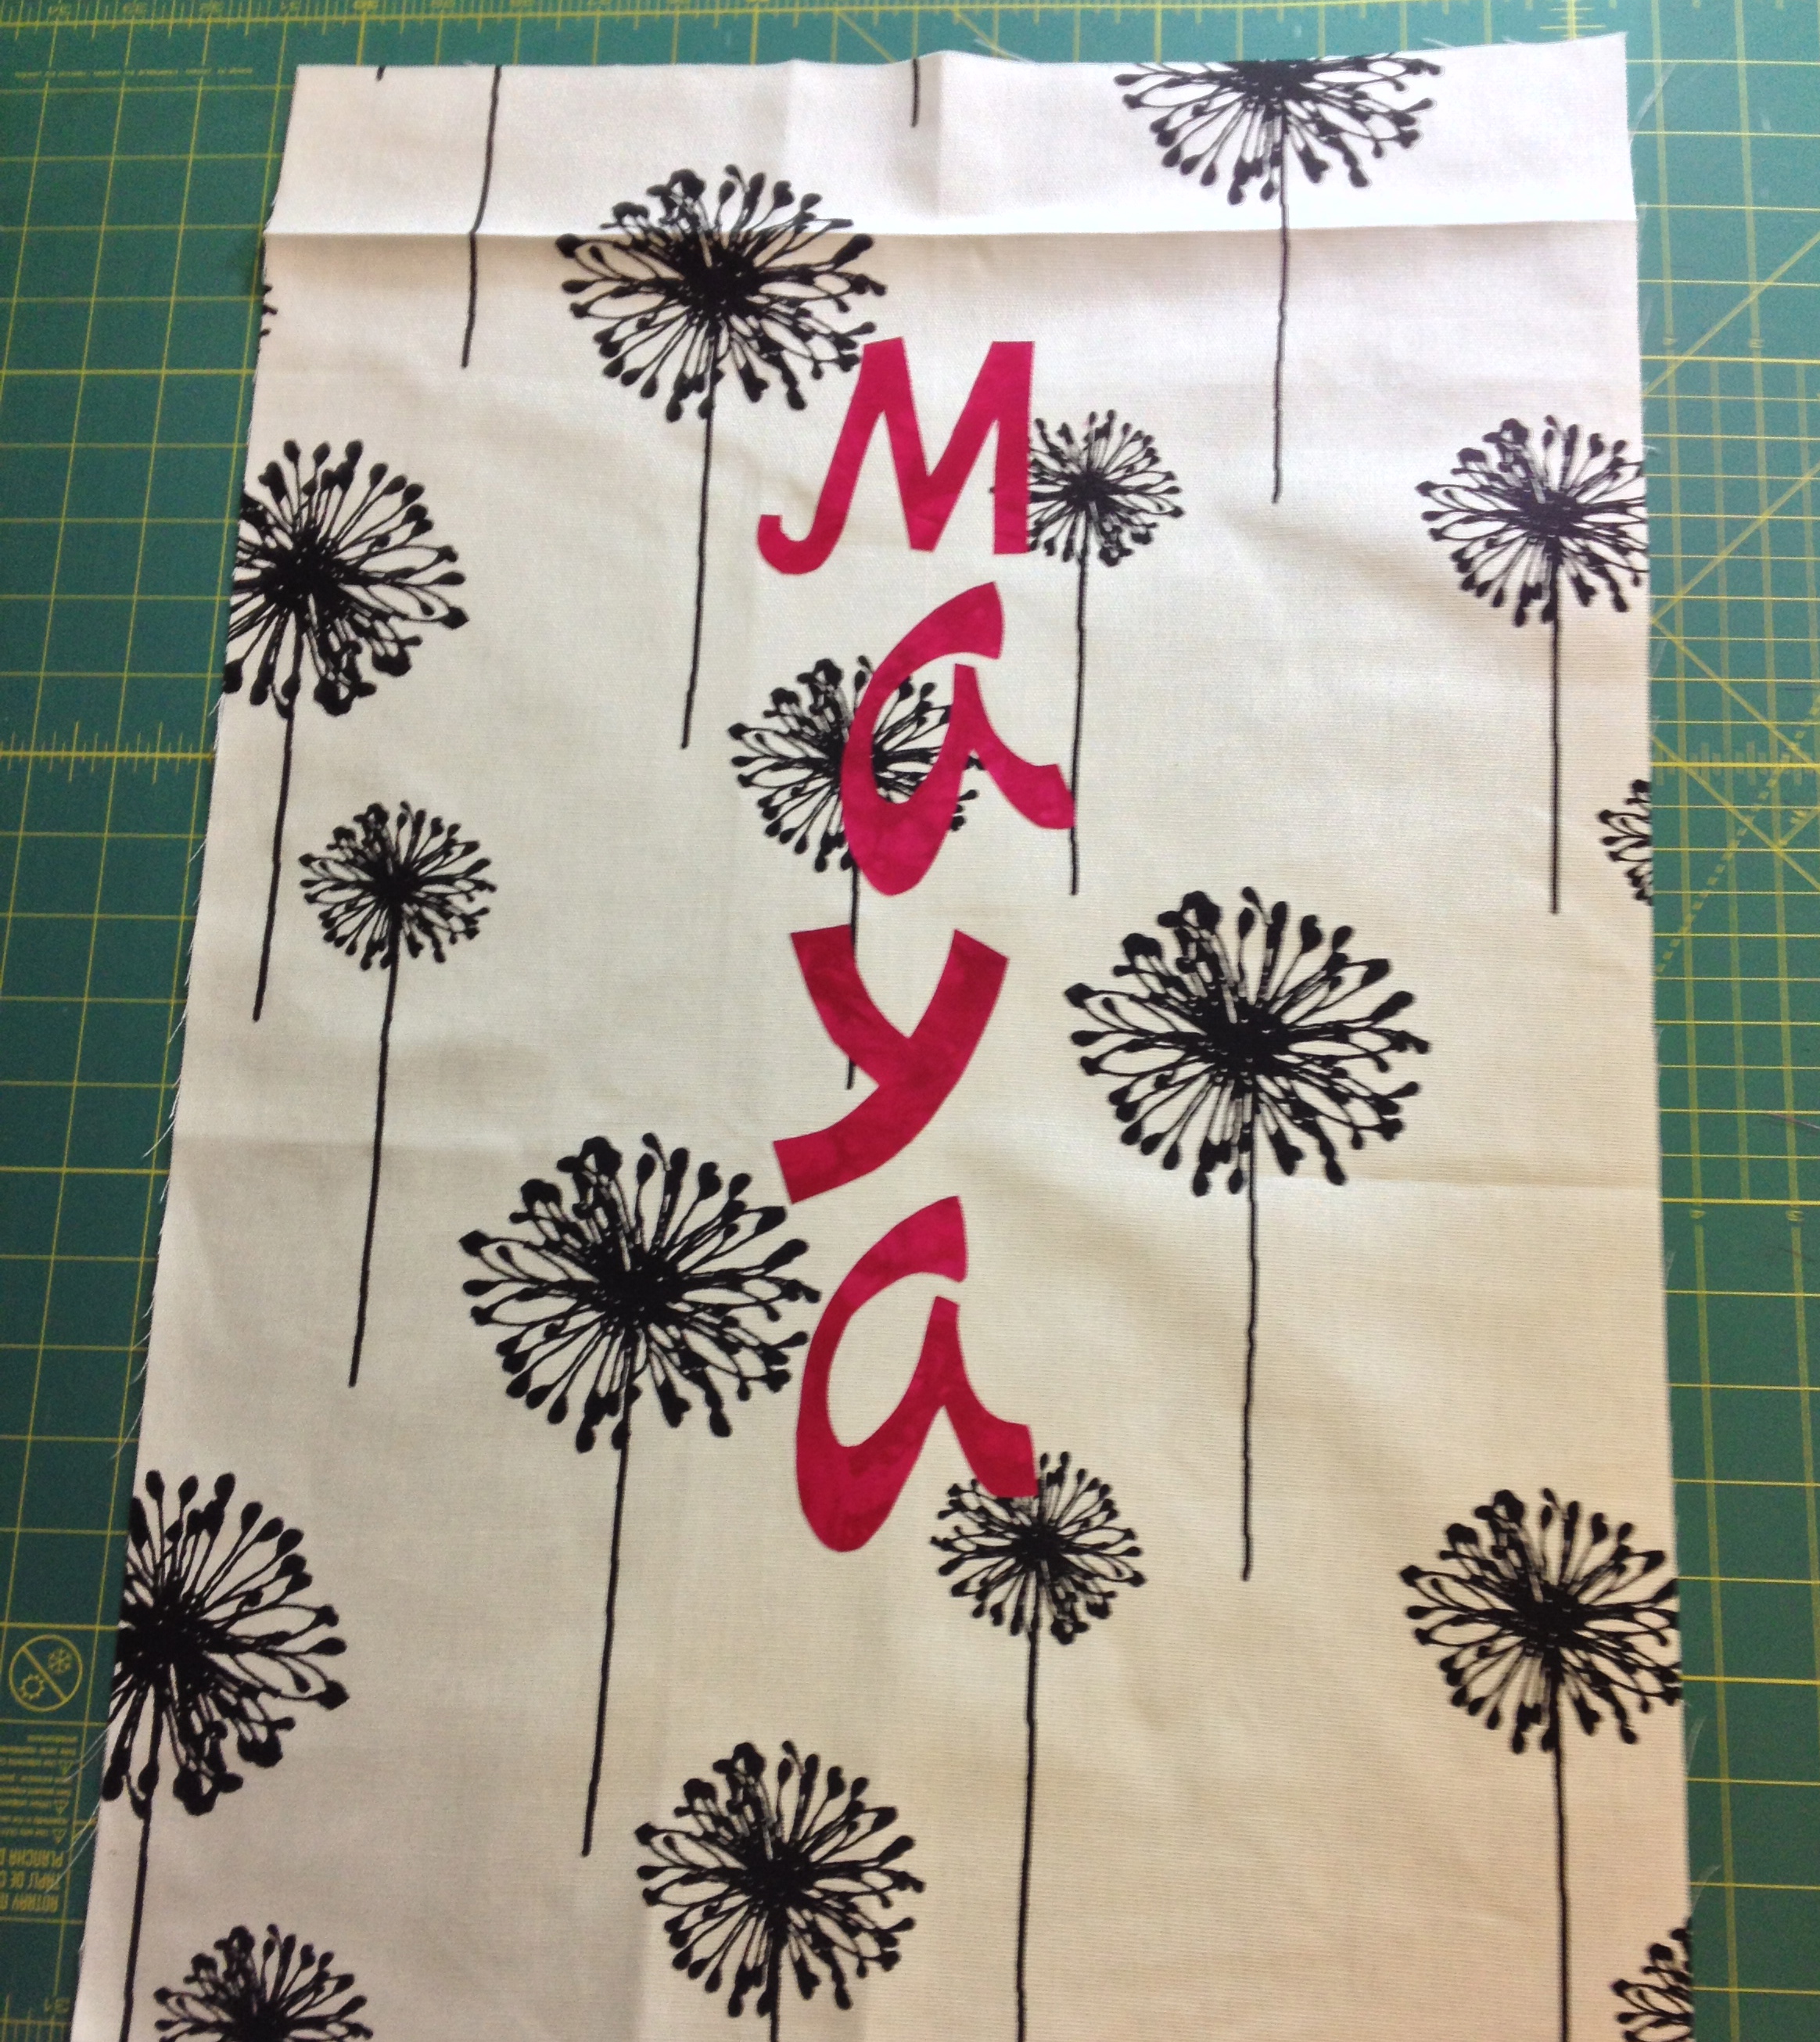
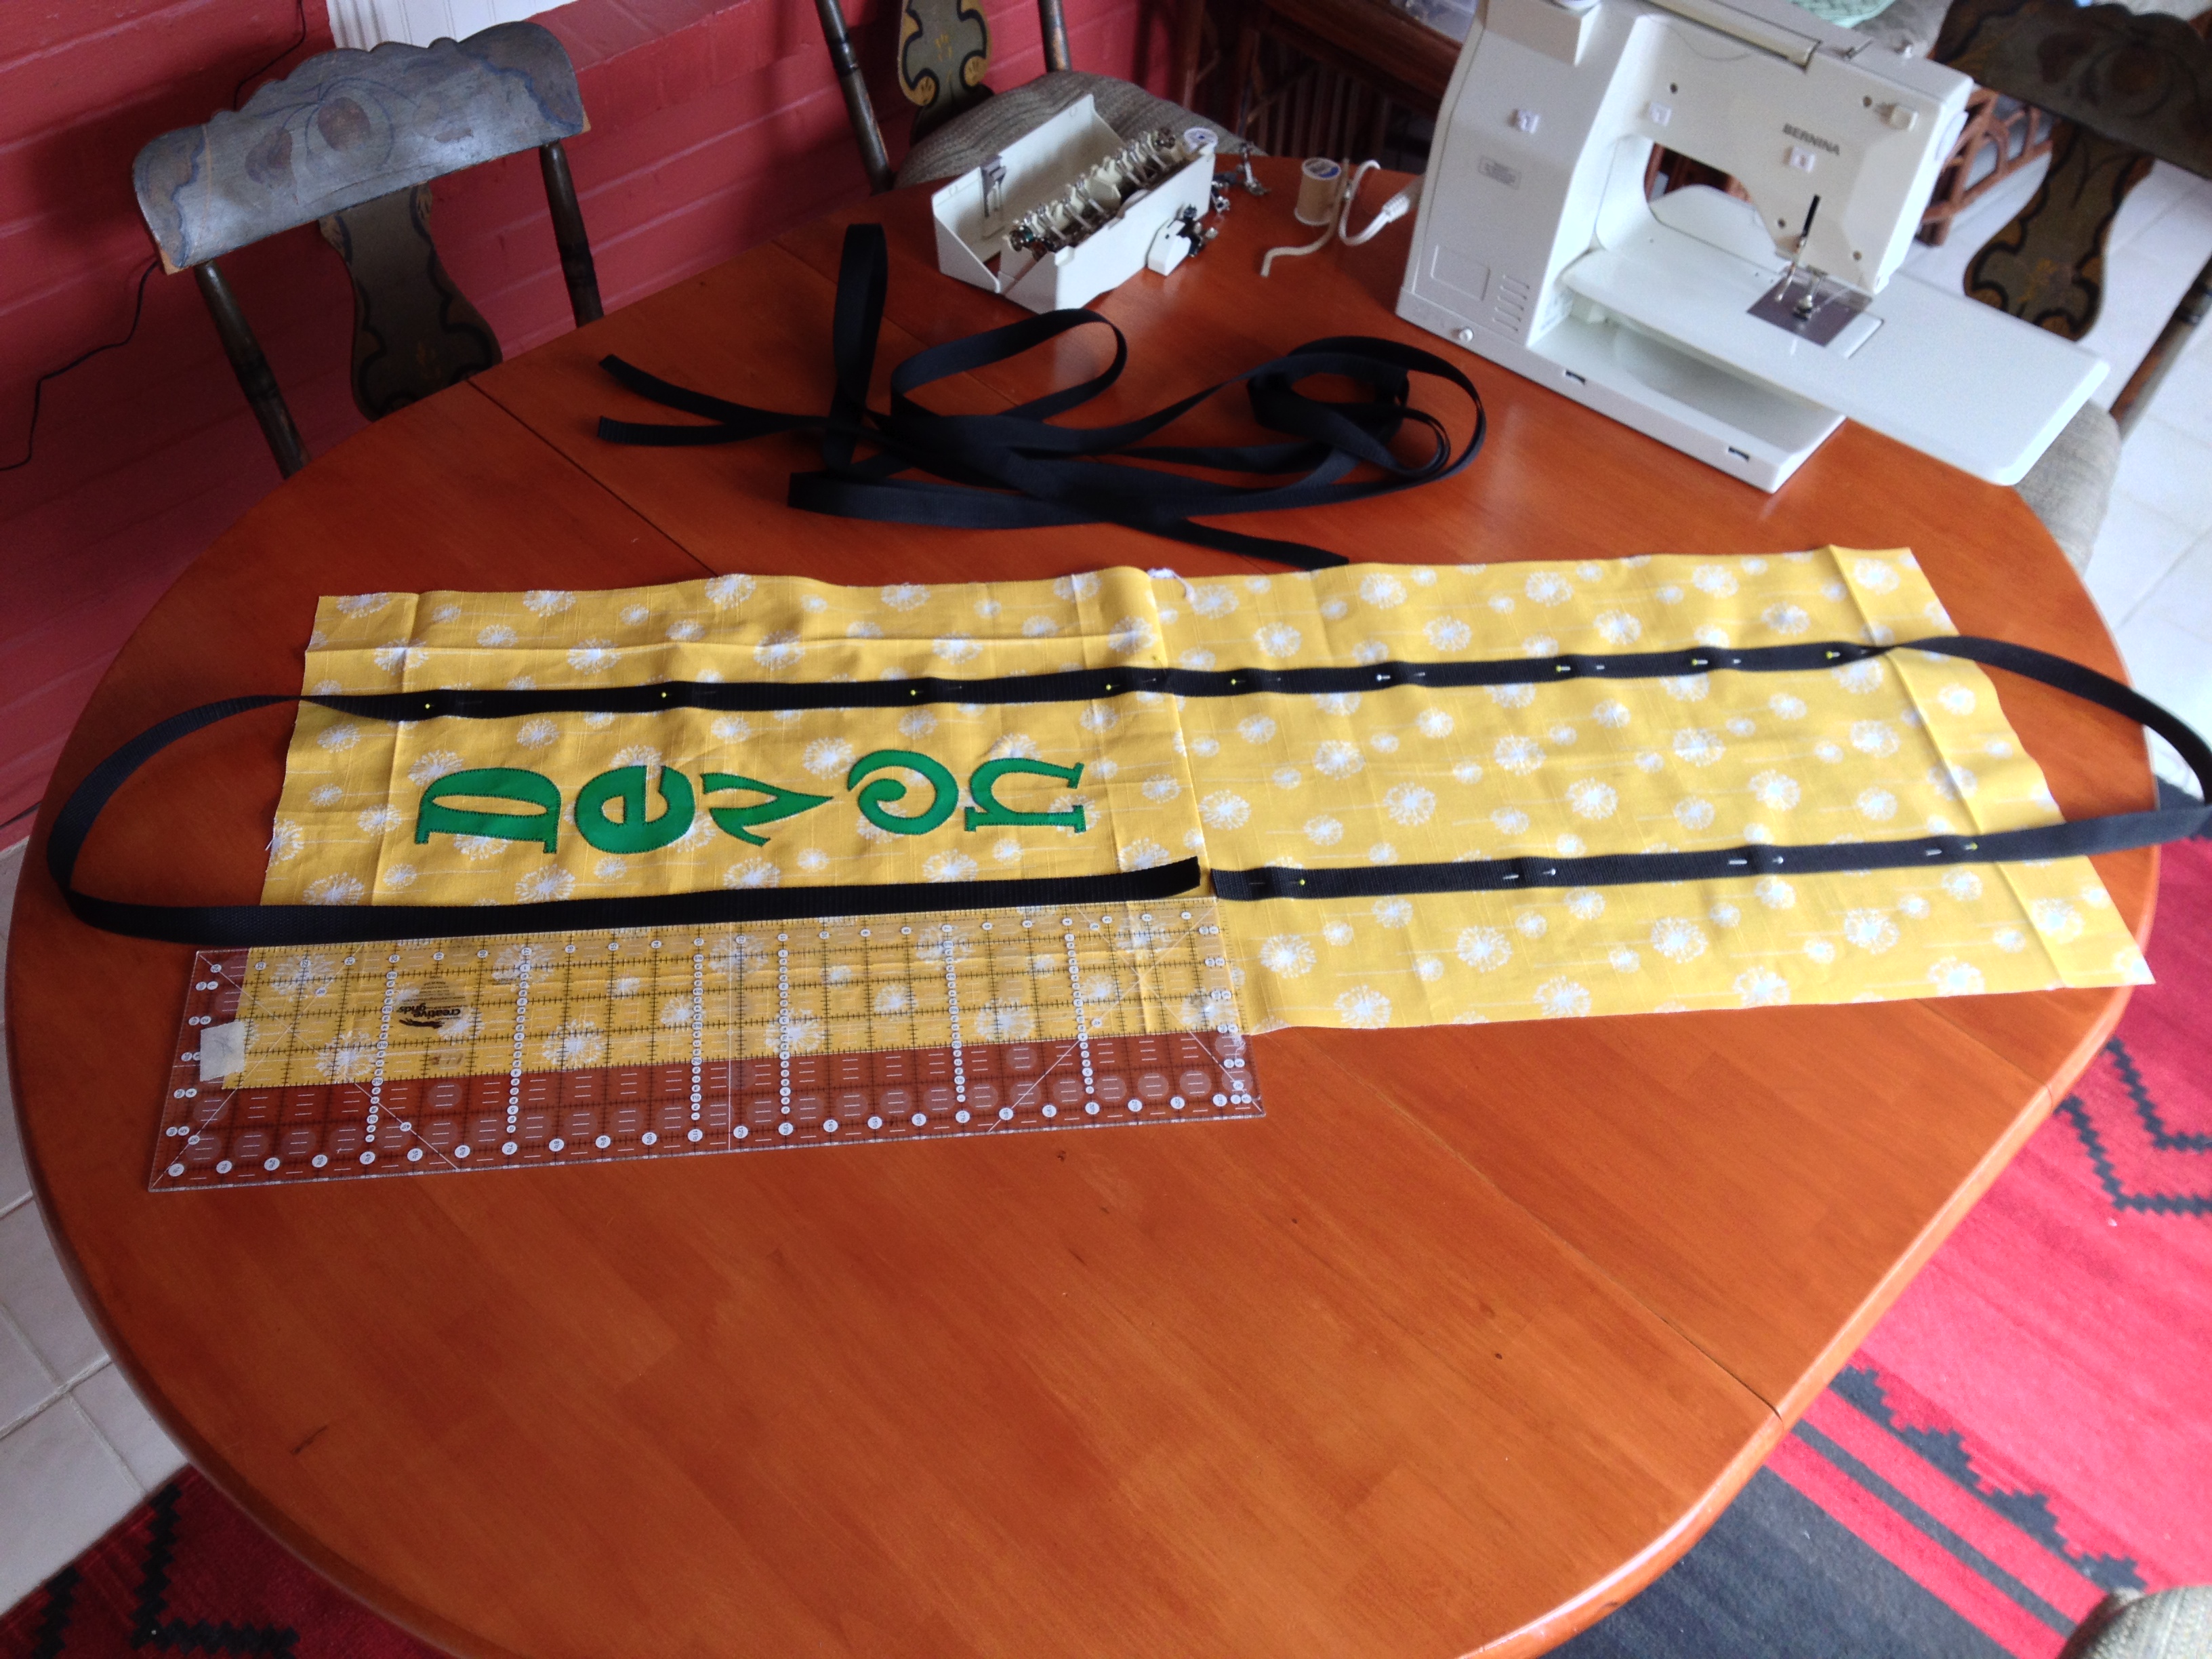
The tote that we made was an easy but clever way to make a bag. The bottom accent piece is just added on over the main fabric while the piece is still flat. I’m sure this has the added benefit of providing a sturdier bottom to the bag as well as just making it easy to apply and nicer to look at.

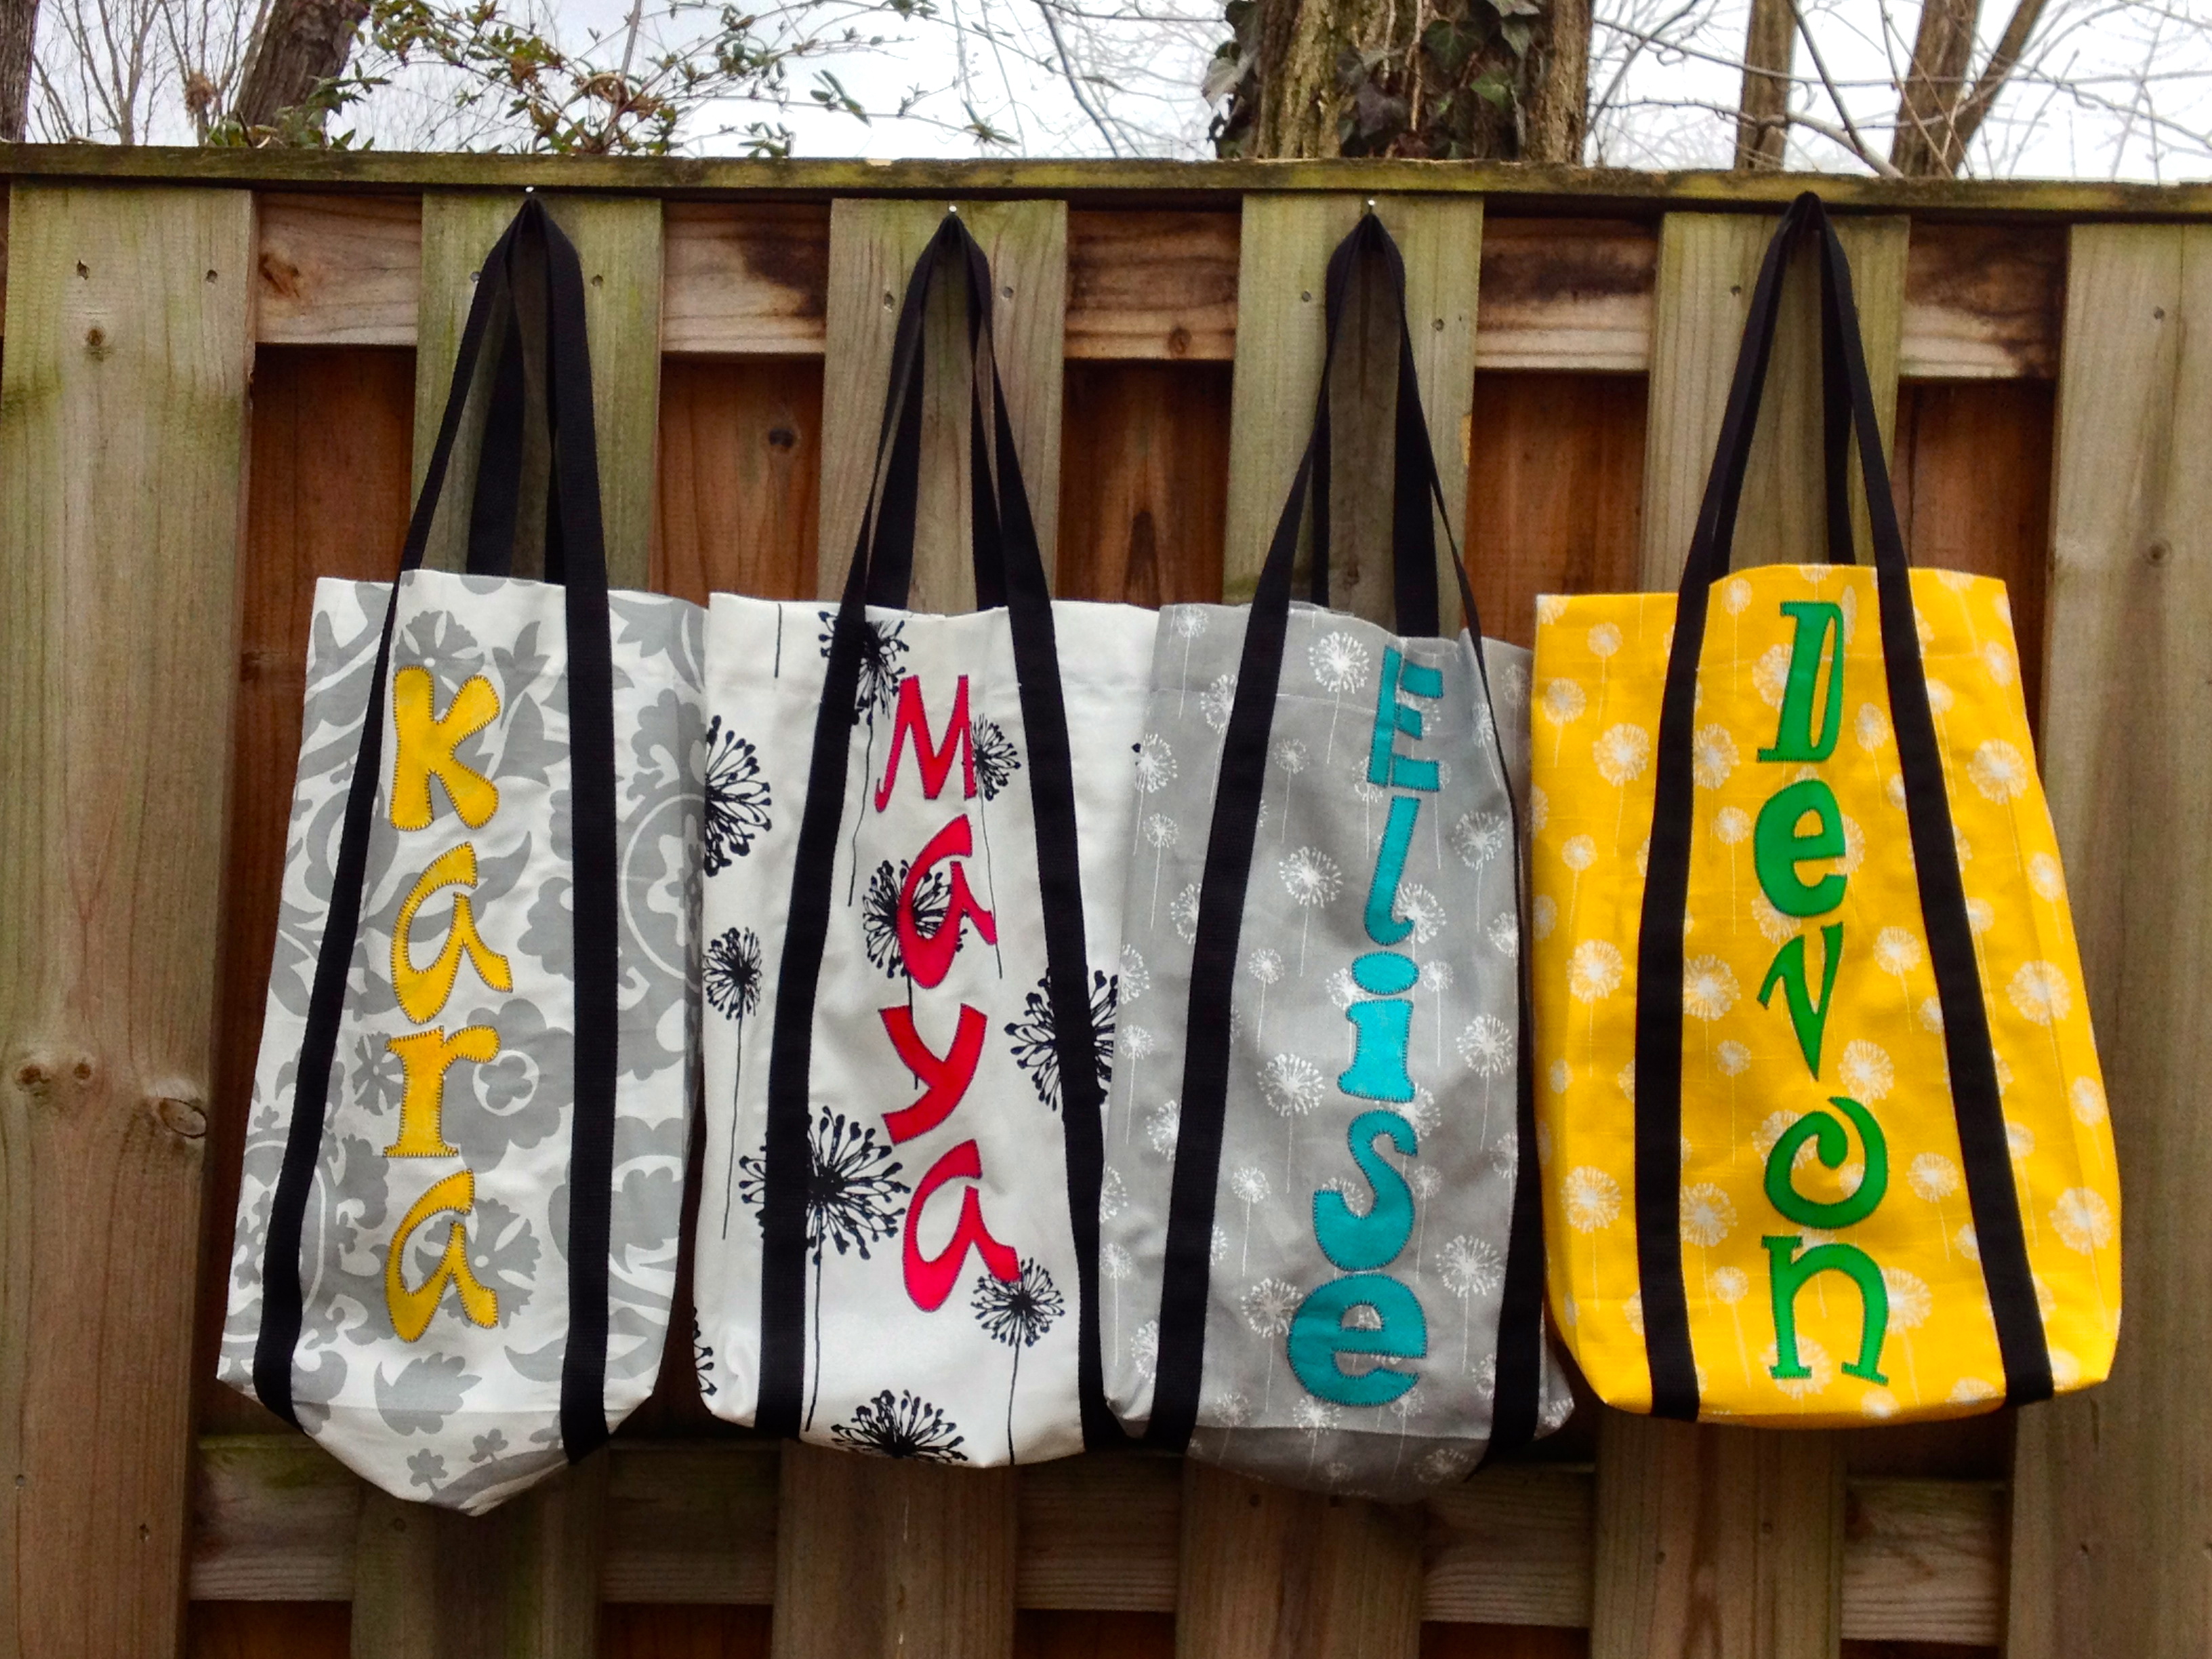
Class sample – Photo from Finchhandmade on Flickr
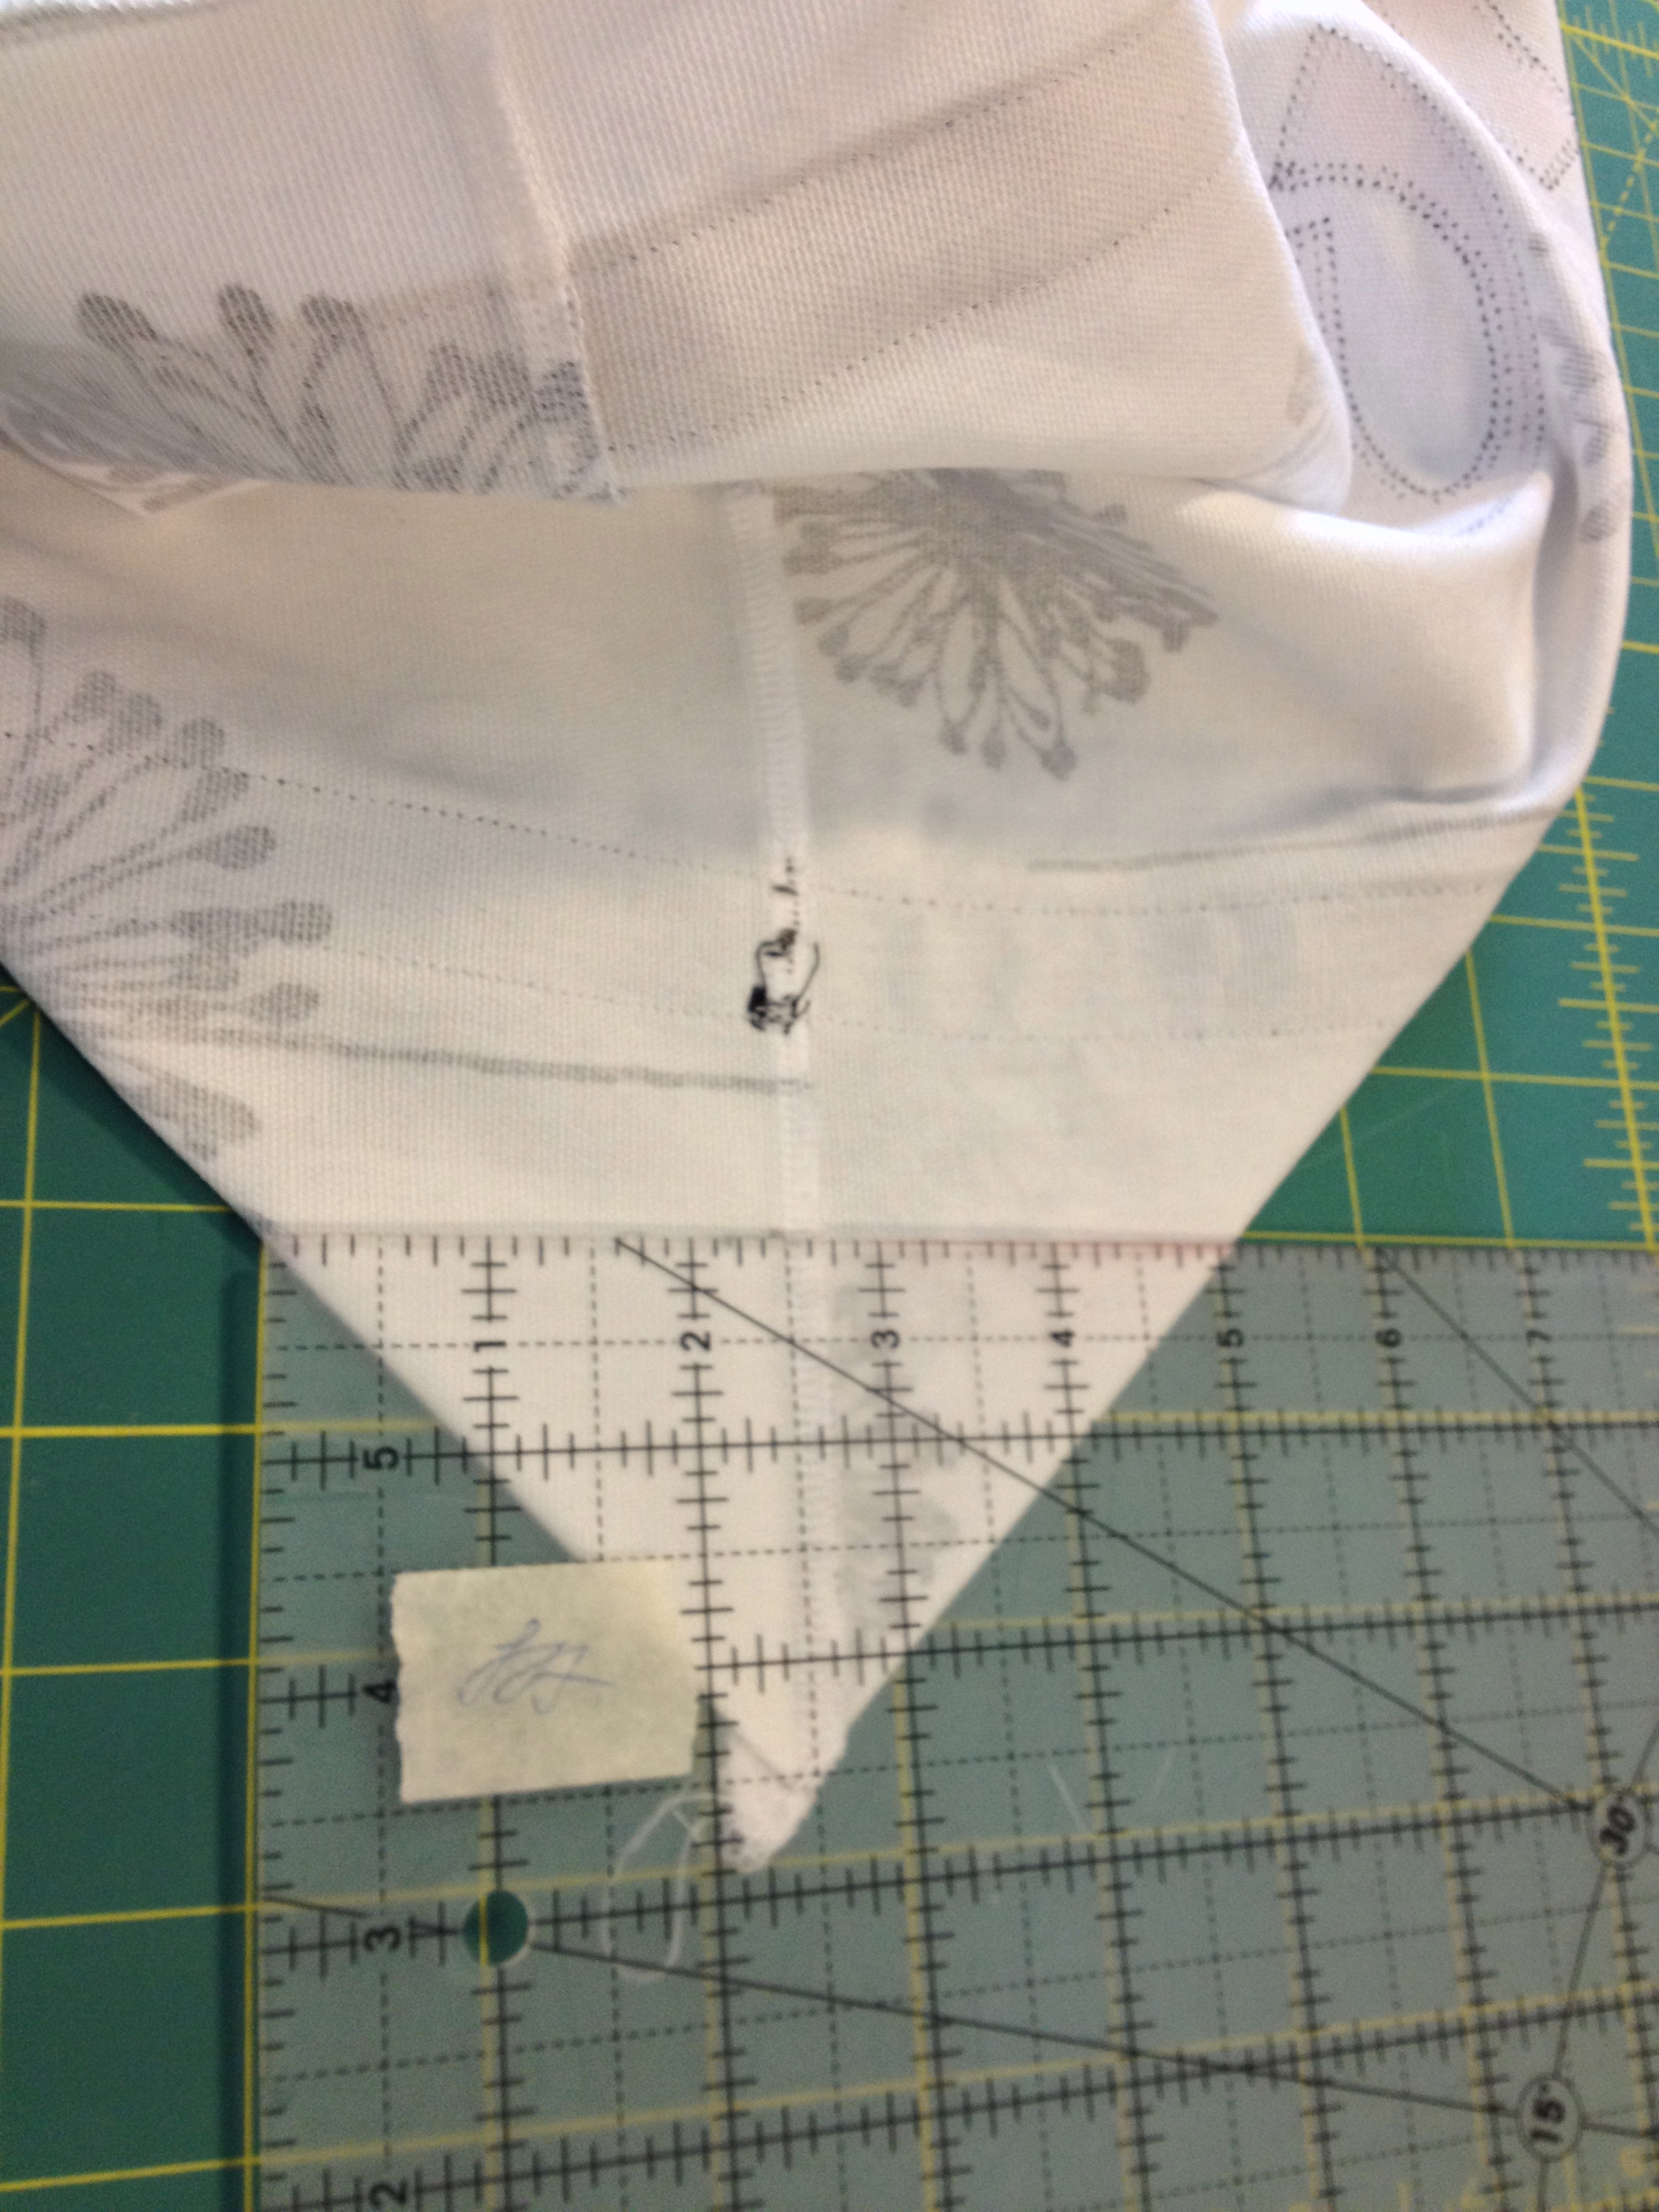
The bag and lining are sewn together by topstiching at the top after the careful ironing under of both pieces. No sewing, leaving a gap, and then turning right side out and having to hand sew that opening shut. In fact, Nicole suggested that we let the lining pop up a little bit at the top so that it looked as though there was a pretty piping detail. So easy and so sweet looking.
After about 3 hours, here we all are with our finished totes!
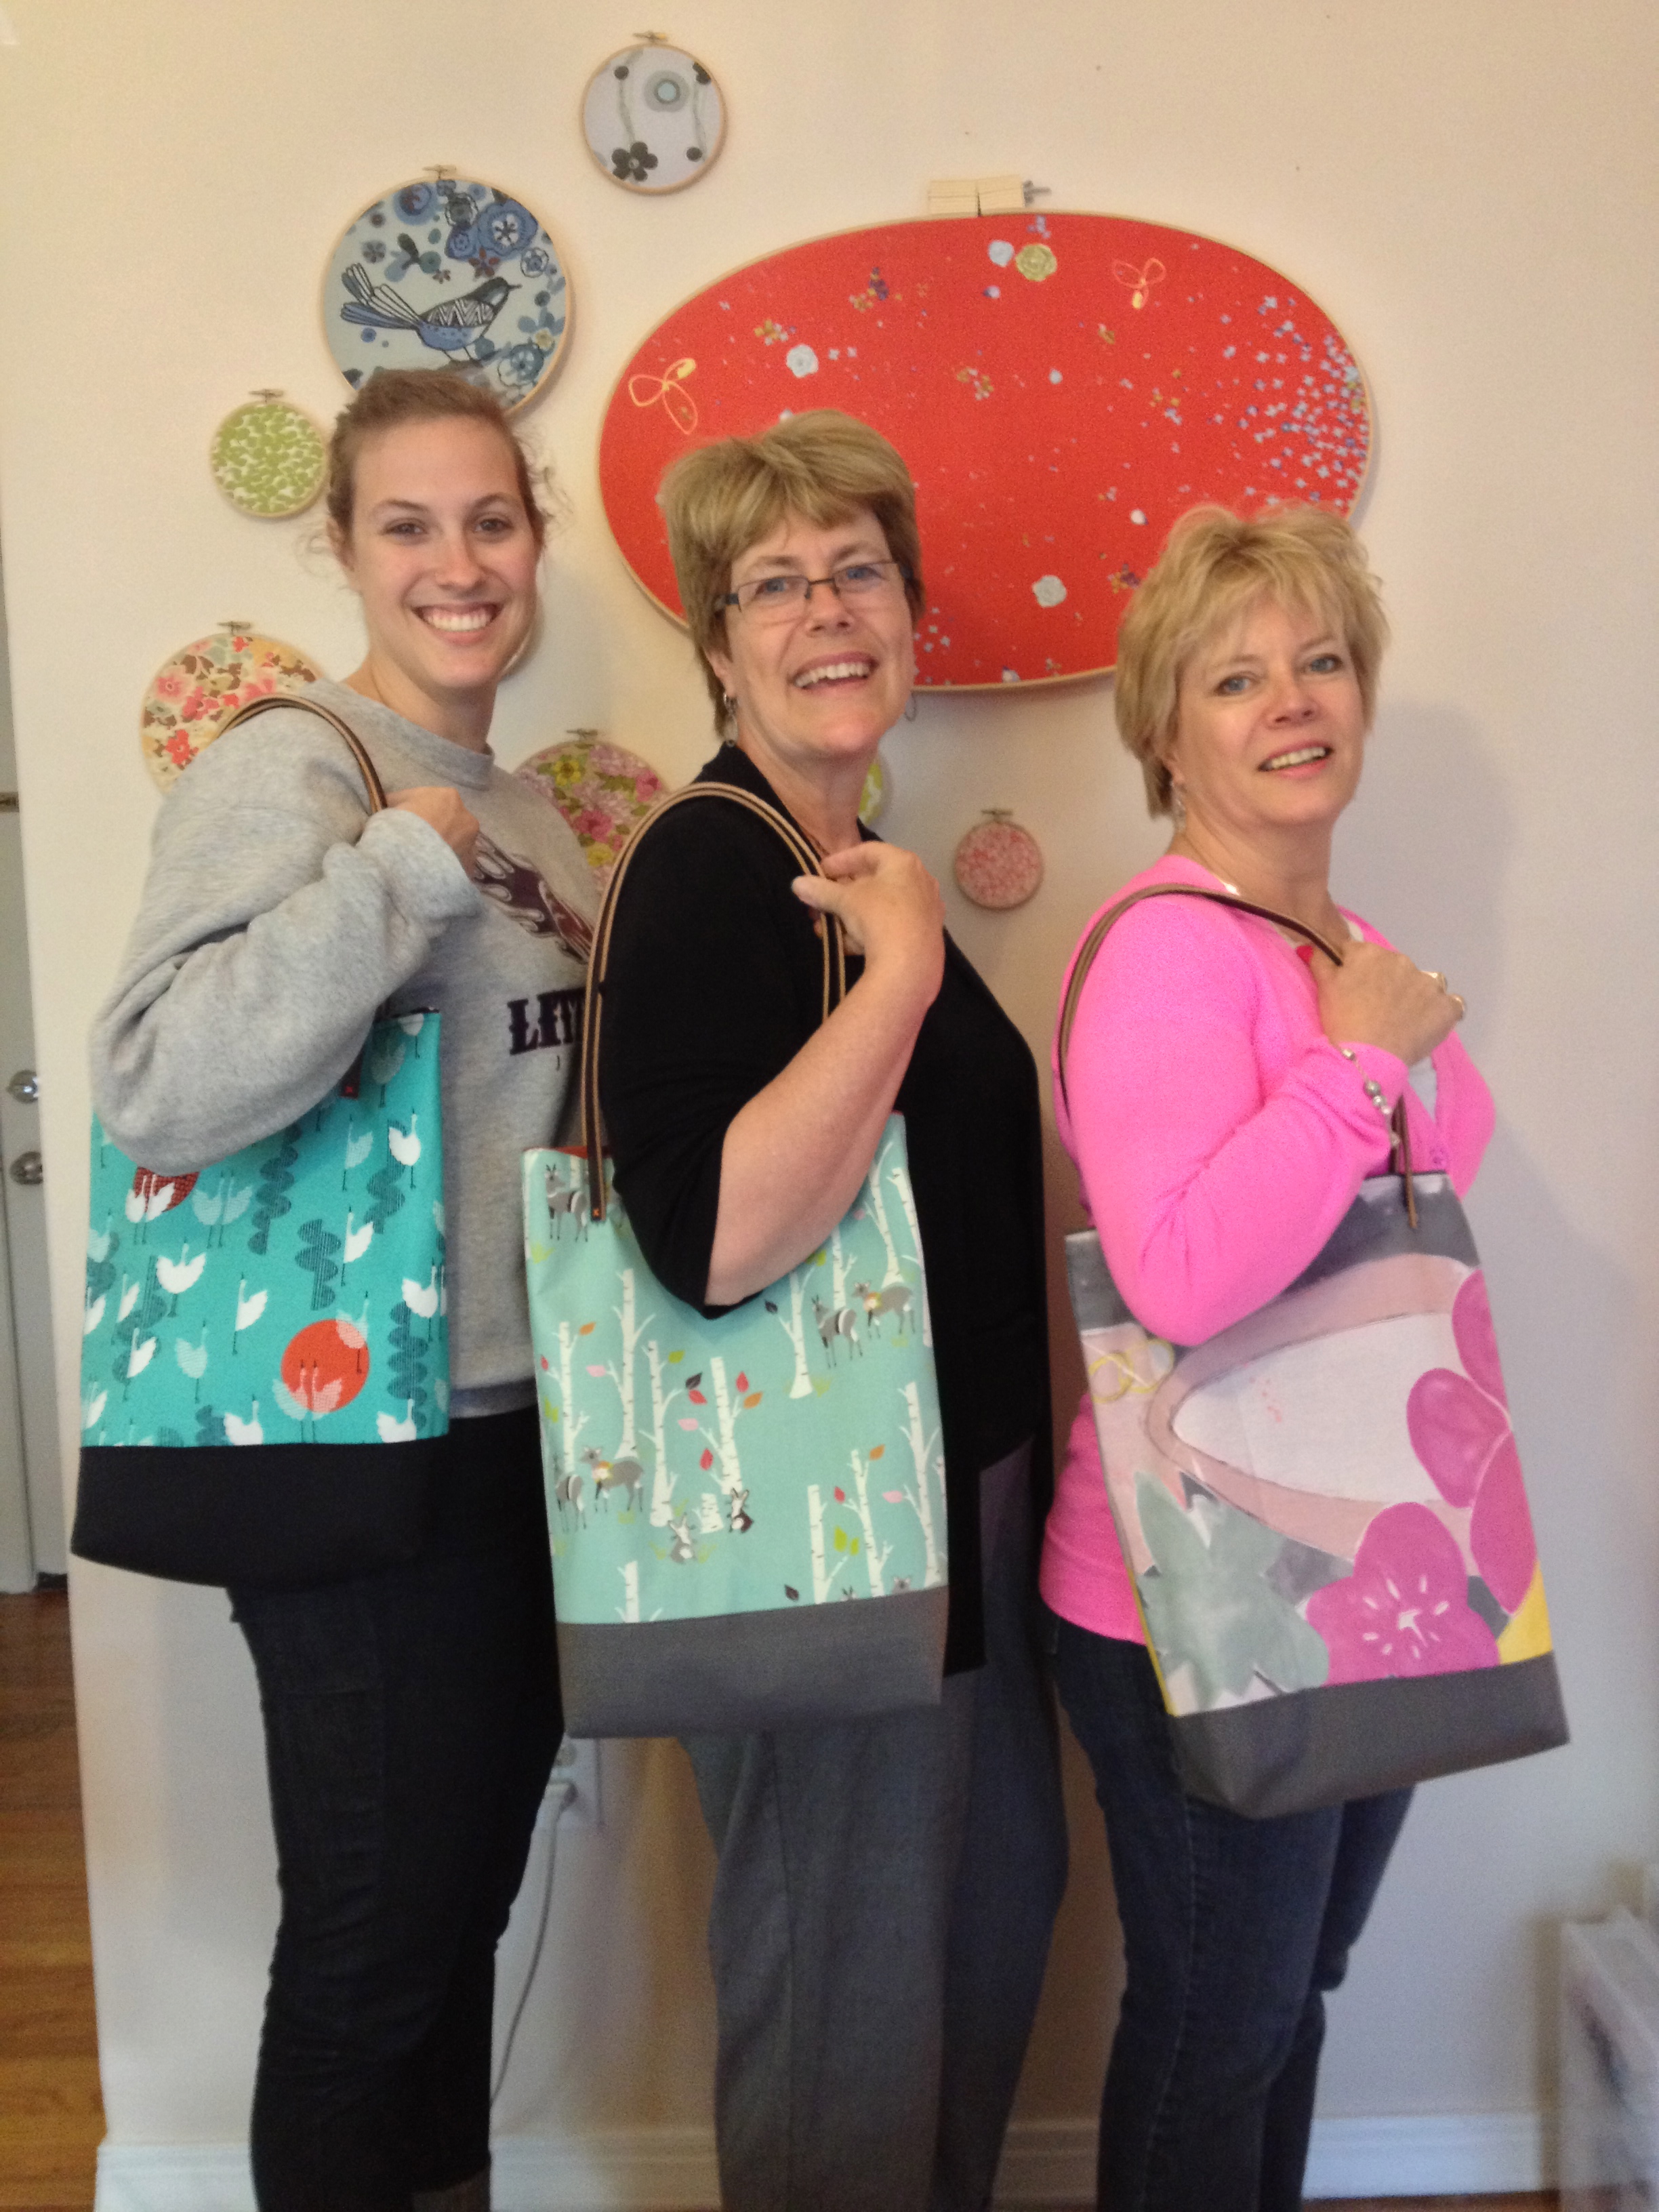
“Wearing” our new bags!
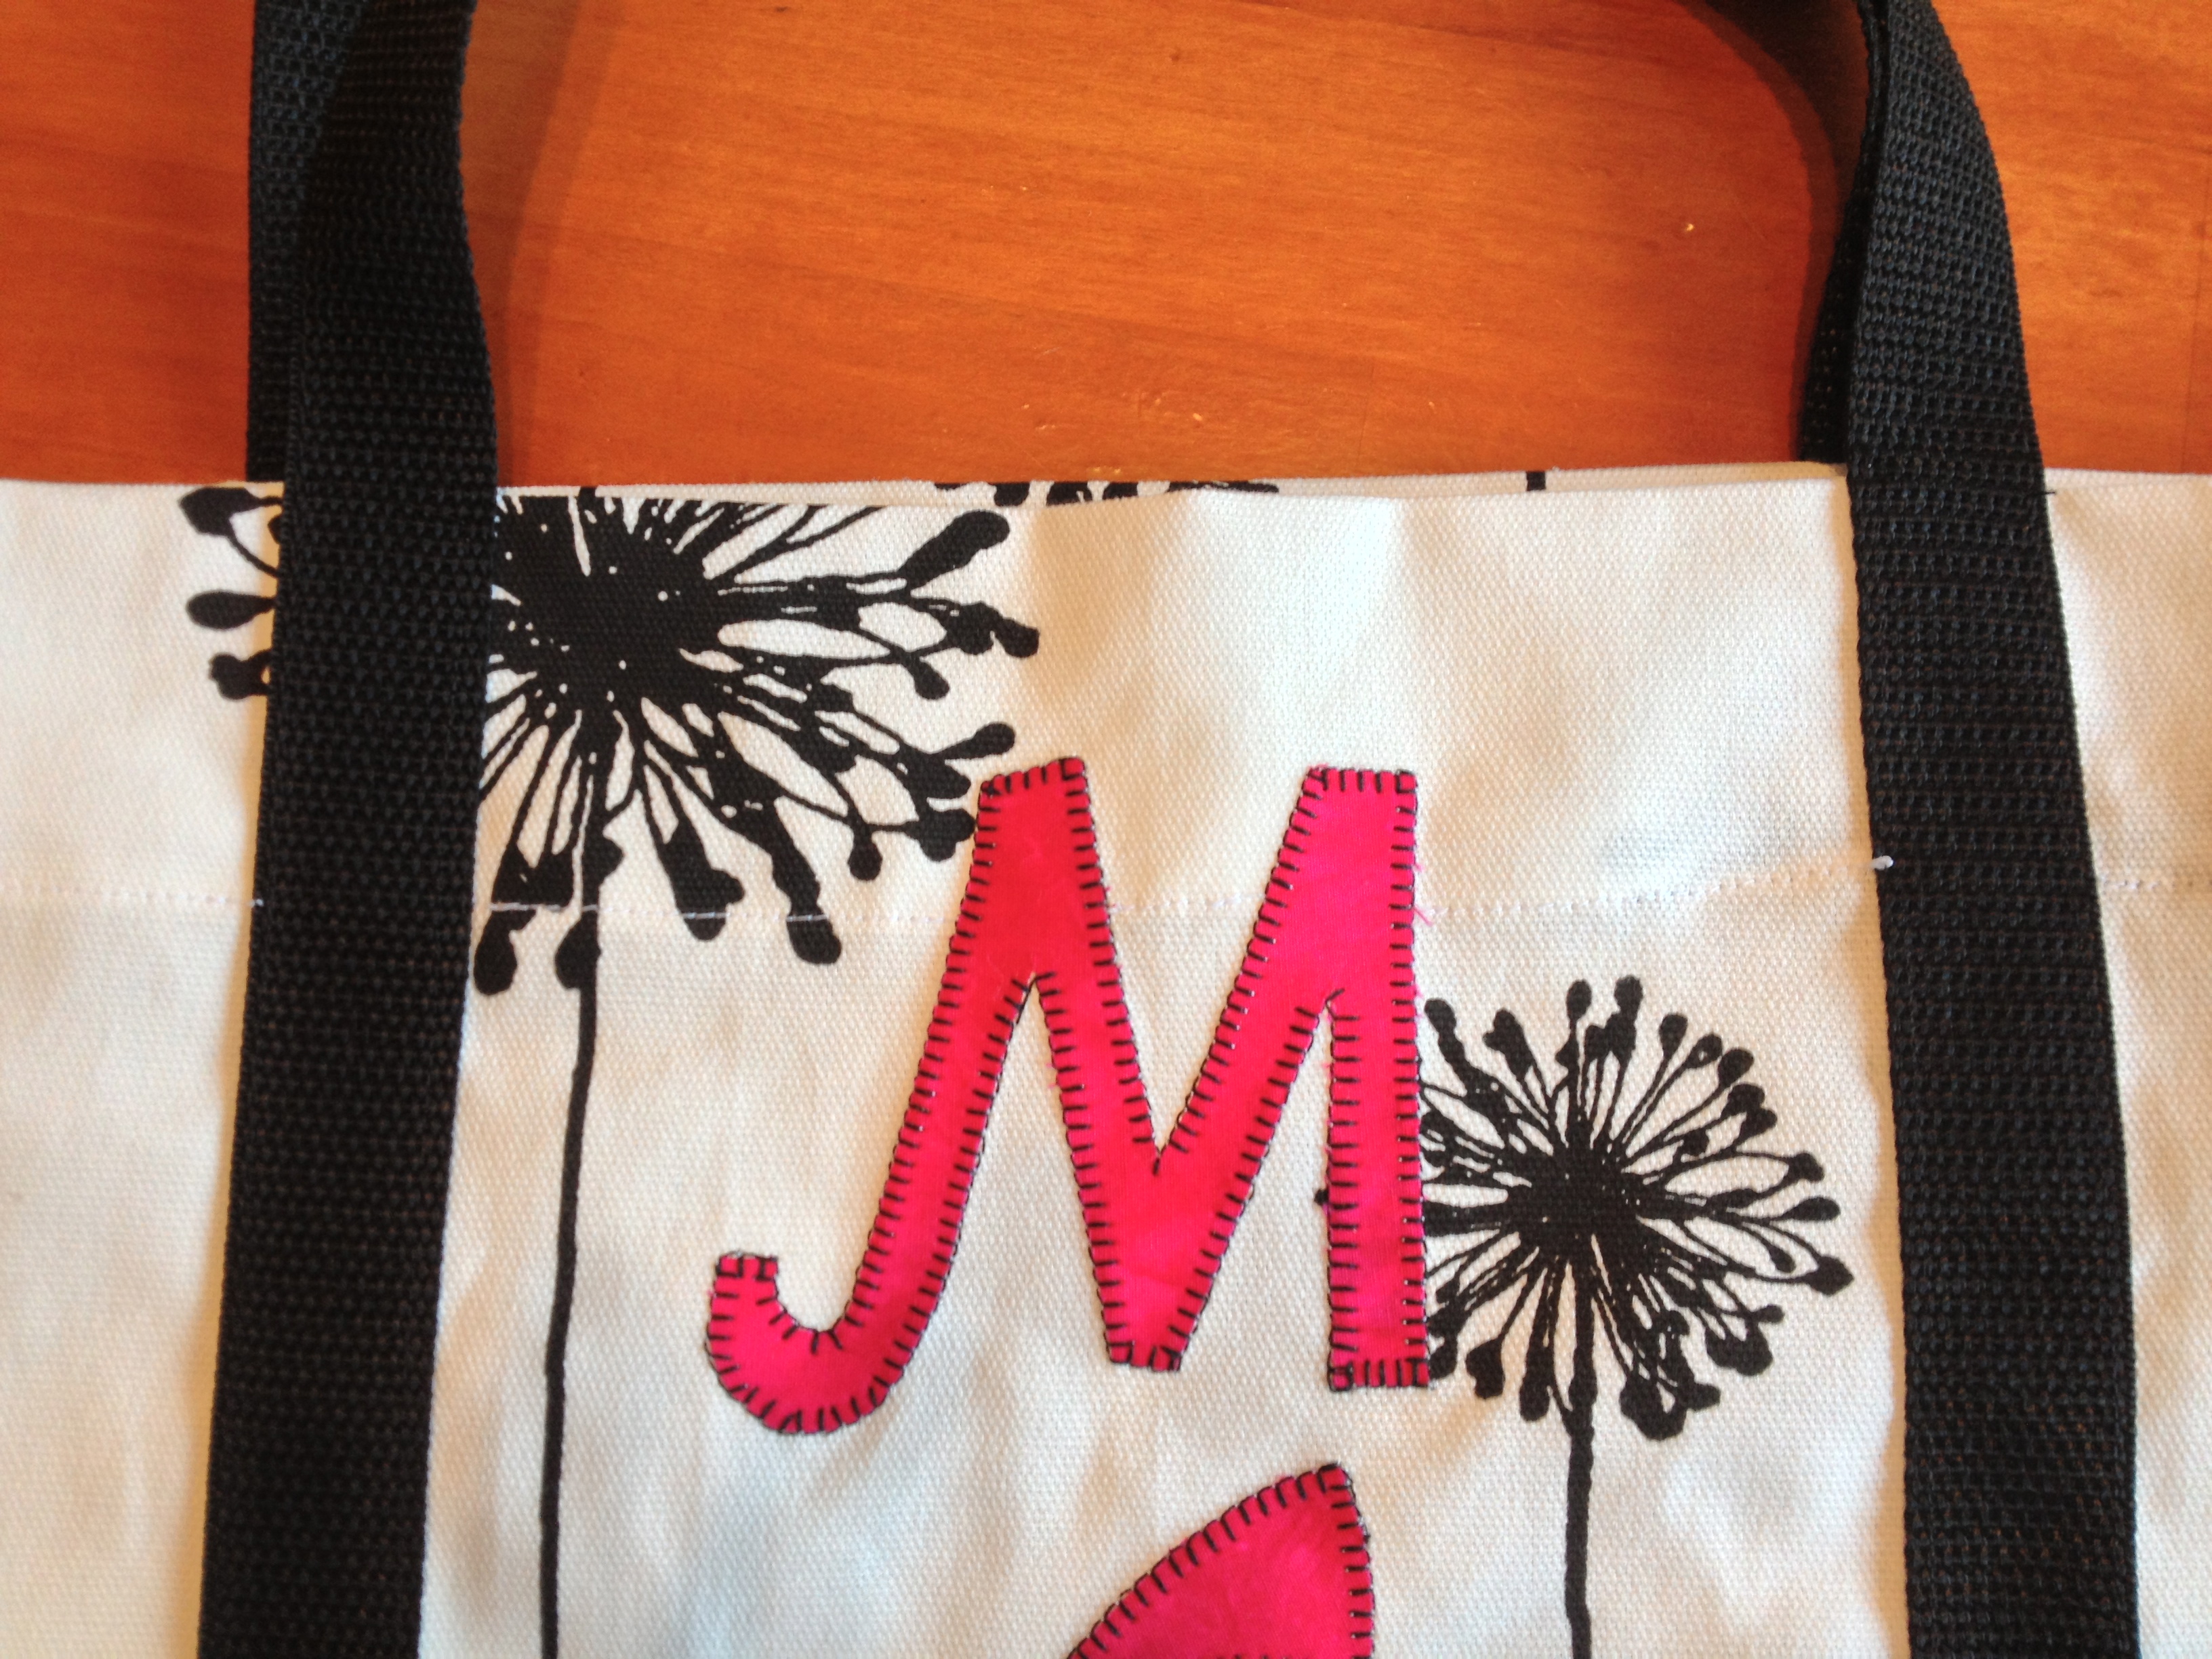
The final detail was a leather handle. The Finch Sewing Studio has these in several lengths but we all liked this 26″ size that makes it easy to put the bag over your shoulder. We were all so happy with our new bags. Thanks Nicole!
I will be returning soon to take a garment class and learn how to make a pattern actually fit my body. Want to come with me? Let me know and I’ll set it up! Or give Nicole a call (503.964.2439) or send her an email (finchsewingstudio@gmail.com) and go have some fun sewing at her studio.