

Simple Tote Bag
I was recently asked by my brother-in-law to make a few tote bags for my niece’s birthday party. She is having a sleep over with 3 friends and their American Girl dolls. He wanted tote bags that would fit a doll and a few other things. I think he thought that I could whip these things up in 5 minutes using fabric on hand and put them right in the mail. It didn’t seem like that quick of a project to me, but of course I wanted to do this for my niece who is turning 9 years old. It became a challenge to make something simple but nice. And I did manage to use materials I had “on hand”!

Other 3 totes in progress.
I decided to make the totes 18 inches tall which is the height of an American Girl doll. I didn’t want them to be too wide and randomly picked 11 inches for the width and 5 inches as the depth. Using these dimensions, I cut two pieces 23-1/2″ tall x 16-1/2″ wide.
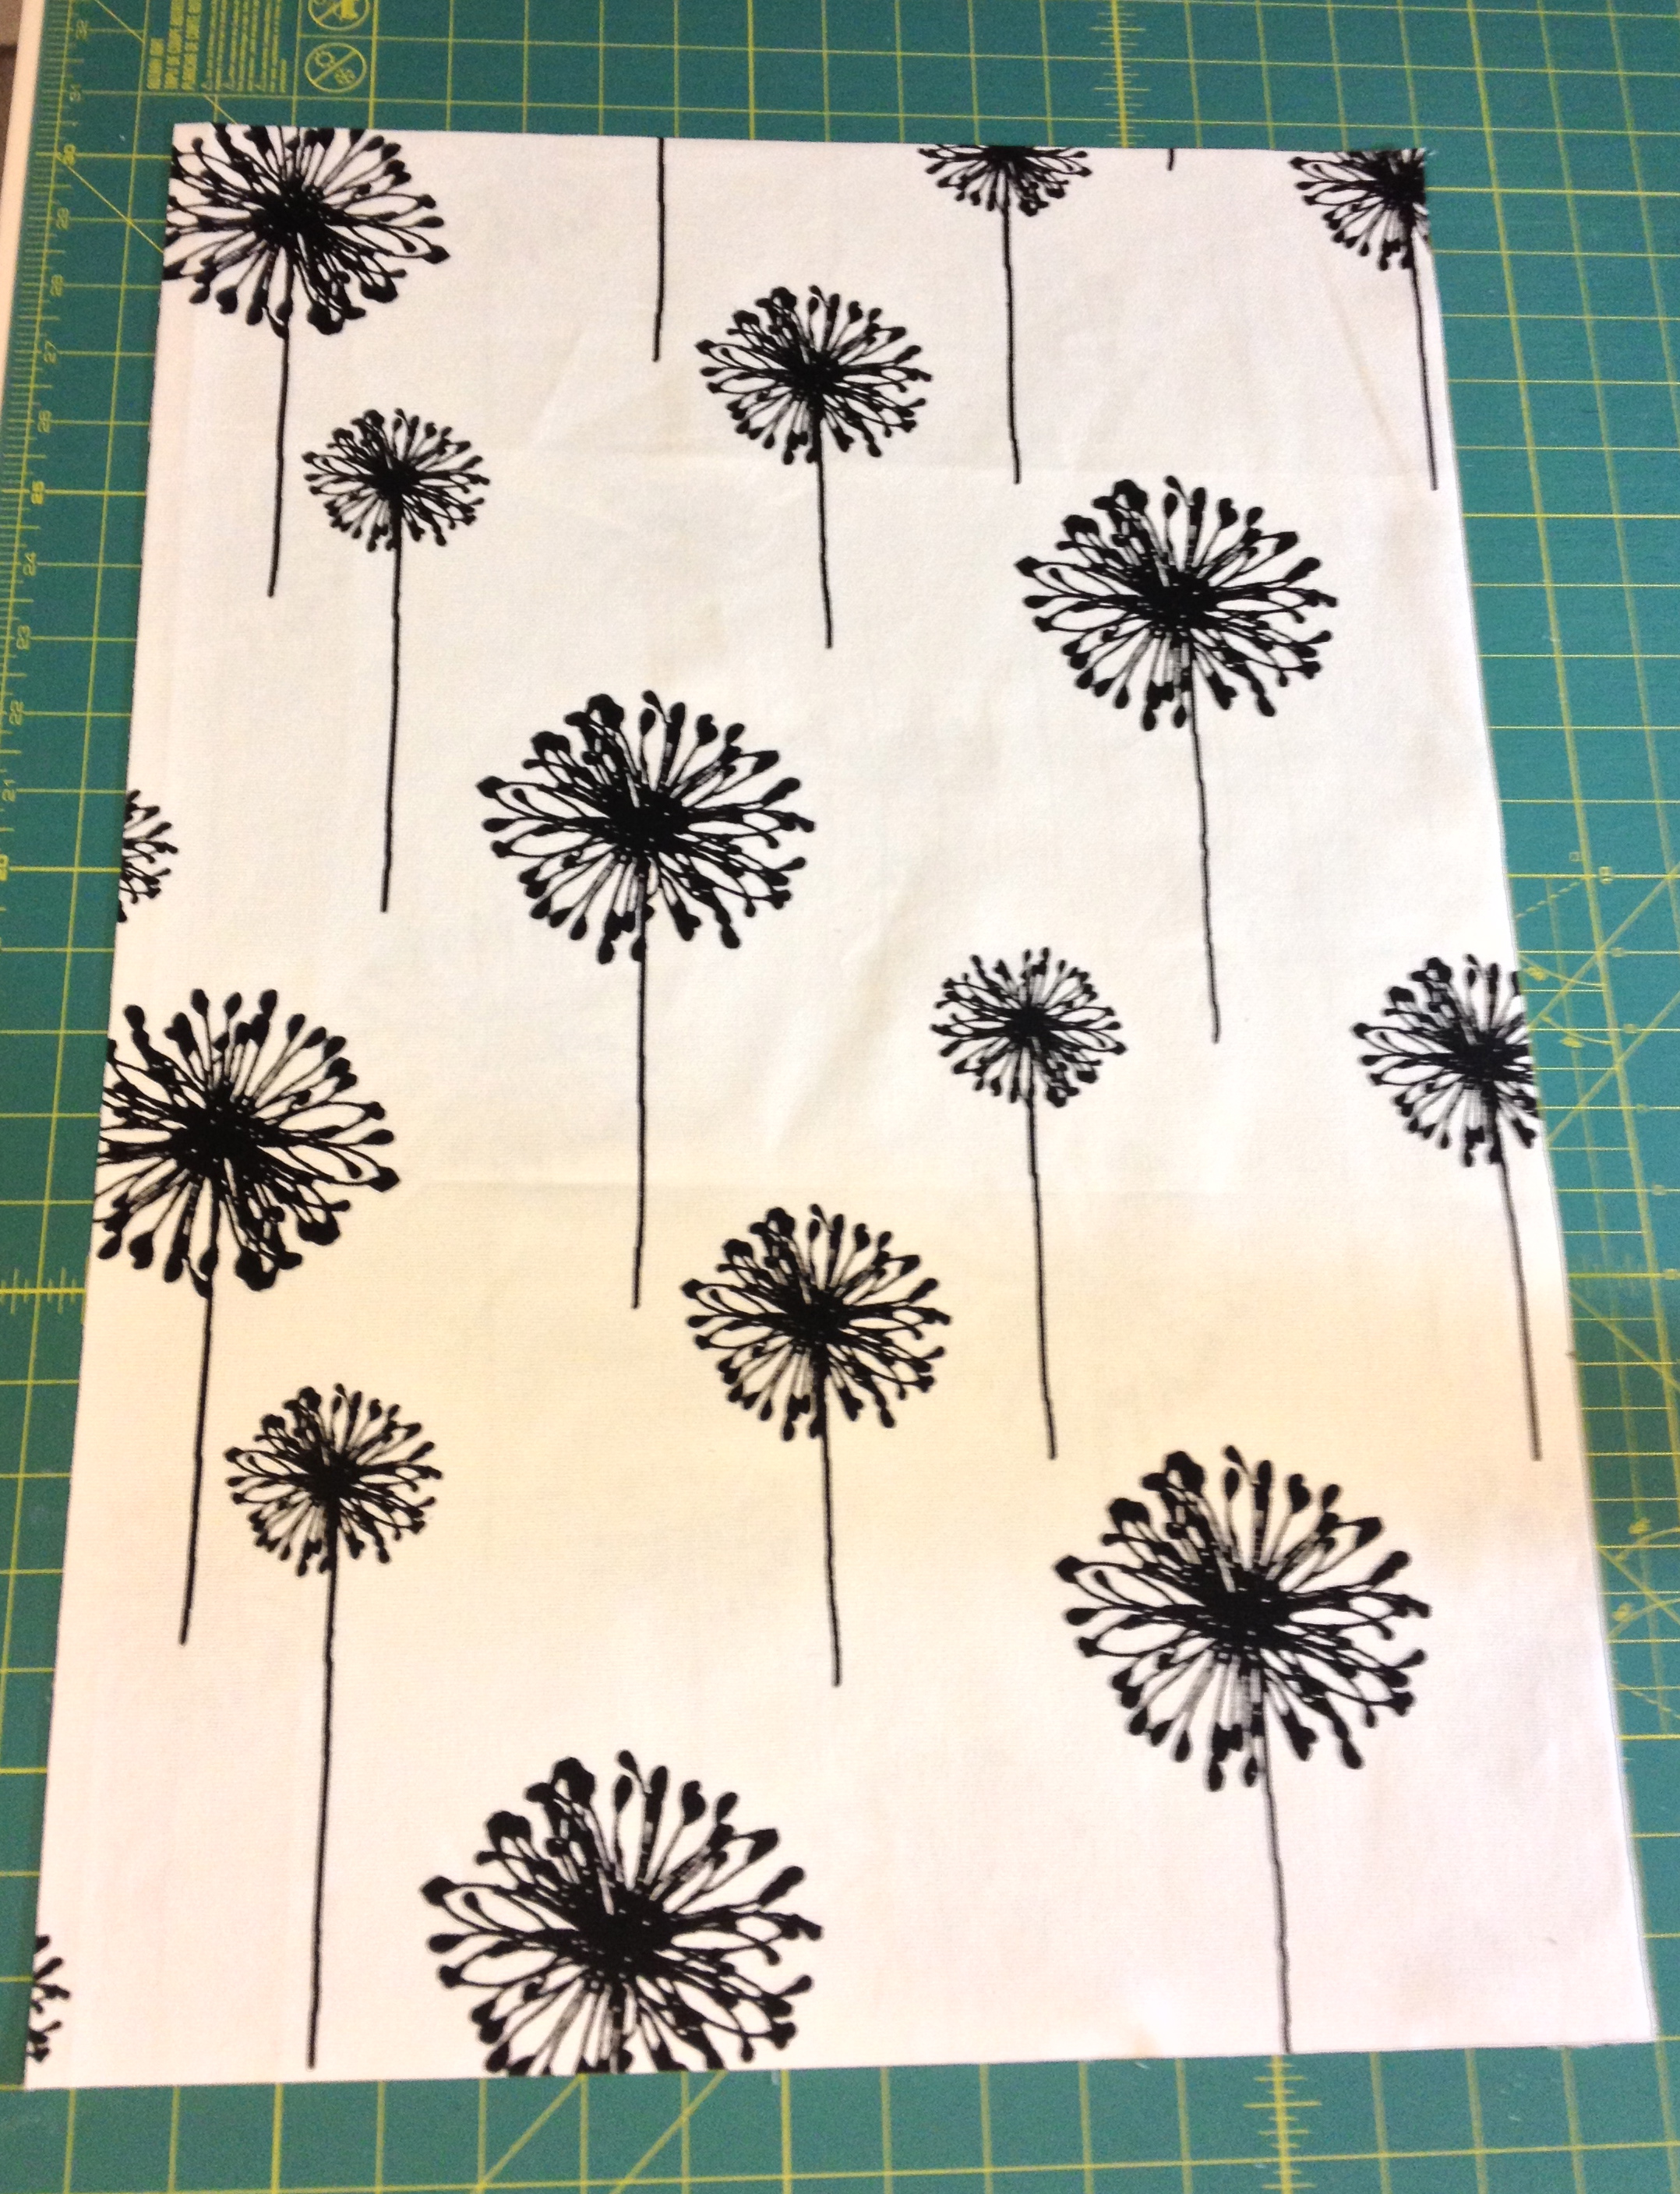
This fabric is “directional”. It has a definite “up” and “down”.
I had these decor weight fabrics I had mail ordered some time ago, thinking they were quilting cottons. These are perfect for an unlined bag! I wanted to put the girls names on the front of the totes and had this booklet by Atkinson Designs. (now out of print)
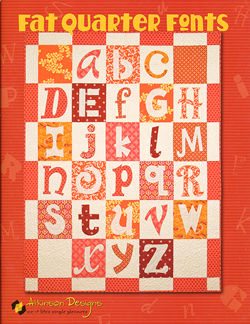
Fat Quarter Fonts by Atkinson Designs
The letters in the book are printed in reverse which make them perfect for tracing onto paper backed fusible (Wonder Under). I ironed the fusible to the colored fabrics and then cut them out and fused them to the front of the bags. Of some interest is that after I had done all this I noticed that the back of the book says “No fuss, No fusibles” so I THEN looked at the actual directions. They want you to print the letters on tear away (foundation) paper and then layer the fabric that you want for the letter on top of the background fabric but place the paper letter BEHIND this to sew along the lines. You then cut along the stitching line on the front – either closely to get a smooth look, or less close for a frayed look. Interesting! Doing it this way might have saved me time! But I really wanted the look of the next step.
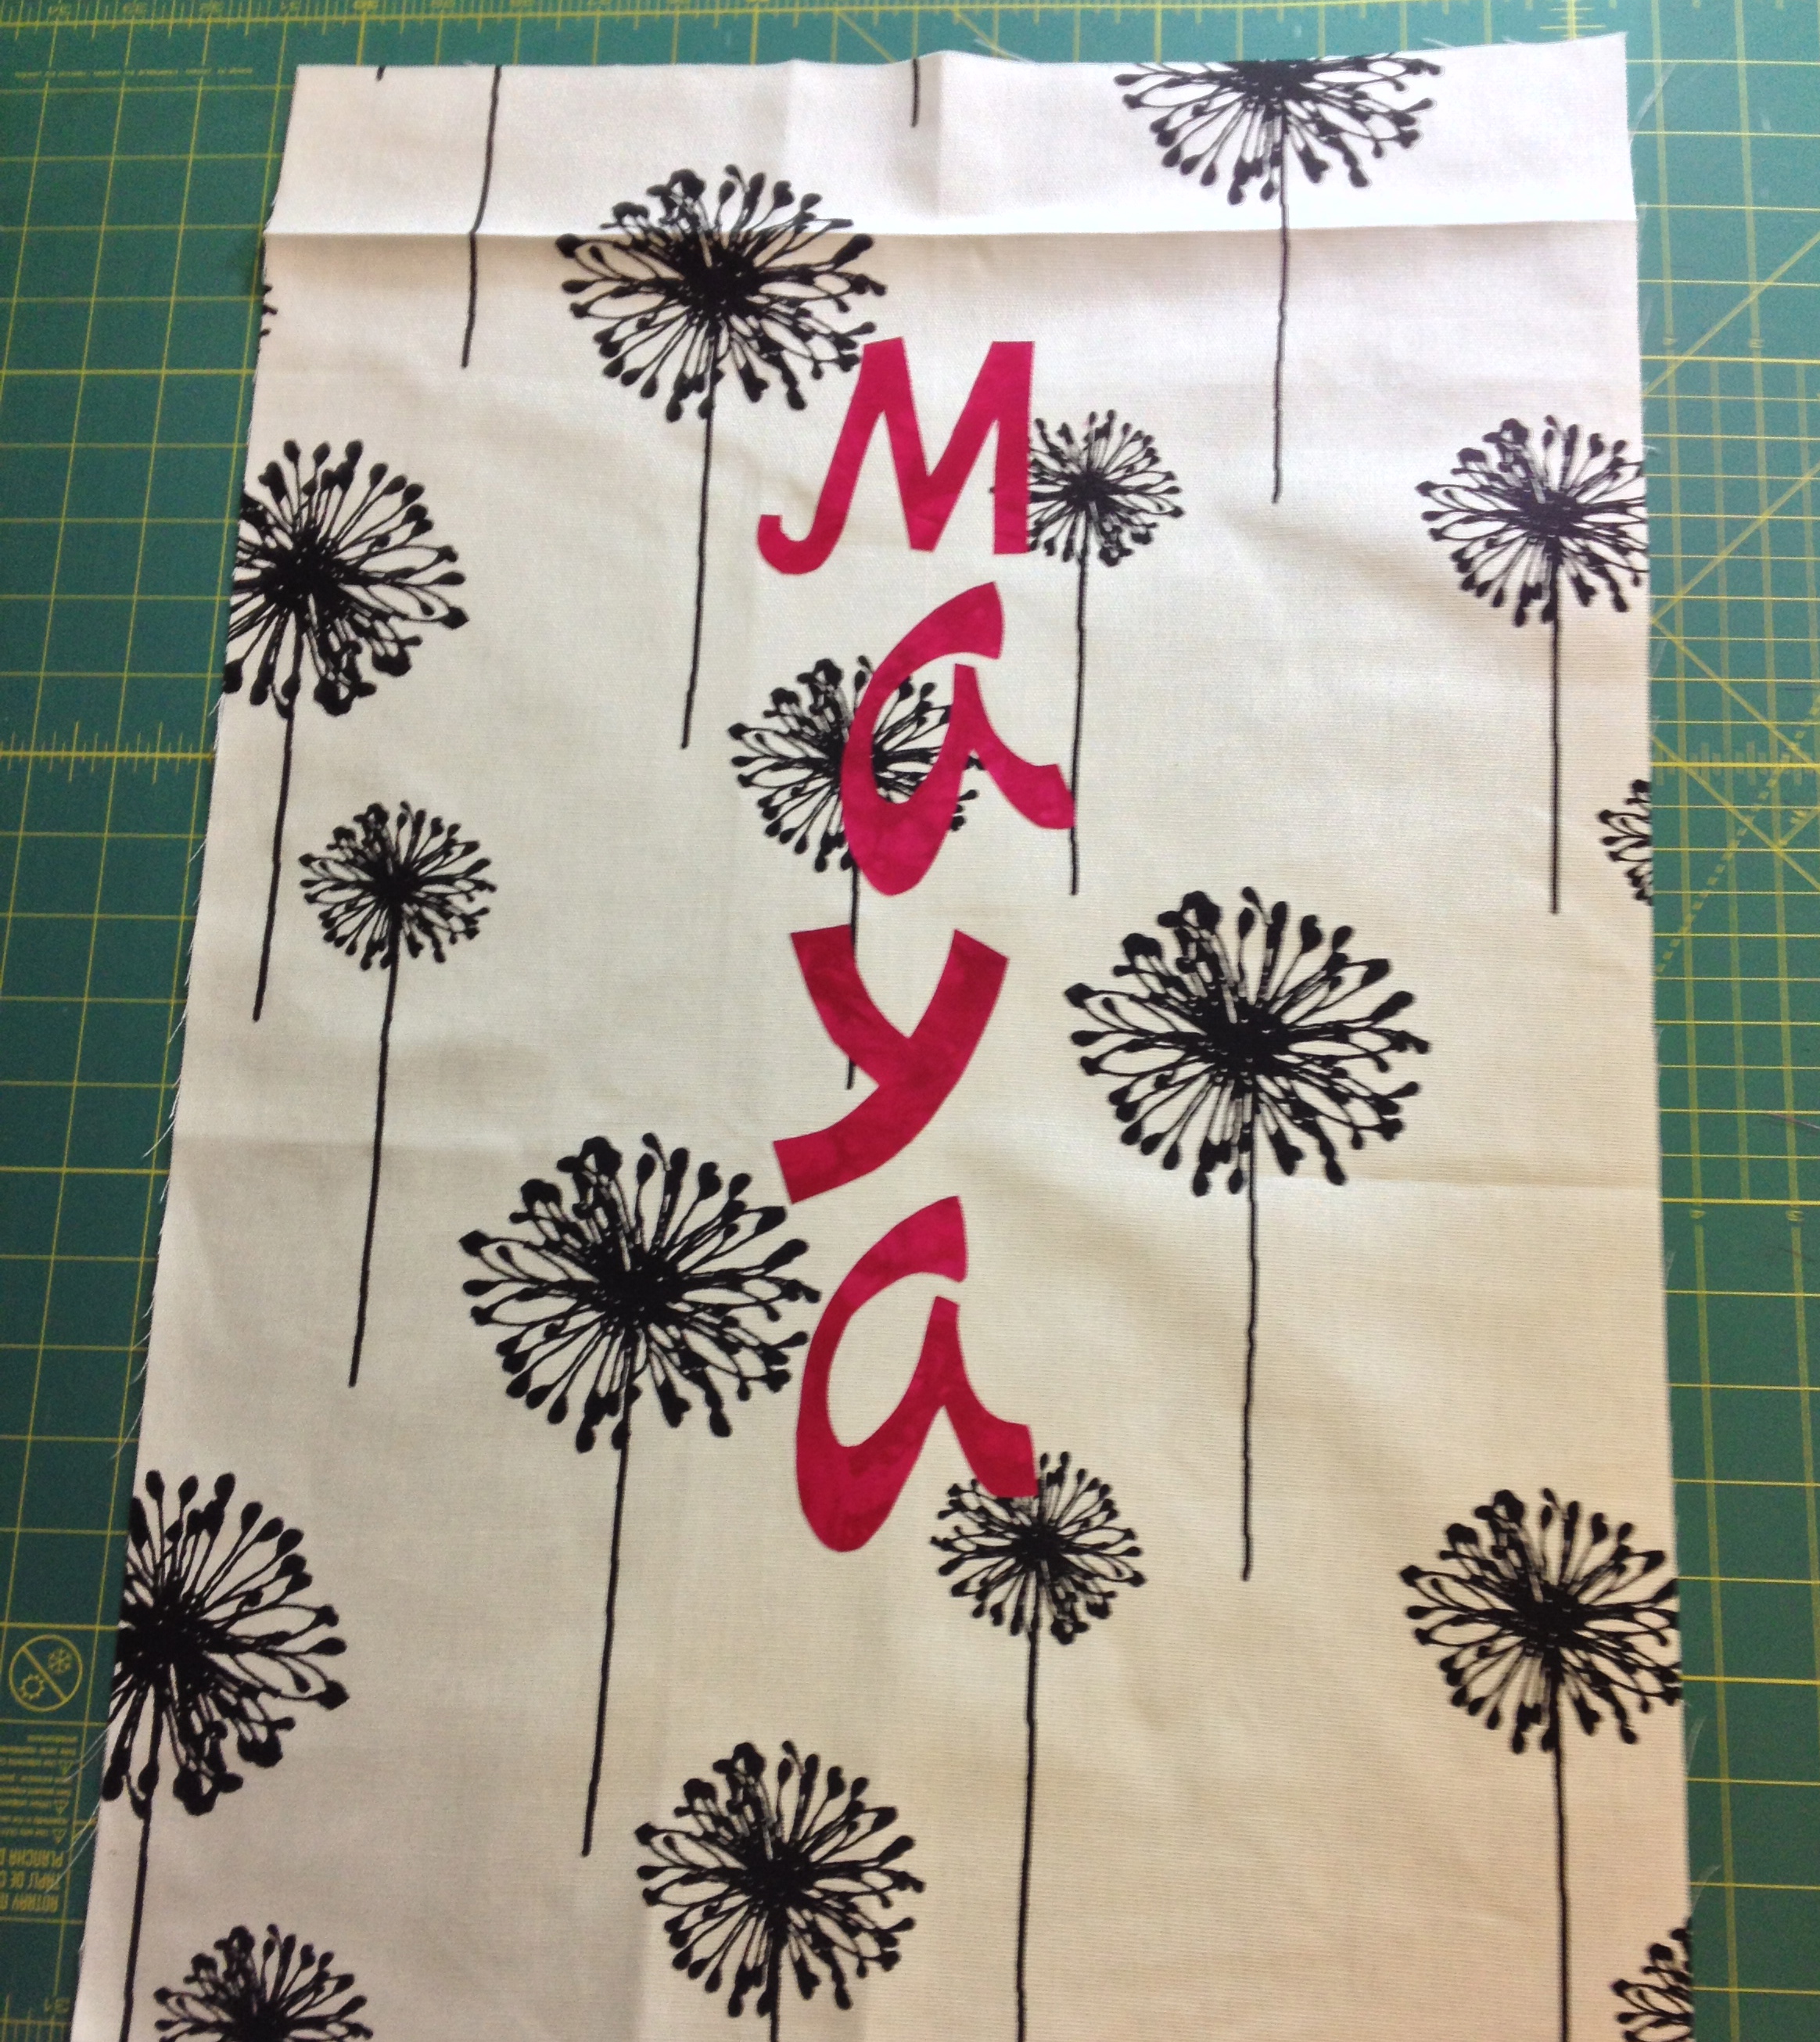
Fold line pressed across top to help with letter placement.
I used a blanket stitch in black thread to stitch around the letters. I did this on all of the bags for it to coordinate with the black 1 inch webbing I’m using for the handles.
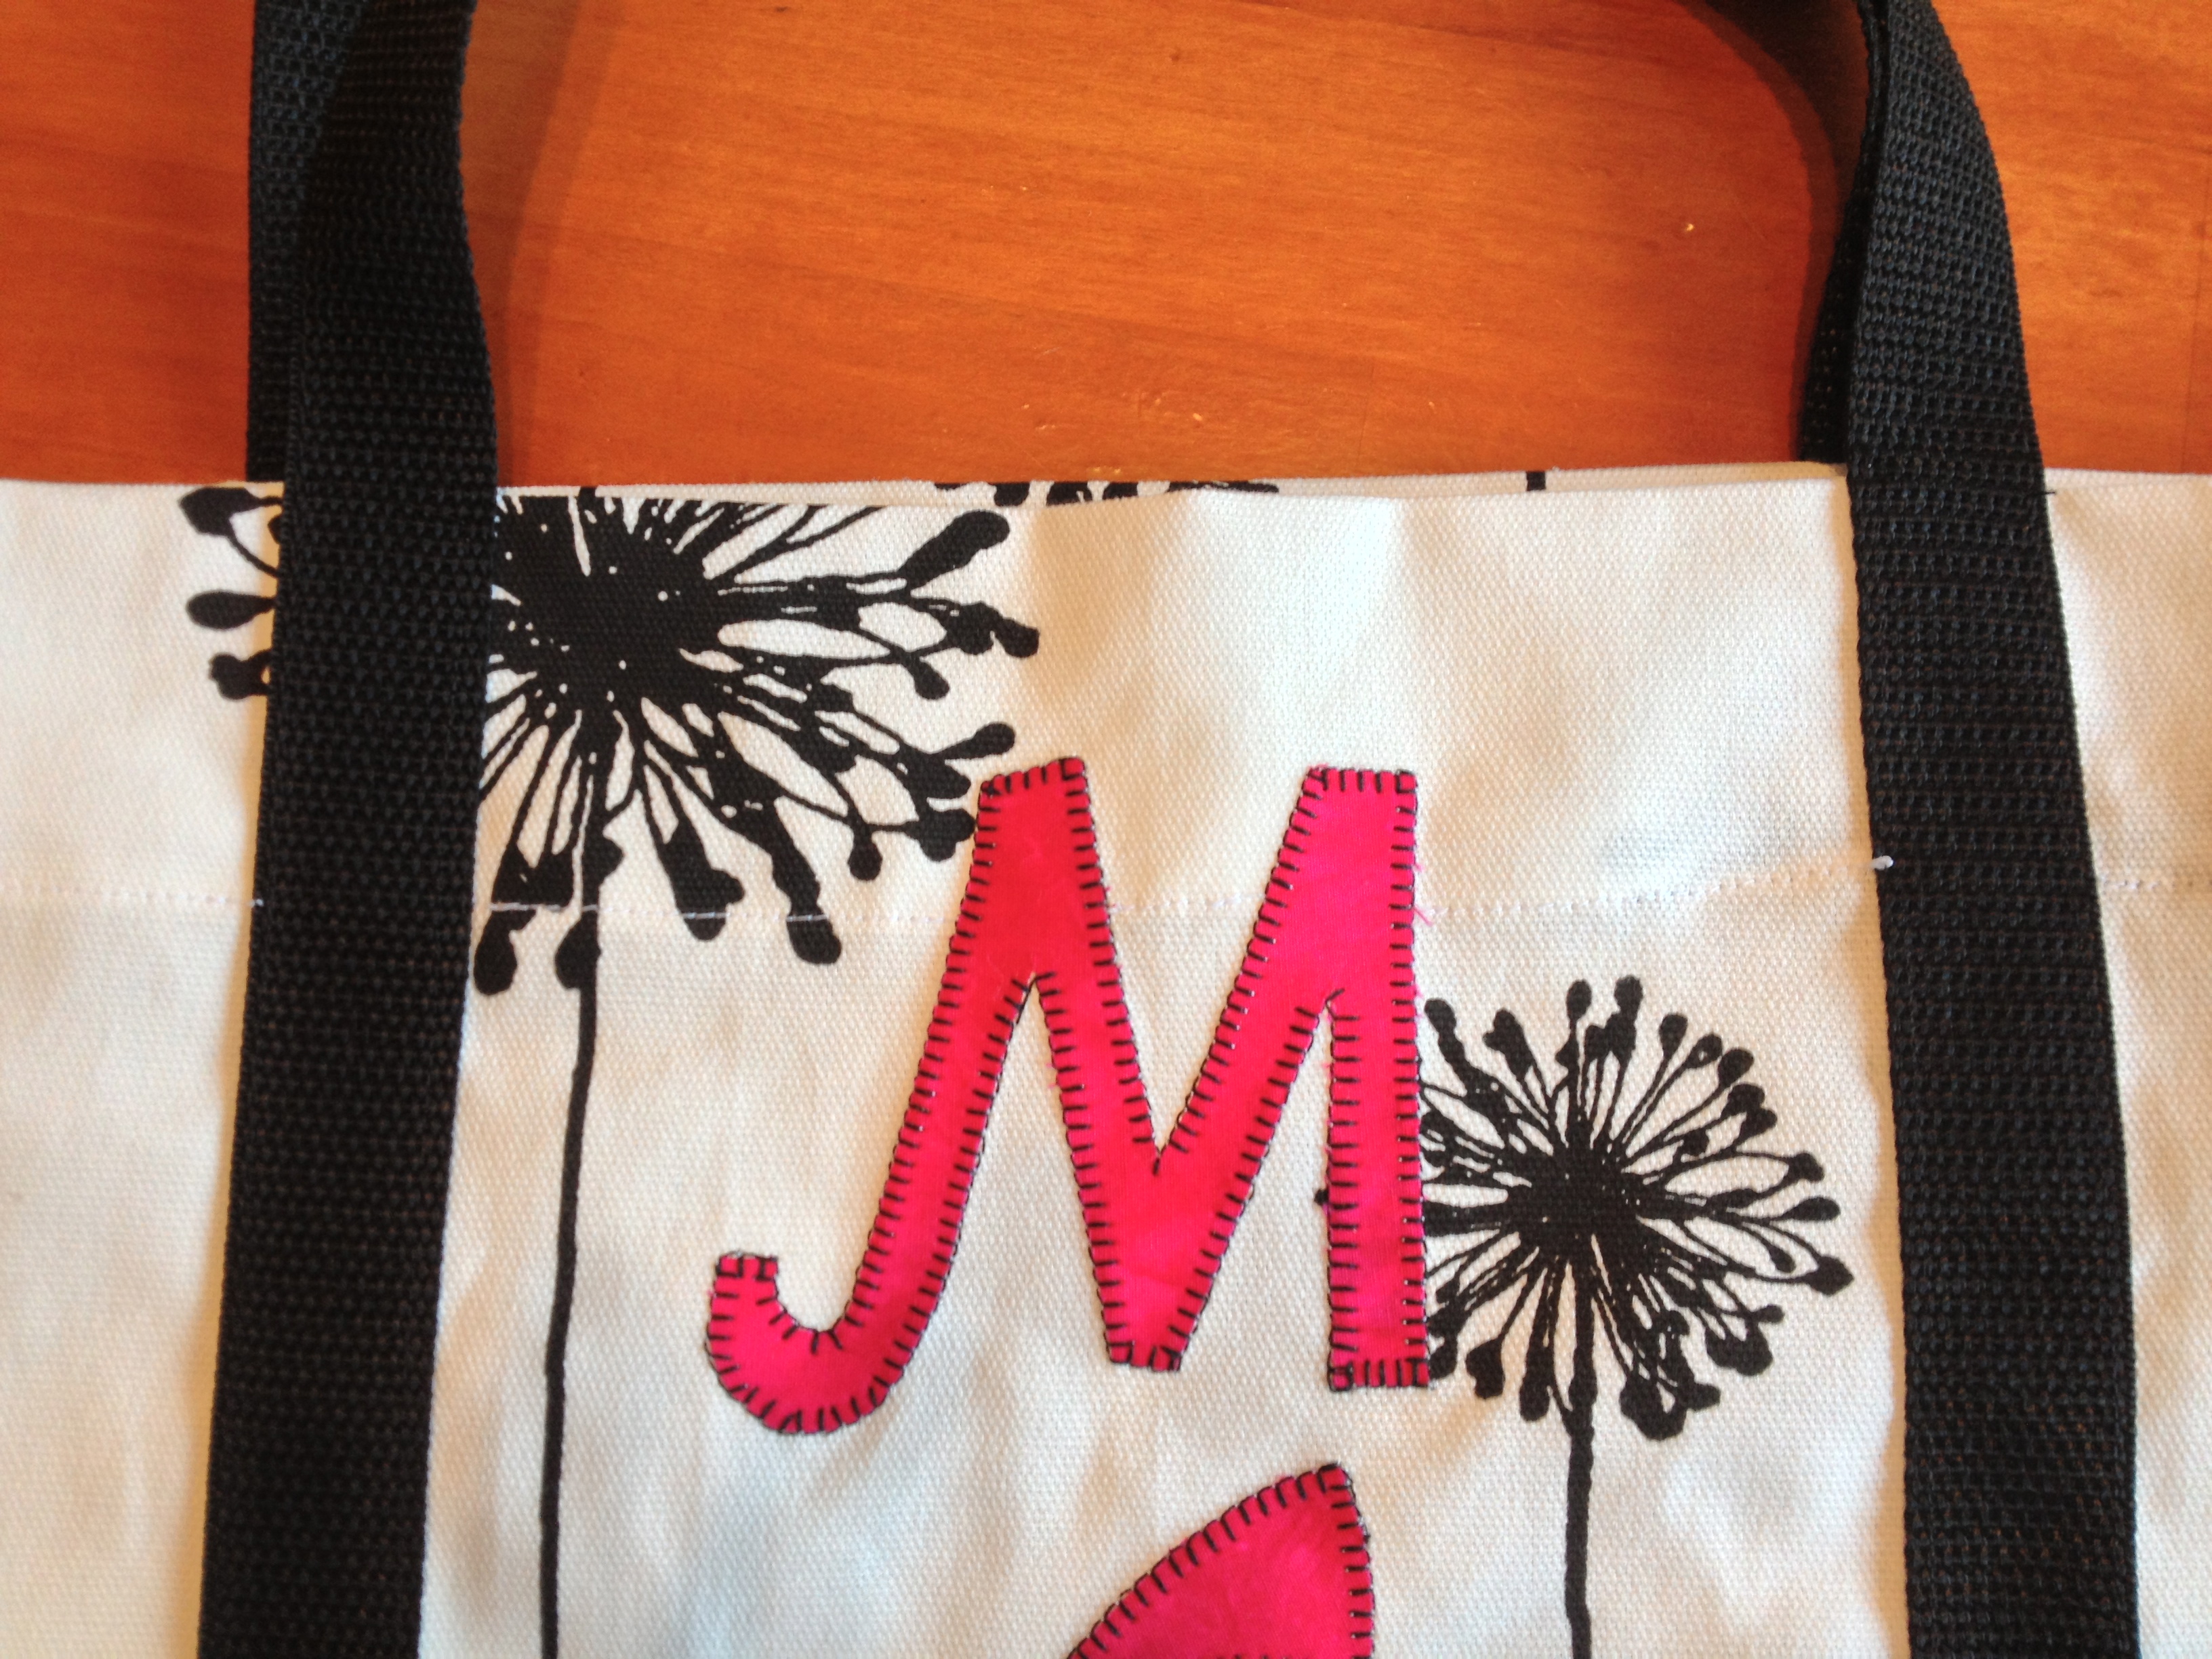
Blanket stitch letters. Could satin stitch or straight stitch instead.
I put the 2 pieces right sides together and serged across the bottom using a 1/4″ seam. Next I opened up this long piece and pinned the webbing in place. I did not stitch the webbing onto the bag above the fold line as that will be tucked into the bag as a hem on the top.
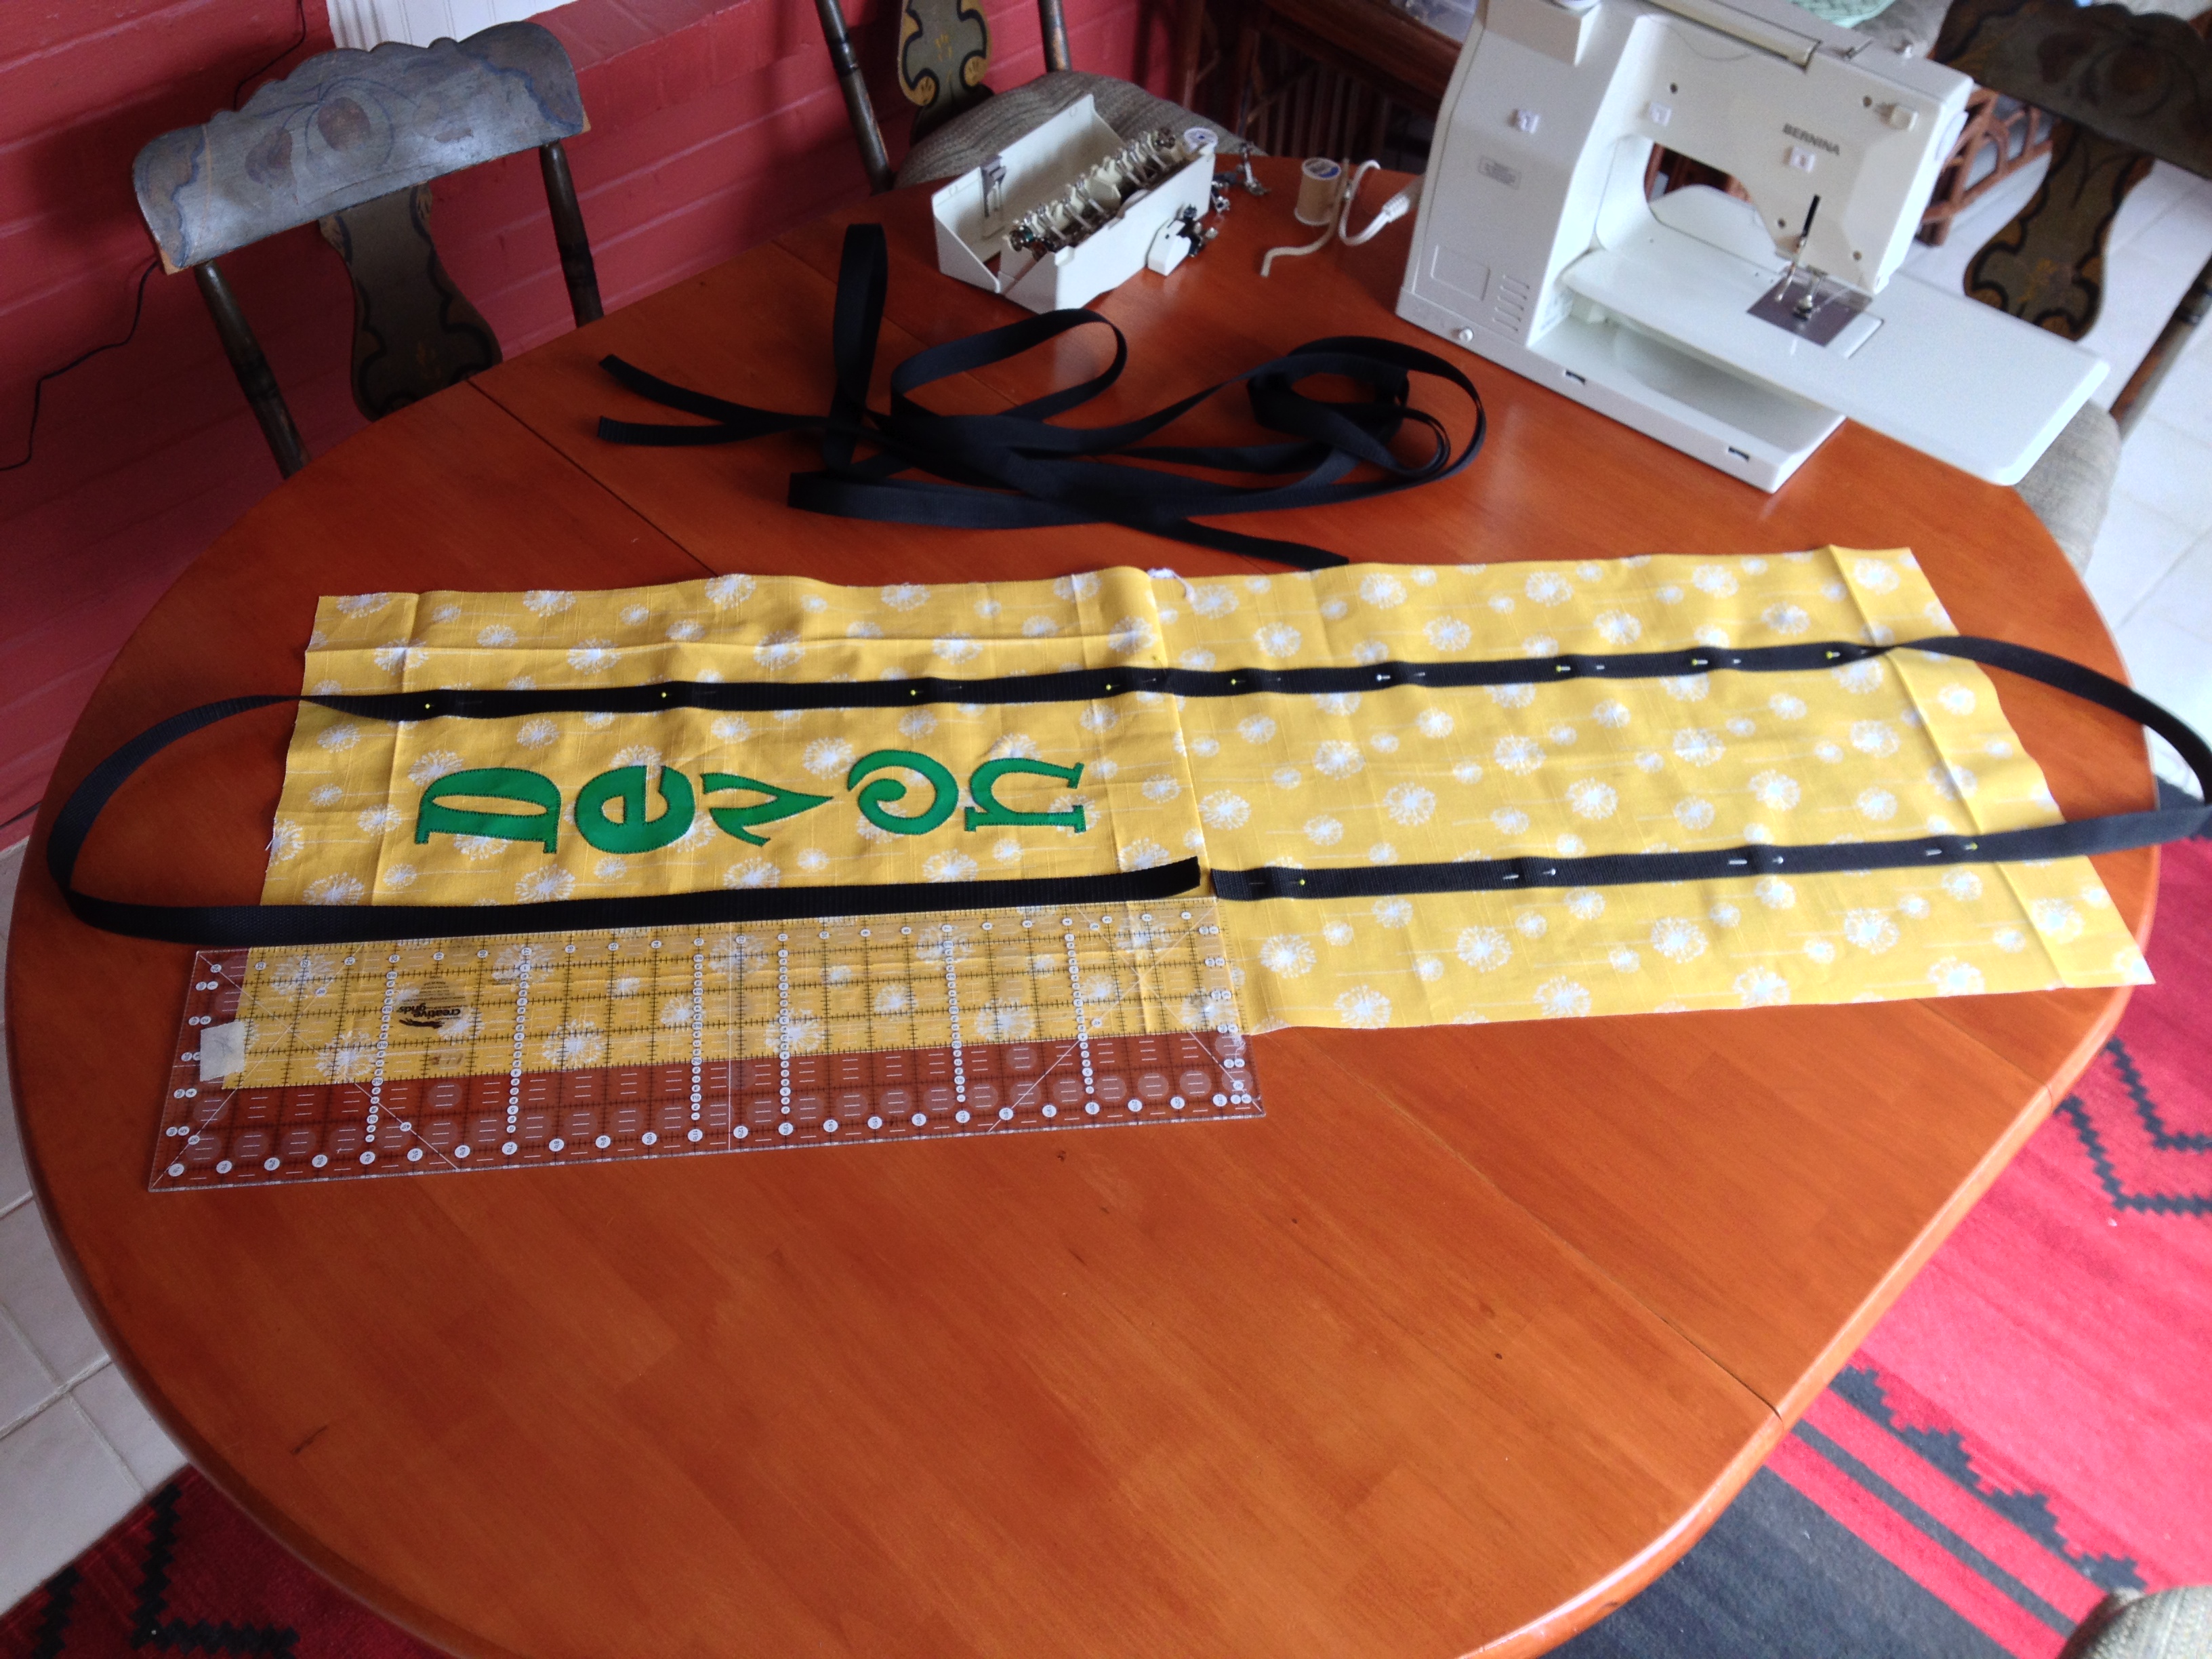
Webbing was pinned on measuring 4″ in from each side with the ruler.
Sewing the webbing on is a breeze if you use an edge stitching foot and move your needle position!

Bernina #10 foot
Once the webbing was in place, the sides were sewn/serged together and then a gusset made across the corners. Since I wanted the bag depth to be 5″, I layed my ruler along the seamline on the 2.5 inch line and moved the ruler until I had 5″ across where I drew a line and then sewed.
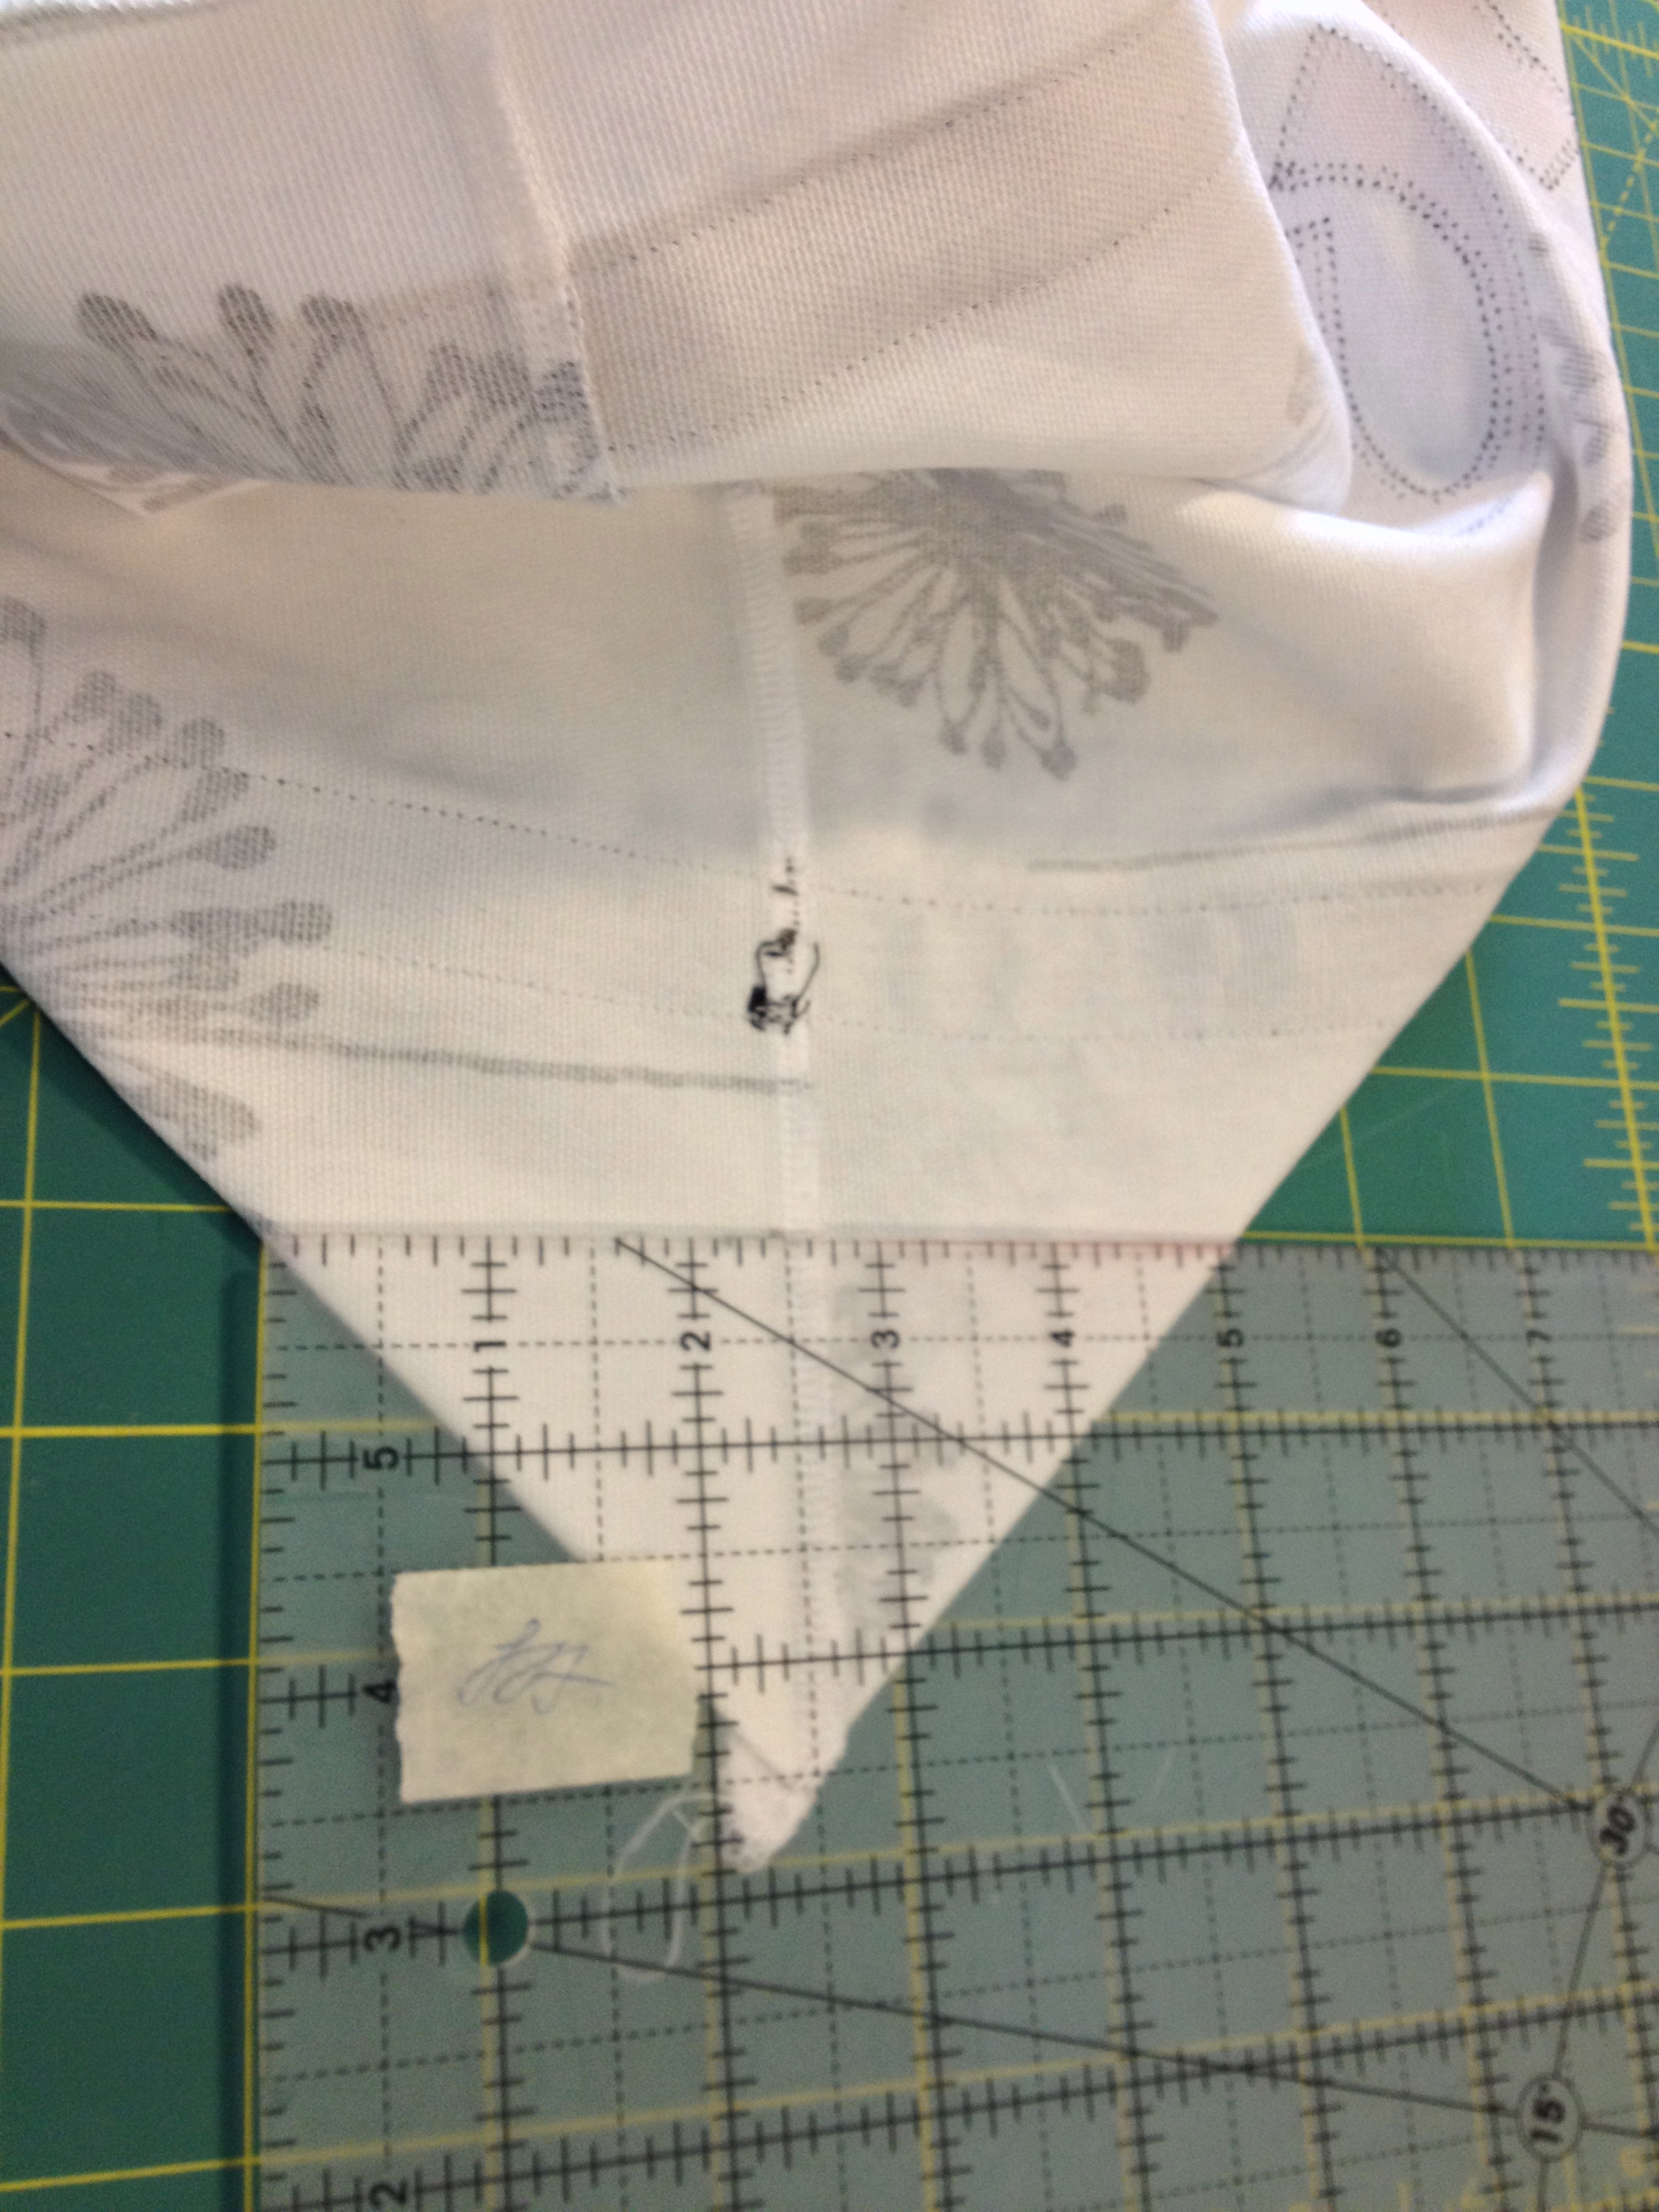
5″ Gusset
Once that was done, the very last step was to iron the top under 1/2 inch and then fold the hem in and stitch down. All of these fabrics were white on the wrong side. Since I used white thread on my serger and in my sewing machine bobbin, the inside is very finished looking, despite not being lined. I hope they like them!
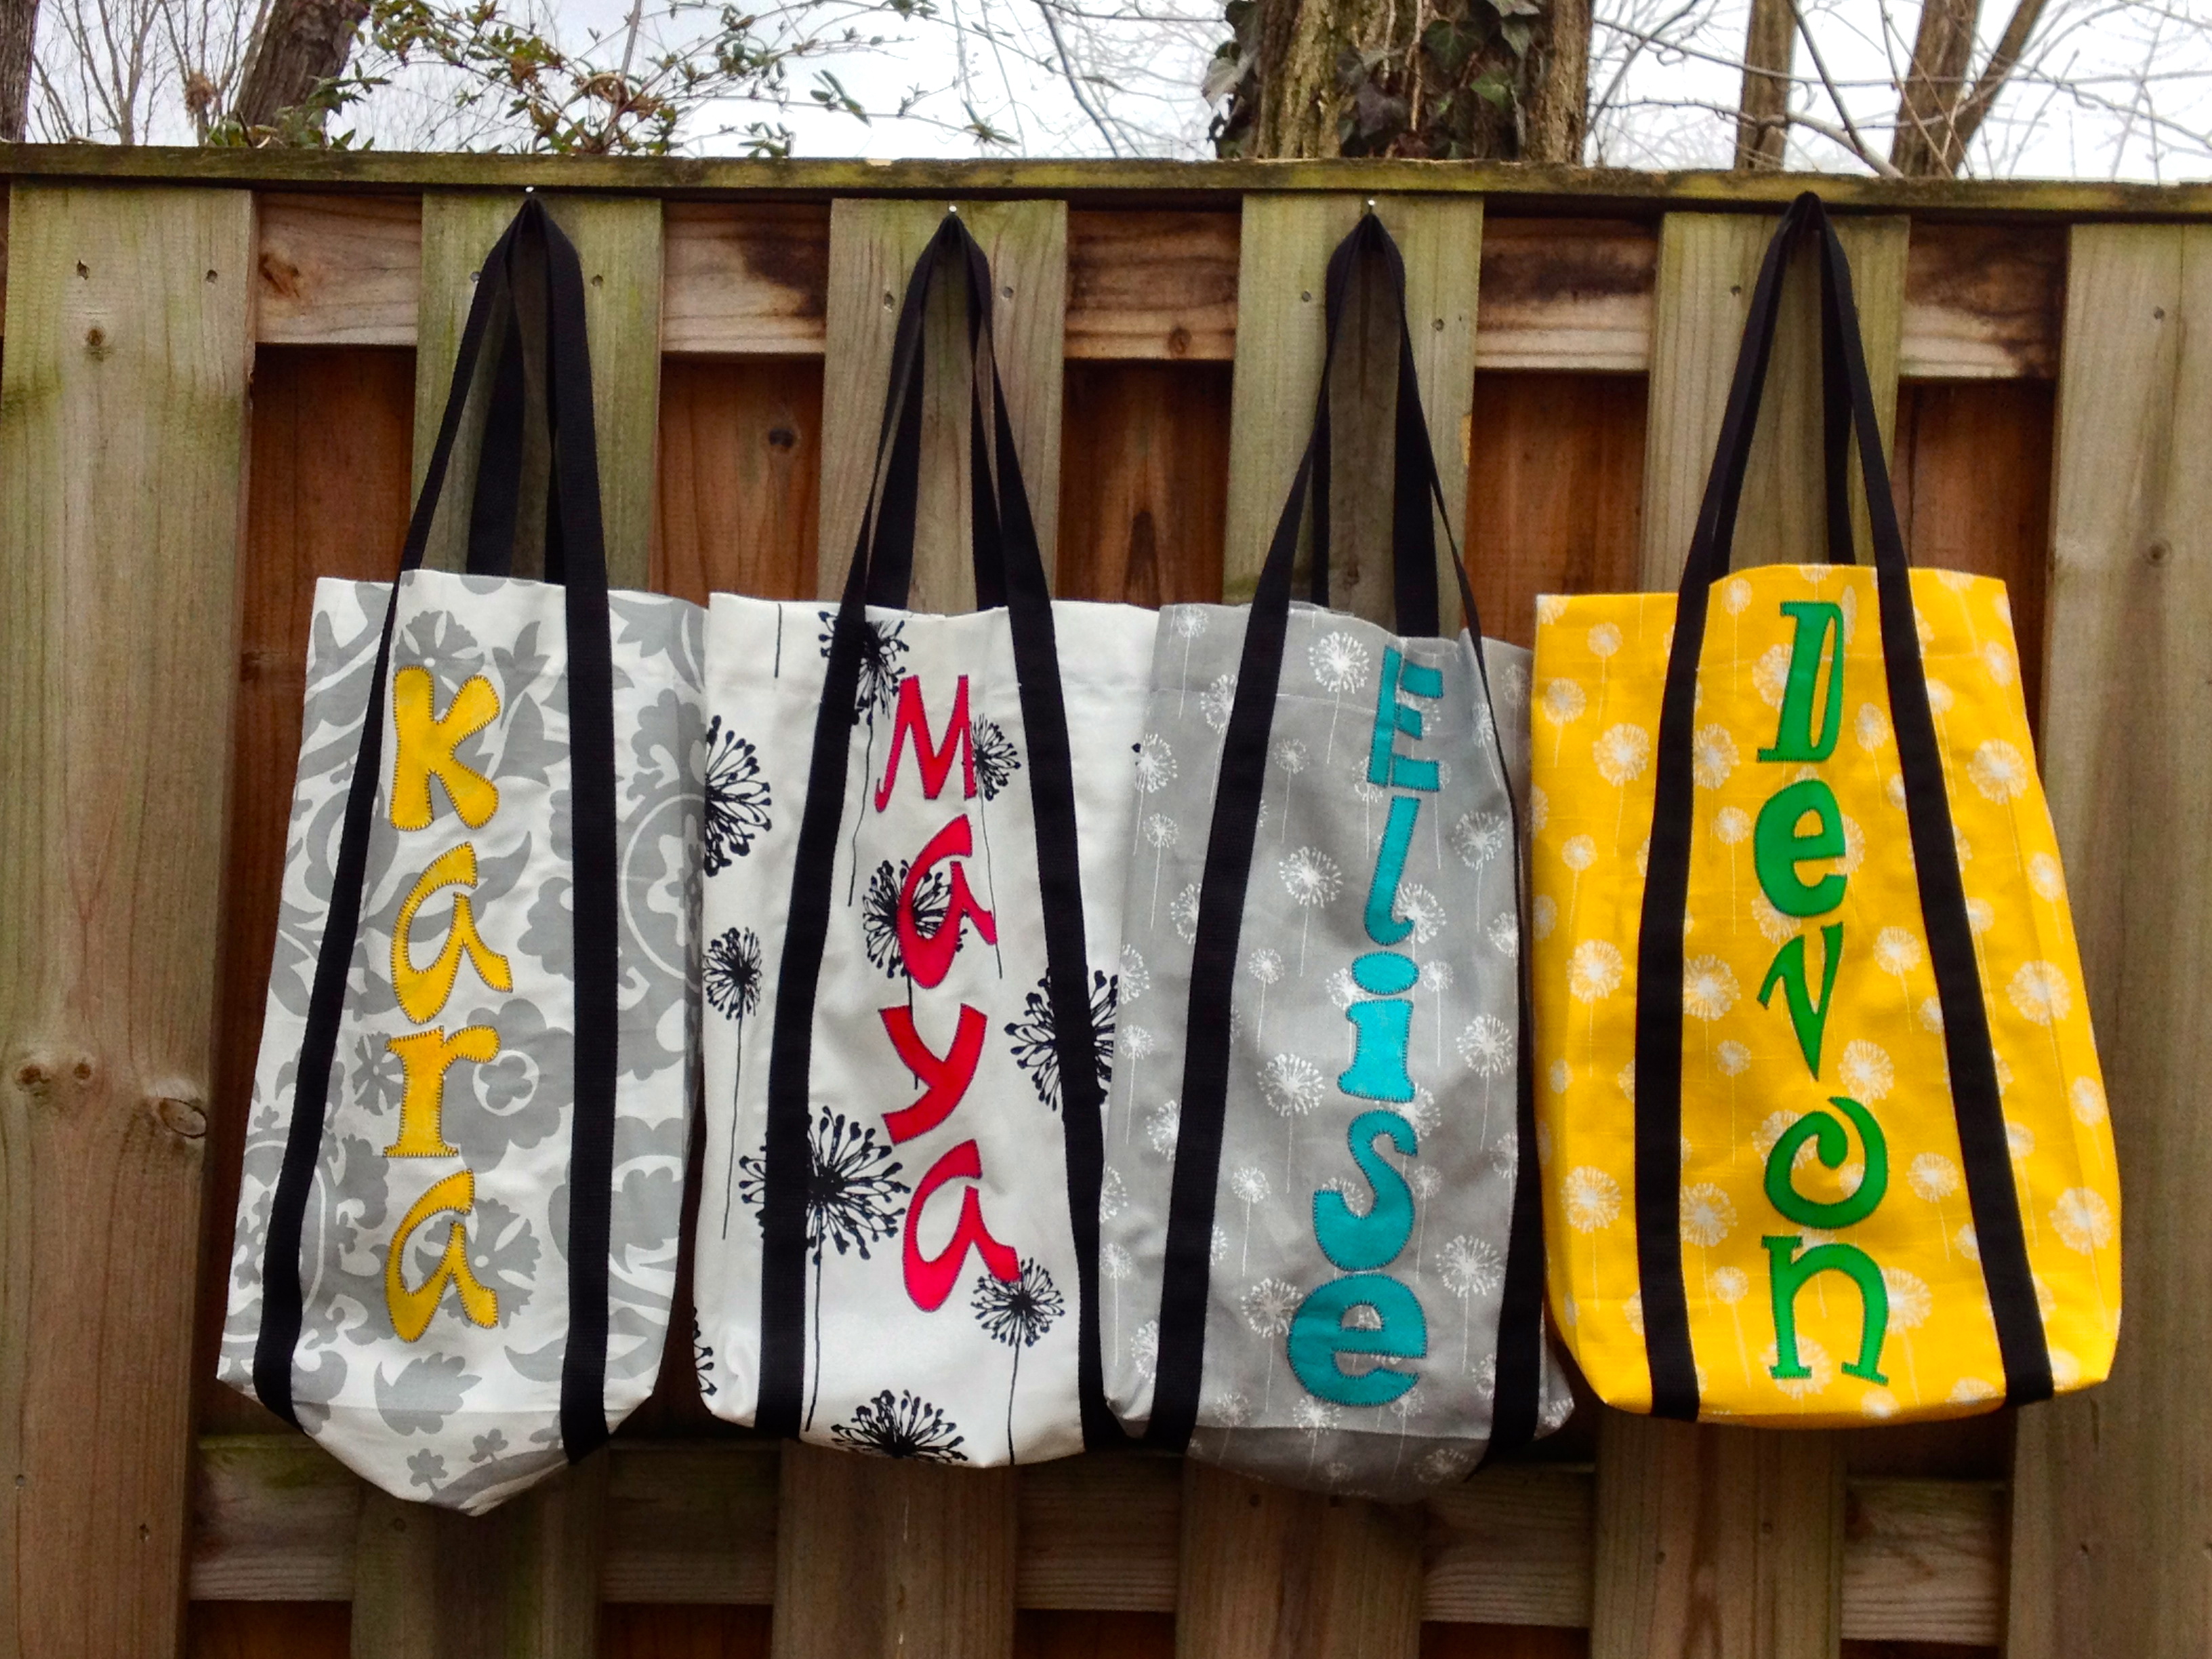
Happy Birthday Maya!
A few days later:

Pajama party!
(One of the girls was sick and couldn’t come).


