
I just finished making the Barbados Bag by Pink Sand Beach Designs

Barbados Bag
The finished size is approximately 10″ wide by 11″ tall which makes it a pretty good size for an everyday bag. I’ve had the pattern for awhile but was a bit overwhelmed after looking at the directions and hadn’t taken the plunge to give it a try. Thankfully while shopping last week with a friend, she saw the bag made up, liked it, and we decided to try it together. The woman in the shop gave us great advice – trust the directions and follow them step by step without double guessing or looking ahead.

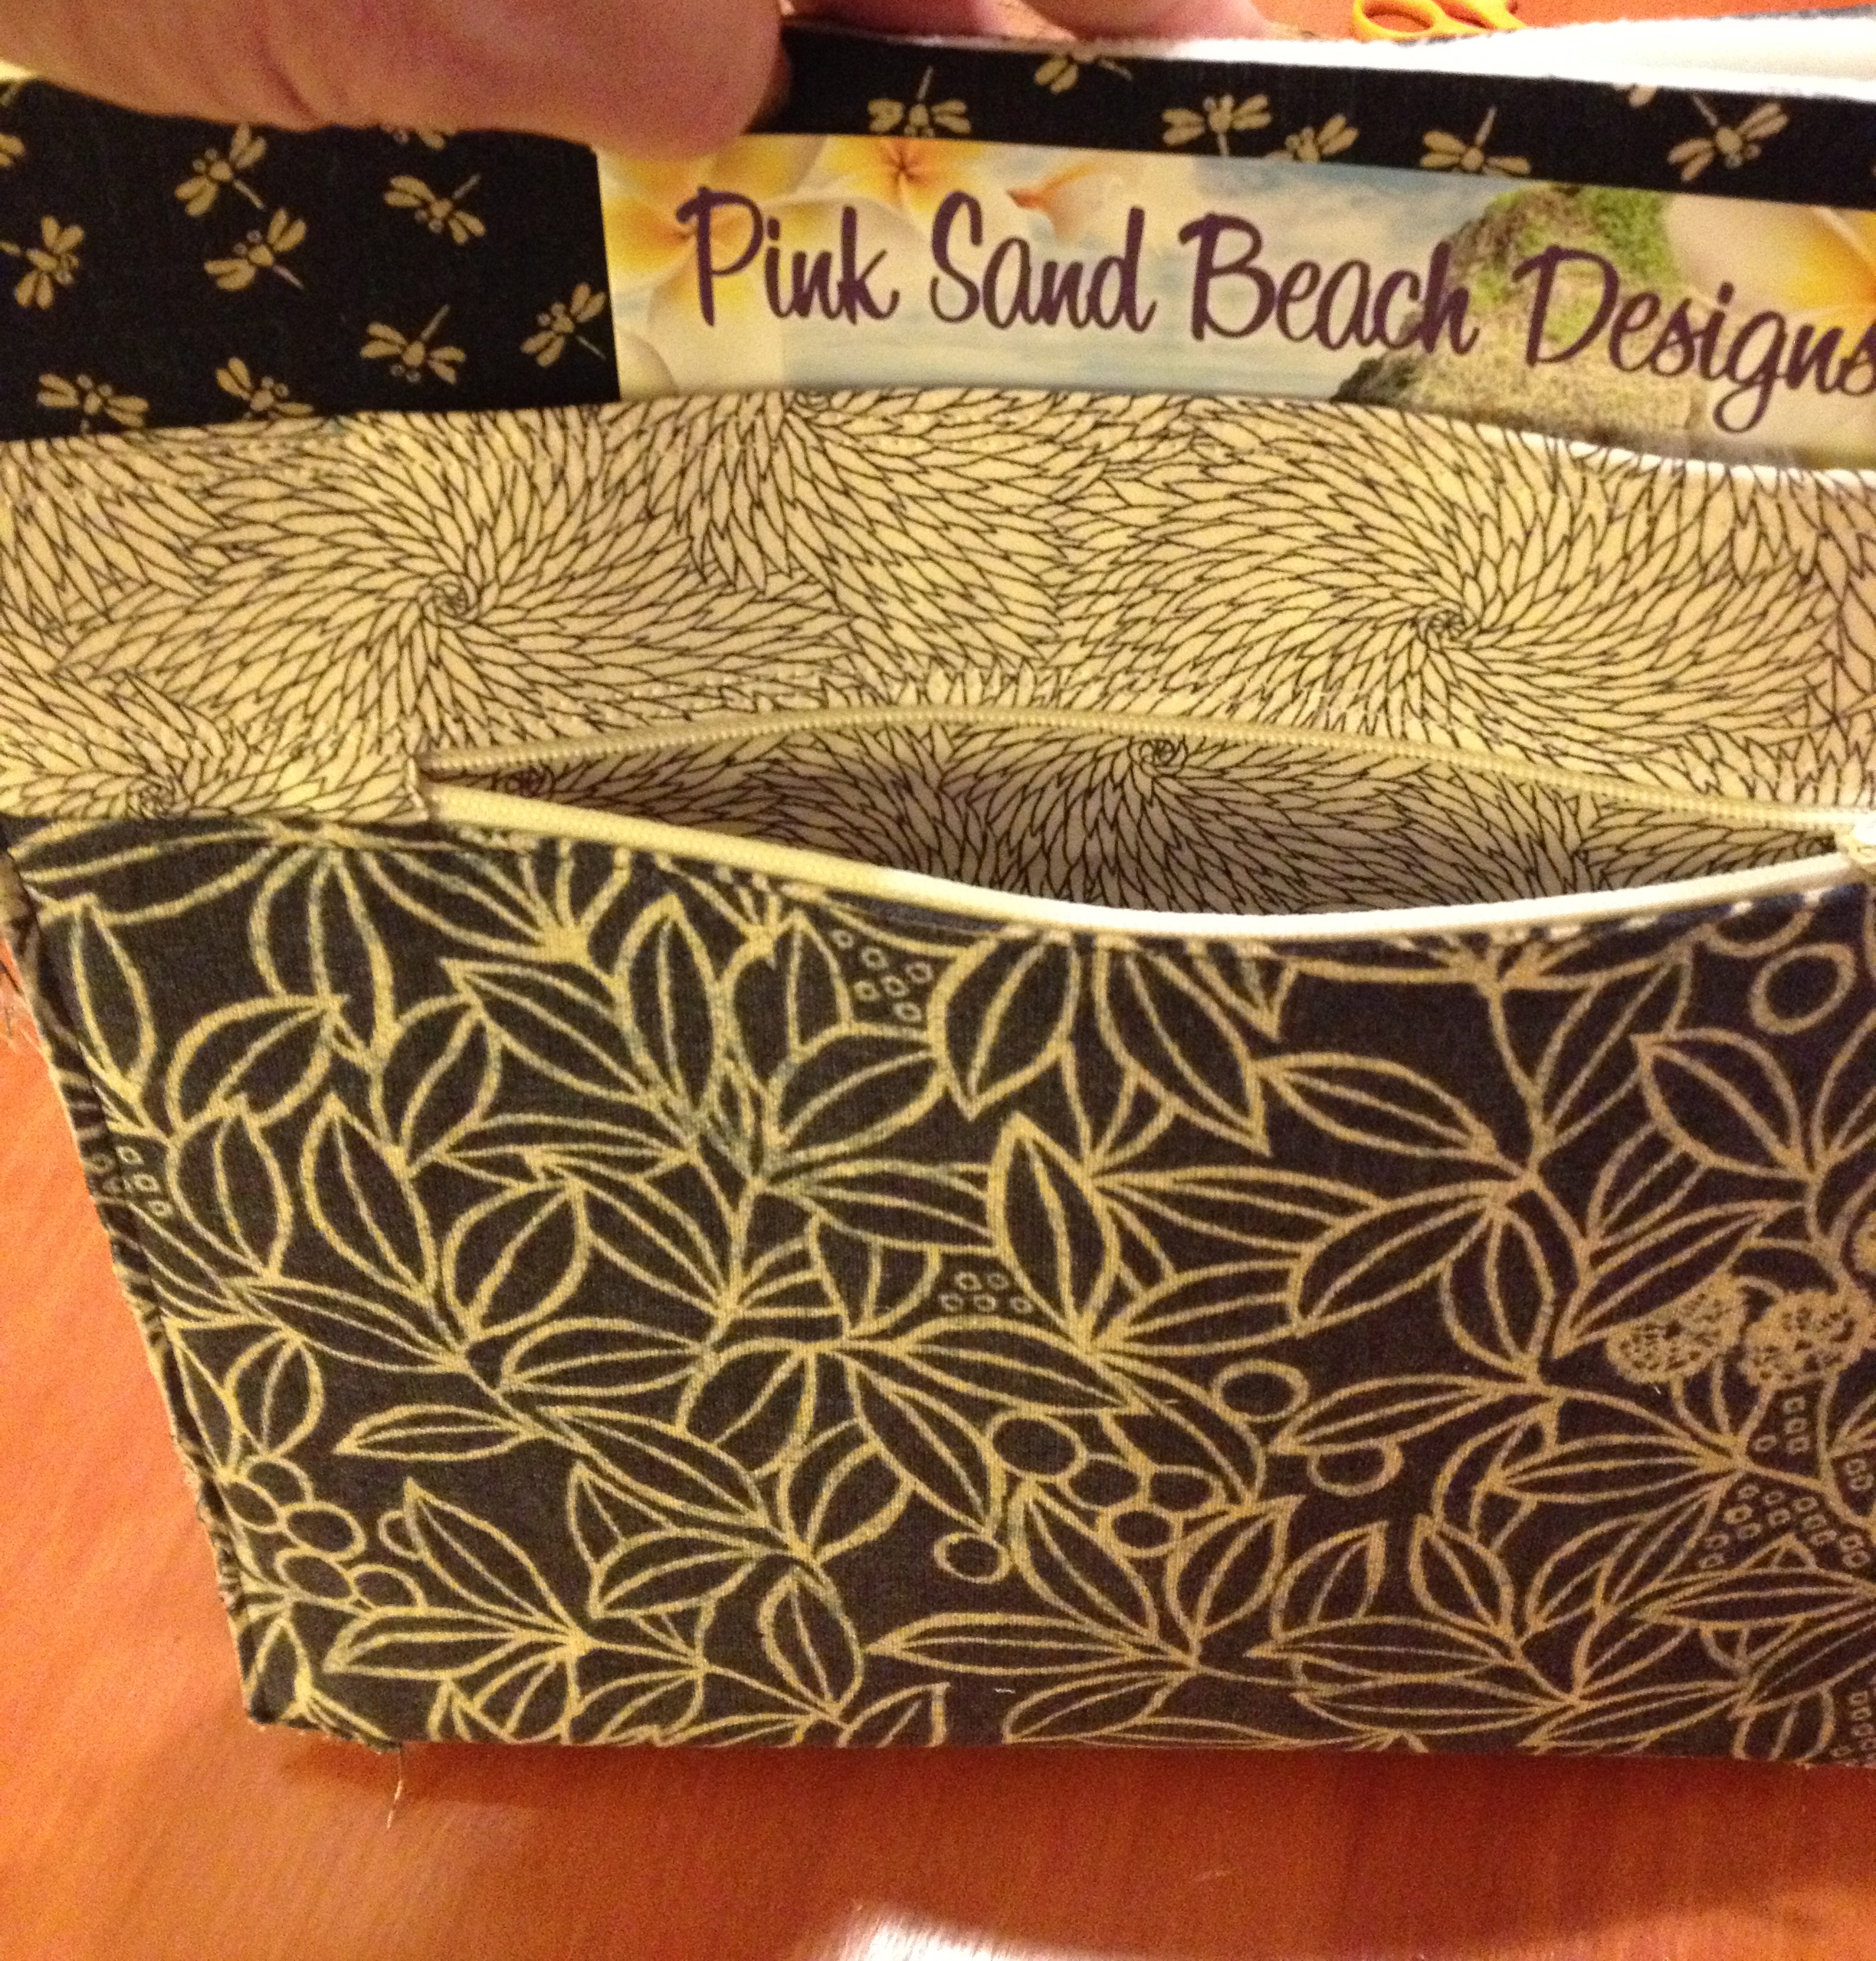
The outside front has a zippered pocket and a non-zippered pocket.
Following this advice did work and the bag does go together very nicely! The only thing that we didn’t think was crystal clear, was where each piece of fabric we cut would end up in the final bag. So let me spell this out for you if you are considering sewing this bag. The “Bag Front and Back” end up being that dark blue fabric on the top of my bag. It does not show on the outside very much but does form the body of the bag.
Two pockets!
The “Front Pocket” and “Back Pocket” are the blue floral fabric that is the dominant fabric of my bag. Finally, the “Pocket Accent” is the lighter fabric in the middle of the other two fabrics only on the front.
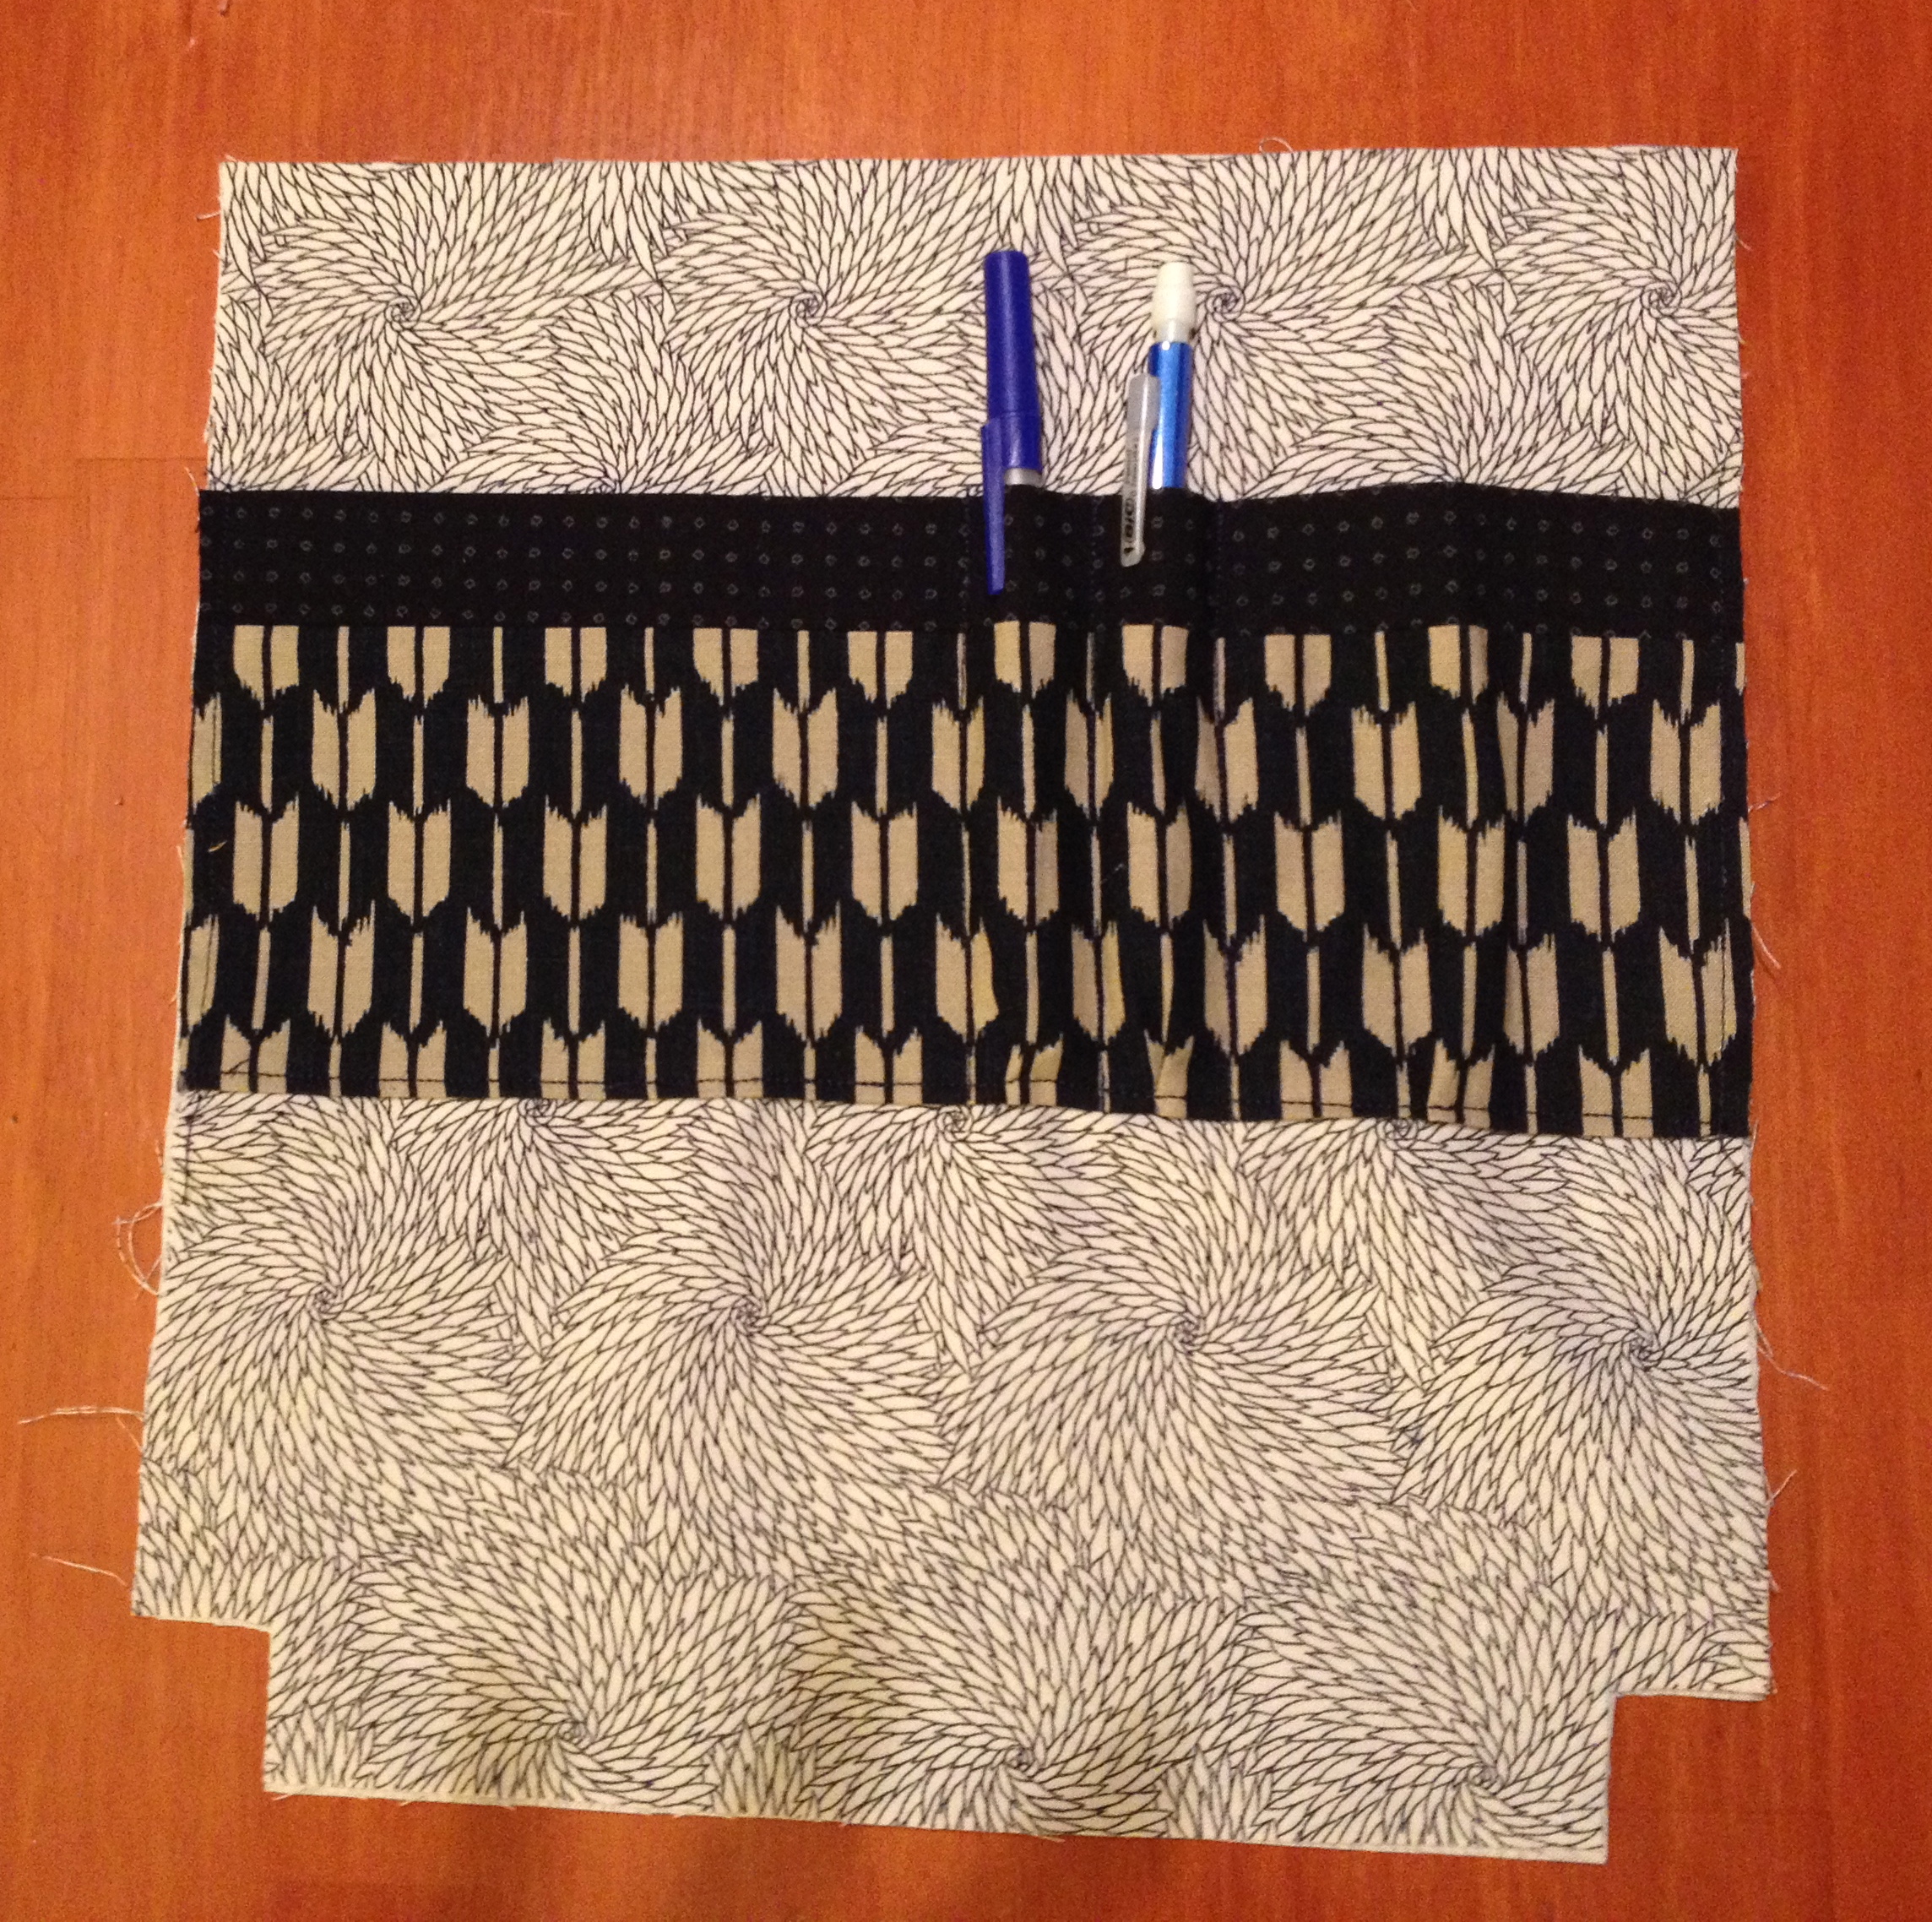
The outside back has a divided pocket.
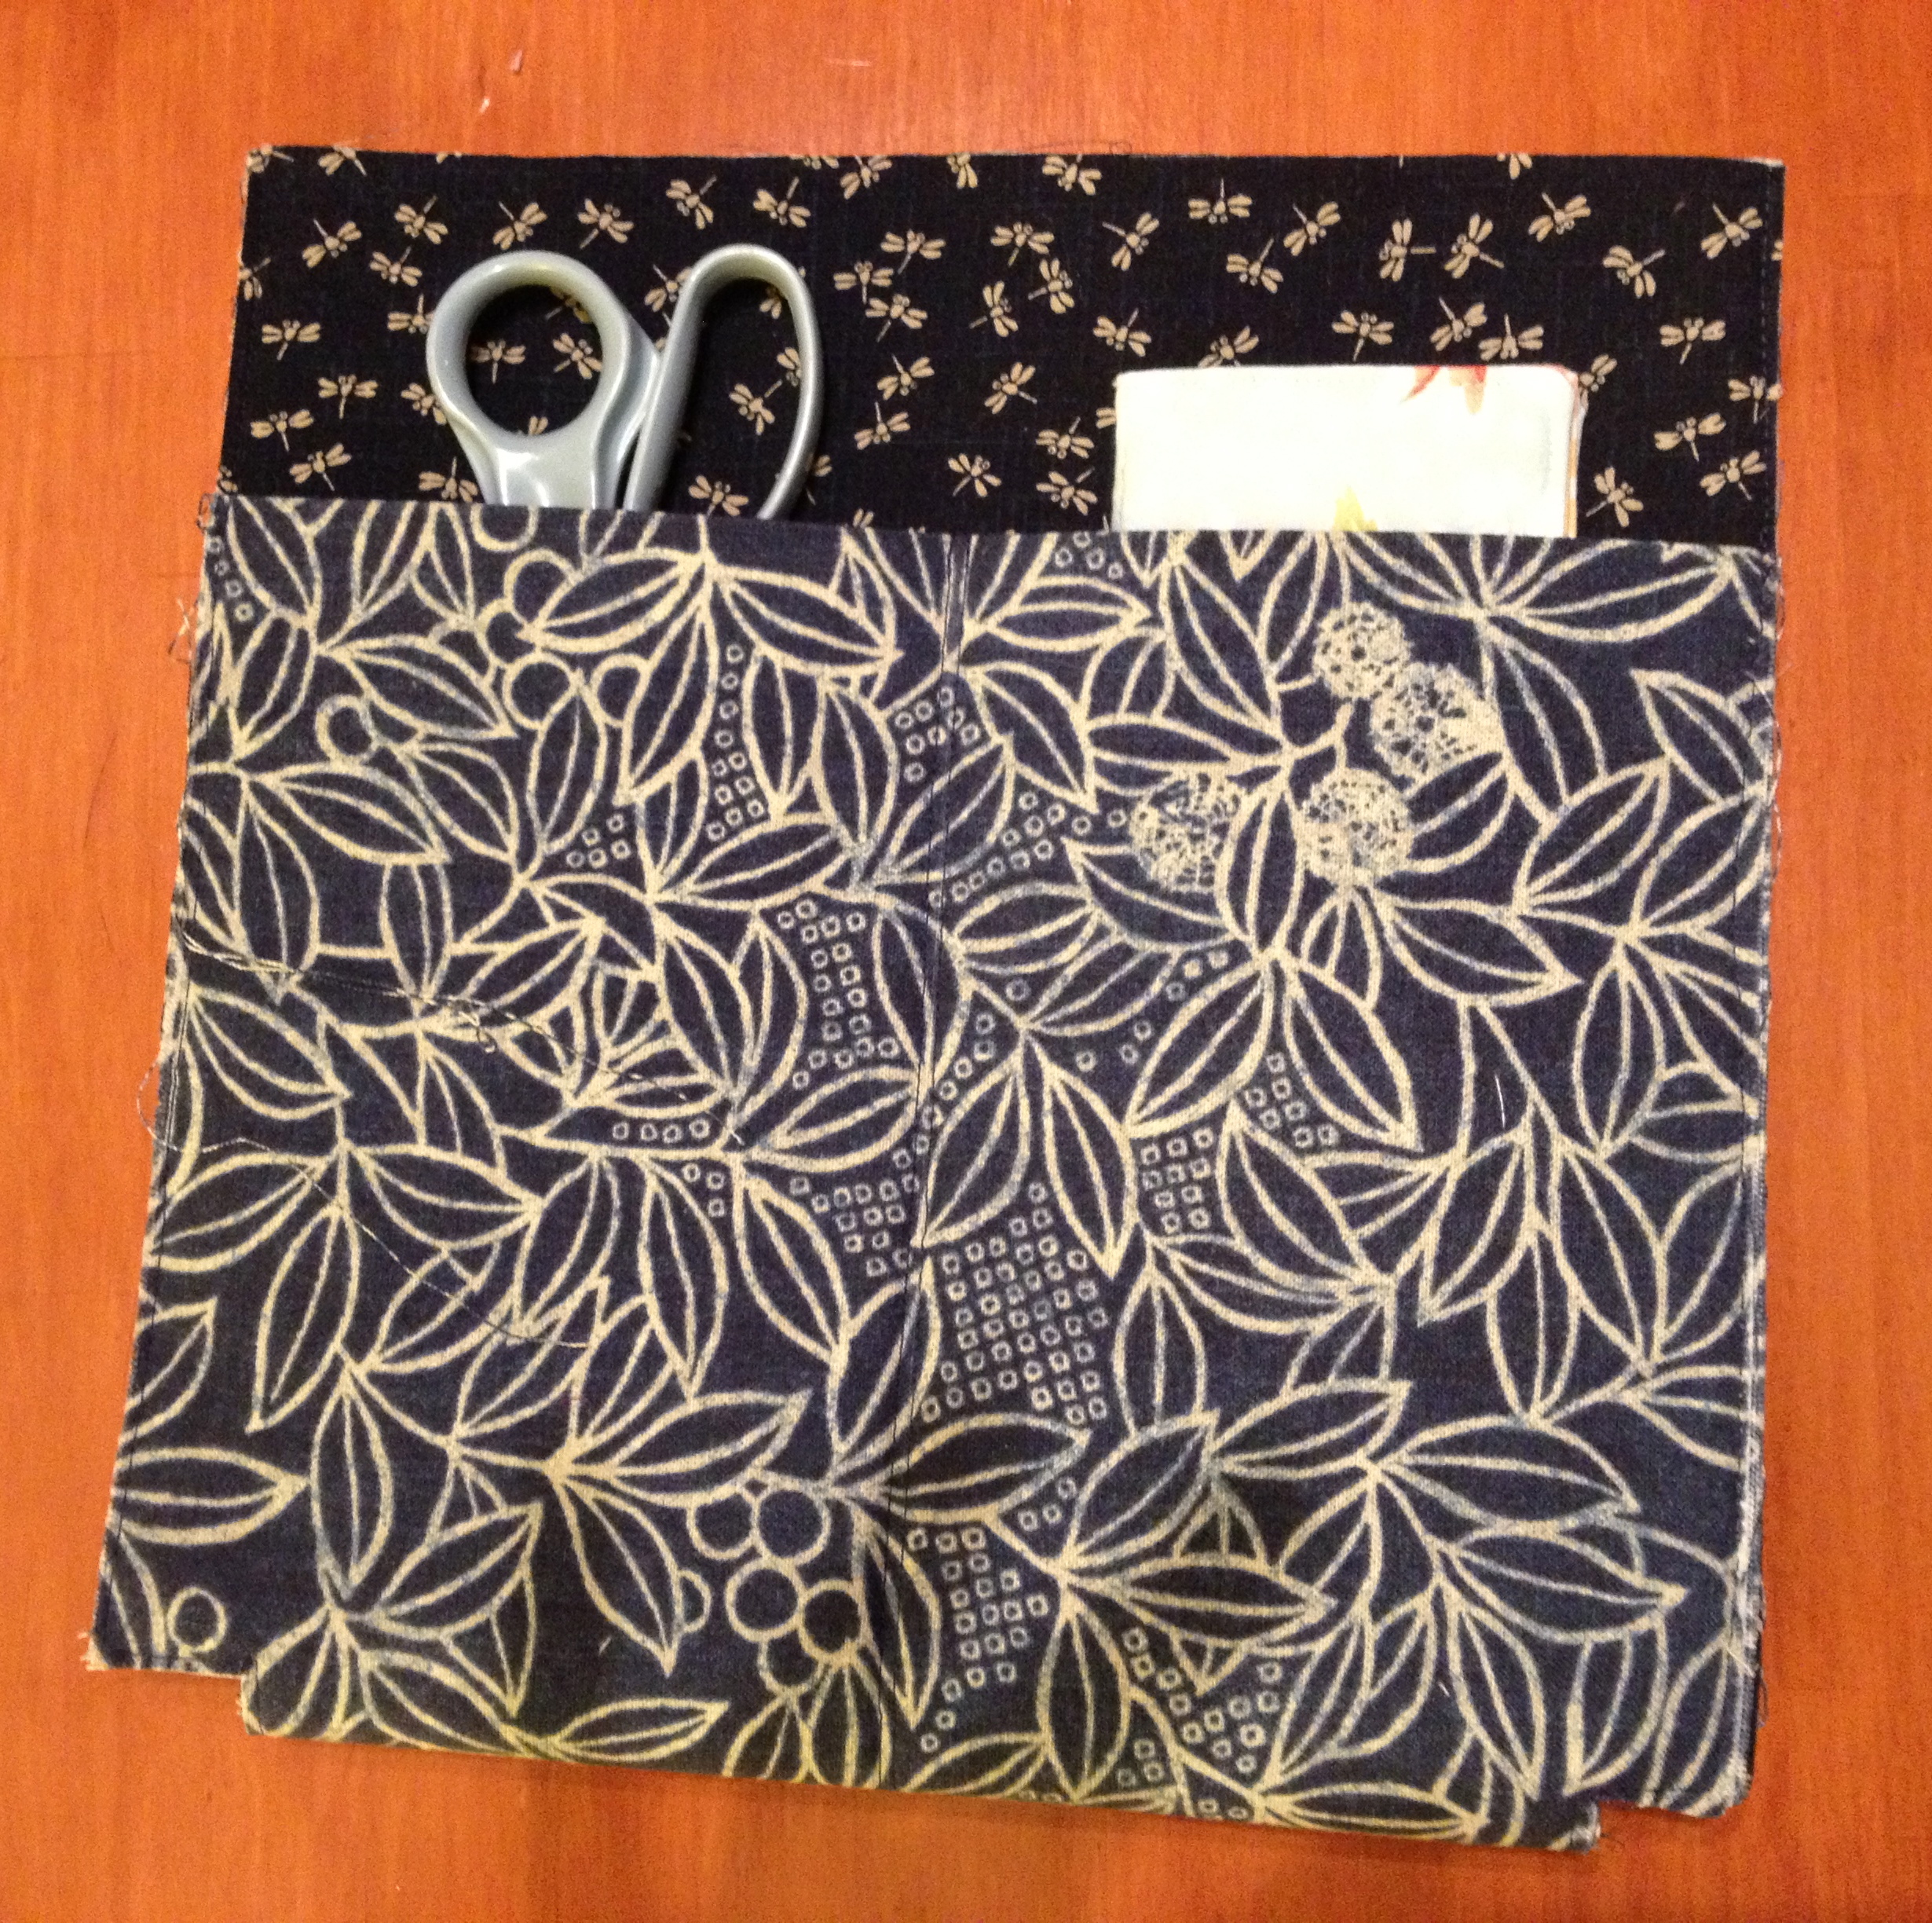
The inside of the bag has a divided pocket on one side. The directions were to divide it in two but I decided to add a couple places for pens also. I should have dropped the pocket a bit lower in the bag than the directions called for since the pens are so close to the top of the bag, they almost don’t fit under the zippered top.
Inside pocket.
The directions tell you how to shorten and make tabs for each end of the two zippers which gives an extremely professional looking finish. It also removes any metal parts that your needle might hit during the sewing and removes the bulk of the zipper from any seams. These are all “win” situations for dealing with zippers! I will use them again in other projects.
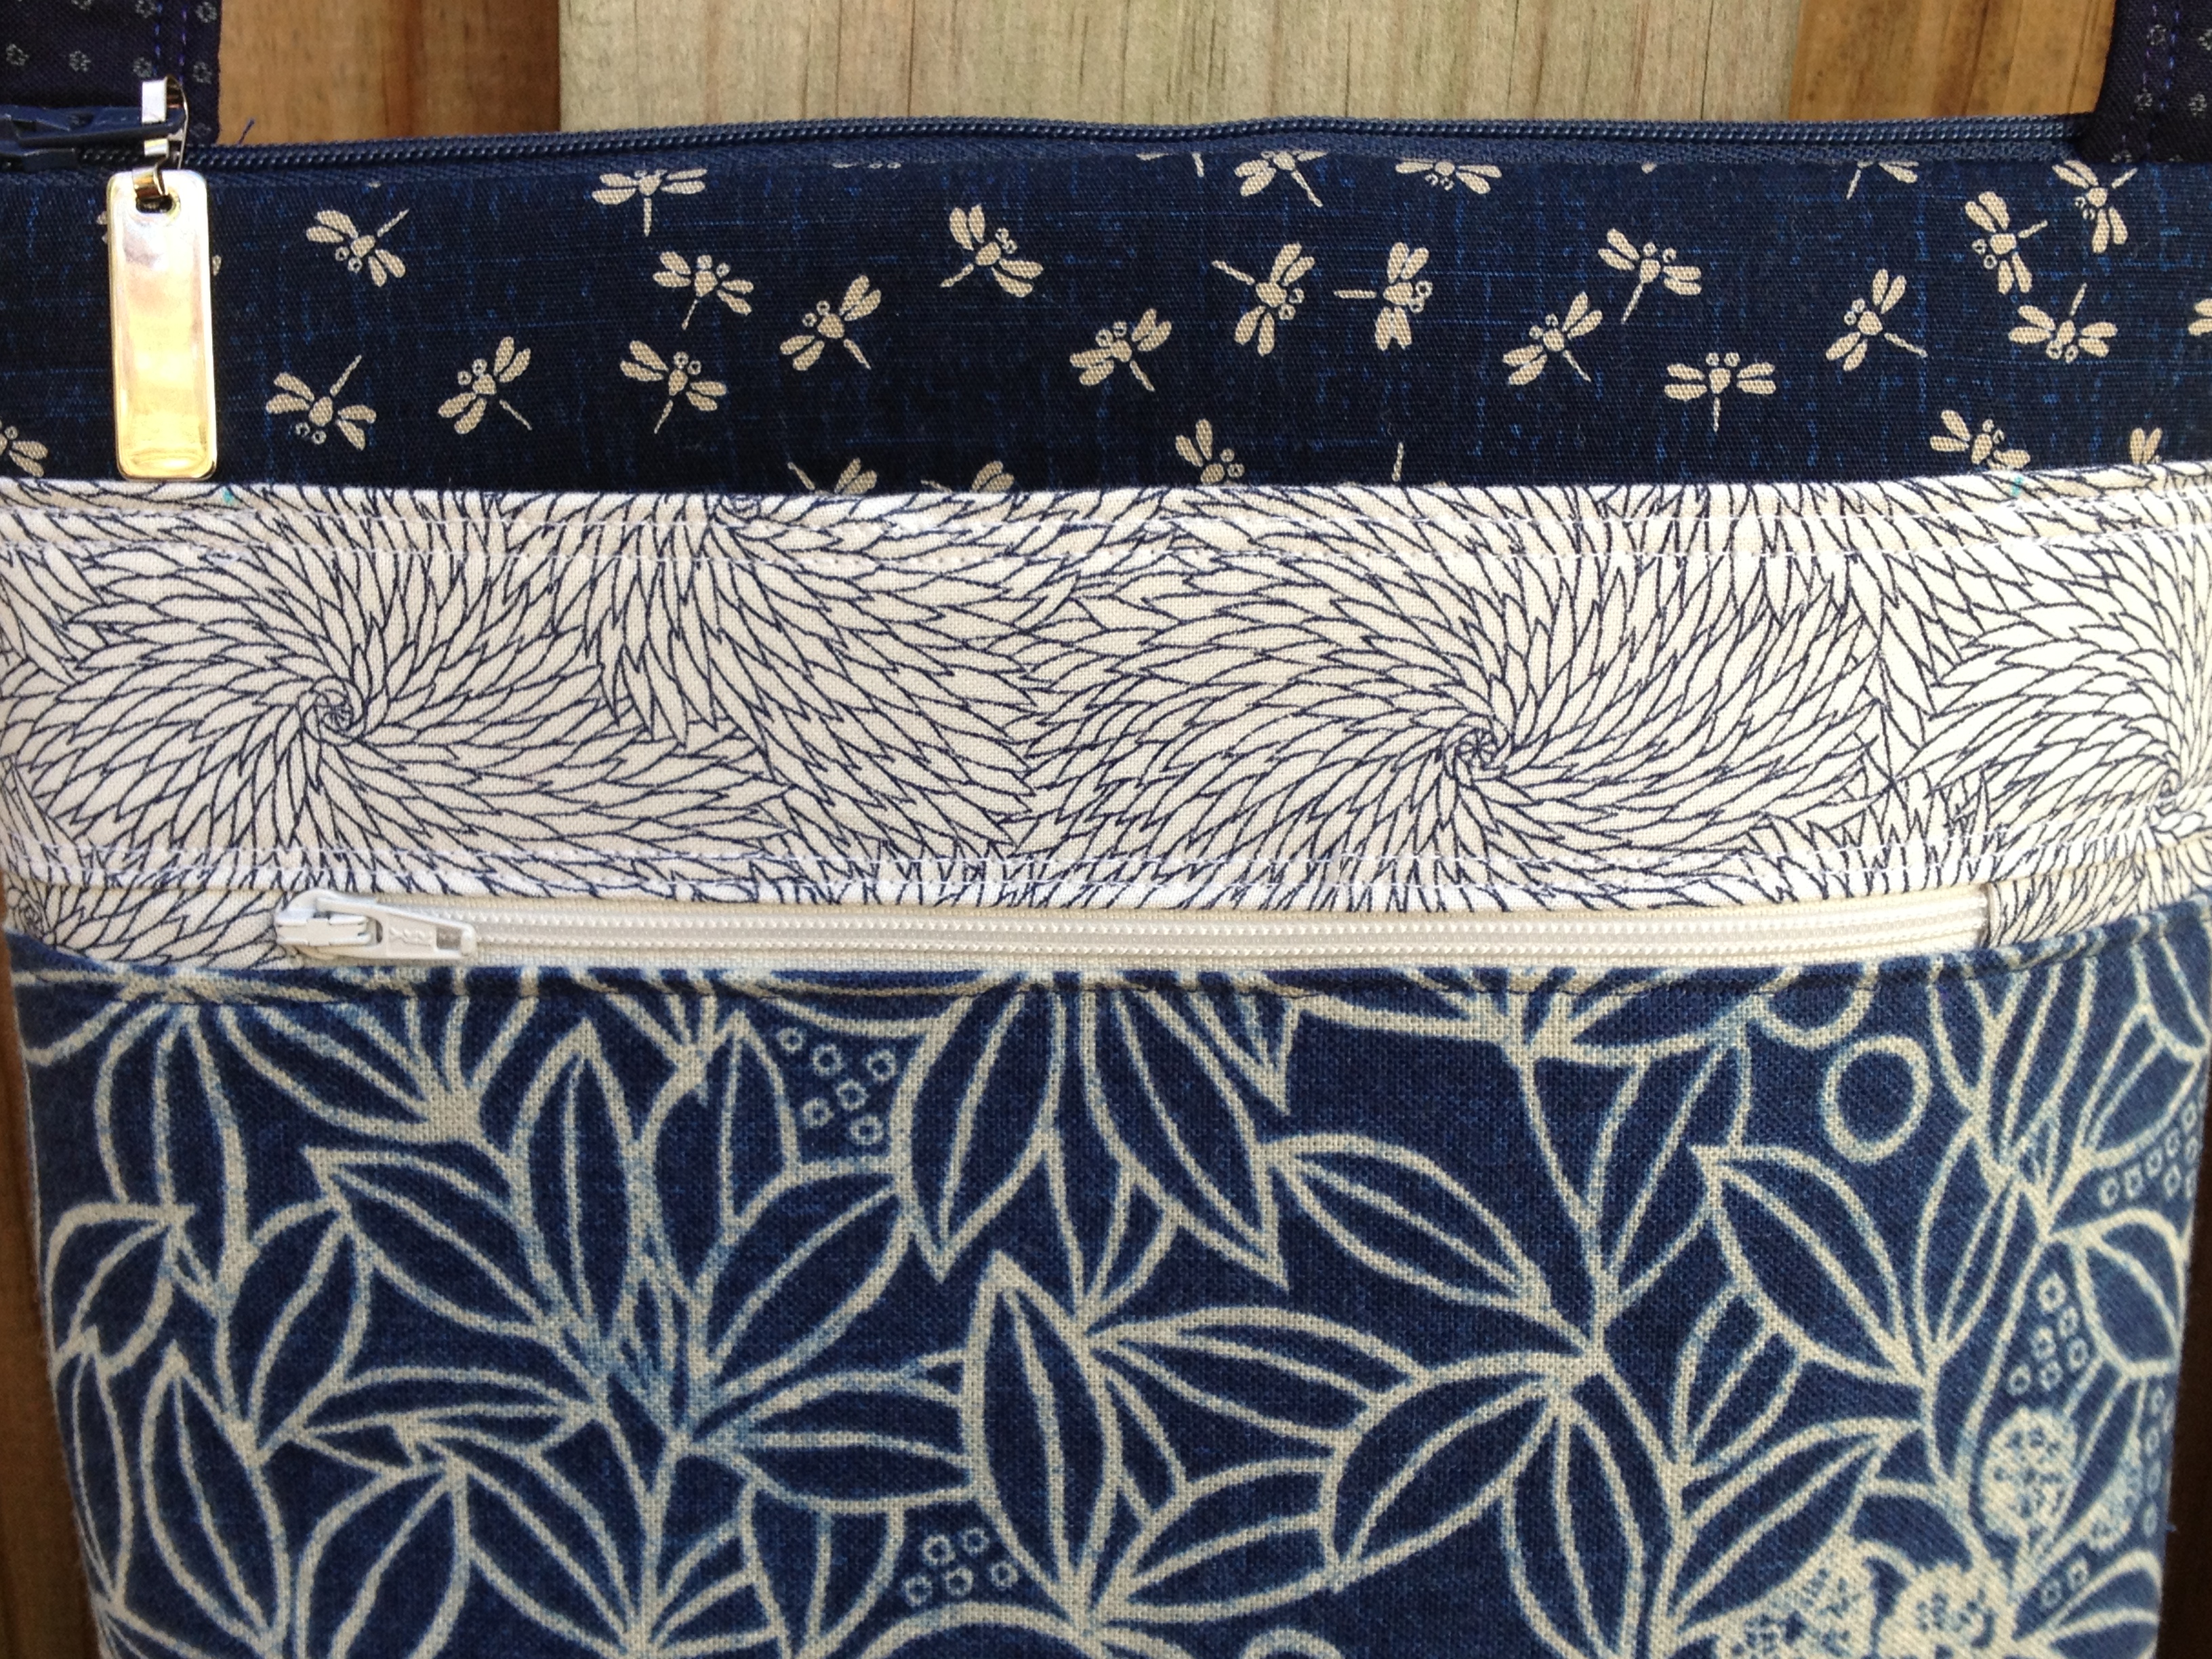
Wonderful zipper insertion directions!
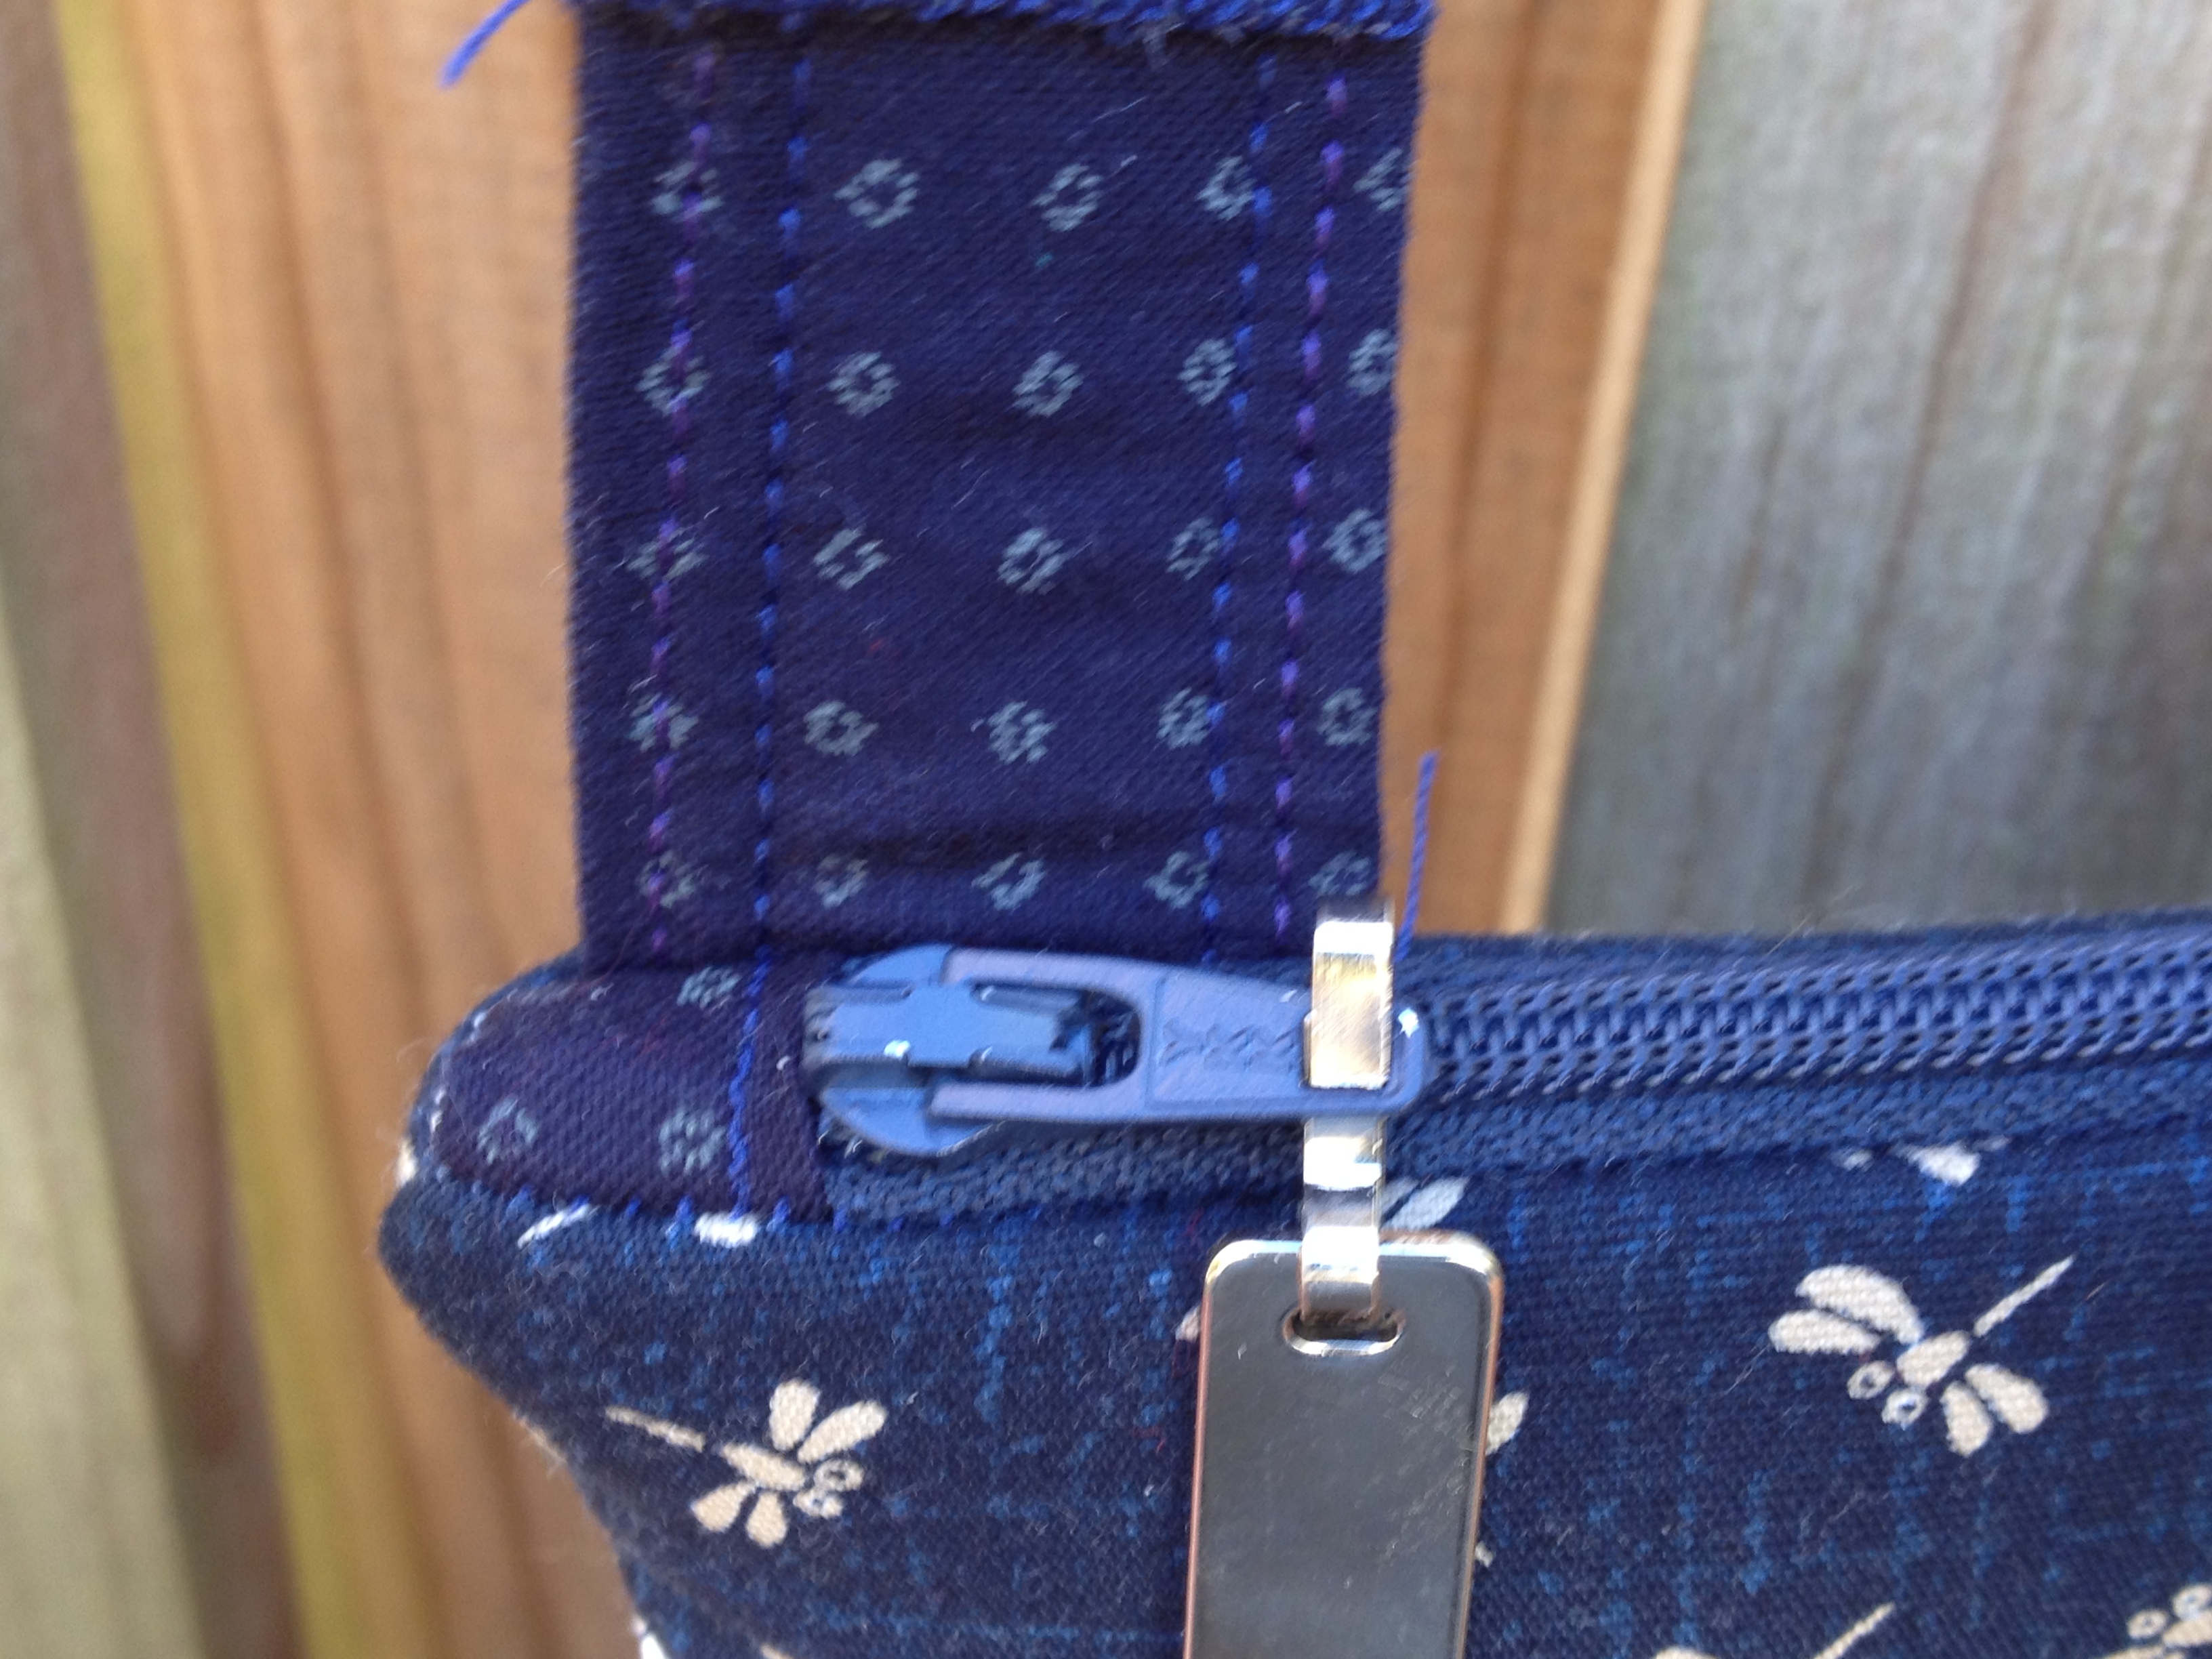
As far as I’m concerned, a zipper at the top of a bag doesn’t get any better than this!
I used by Annie Soft and Stable instead of fusible fleece for the front and back of the bag and a heavy weight interfacing I had on hand in the places that called for Decorbond. Typically I like a stiffer bag that doesn’t show every lump and bump of what is inside of it. If you like a softer bag, you should use the fusible fleece.

I love this bag!
.


It looks just like you. Loved working with you, and hope to make another.
Donna
Linda, I enjoy your candid comments about each of your sewing projects. They are always helpful and well written. I love the colors of your Barbados Bag. I can see some future bags in fabulous batiks!
Great job and great looking bag! Was it difficult to make?
Good job!! This looks complicated, even for an experienced sewer like you. I especially like the dragonflys!
Hi, I love your bag. I have this pattern also. I had never heard of Soft & Stable, but I definitely want to try it. I was wondering – did you use it for the strap too? Thanks!
No, I did not use Soft & Stable for the strap but I did interface it.
Thanks for the tips. I want to make up this pattern and was wondering about using by Annie soft and stable. i buy it by the box ful.
I love by Annie Soft and Stable. I use it for a lot of things too!
Just finished my bag. Thanks for the tip on the Soft and Stable! I planned to use it but wasn’t sure on how many pieces instead of the fusible fleece. Yes, read the directions carefully, don’t second guess and take your time is best advice.
If you use Soft & Stable, you use one layer on the outside of the bag. I did interface my lining but with a light to medium weight interfacing. Congratulation on your finish!
I bought this pattern a year ago and the blue batik fabrics on the front picture. I am so glad you told about which fabrics go where as I am trying to figure it out so I can start this. Thanks for clearing that up for me.
I have seen a recent copy of the pattern that seemed to spell this out better and so I think the pattern company must have heard enough of this complaint to do something about it. Good for them! I hope you have completed the bag by now and are using it.
Still cant figure out where the pocket lining goes
fabric 5
Found your post helpful when before I made the bag. Just finished it and was wondering about 2 things?
One, there was a 1/4 inch gap at the top by each end of the zipper. Zipper is in1/2 inch on each side and side seams are 1/4 inch. Did I do something wrong?
Second, your strap in the picture is different then the pattern. How do I do that one?
Thanks so much
I am known locally as the “Bag Lady” I sell my bags at markets. I have made several bags like this and didn’t even know it was a design as I go by whatever I want to do with pieces. anyway, it is a great seller and also will look into the soft and stable. thanks for insight in this .
Thank you so much for posting this.i bought daiwabo fabric from japan and want it to be the main fabric. With your help it will be.Happiness Always Carol
I’m getting ready to make this bag and I’m wondering if it might be helpful to put some webbing inside the strap for strength. What’s your opinion?
I don’t feel this is necessary but you certainly could do it if you like it to be that sturdy. If you follow the directions there are 4 layers of fabric and a couple of batting. You would certainly want to cut down on some of this if you add the webbing. You could substitute the webbing and not make a strap if that appeals to you. Good luck making the bag. I have made 3 and it is the perfect size for an everyday bag for me.
Thank you for clearly defining where the parts end up when finished!! I’m making another one (years after my first one) and want to fussy cut the front. This is exactly what I needed.
Hi, Linda:
I found the pattern directions confusing but your directions and photos really help.
Thanks,
Marjorie
Immensely thankful for your clarity and feedback. ! I haven’t started on the bag yet as I didn’t want to move forward until all questions were answered. I found this bag in a quilting store but since I am not a quilter I didn’t know what to expect regarding clarity of directions. I have never come across a commercial pattern (Simplicity, vogue etc) that I was challenged by. That wasn’t the case when reading these directions. I also really appreciate your interfacing feedback since there are so many on the market and the interfacing / fleece can make or break the look and function of a bag.
Just wondering if this pattern is electronic and downloadable?