I made up a little pouch yesterday.

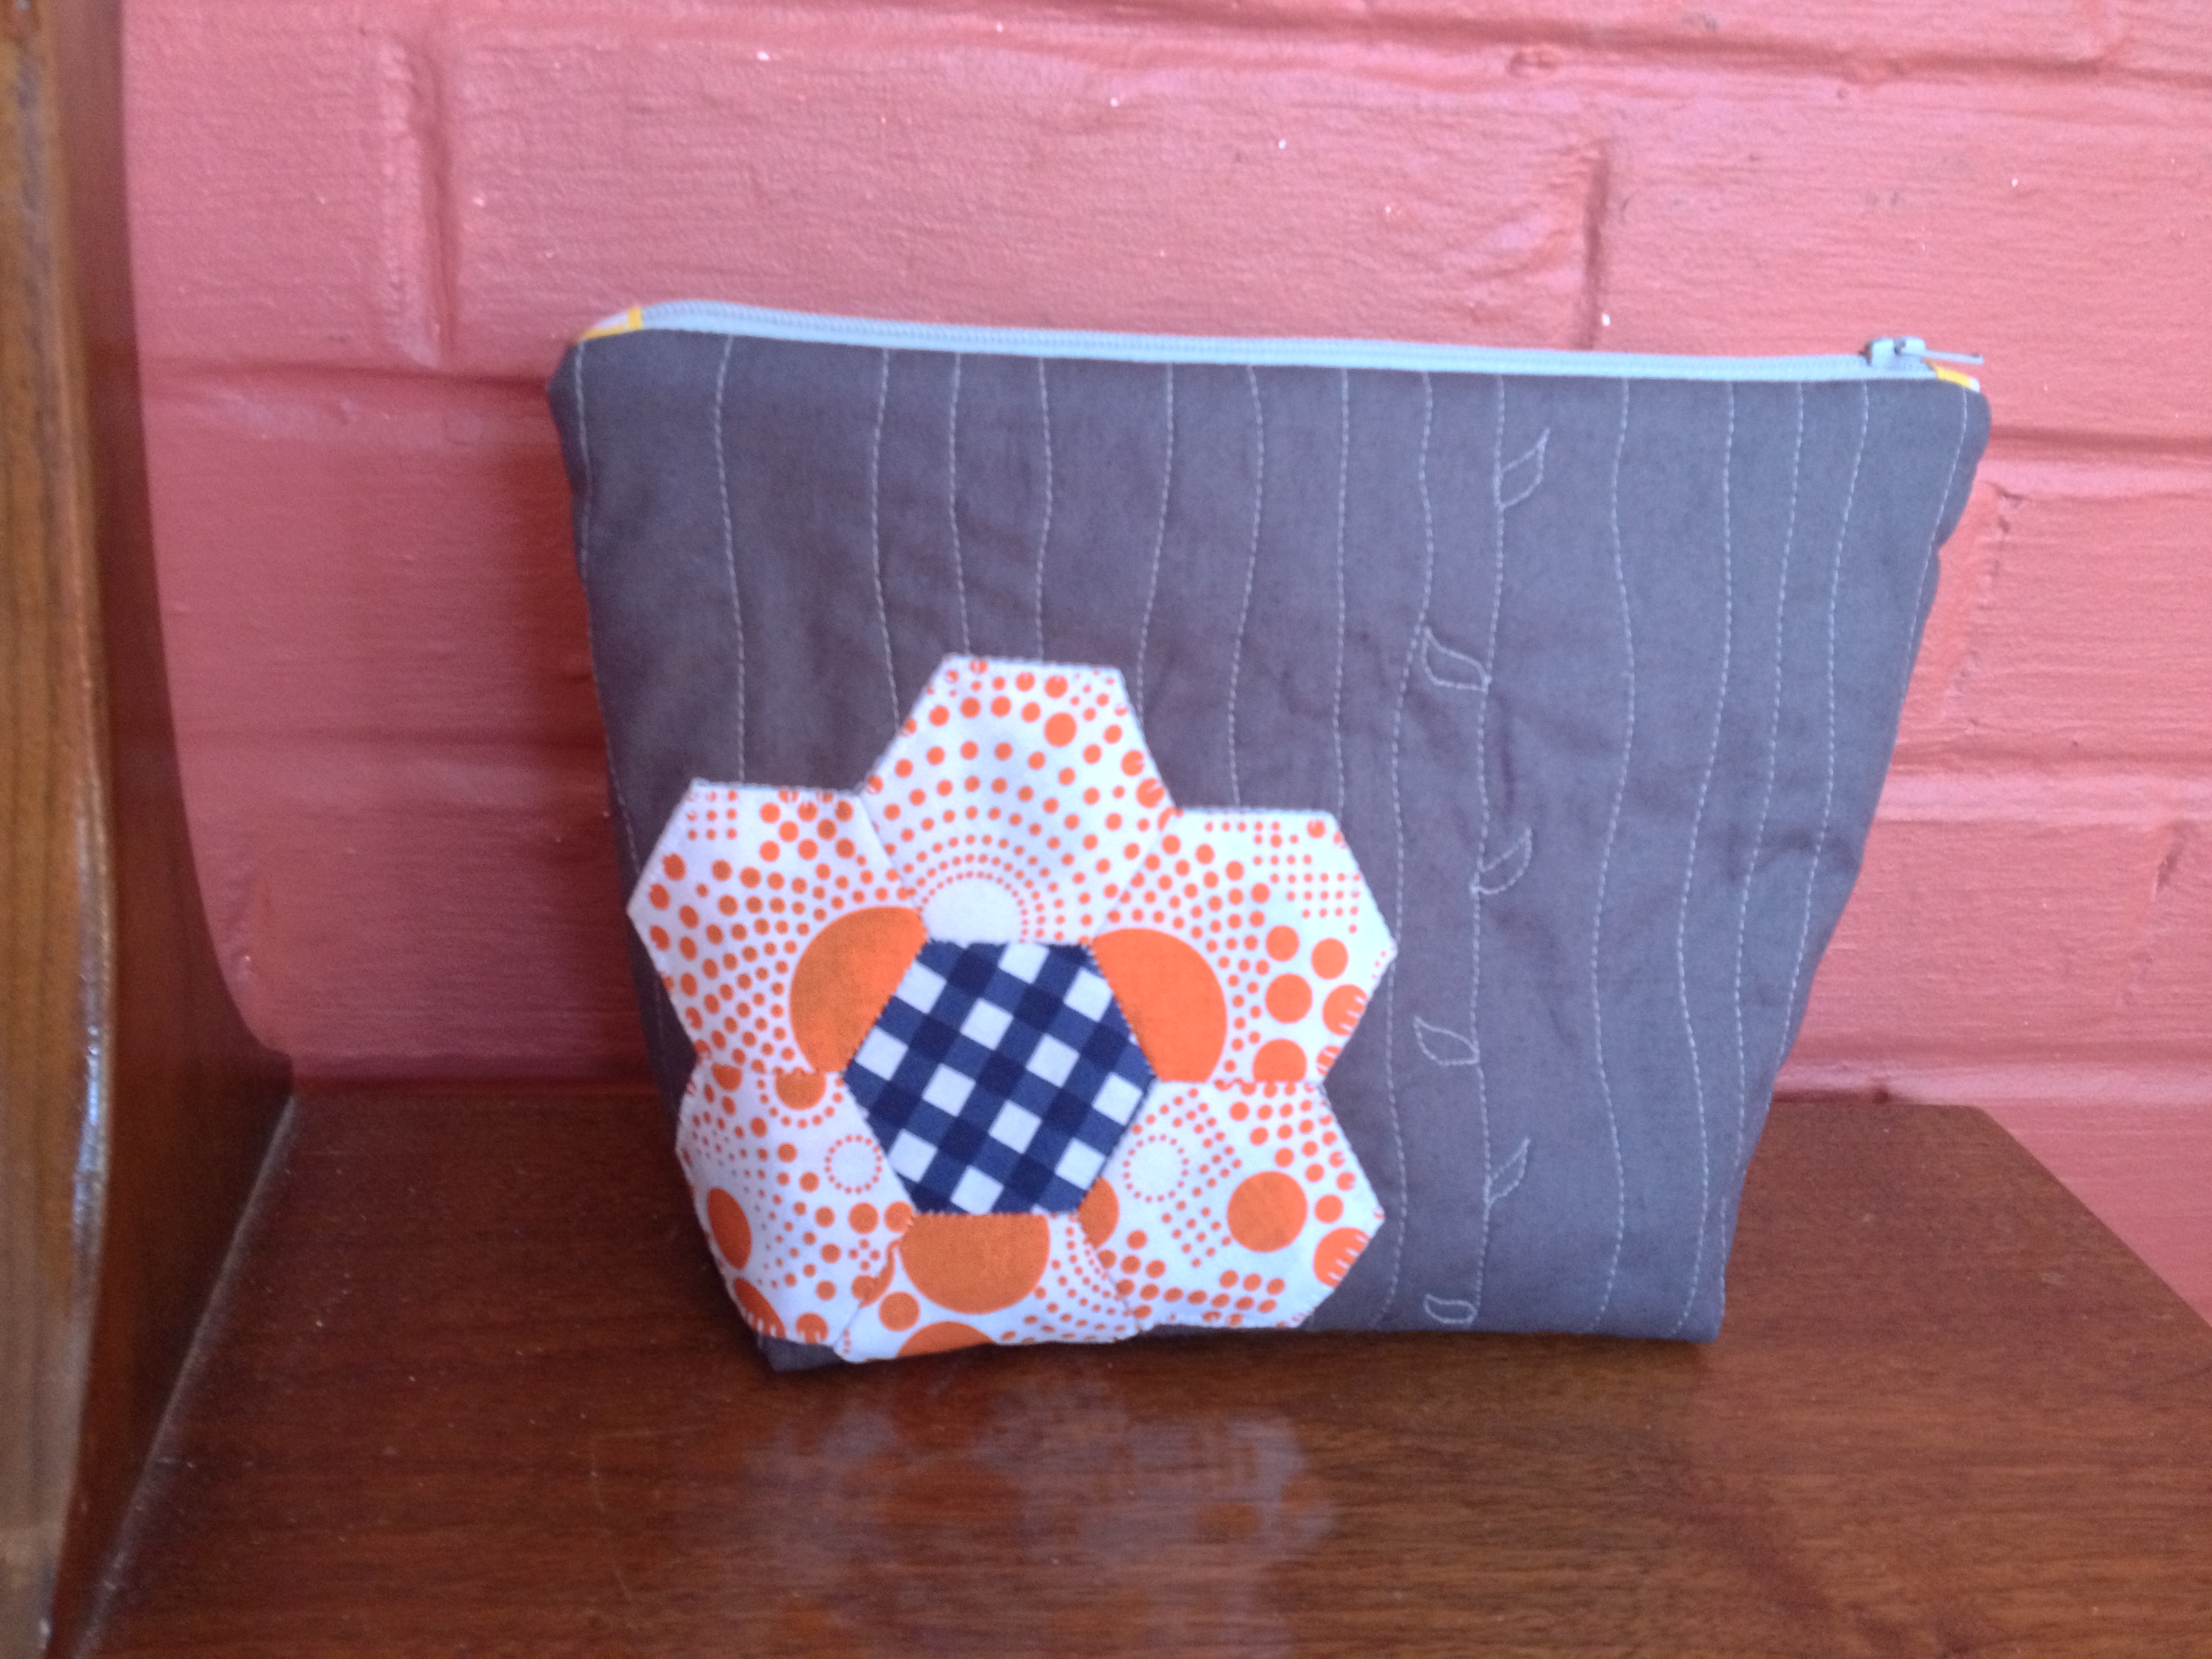
Hexagon pouch made with Riley Blake Fabric
The Modern Quilt Guild provided 6 fat eighths of this Riley Blake Fabric and challenged its members all around the world to make something from them and post a picture by Feb. 17th.
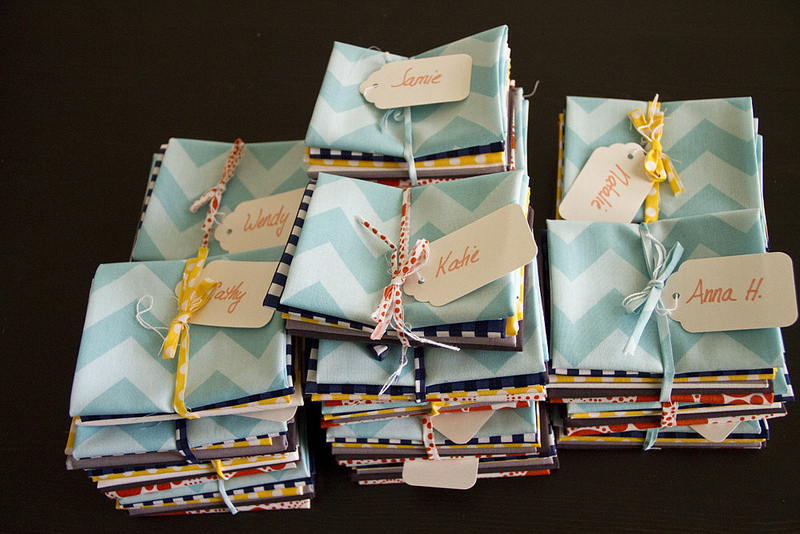
DCMQG’s group of fabric for the Riley Blake fabric challenge
The rules are simple – you can make anything that is quilted using these fabrics or any Riley Blake fabric and you can also add in any solids that you wish to.
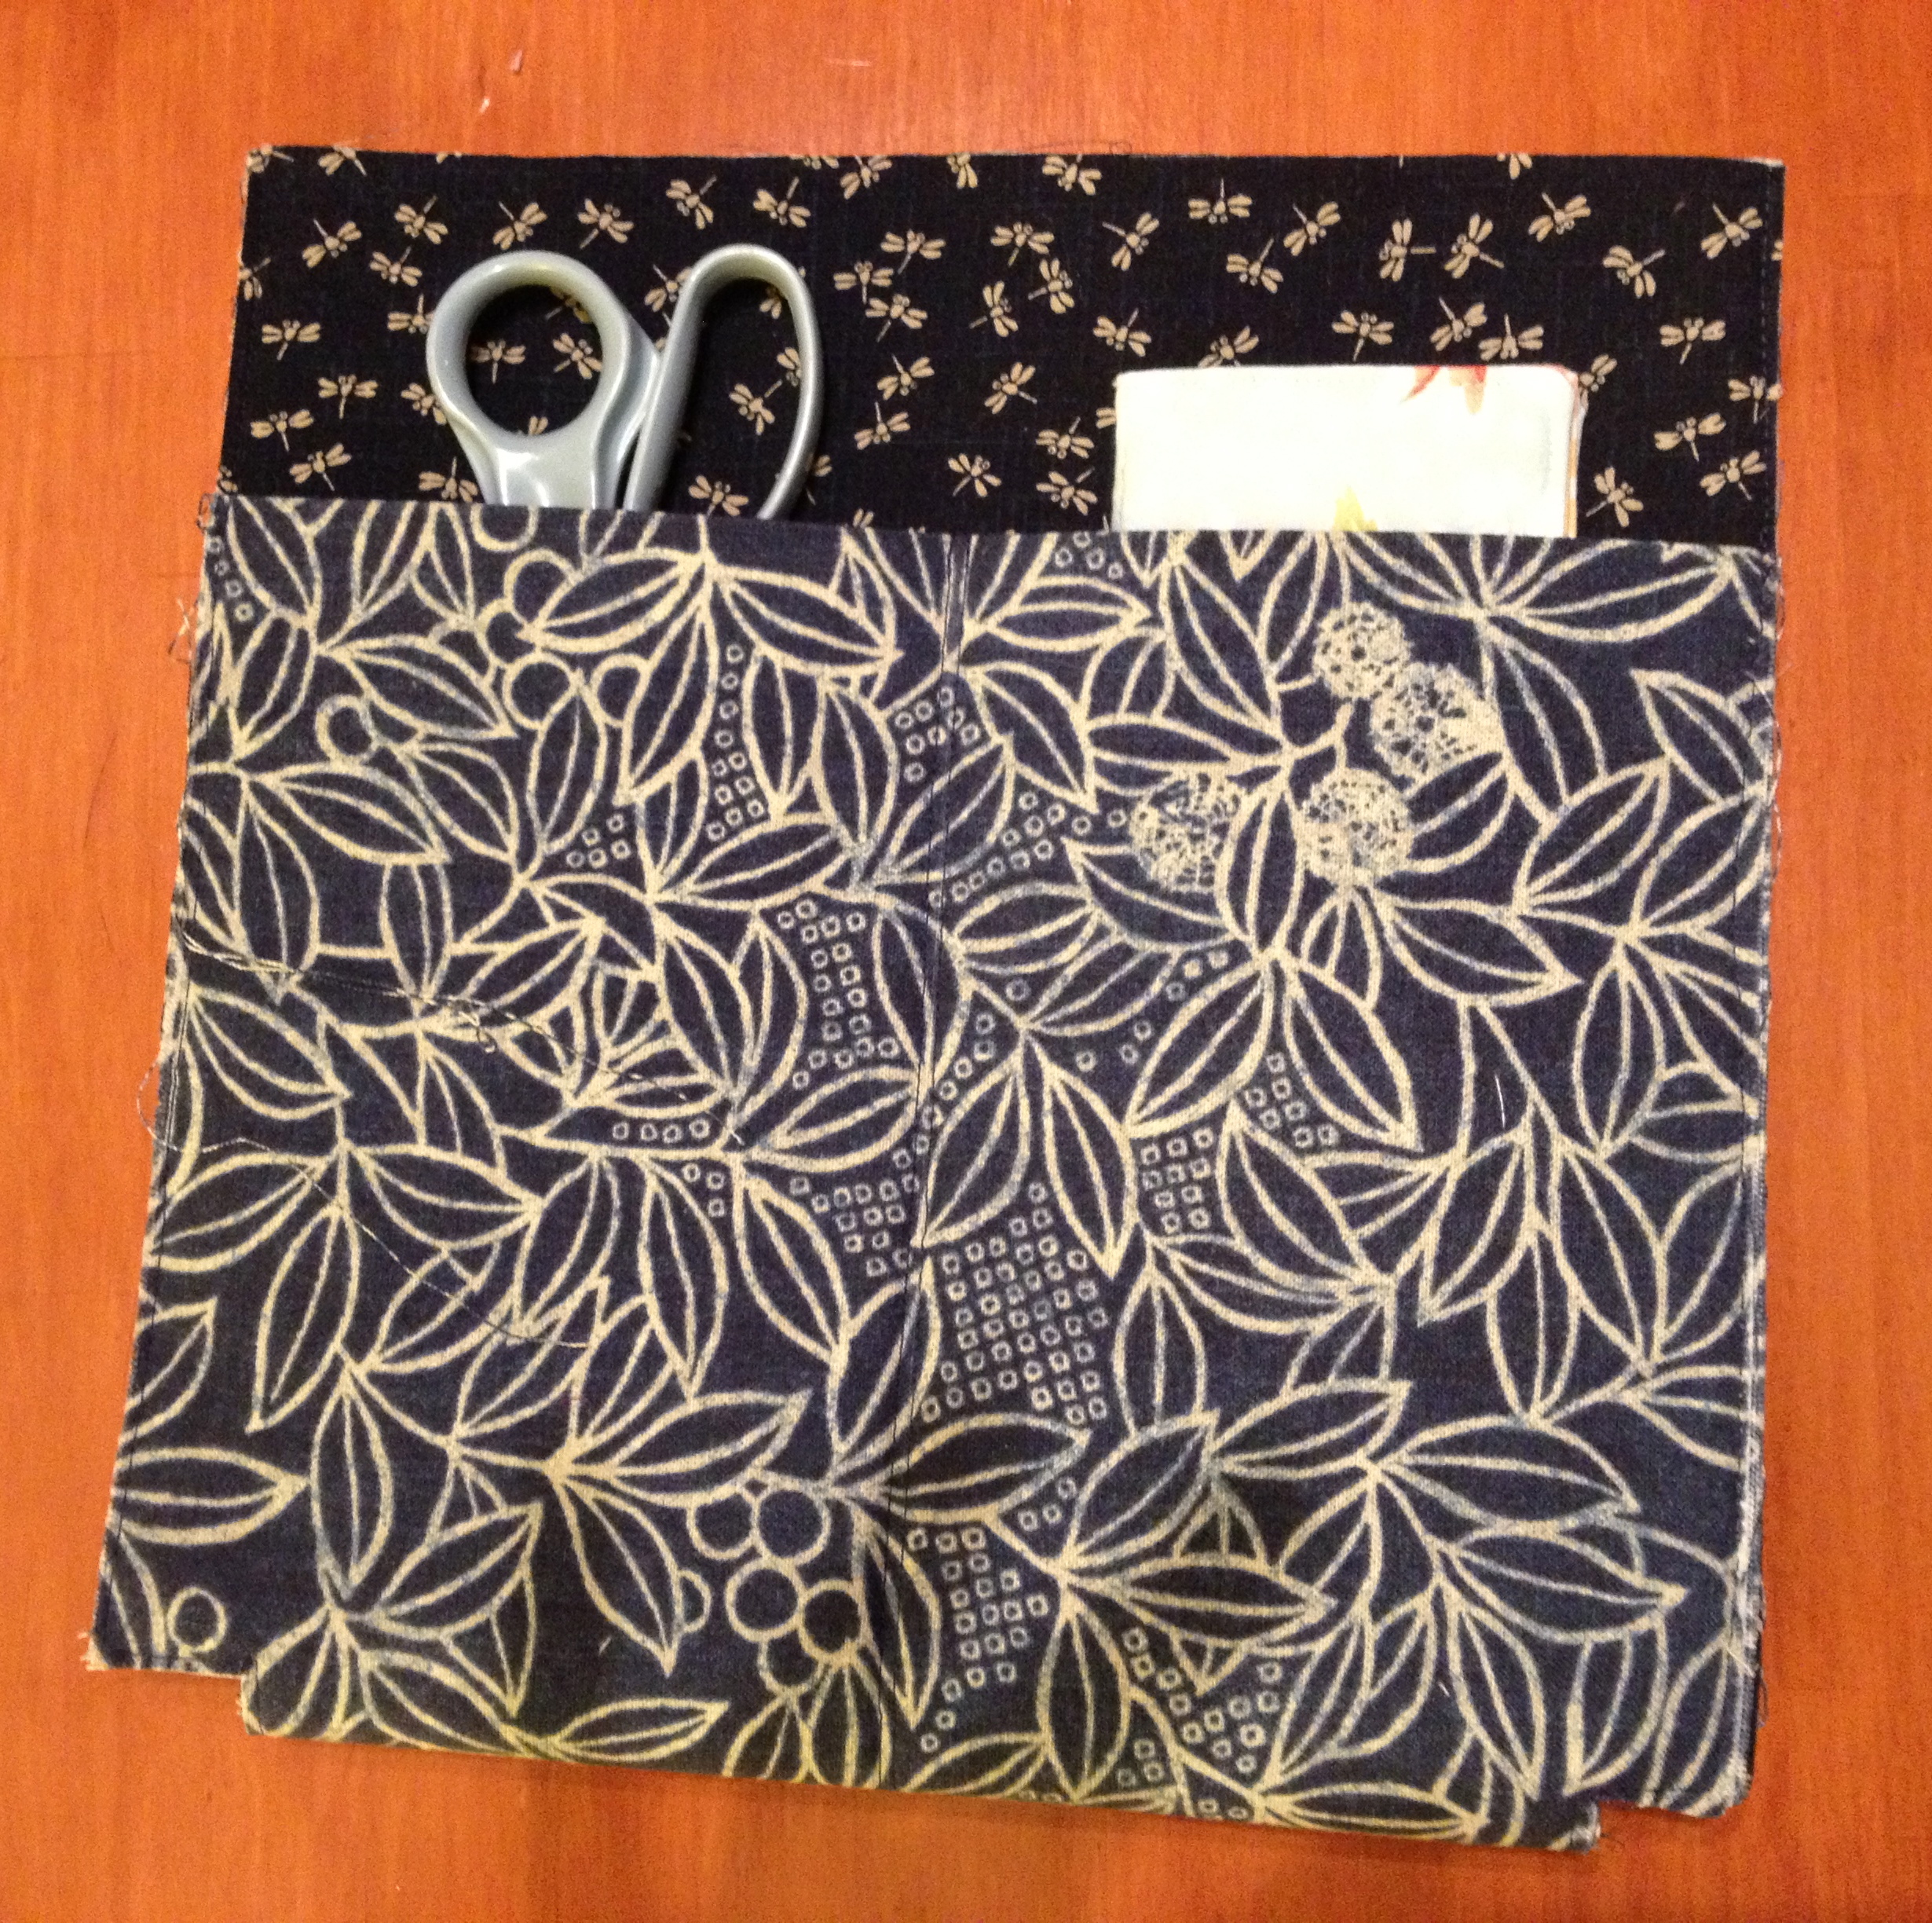
Back of pouch
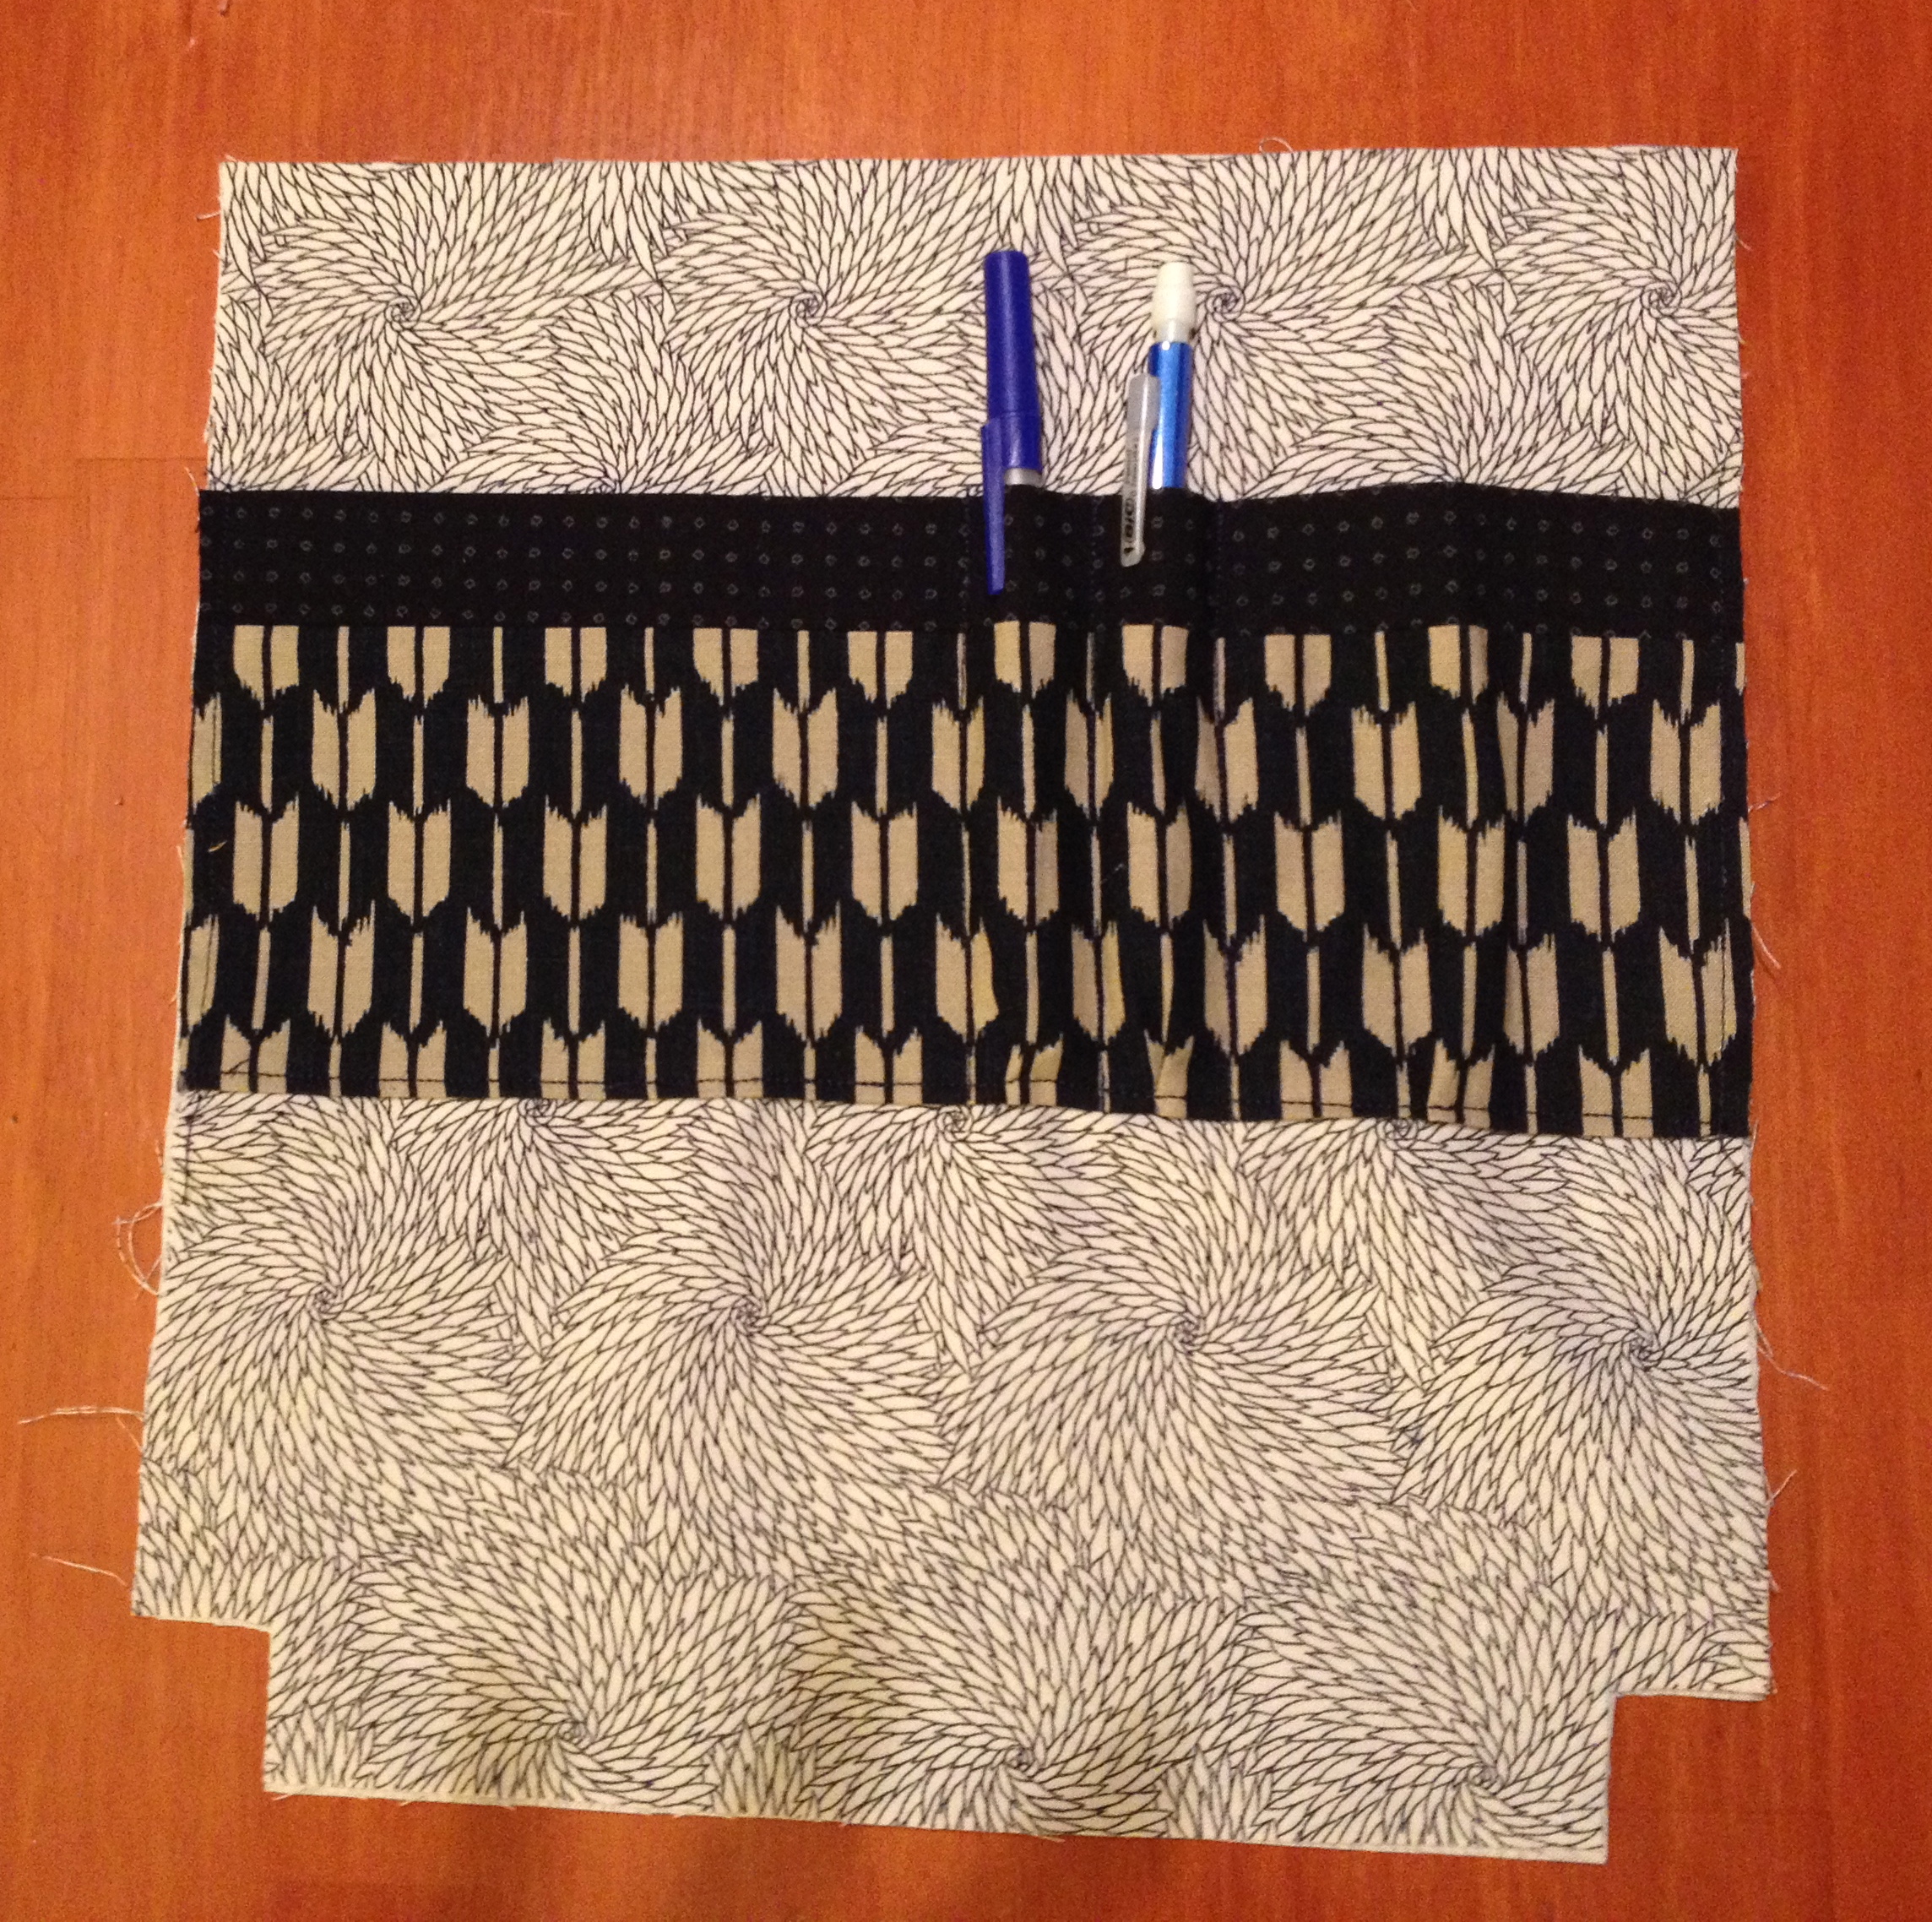
I just wanted to make something up with the bundle we were given. I used the whole piece of the solid grey for the outside and a white and grey stripe for the inside. I simply cut the grey piece in half and quilted both halves.
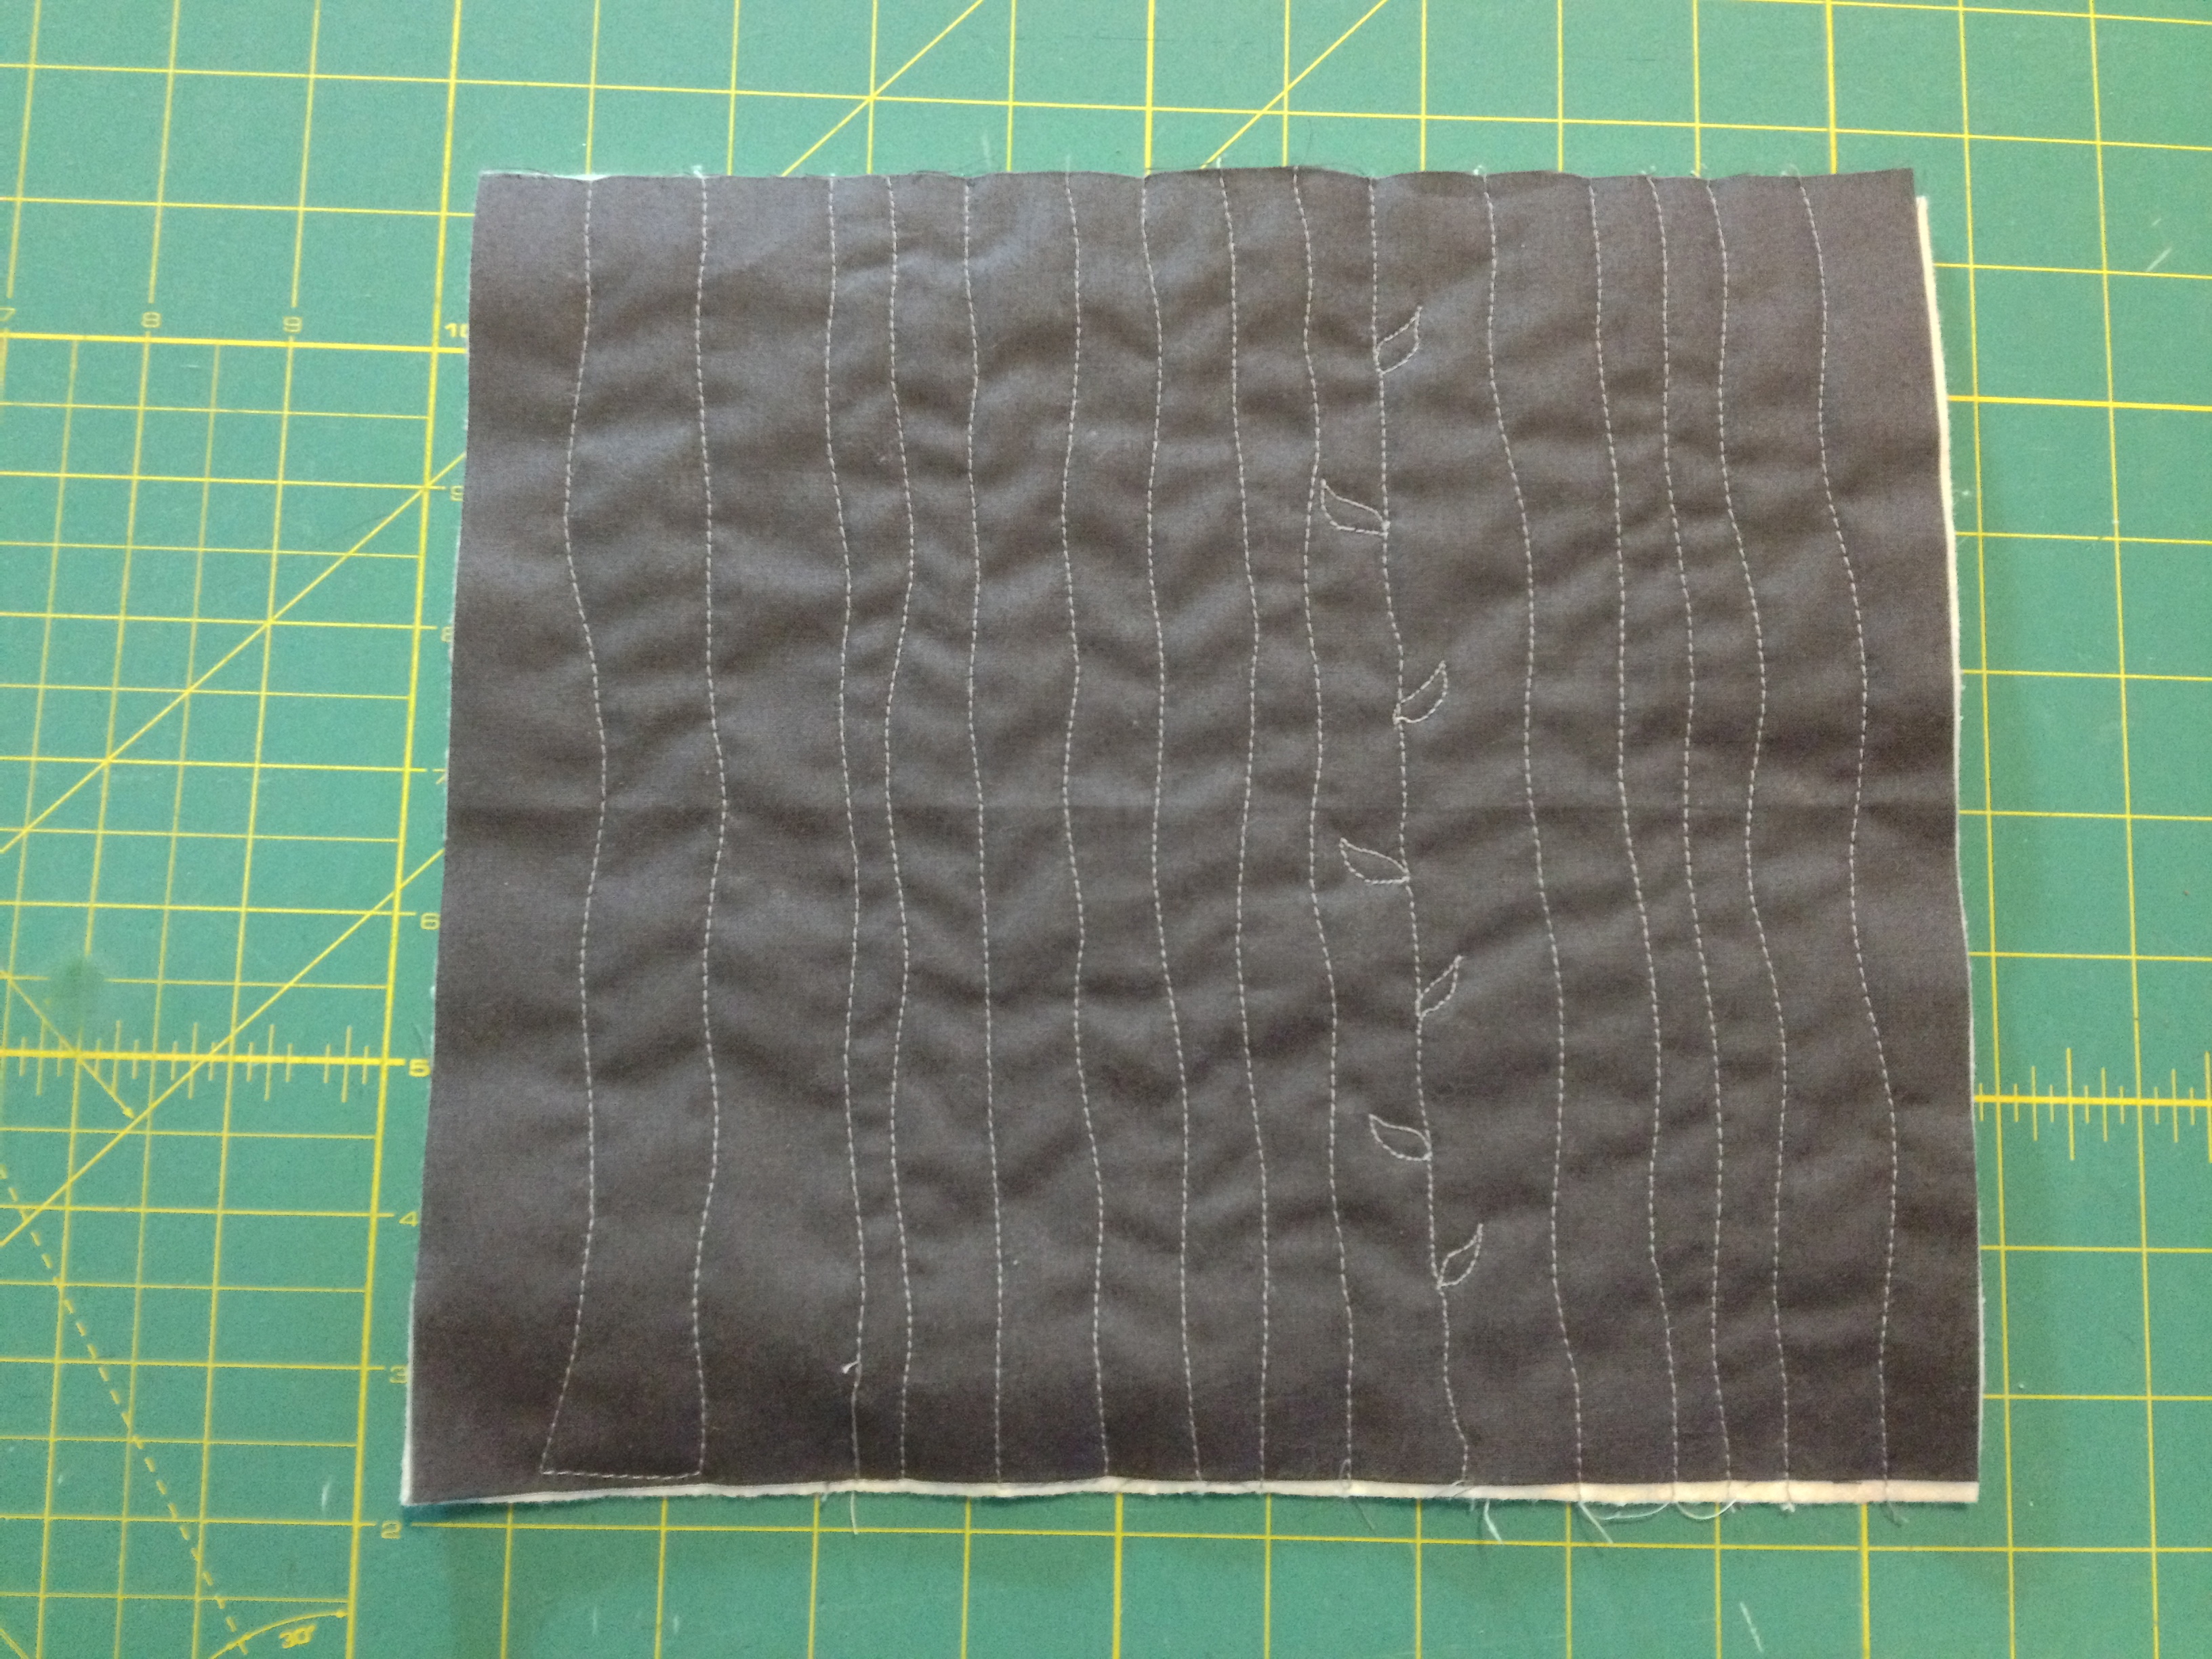
Quilted wavy lines and added some leaves to one line just for fun.
I then made English Paper Pieced hexagons out of the other 4 fabrics into 2 flowers and appliquéd them onto the outside.
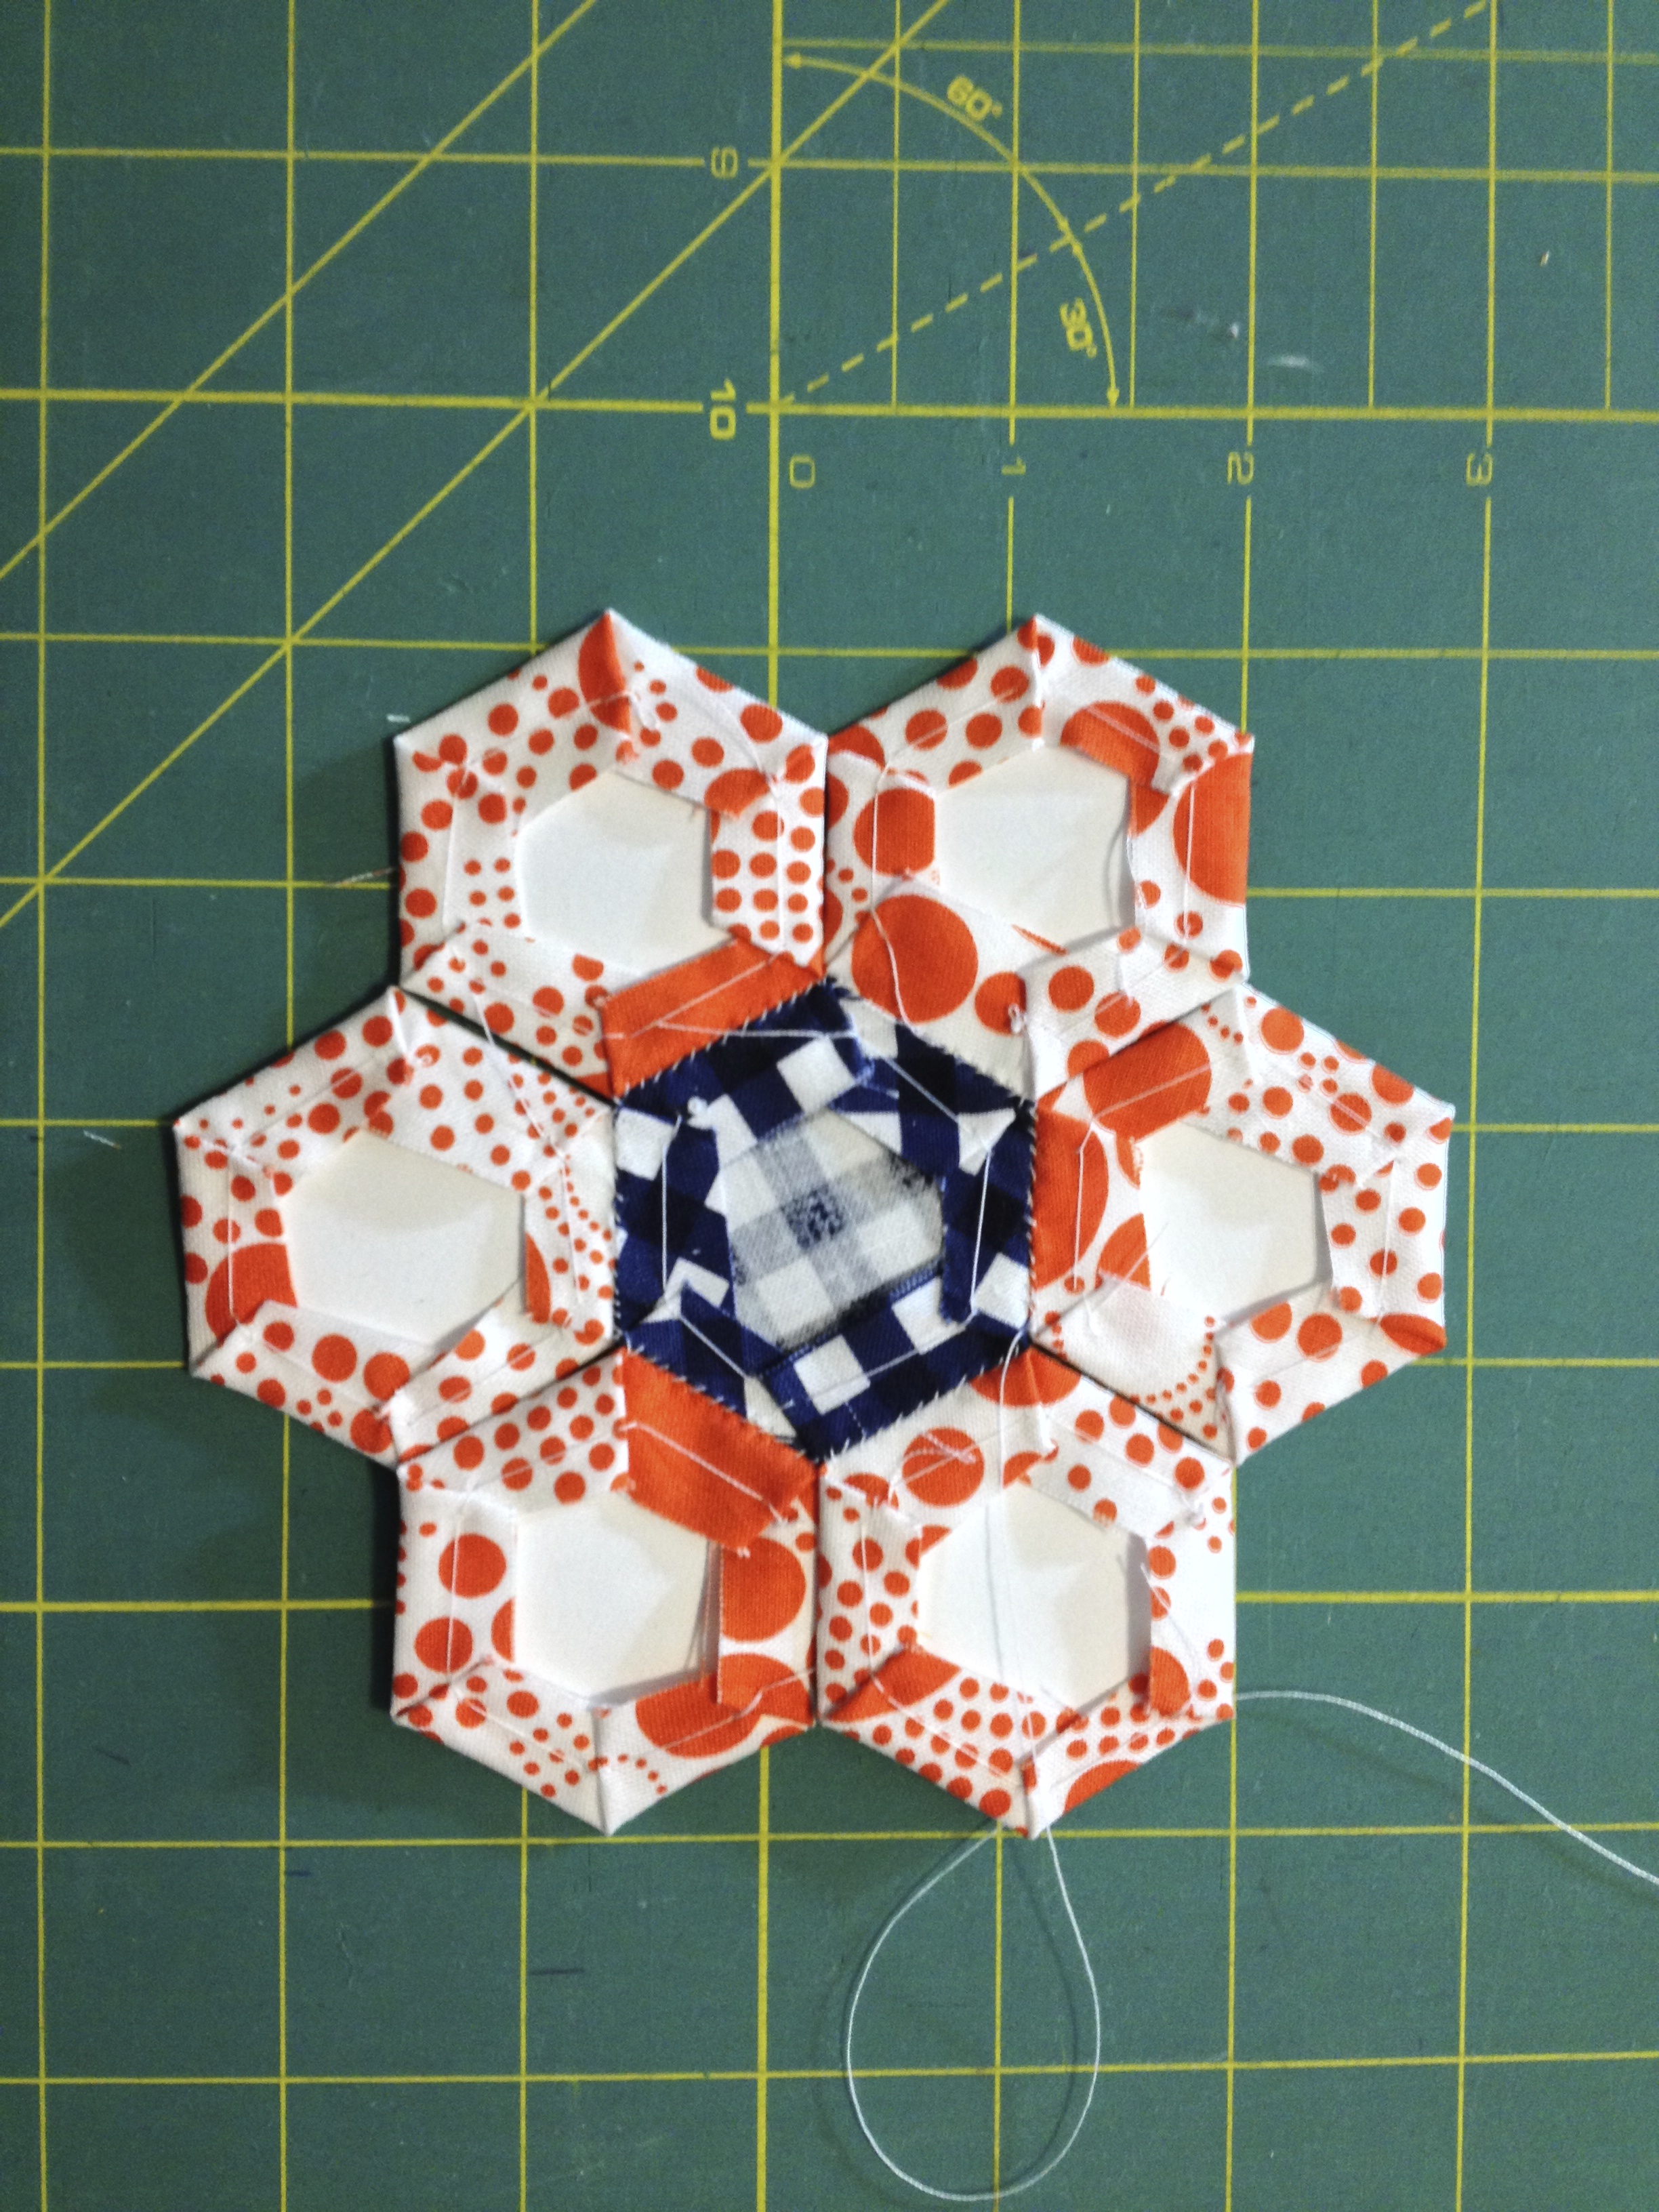
EPP hexagon flower in progress
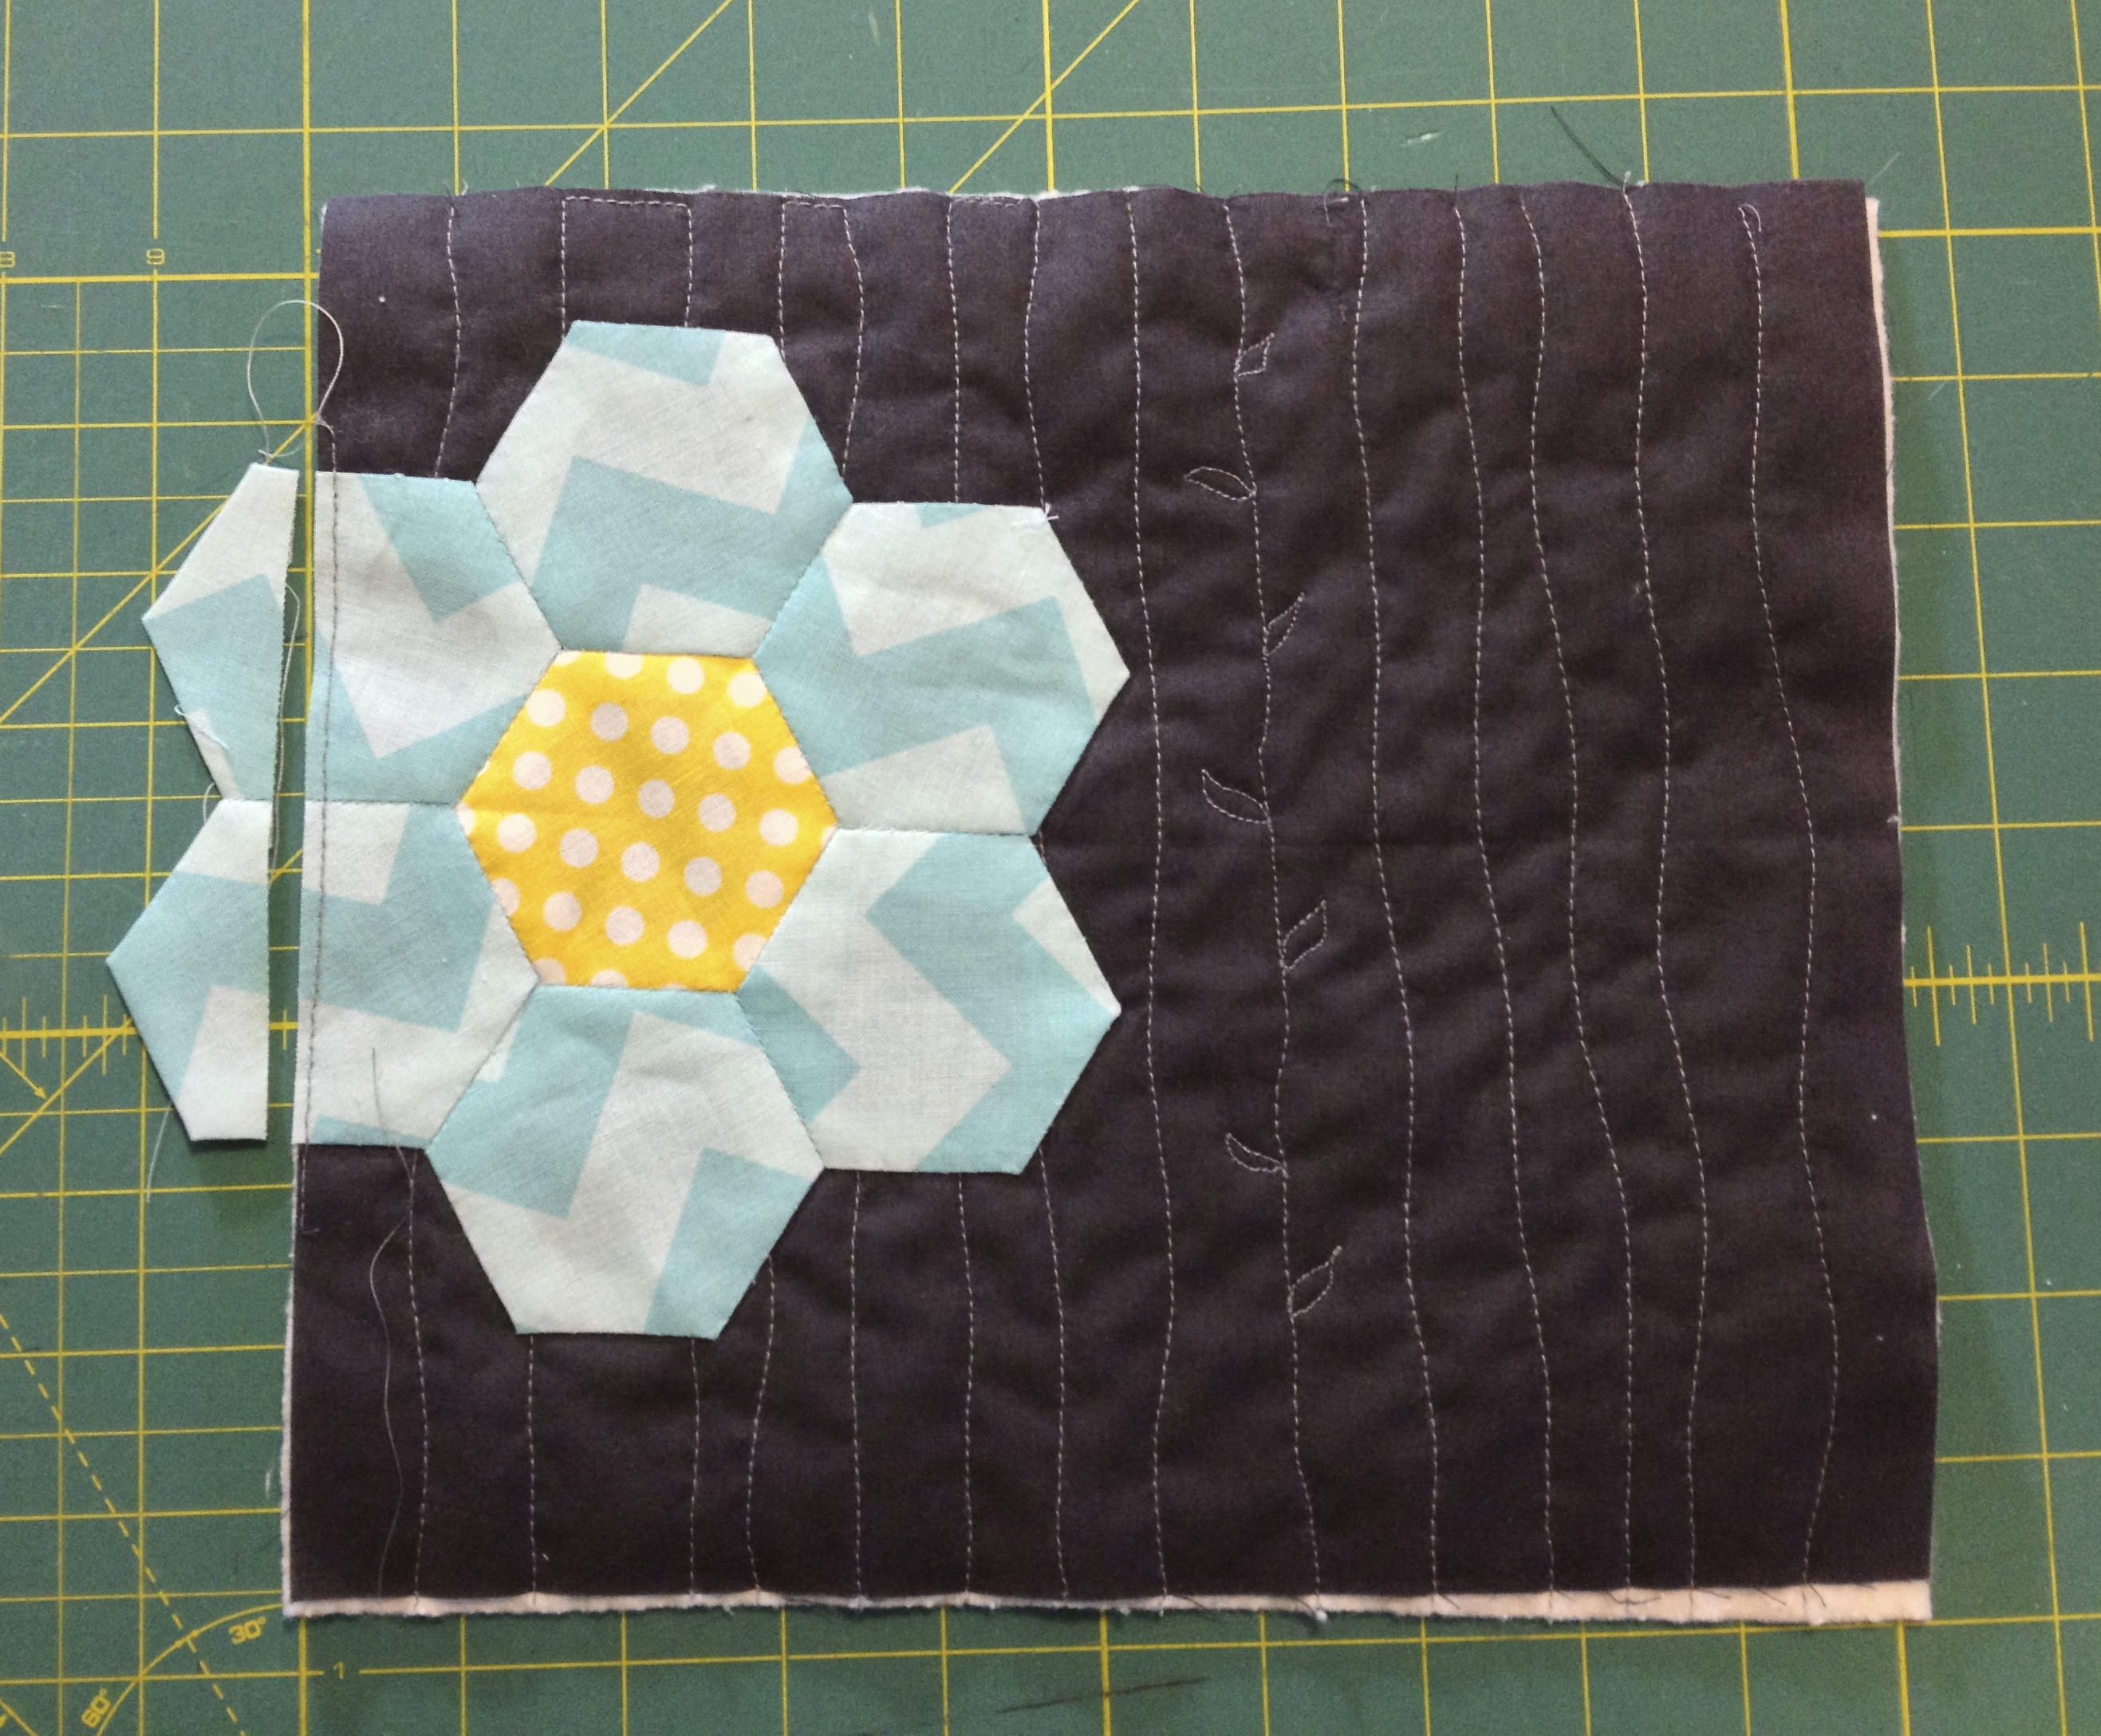
I wanted this flower to be flowing off the edge.
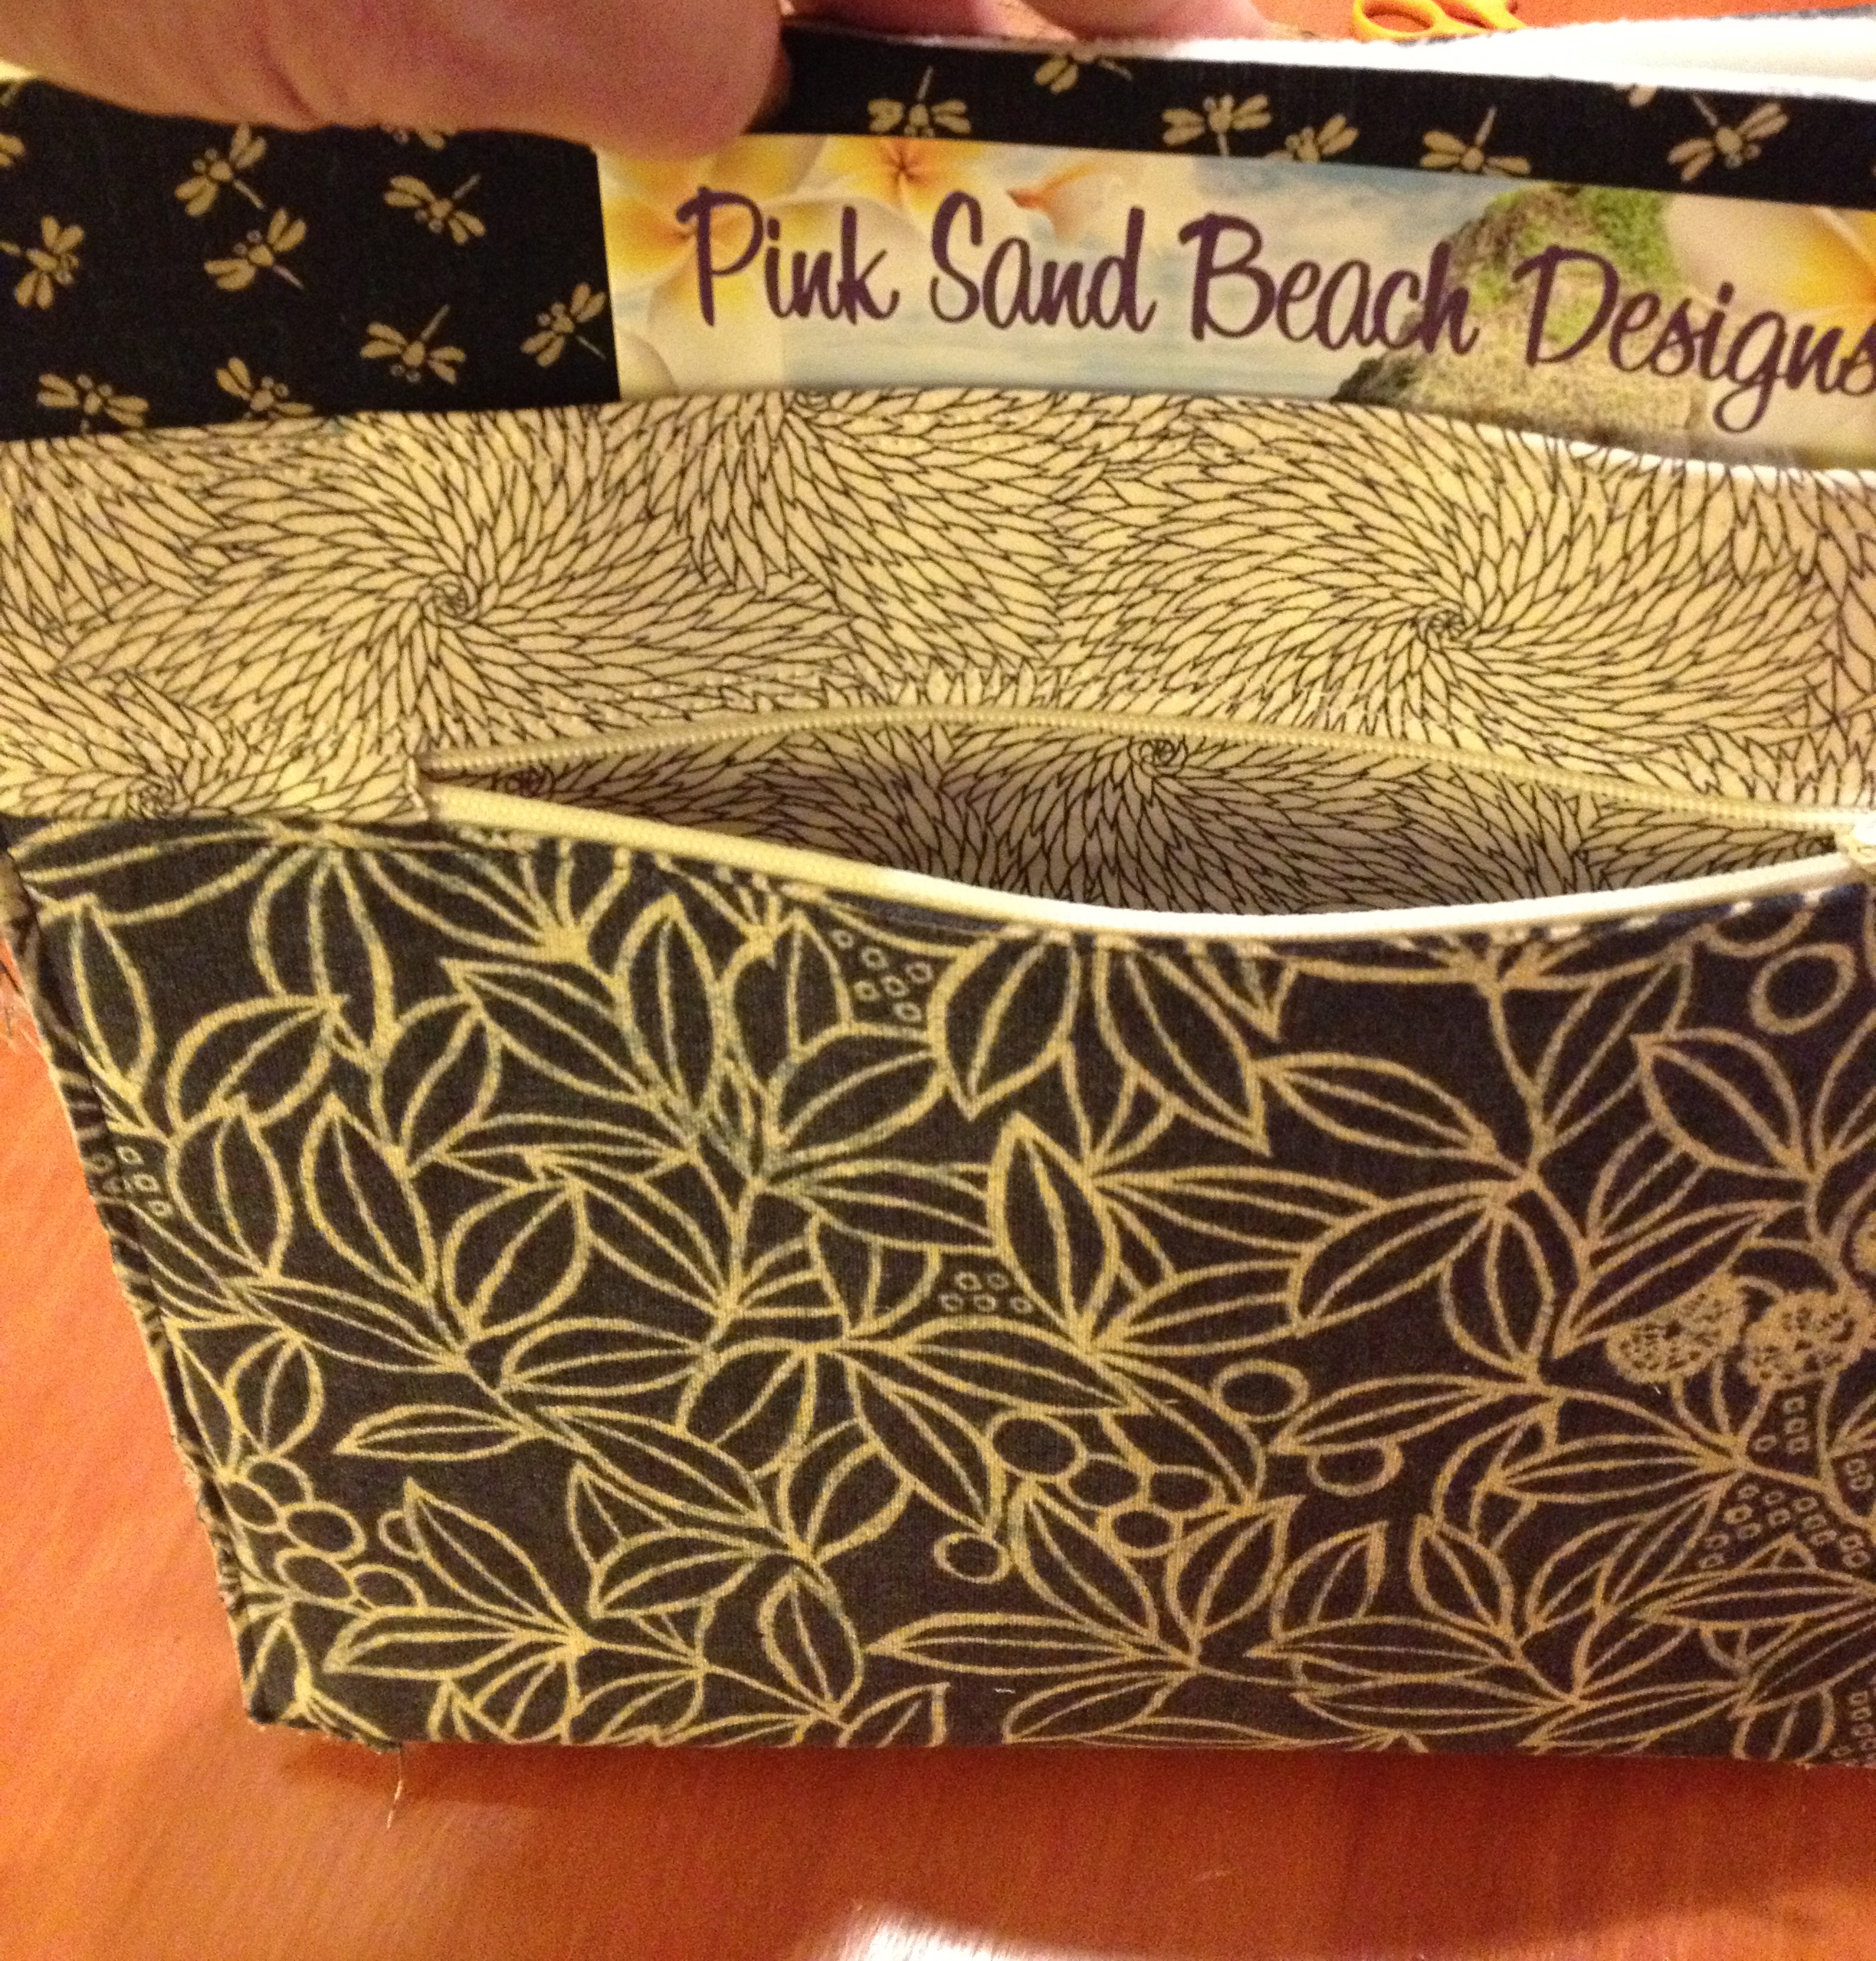
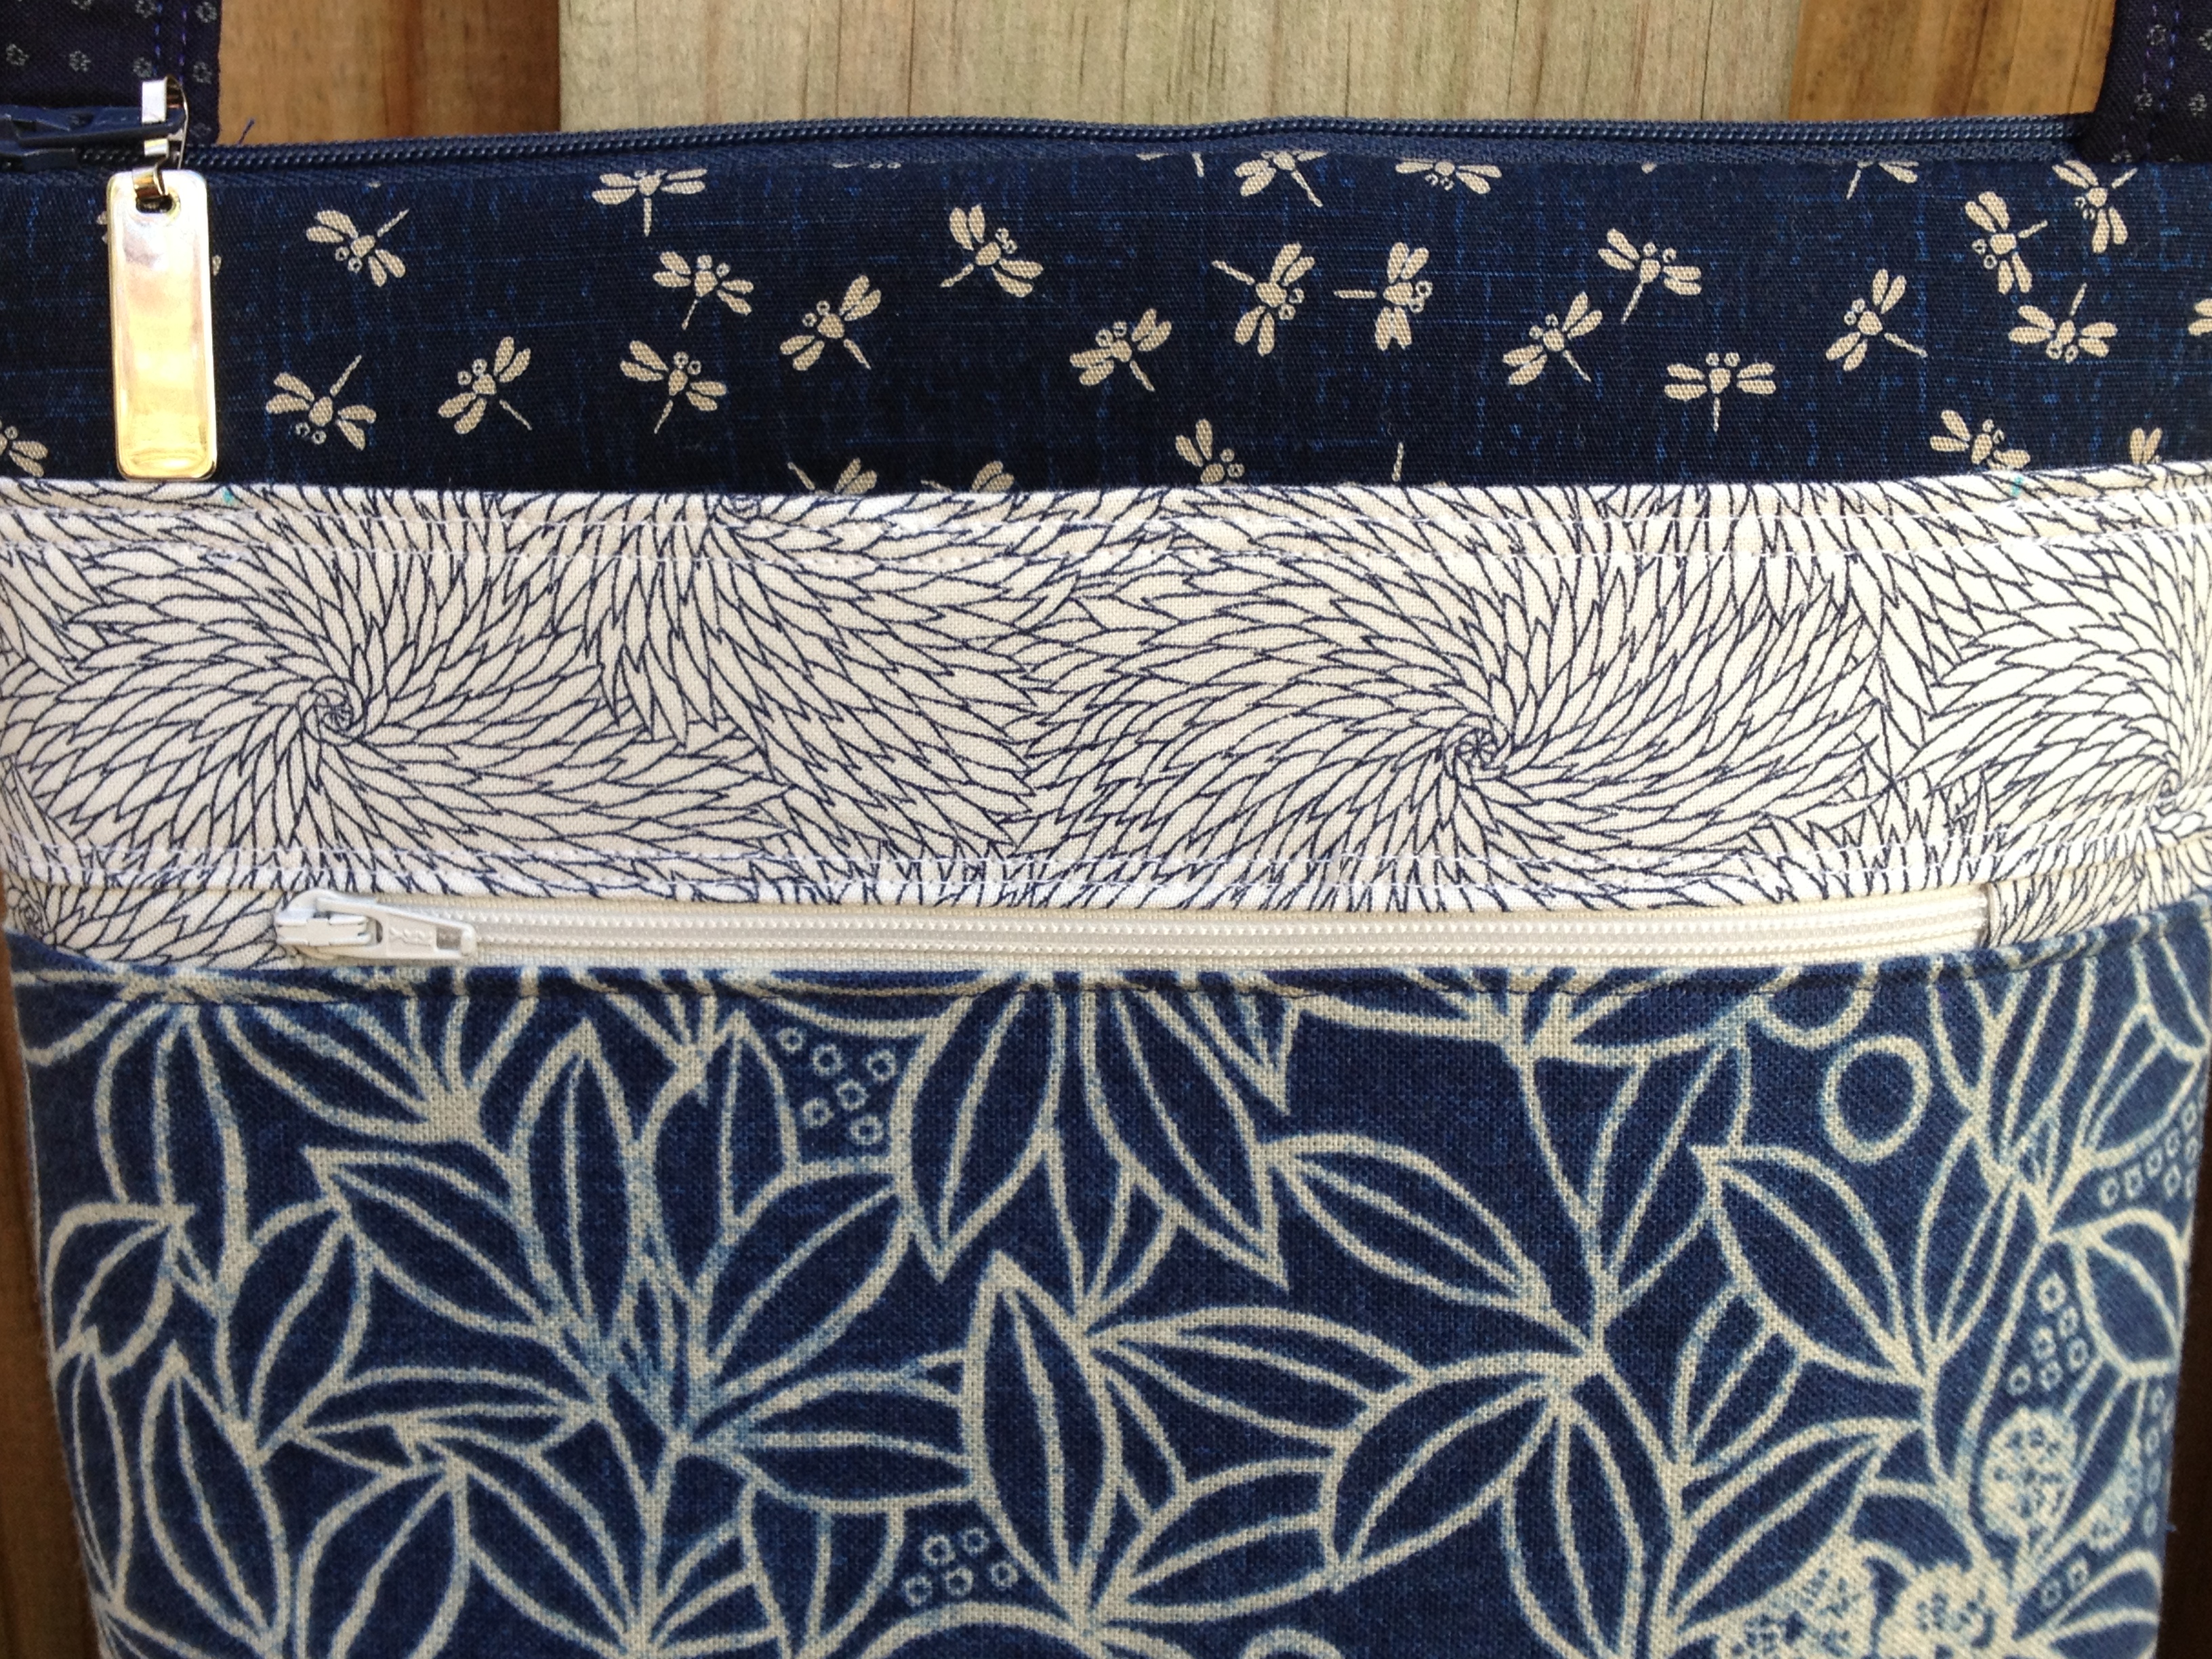
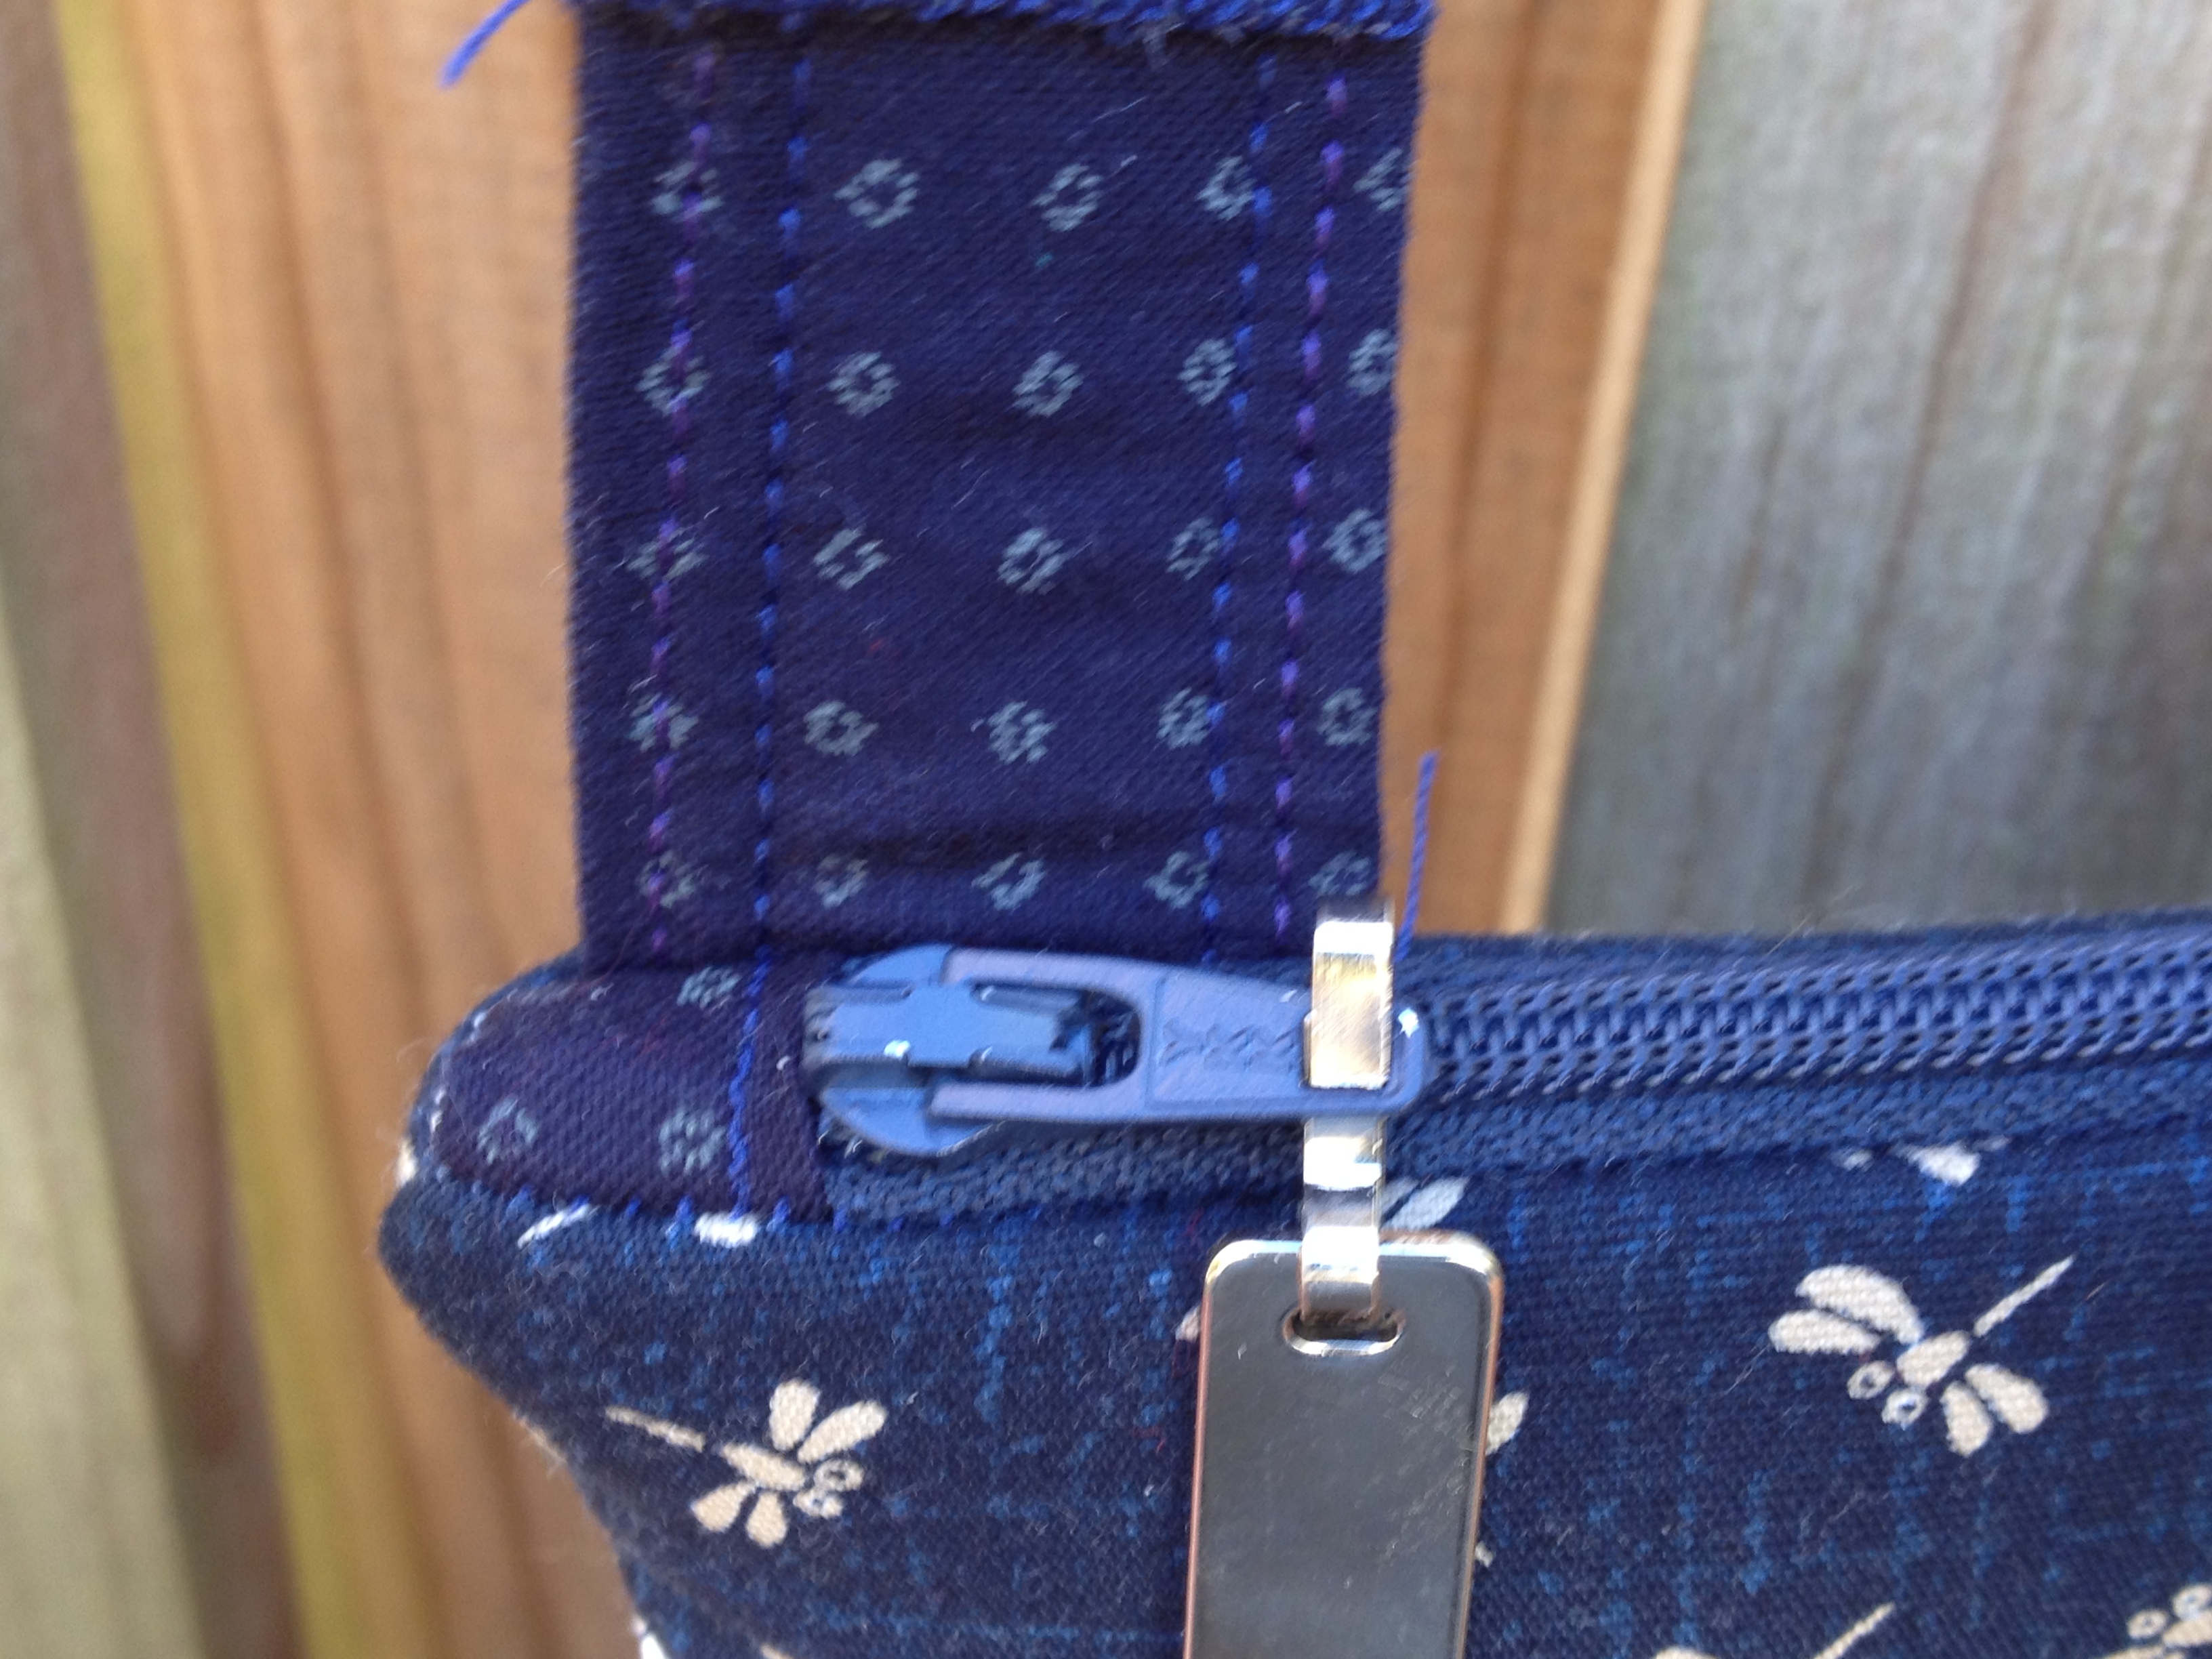
I inserted the zipper using my favorite technique of using little fabric tabs on both sides of the cut zipper to make the final product all neat and tidy. How this works is that there doesn’t end up being any zipper parts caught in the sewn side seam. In fact, I try to make it such that the fabric tabs aren’t caught there either.

Zipper inserted. You can’t see it here, but the lining is also attached at this point.
I had intended to make a flat bag, but right at the very end of sewing it up, I decided to box the bottom corners so that the bag would stand up.

Boxed corners on the bottom
This kind of messed with my hexagon flower placement, but I do think it makes the bag more useful.