

Pockets to Go by Terry Atkinson
Aren’t these adorable? I made one and a friend made the other. The pattern is called “Pockets To Go” by Atkinson Designs. They are sewing supply organizers and can hold all sorts of supplies. I use mine all the time.
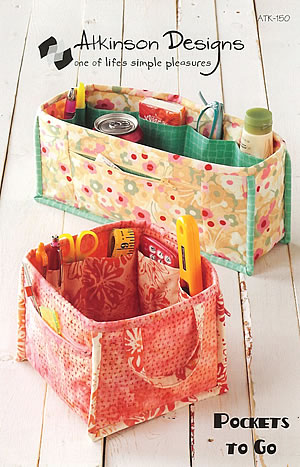

There are zippered pockets on two of the outer sides and handles on the other. It all goes together very cleverly.
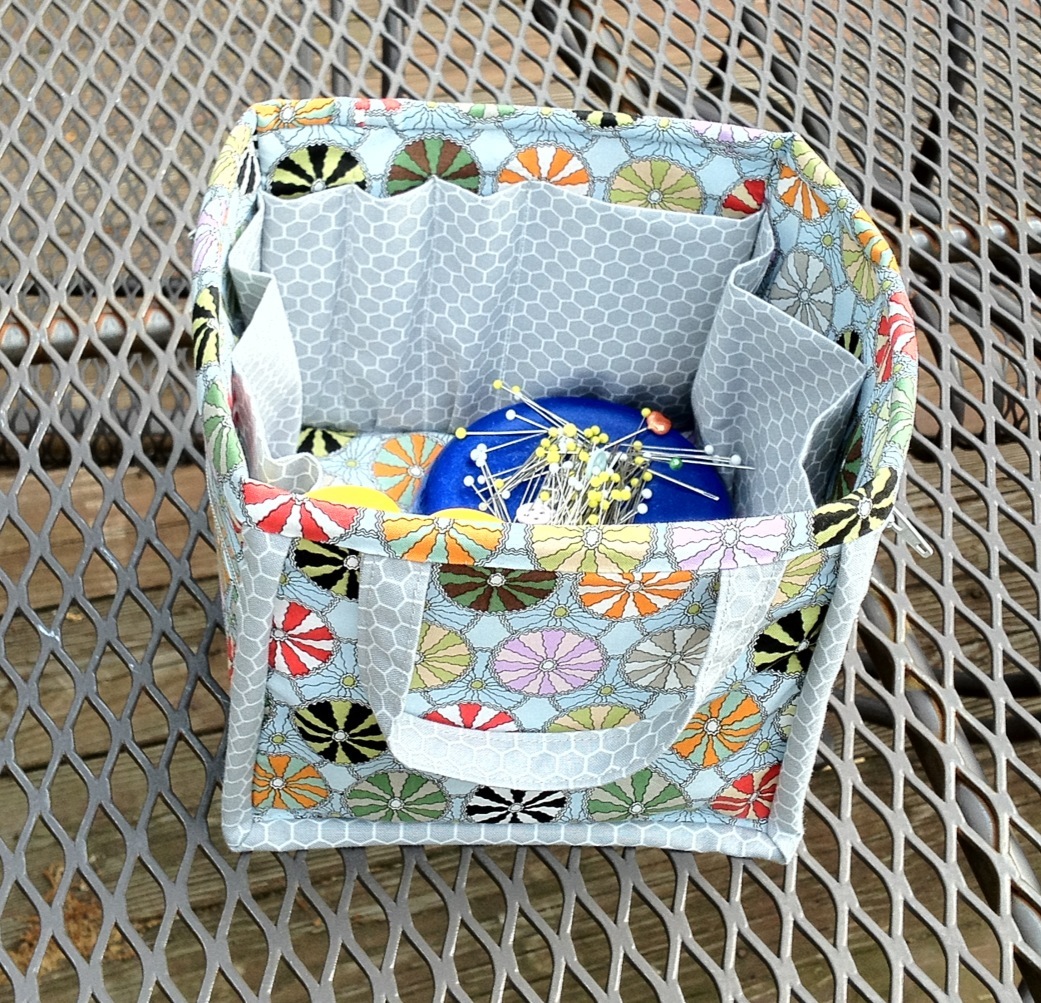
Sewing caddy side view.
The side panels are cut for both the inside and outside. Pockets are added to all 4 inside panels. Zippered pockets are added to two of the outside panels.

The inside and outside panels are sewn together and the bottom added. The last step is to add binding around the top and before this is done, a panel of pel-tex is slipped in to give it sturdiness.
I gave the colorful one to my niece as a gift and made this linen one for myself. Another one of my nieces, who doesn’t sew, thought it looked great to use to hold makeup. Hmmm. . . . that’s a definite Christmas gift idea for this year! I have 4 nieces and 3 daughters who I would love to sew something for as a holiday gift.

Linen and polka dot cotton fabric
Another friend made the longer skinnier version to use in her car to hold things when she travels.

Long caddy
She made it out of travel fabric. Isn’t it great? I may have to do the same for my car.
I really love this pattern but I would like to point out a few things. There are a couple problems with the instructions which may or may not be a factor depending on your level of sewing expertise. You are instructed to make the inside pockets as shown “in Terry’s Tip on page 1” but Terry’s Tip is on page 4. The more confusing error is on sewing on the binding along the sides and bottom of the caddy. The directions and illustration had me trying to sew it on in such a way that I could not neatly cover the corner. Once I realized that it needs to be done exactly like a quilt binding and I could achieve this by starting it on the opposite side of the raw seams, I was able to do it perfectly.


Love these. I have seen the pattern before, but never realized all the extras there are to the boxes. I think I’ll have to order the pattern!
BTW you have a lovely blog! Many many wonderful projects and so securely made.
Aunt Linda, I LOVE your blog!
Bonjour. J’aime beaucoup ces deux modèles, tellement bien finis et si pratiques. Merci.
How did you do the top binding? I can’t seem to figure it out!
The binding on the top is tricky! I did it just like I would a quilt binding. I took the strip of fabric called for and ironed it in half lengthwise. Then I sewed the side with the raw edges to the INSIDE of the top of the box. I found this easier than trying to sew it to the outside. I overlapped one short end of the binding over the other. Then I hand sewed the folded edge to the outside. I flattened the edges each time I came to them and just sewed over them. This seemed to work for me but was a bit of a struggle. Good luck!