

Diaper bag version of the Multi-Tasker Bag. Size is 12″ high, 14″ wide, 5″ deep.
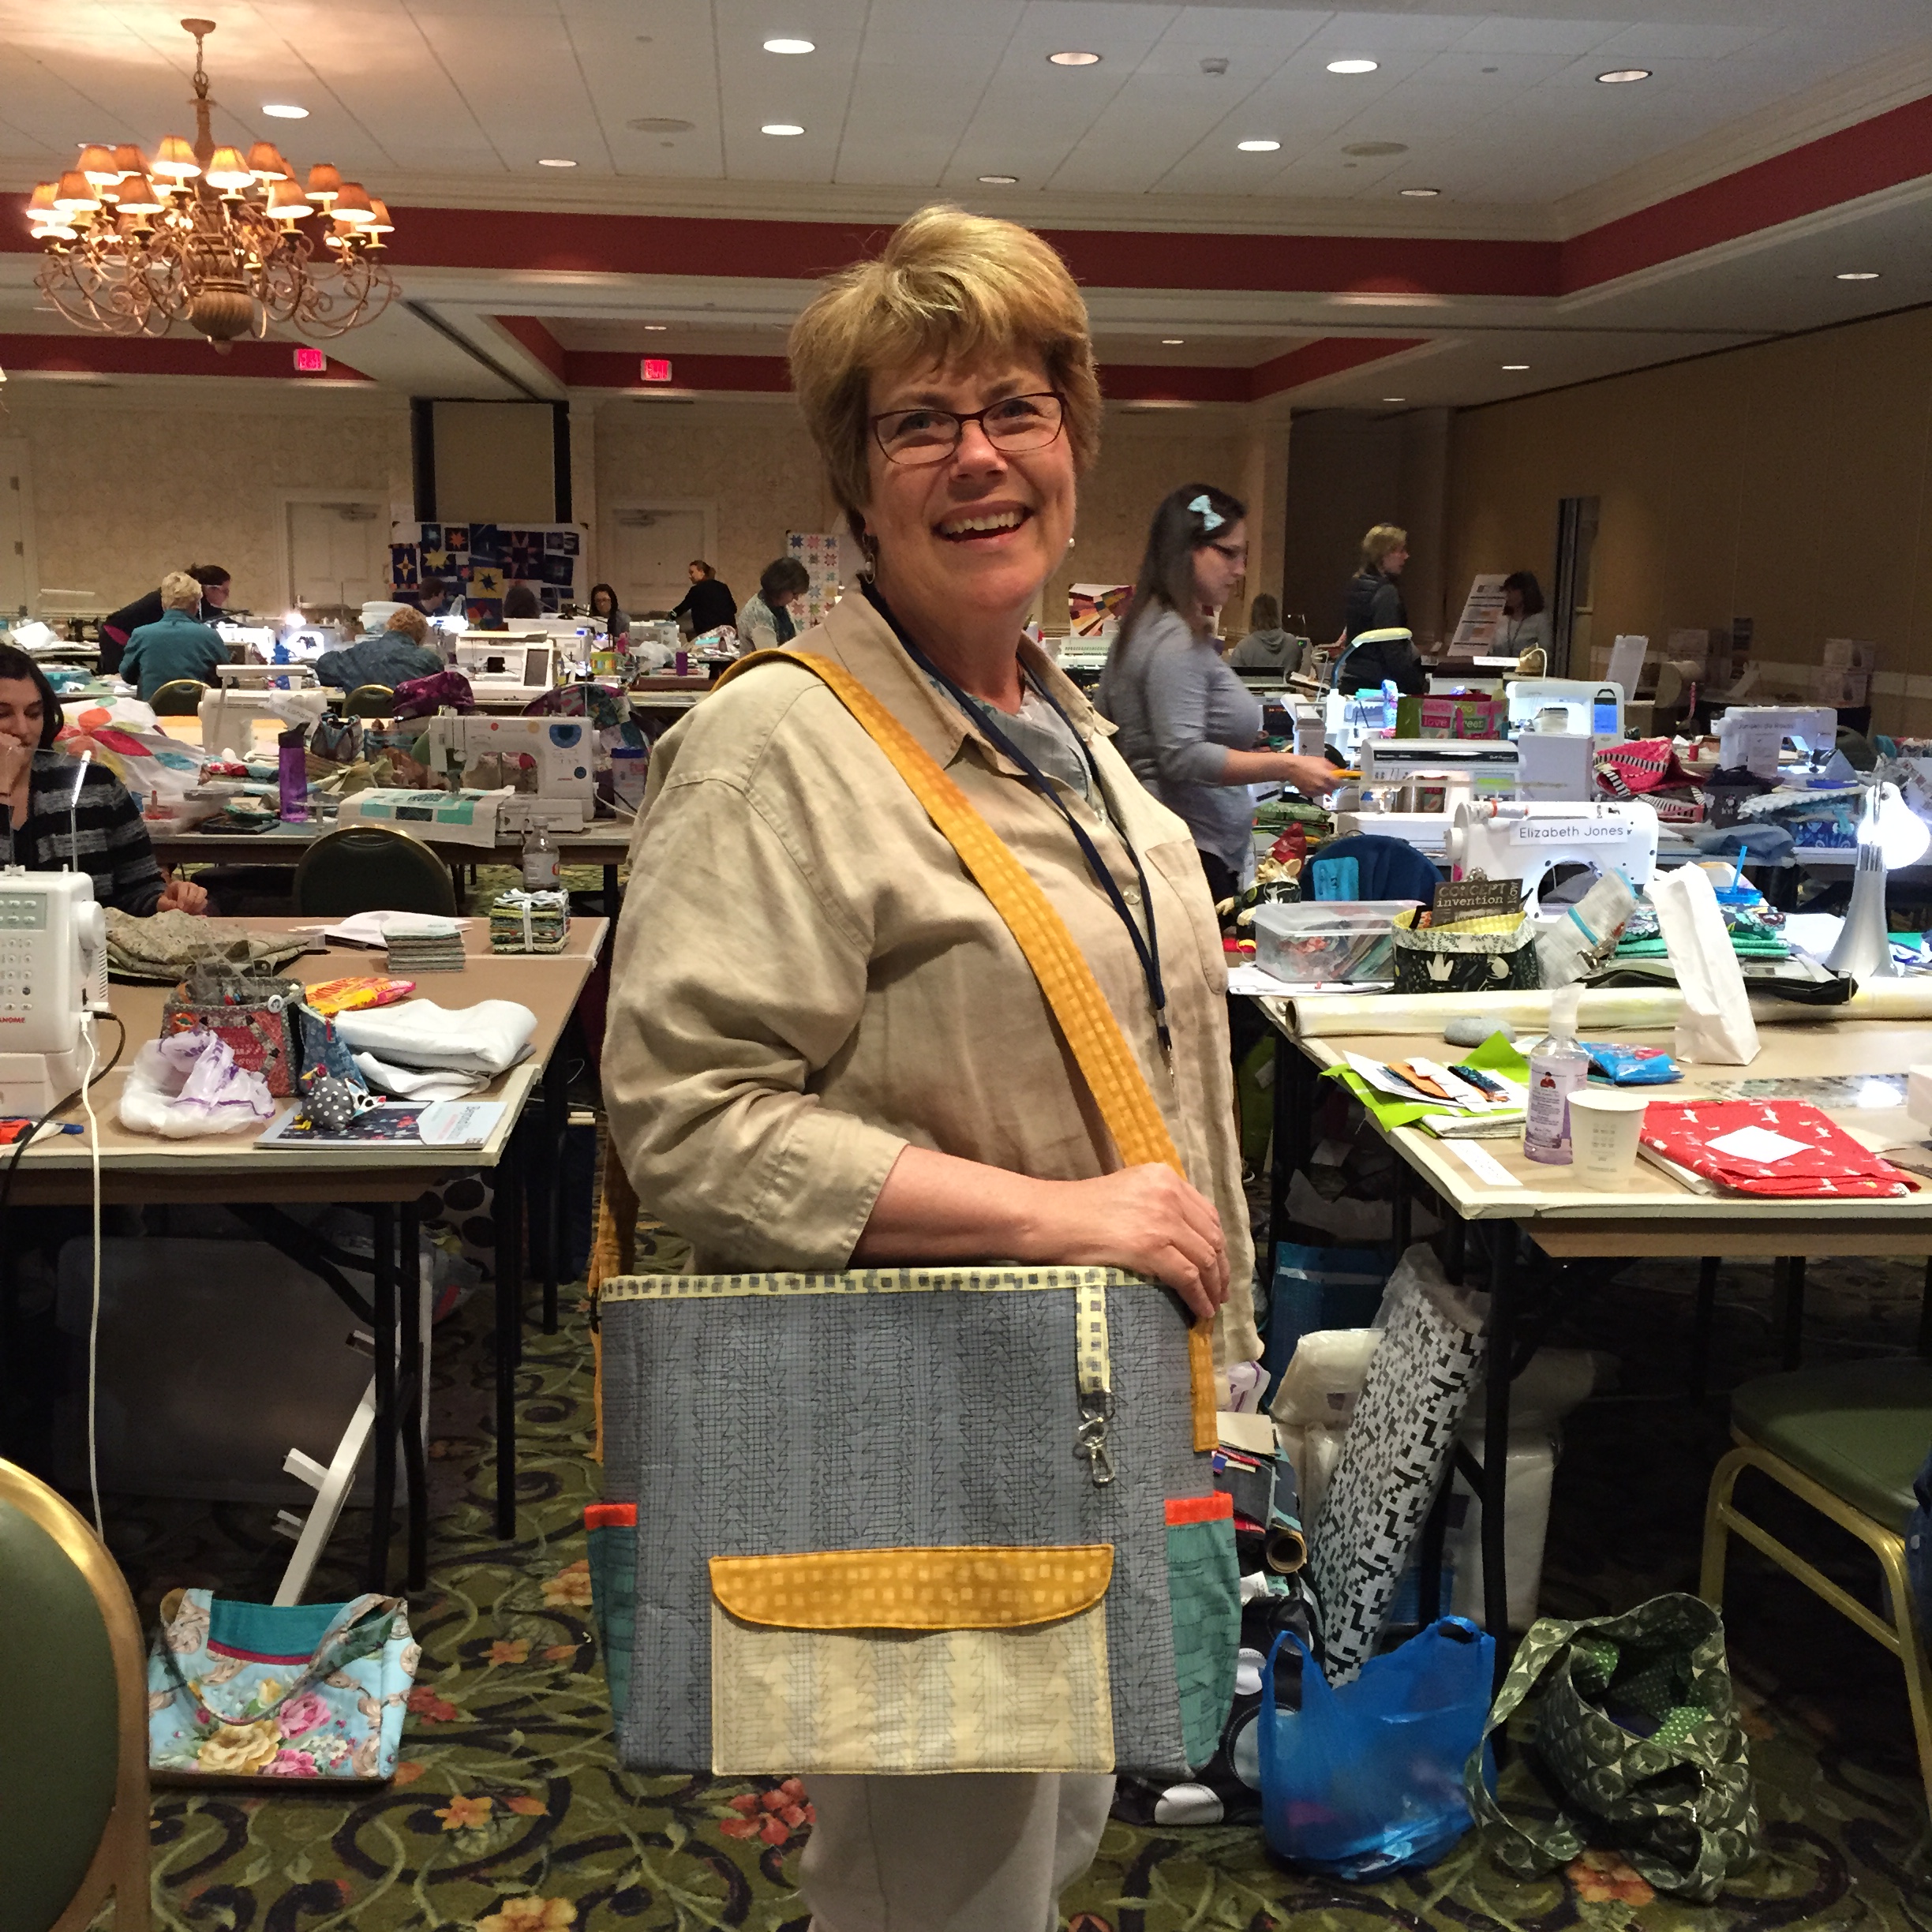
Trying out the length of the strap.
My daughter is due to have a baby soon and a friend asked if I was interesting in making a diaper bag as she wanted to make one for a friend of hers. I knew my daughter hadn’t bought or received one yet and I always love to do a project with a friend, so I agreed it would be a fun idea. We used a pattern from the book “Sew Serendipity BAGS” by Kay Whitt. This is the diaper bag version of the “Multi Tasker Bag” in the book.

Sew Serendipity BAGS by Kay Whitt
This bag is not for the lighthearted! The pattern directions fill up 15 pages of the book and references several others. It was fun to make and to see come together, but it took 2 sessions together with my friend, a sewing retreat and several hours back at home to complete this bag.

Bag front with zippered changing area zipped closed.
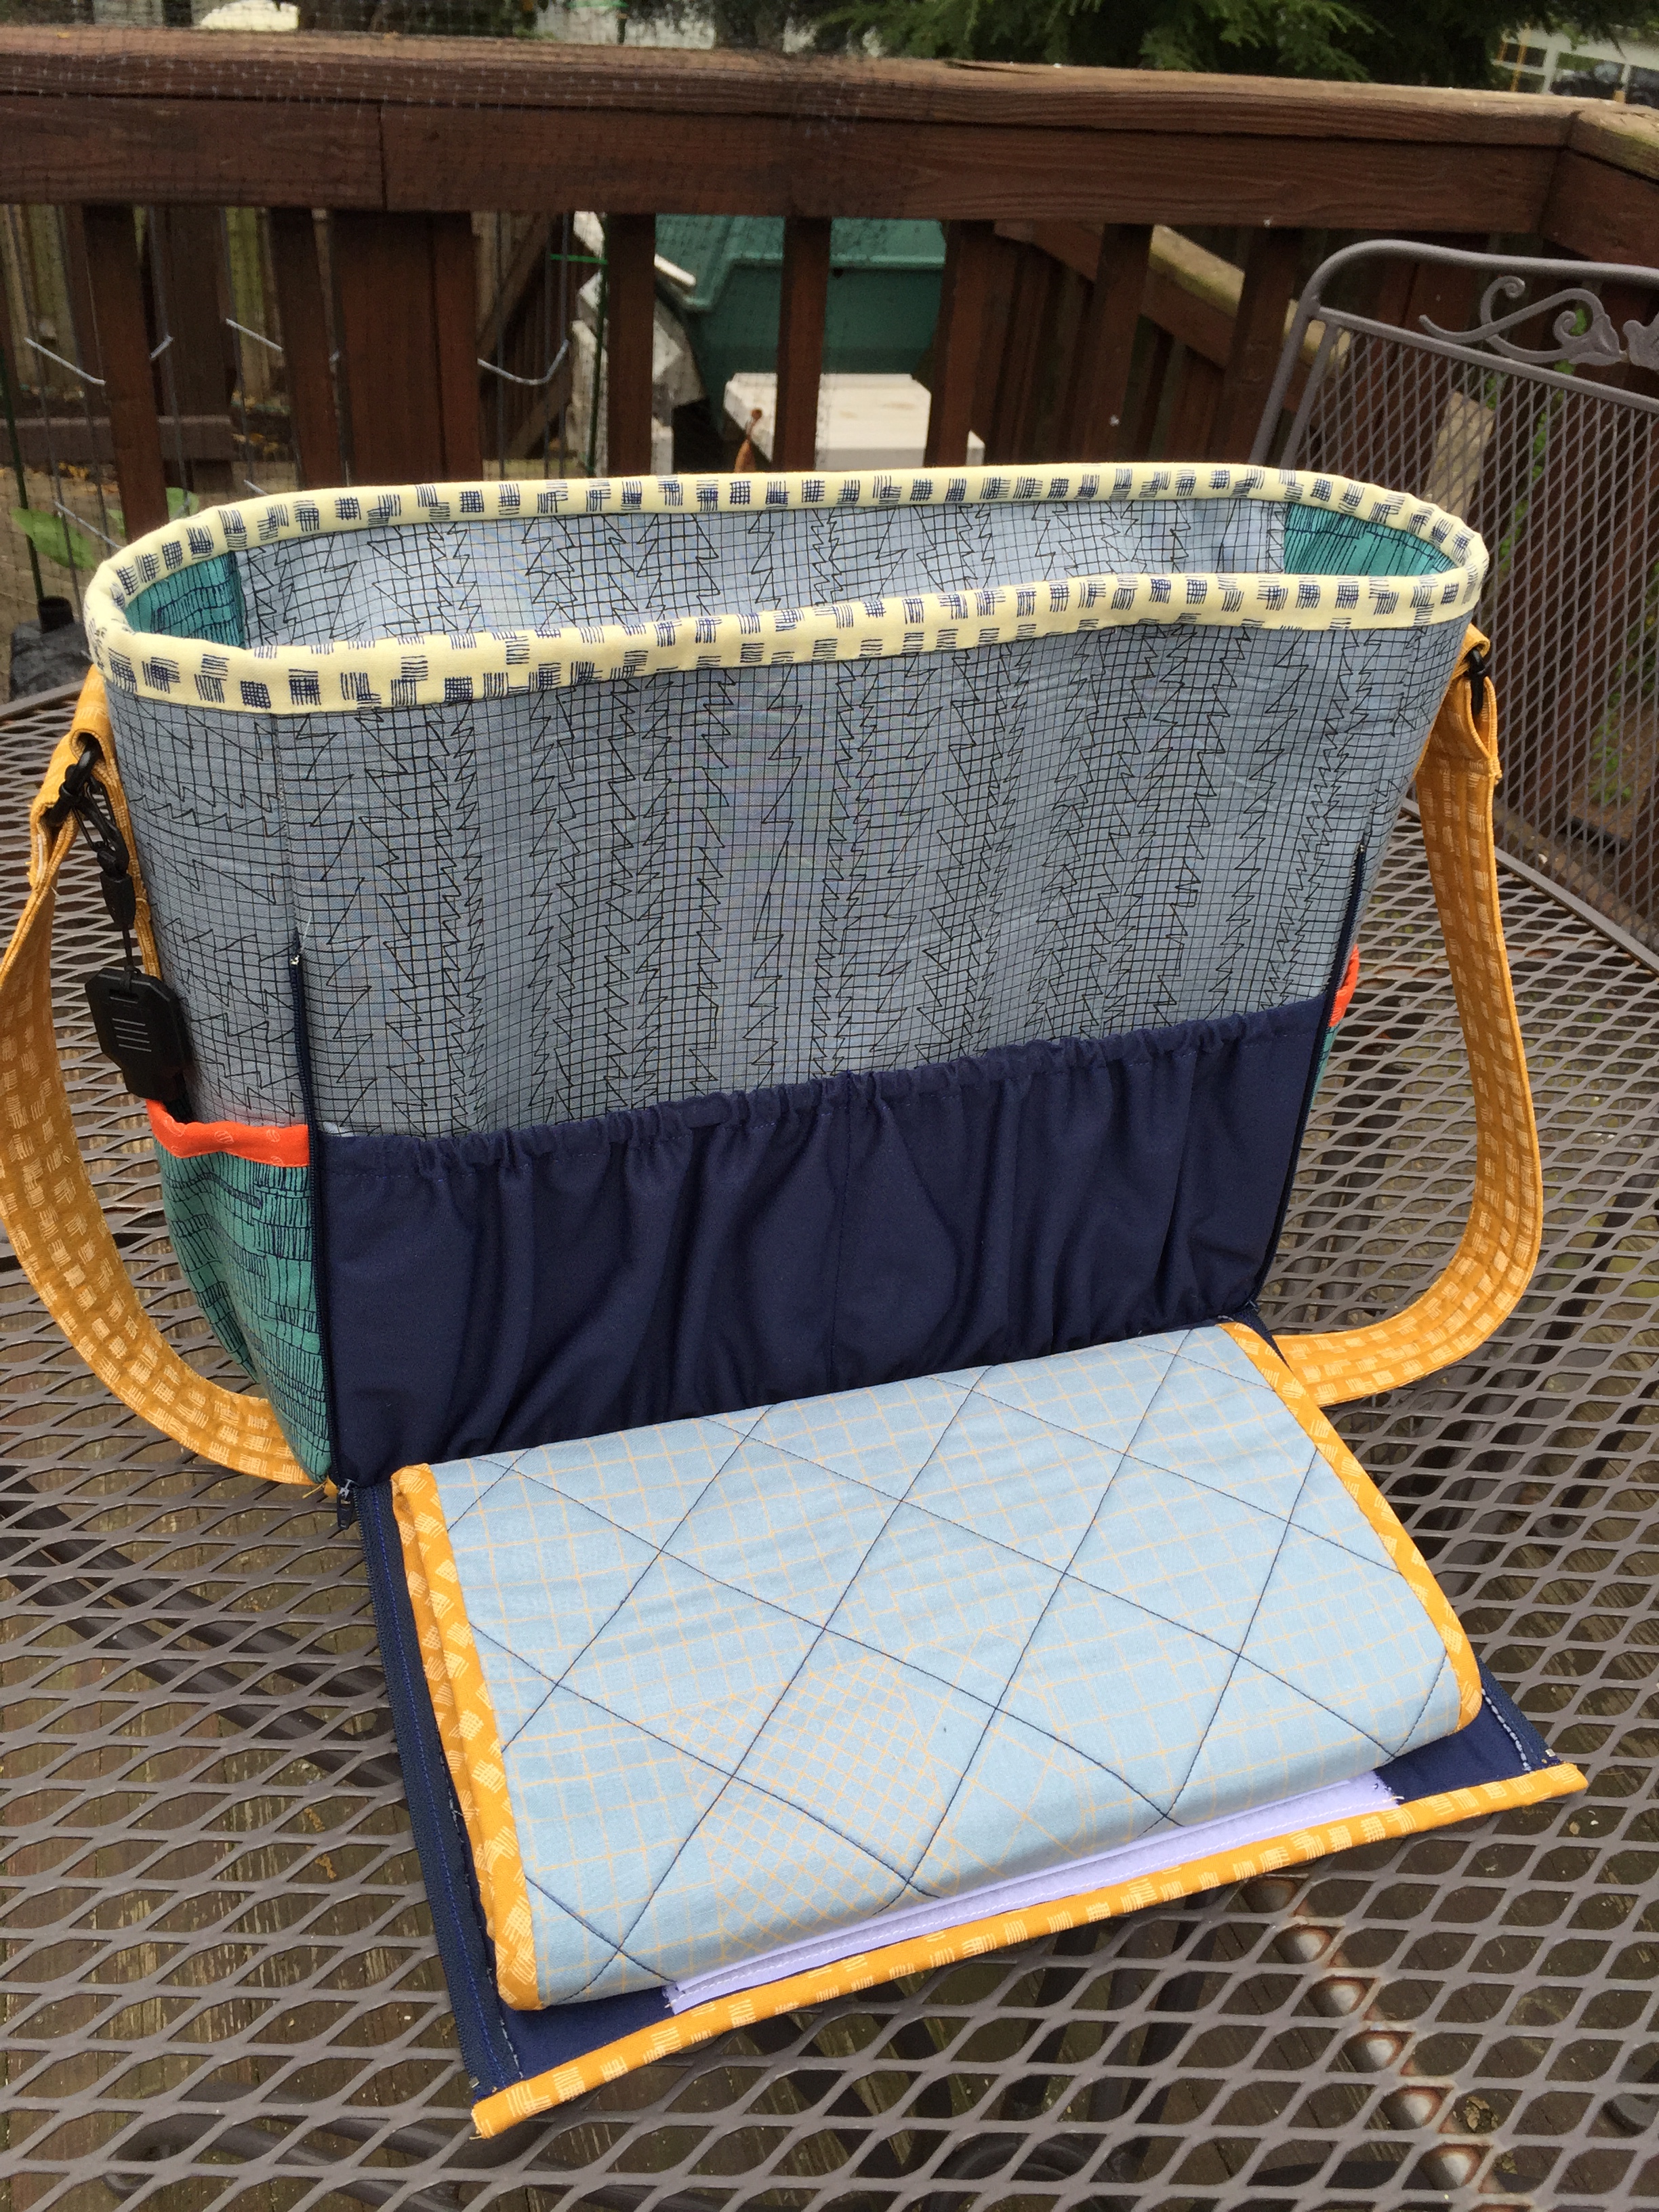
Unzipped. Pockets for diapers and wipes exposed.

Changing pad folded out. Velcro attaches it to the bag flap.
The dark blue fabric here is PUL (polyurethane laminate) which is soft, breathable and waterproof. The changing mat detaches and can be used separately or really washed clean. I used Carolyn Friedlander’s fabric line called “Doe”. My daughter and her husband are engineer and architect and I thought this would appeal to them. They are having a son and I hope this fabric is “manly” enough for the father to not mind using for his son.

Reverse side of the bag
The pocket on the back has a small piece of velcro as a closure on the envelope style flap. This is called a “media pocket” in the pattern directions. I think it is supposed to fit a phone or iPod type device but it is really not sized for today’s phones. I sewed a dividing stitch down the middle of this pocket but I am now thinking that if that is removed, a phone would fit sideways in this pocket – or in one of the side pockets!

Carabiner on outside loop can hold keys, pacifier, rattle, etc.
A fabric loop is sewn into the outside binding to hold anything you really want to keep handy. I found this black carabiner and it is a bit large. The parents can change it out if they want something smaller.

The bag top zips closed. When unzipped the top falls into the bag. Straps are attached with hardware to the sides of the bag which allows them to lay nicely out of the way.
The top has a separating zipper which falls into the bag when unzipped. The directions called for sewing the side edges of the top to the sides of the bag. This would allow the top to hold a boxier shape but I didn’t do it because I felt it would make it much more difficult to access the inside.
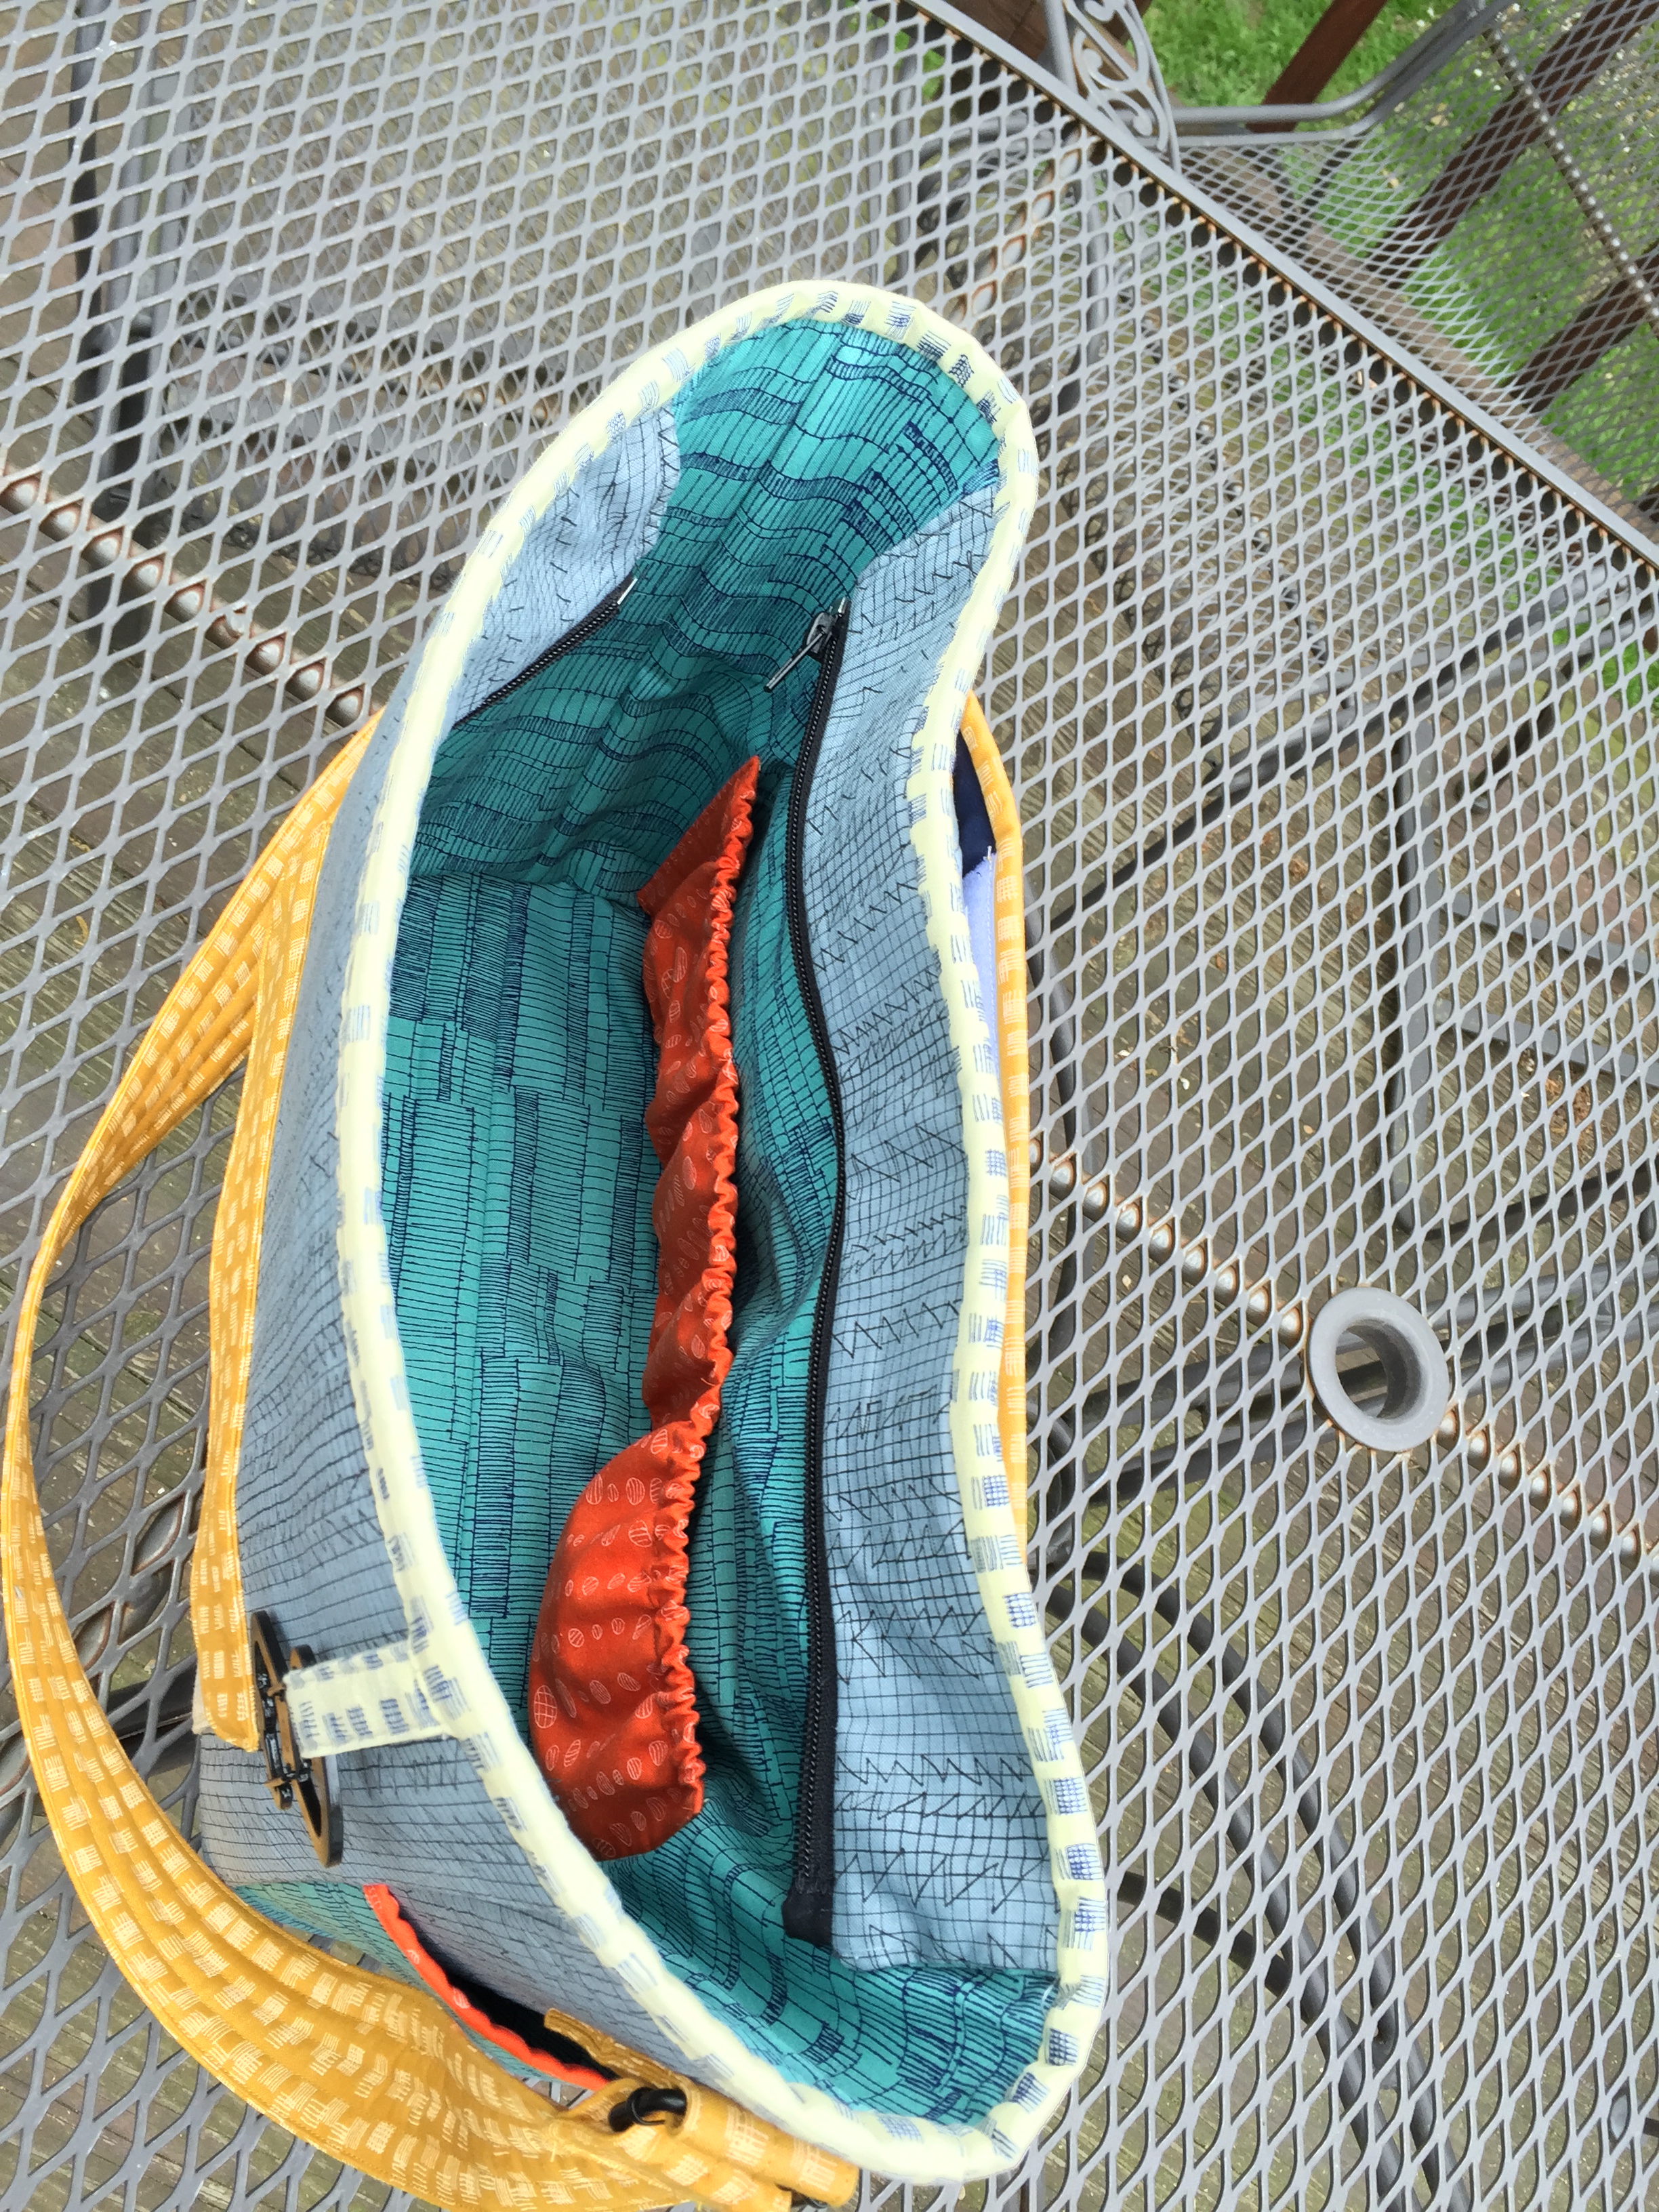
The inside has an elasticized pocket on one side that is divided into 3 sections.
There is quite a bit of room on the inside and one long pocket.
I think this bag will be very useful. There are plenty of pockets for bottles, diapers and wipes, extra clothing and the parent’s phone, keys and wallet. Am I forgetting anything?
Pattern details and changes
1. This bag has a HUGE number of pieces to cut out – including fabric, fleece and interfacing. The only actual pattern piece in the book is the media pocket flap. Every other piece is given as height by width measurements. The book does not include a separate list of all the pieces together in one spot. It gives the measurements throughout the 15 pages of instructions as you come to that particular piece. I went through the pages of directions and made a cutting list and here it is: Diaper bag cutting measurements. You’re welcome! Thank you to Kay Whitt for her generous permission to include this is my post.
2. As mentioned above, I did not sew the zipper to the sides of the bag. If I made this again, I would use a longer zipper which would not separate at the end, but rather extend well beyond the end of the top flap so that the top would still fall into the bag when unzipped but you wouldn’t need to use both hands to get the zipper in place to start zipping it. (I hope that makes sense).
3. The bag’s stability is obtained by using Peltex for the body. It would be interesting to try something like “by Annie’s Soft and Stable” instead. The shape may not be as defined but it would be easier to sew and lighter weight when done. A piece of Peltex could still be used as an insert for the bottom of the bag. (If you use a softer stabilizer you can ignore my next 2 comments.)
4. Sewing the bottom of the bag to the sides is tough (again because of the stiff Peltex). On page 118 Step 4, the directions say that sewing this is “awkward” but “they will sew together with good result”. Good news! This is true!
5. Sewing the binding around the top of the bag through the Peltex is tough. I ended up sewing it by machine to the inside of the bag and then hand sewing it down on the outside. This worked well. It’s not that the Peltex is hard to sew through, it’s dealing with it in the round as you’re sewing that is difficult.
I hope my notes will help you if you make this bag. Have patience and persevere. It will be worth it!


