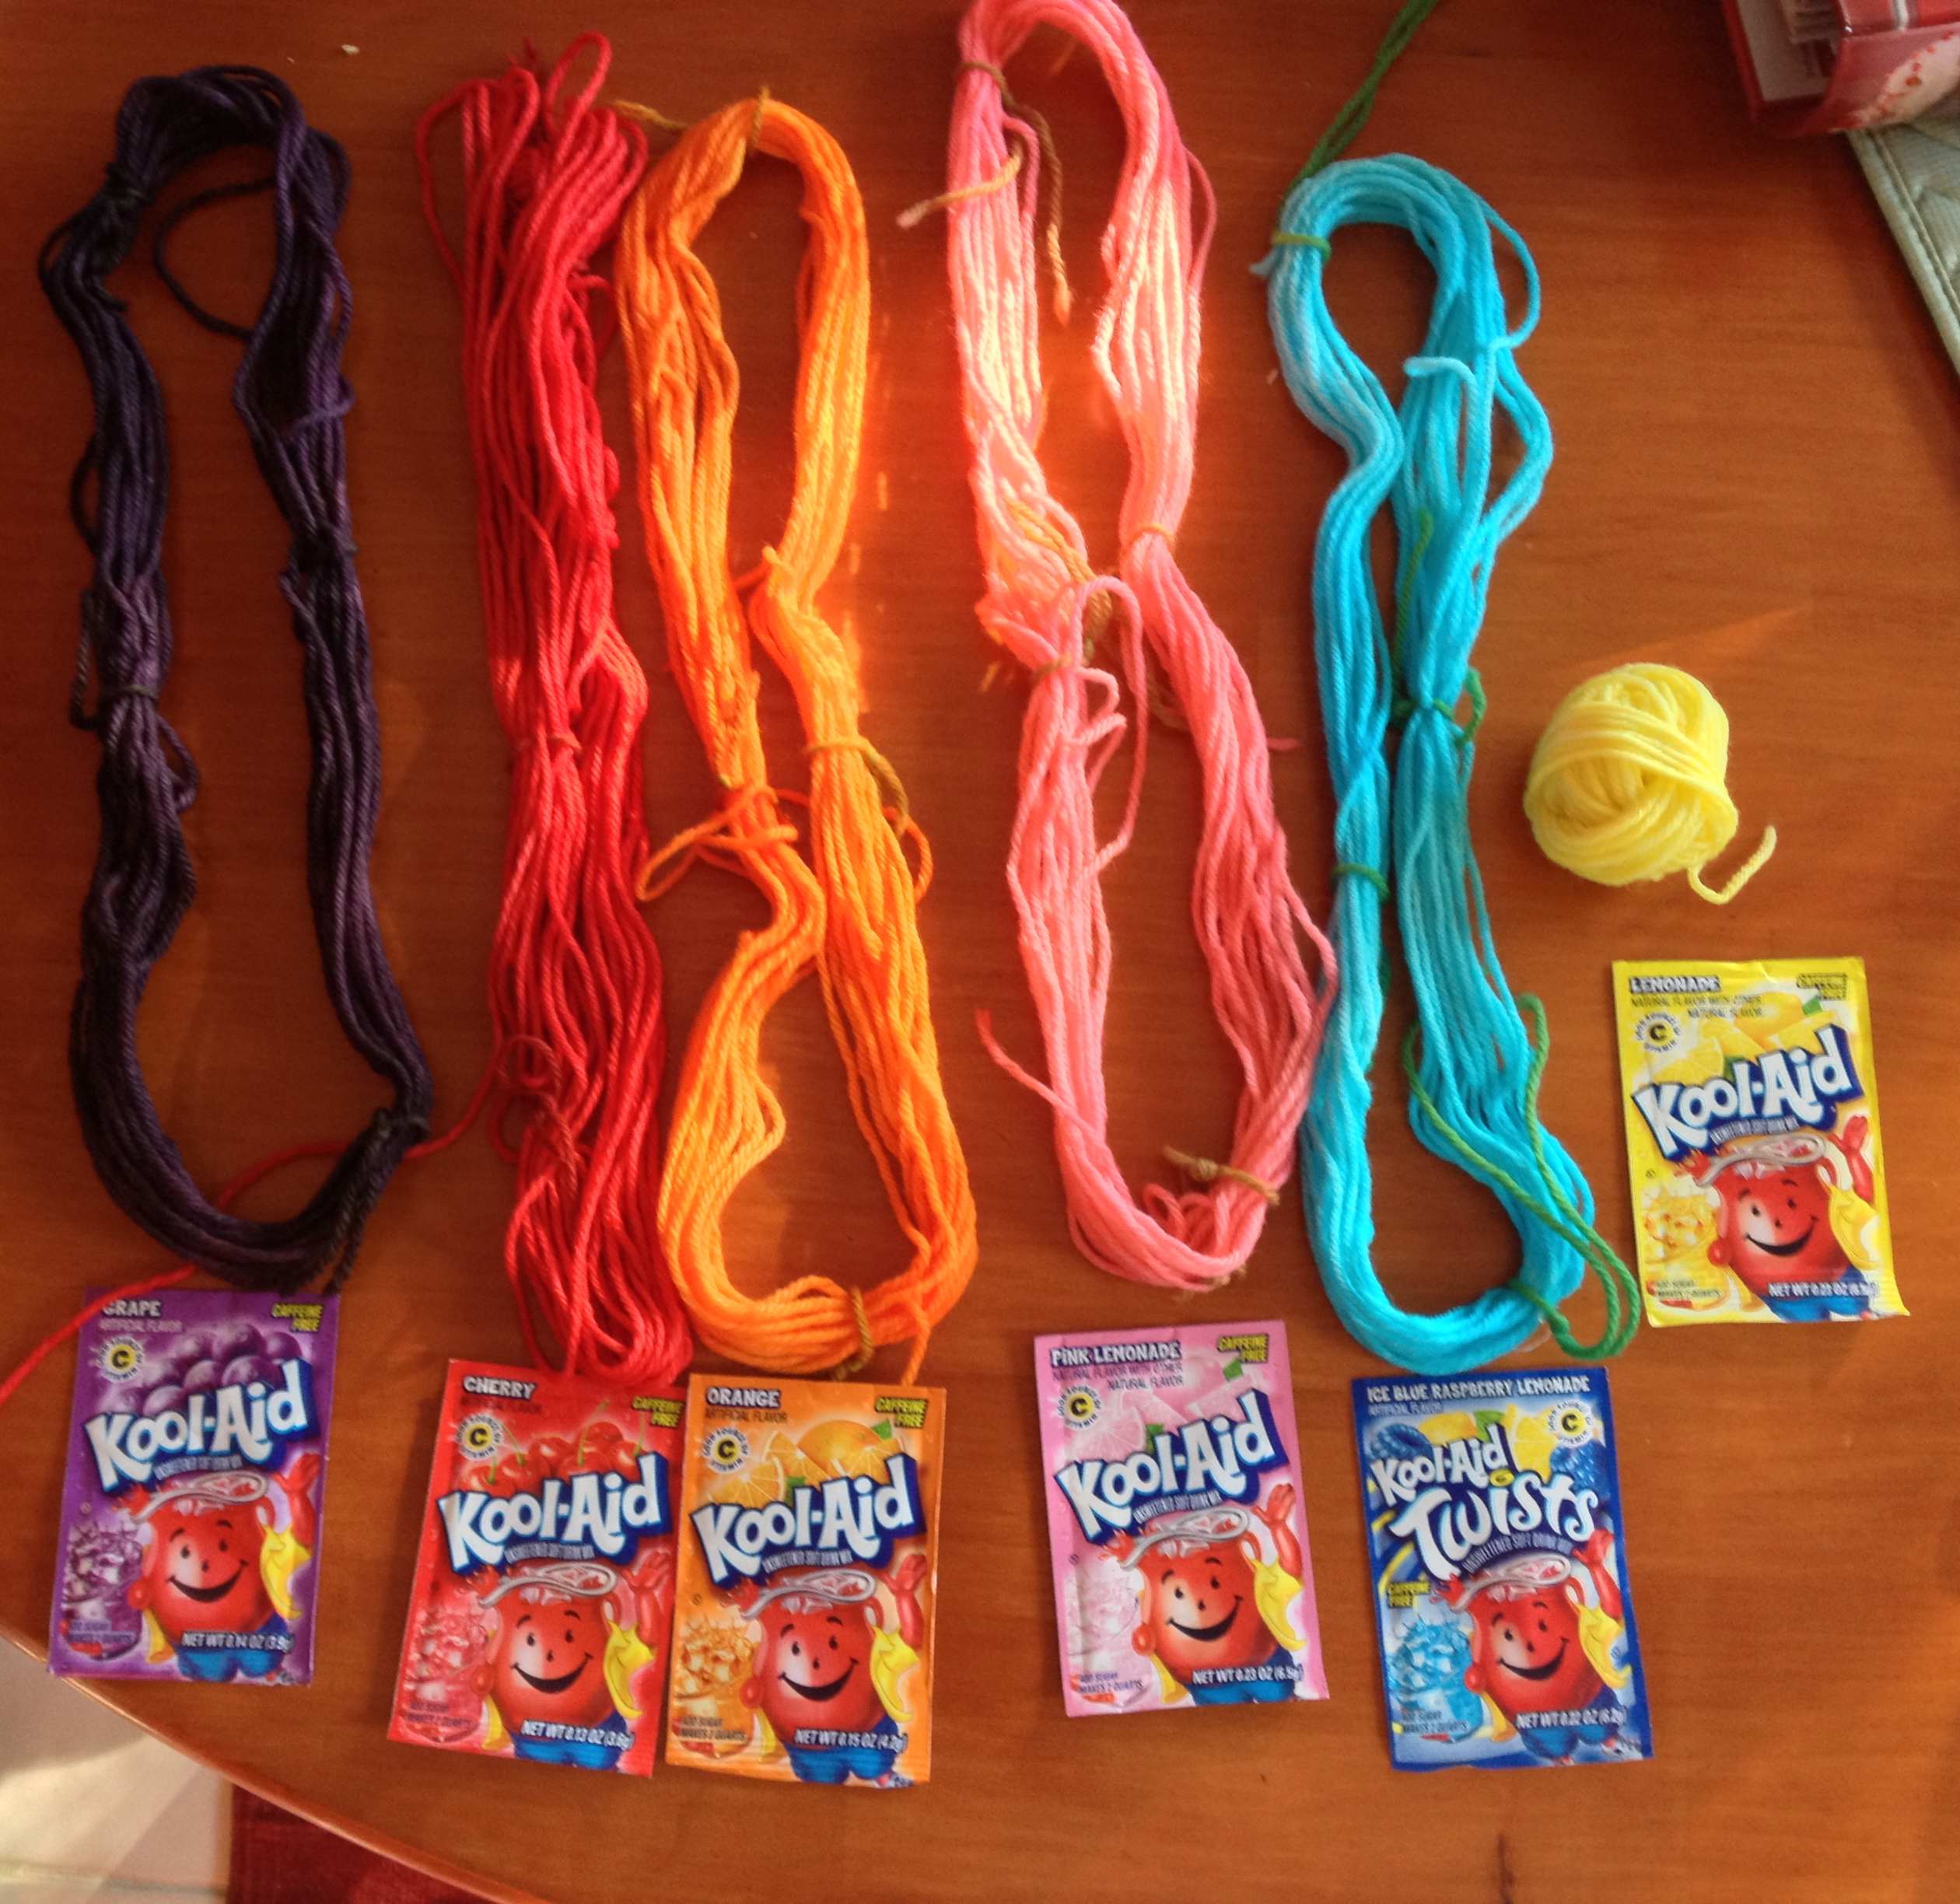
Flavors used: 1. Grape, 2. Cherry, 3. Orange, 4. Pink Lemonade, 5. Ice Blue Raspberry Lemonade and 6. Yellow Lemonade.
I recently took a beginning wool class at Serendipity Quilt Shop in Dagsboro, Delaware which I blogged about here. The instructor, Lenny Truitt, told us we could dye wool fabric in a microwave using Kool-Aid. It sounded so easy. The idea is that, by using Kool-Aid, you don’t need to use any toxic chemicals or delegate any kitchen equipment to be used only for dyeing and not for food.
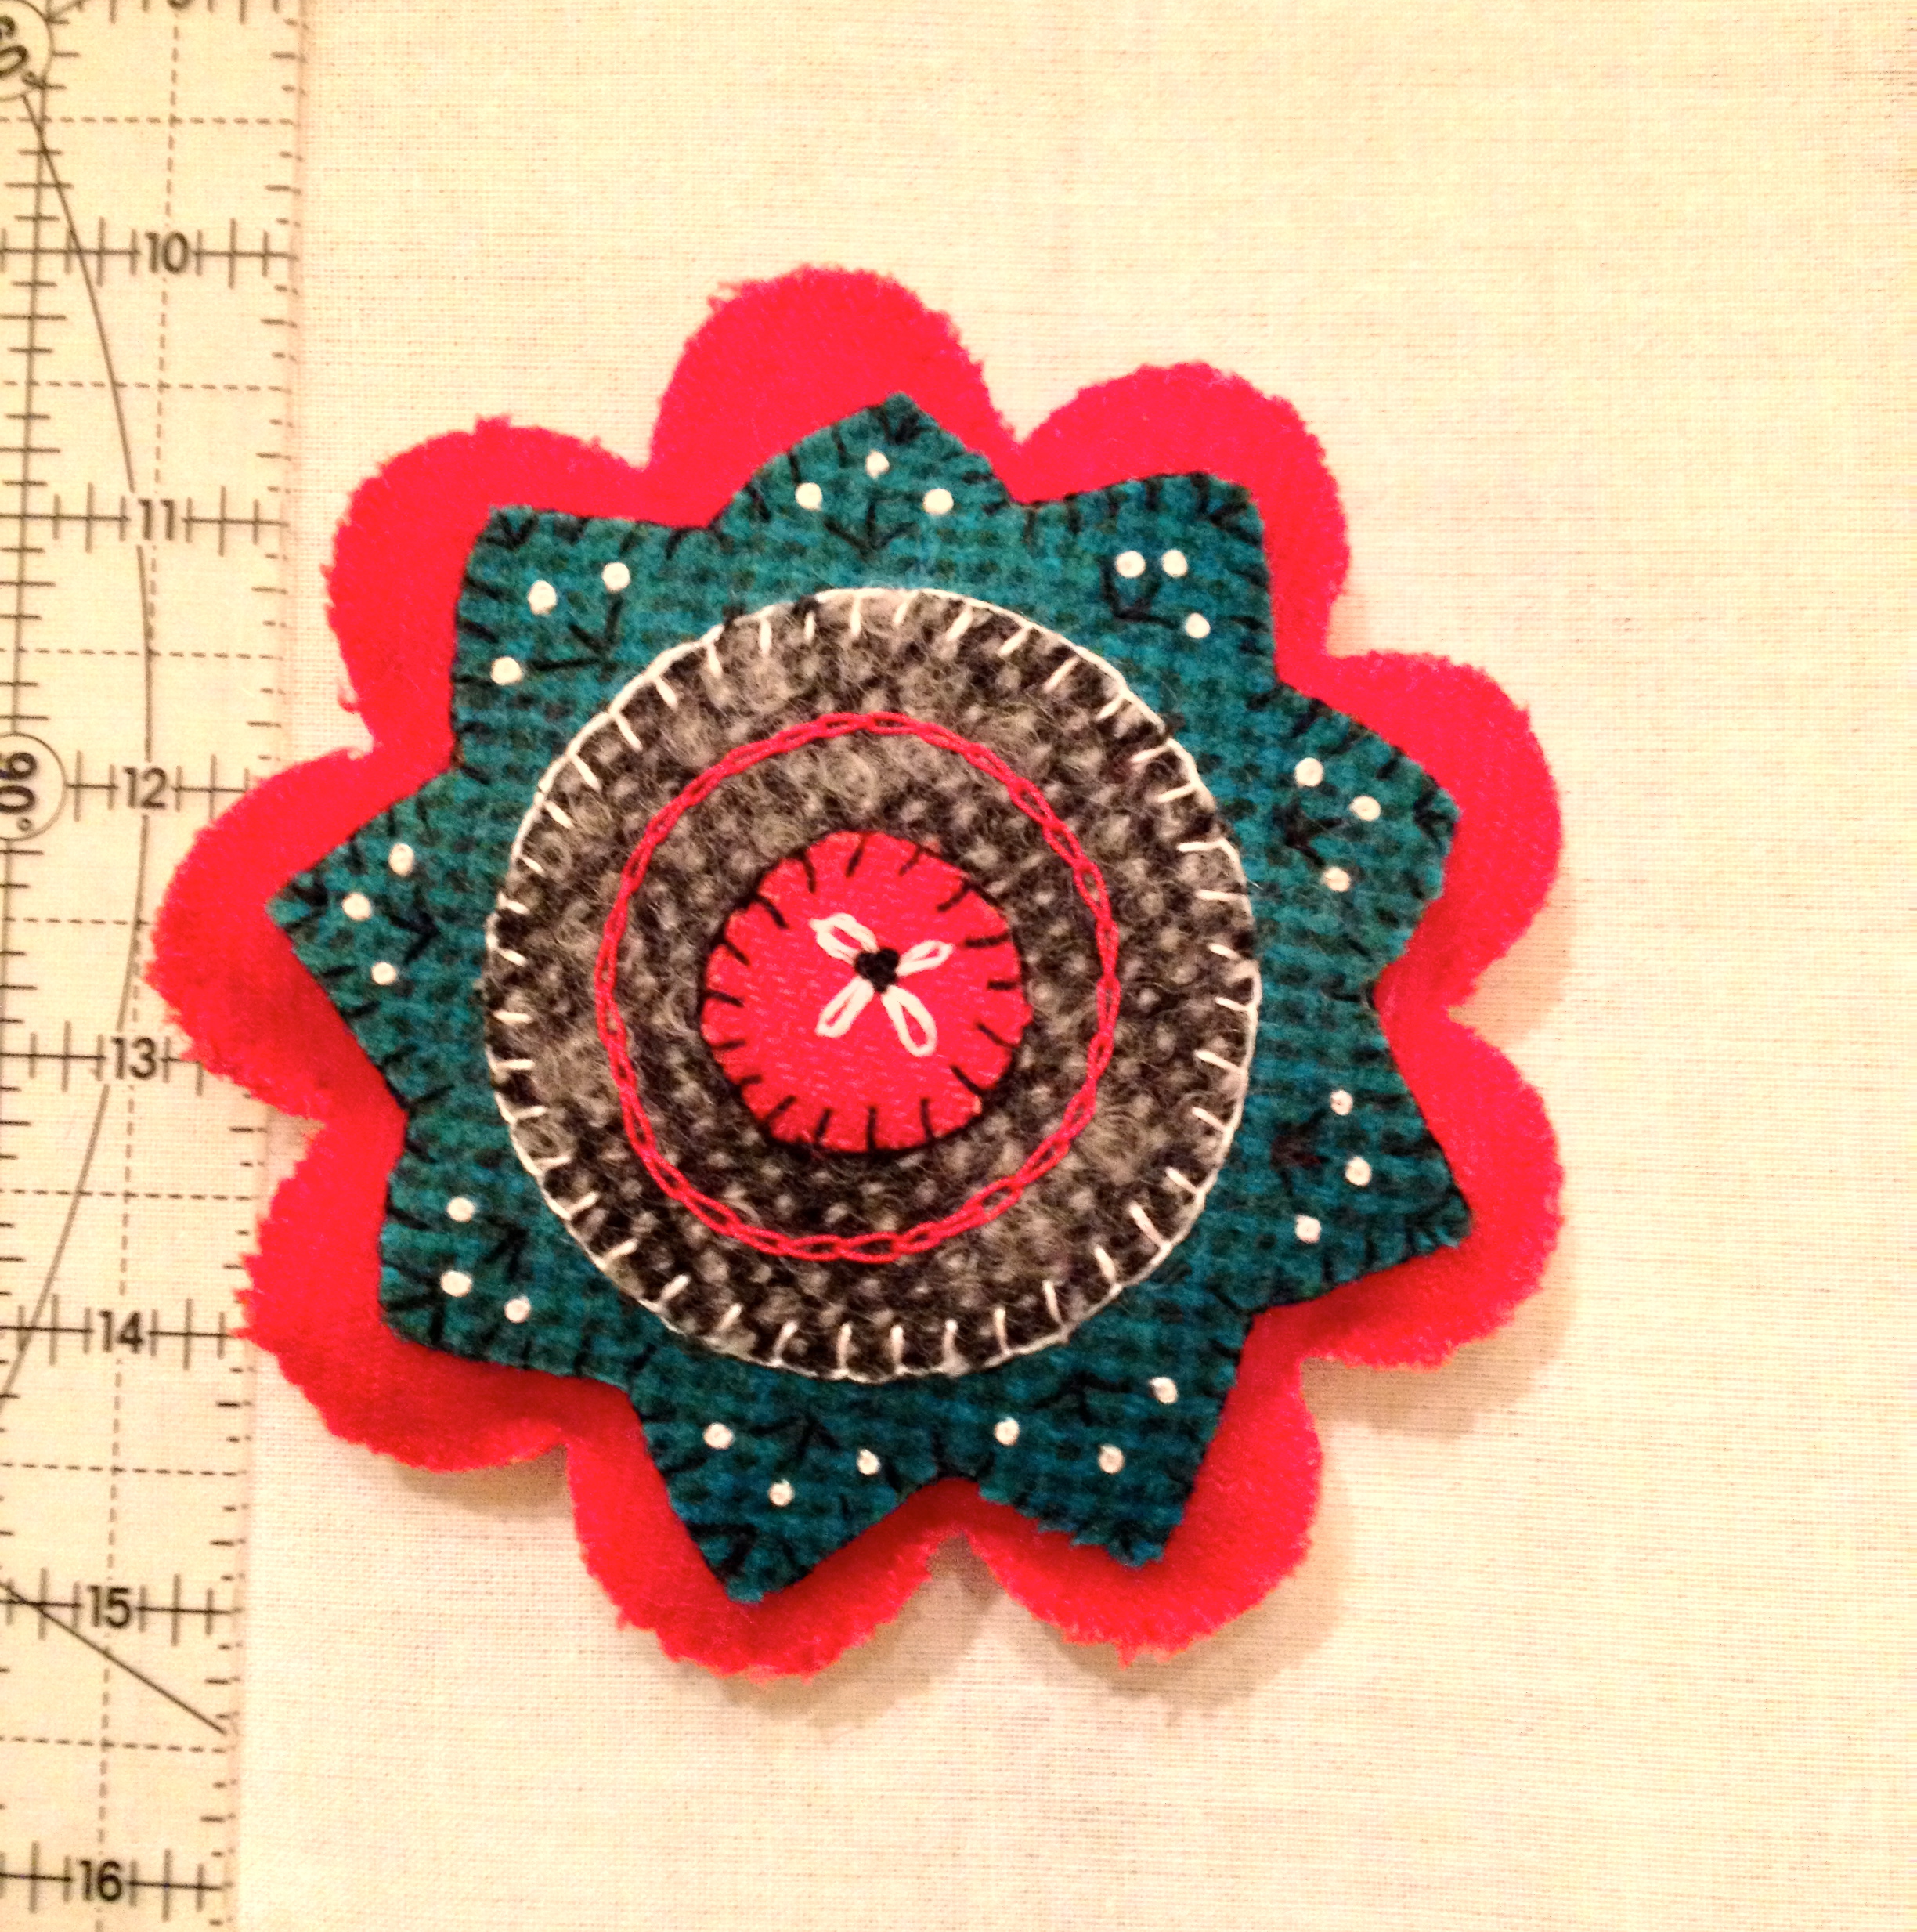
Wool pincushion that I made in the beginning wool class.
Fast forward a month to Christmas and my oldest daughter gifting me a 3 month subscription to http://www.creativebug.com which is a collection of craft videos. I can view any or all of them for the next 3 months. One of the categories is “Kids Crafts” which I wanted to see because my (almost) 10 year old niece was going to be visiting for the New Year. One of the classes is called “Kool-Aid Dyed Yarn”. I combined techniques between this video class and the wool class to dye some beautiful yarn with my niece – completely fuss and mess free! Here is the lovely Maya to show you the process:
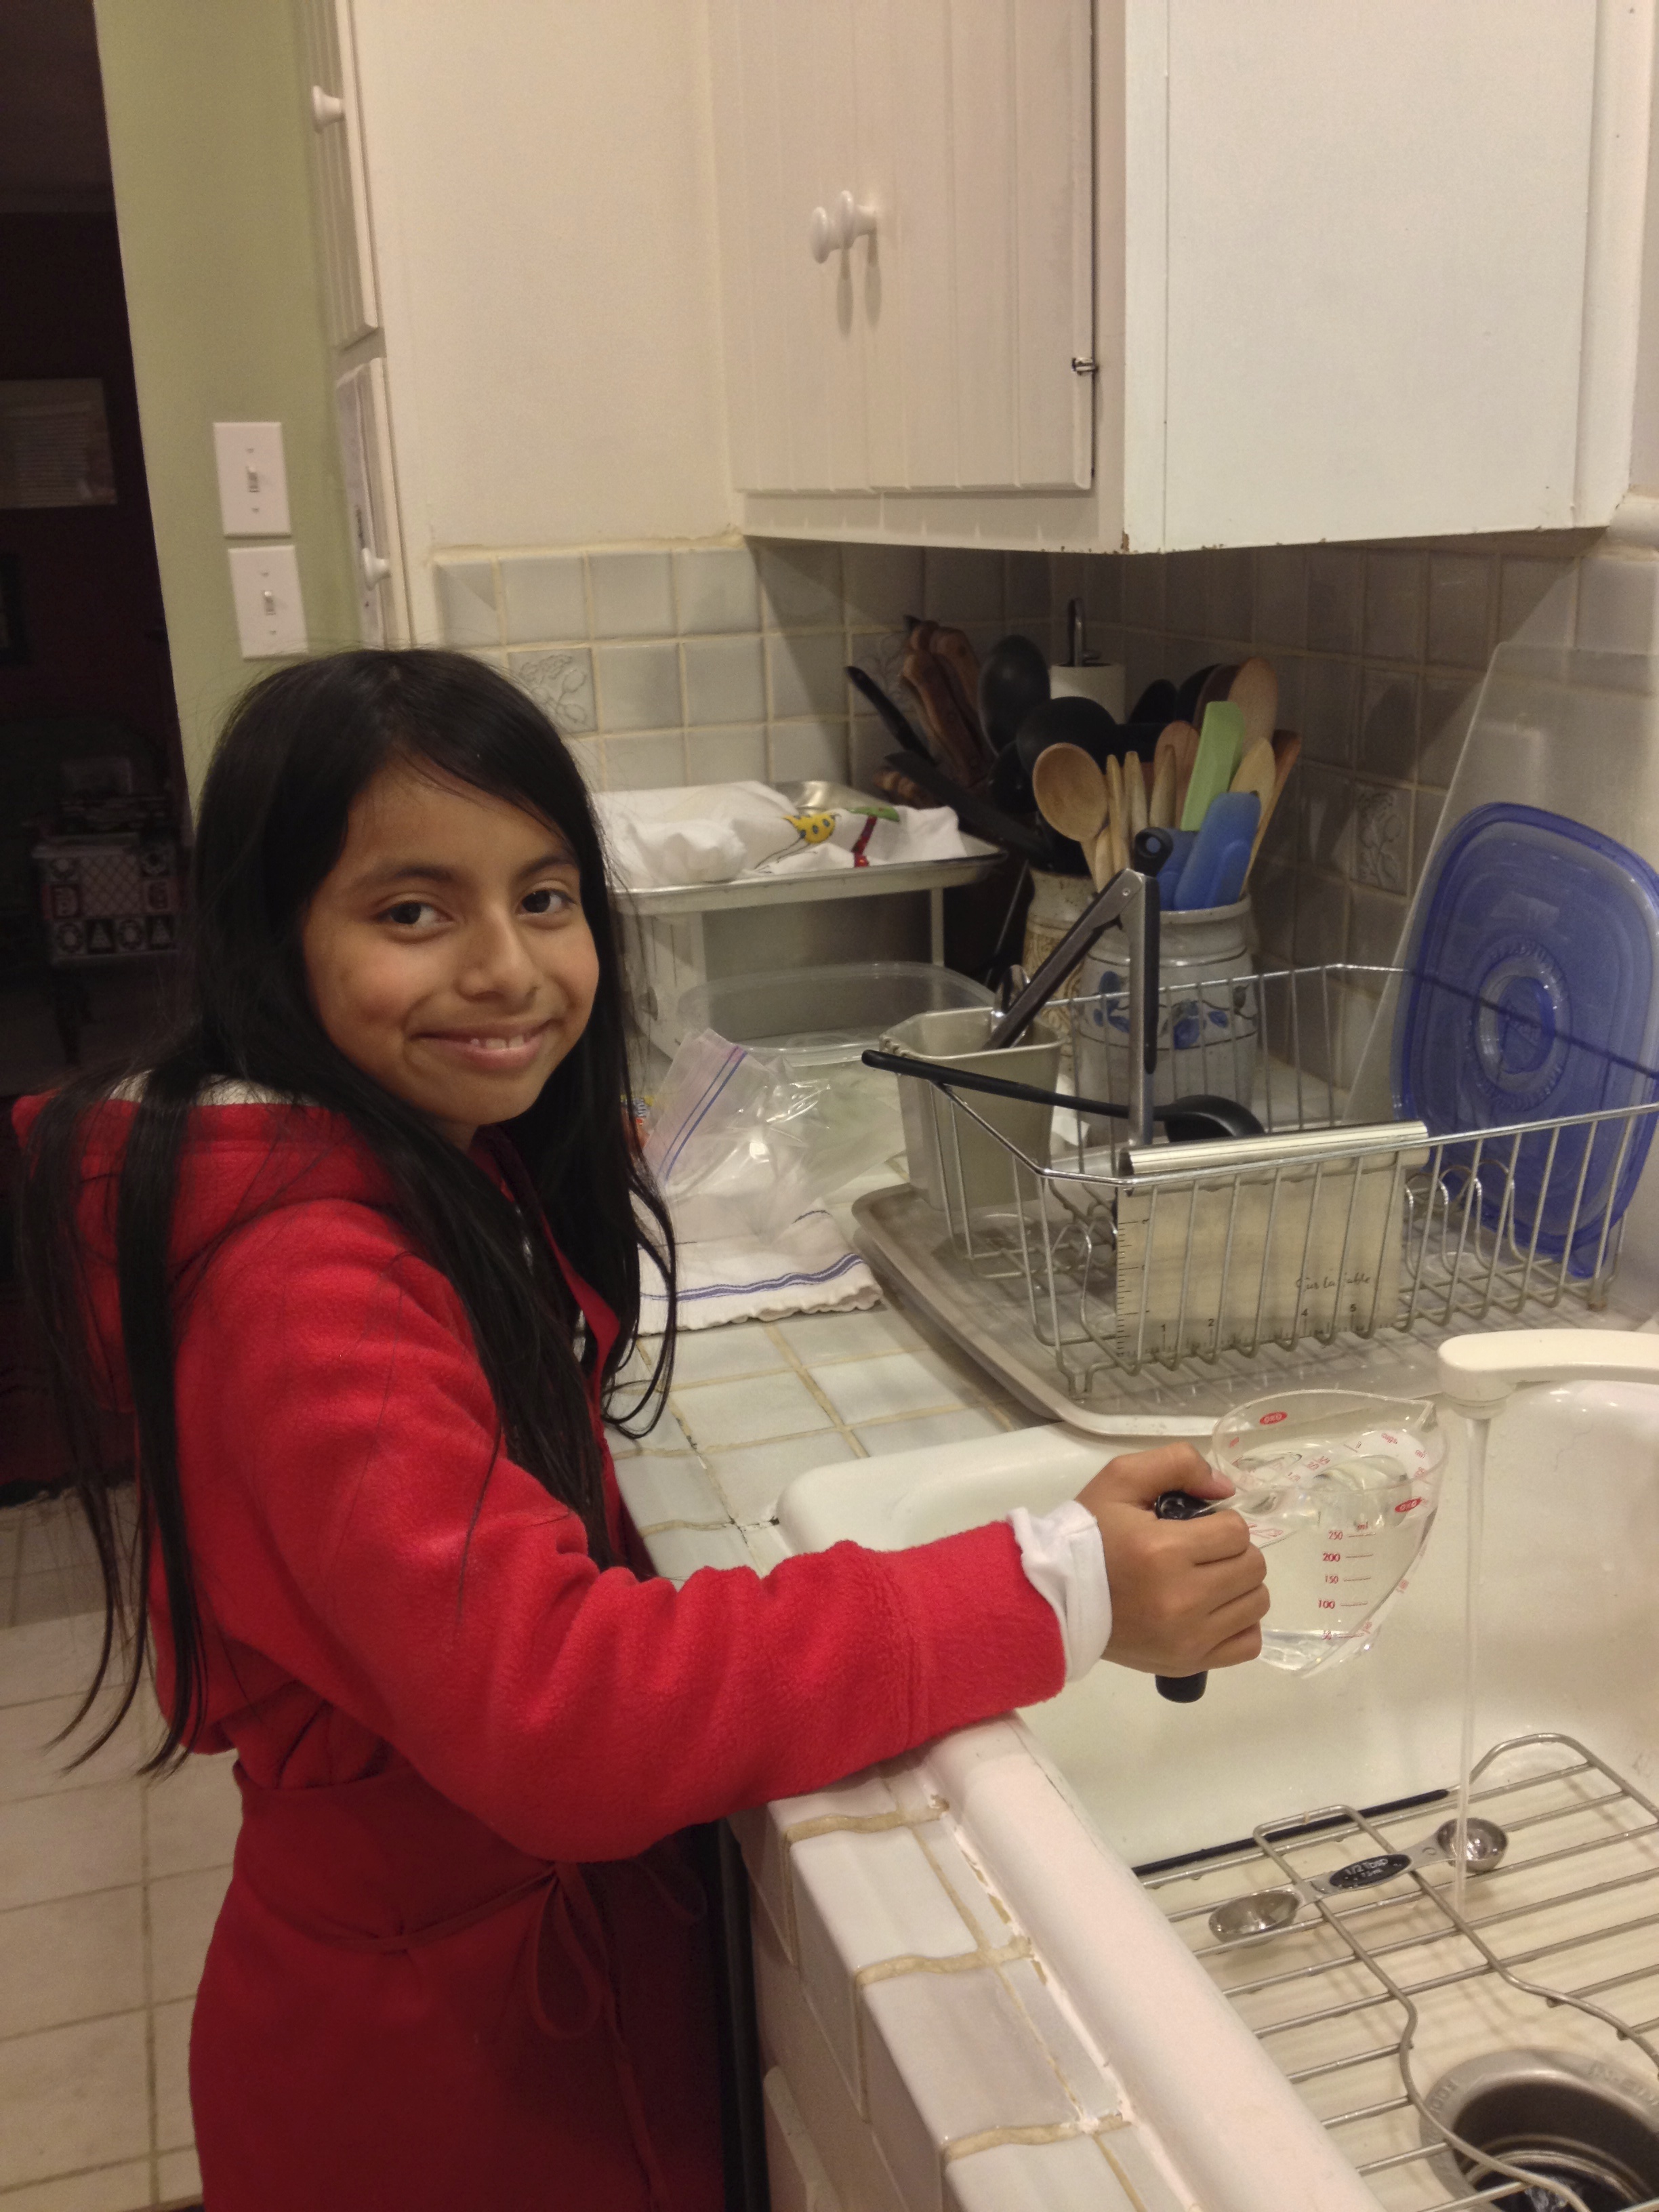
Measure 1 cup of tepid water and place in a ziplock bag. (We used a gallon sized bag).
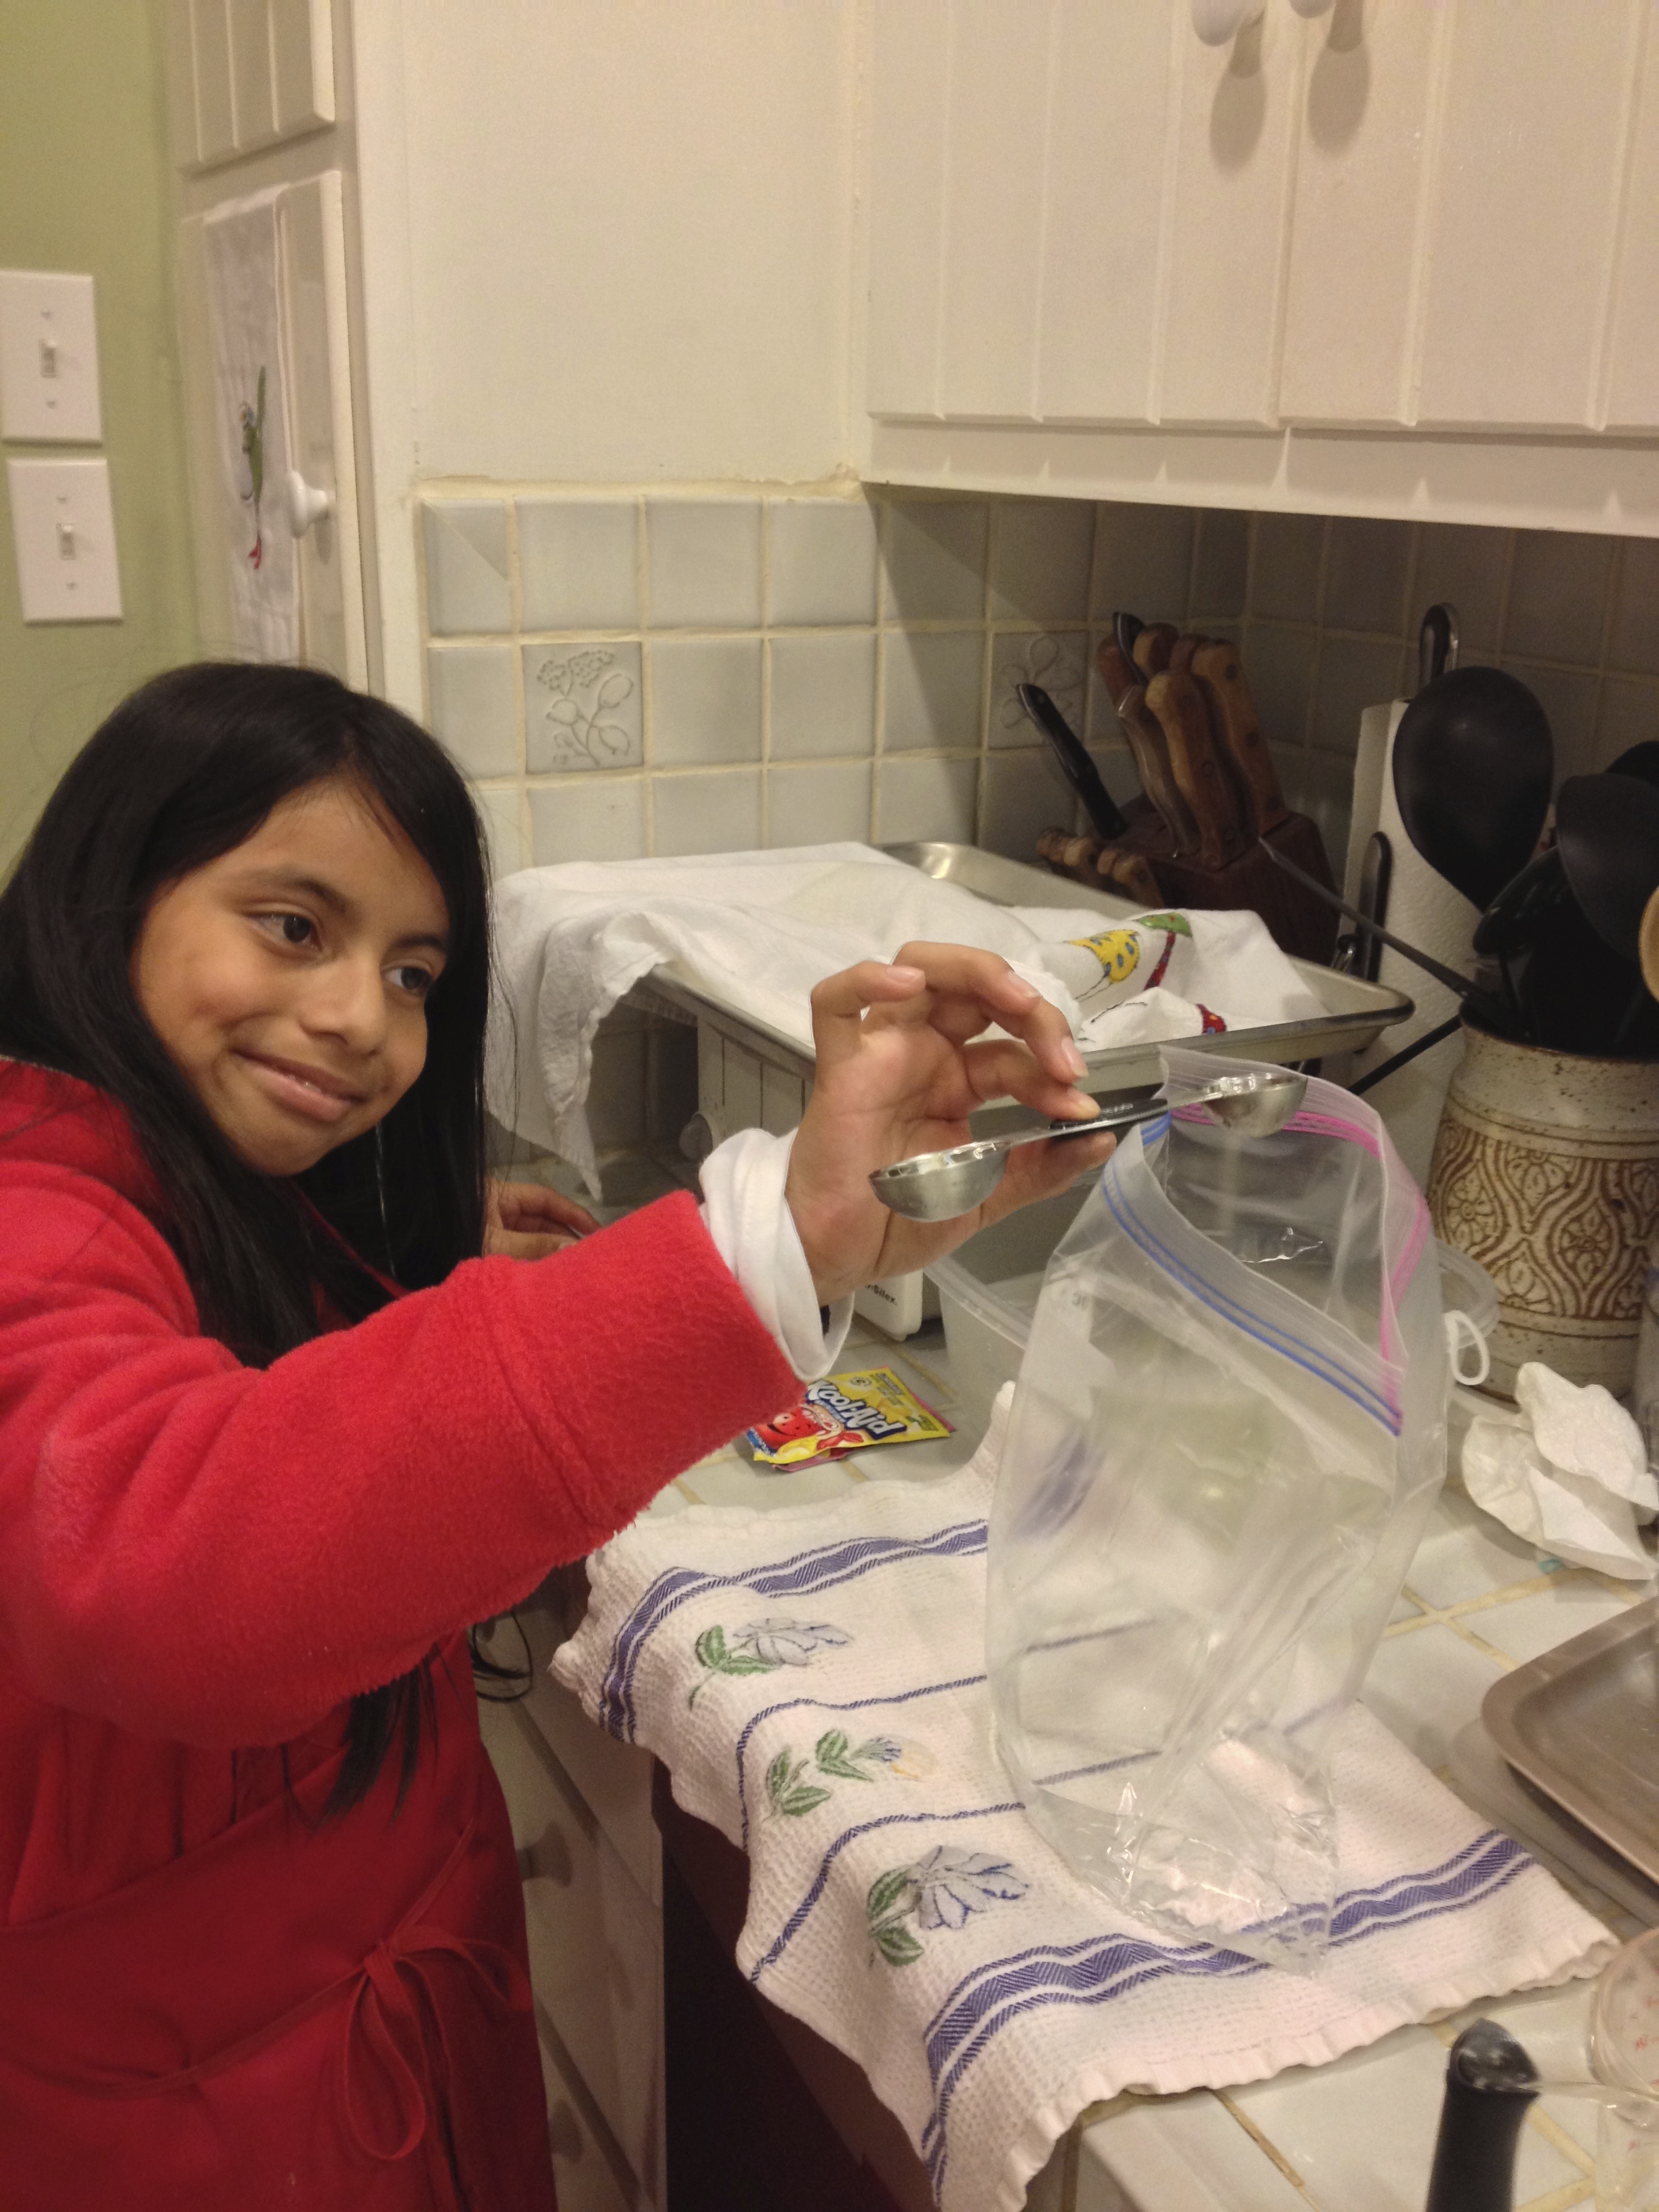
Add 1 teaspoon of white vinegar (Maya did NOT like the smell) . . . .

. . . . and 1 packet of unsweetened Kool-Aid.
The yarn that you dye must be an animal fiber. We used a white 100% wool yarn and I cut about a 5 yard length and tied it in a loop in several places (not tightly though or the dye won’t penetrate). This yarn should be soaked in warm water for about 30 minutes prior to being wrung out and dropped into the ziplock bag with the water, vinegar and Kool-Aid.

Wet white yarn ready for the dye bath.
I put the ziplock bag in a small glass bowl with the bag slightly open to let steam escape and microwaved it for 2 minutes. My microwave is a low powered machine. I would guess that a regular microwave might only take 1 minute. The bag was pretty hot to the touch, but I doubt that the liquid had reached a boil. The glass bowl made it easy to take it out of the microwave without touching the hot bag.

After microwaving, the yarn has absorbed most of the color.
We set the bag aside until it had cooled – several hours.
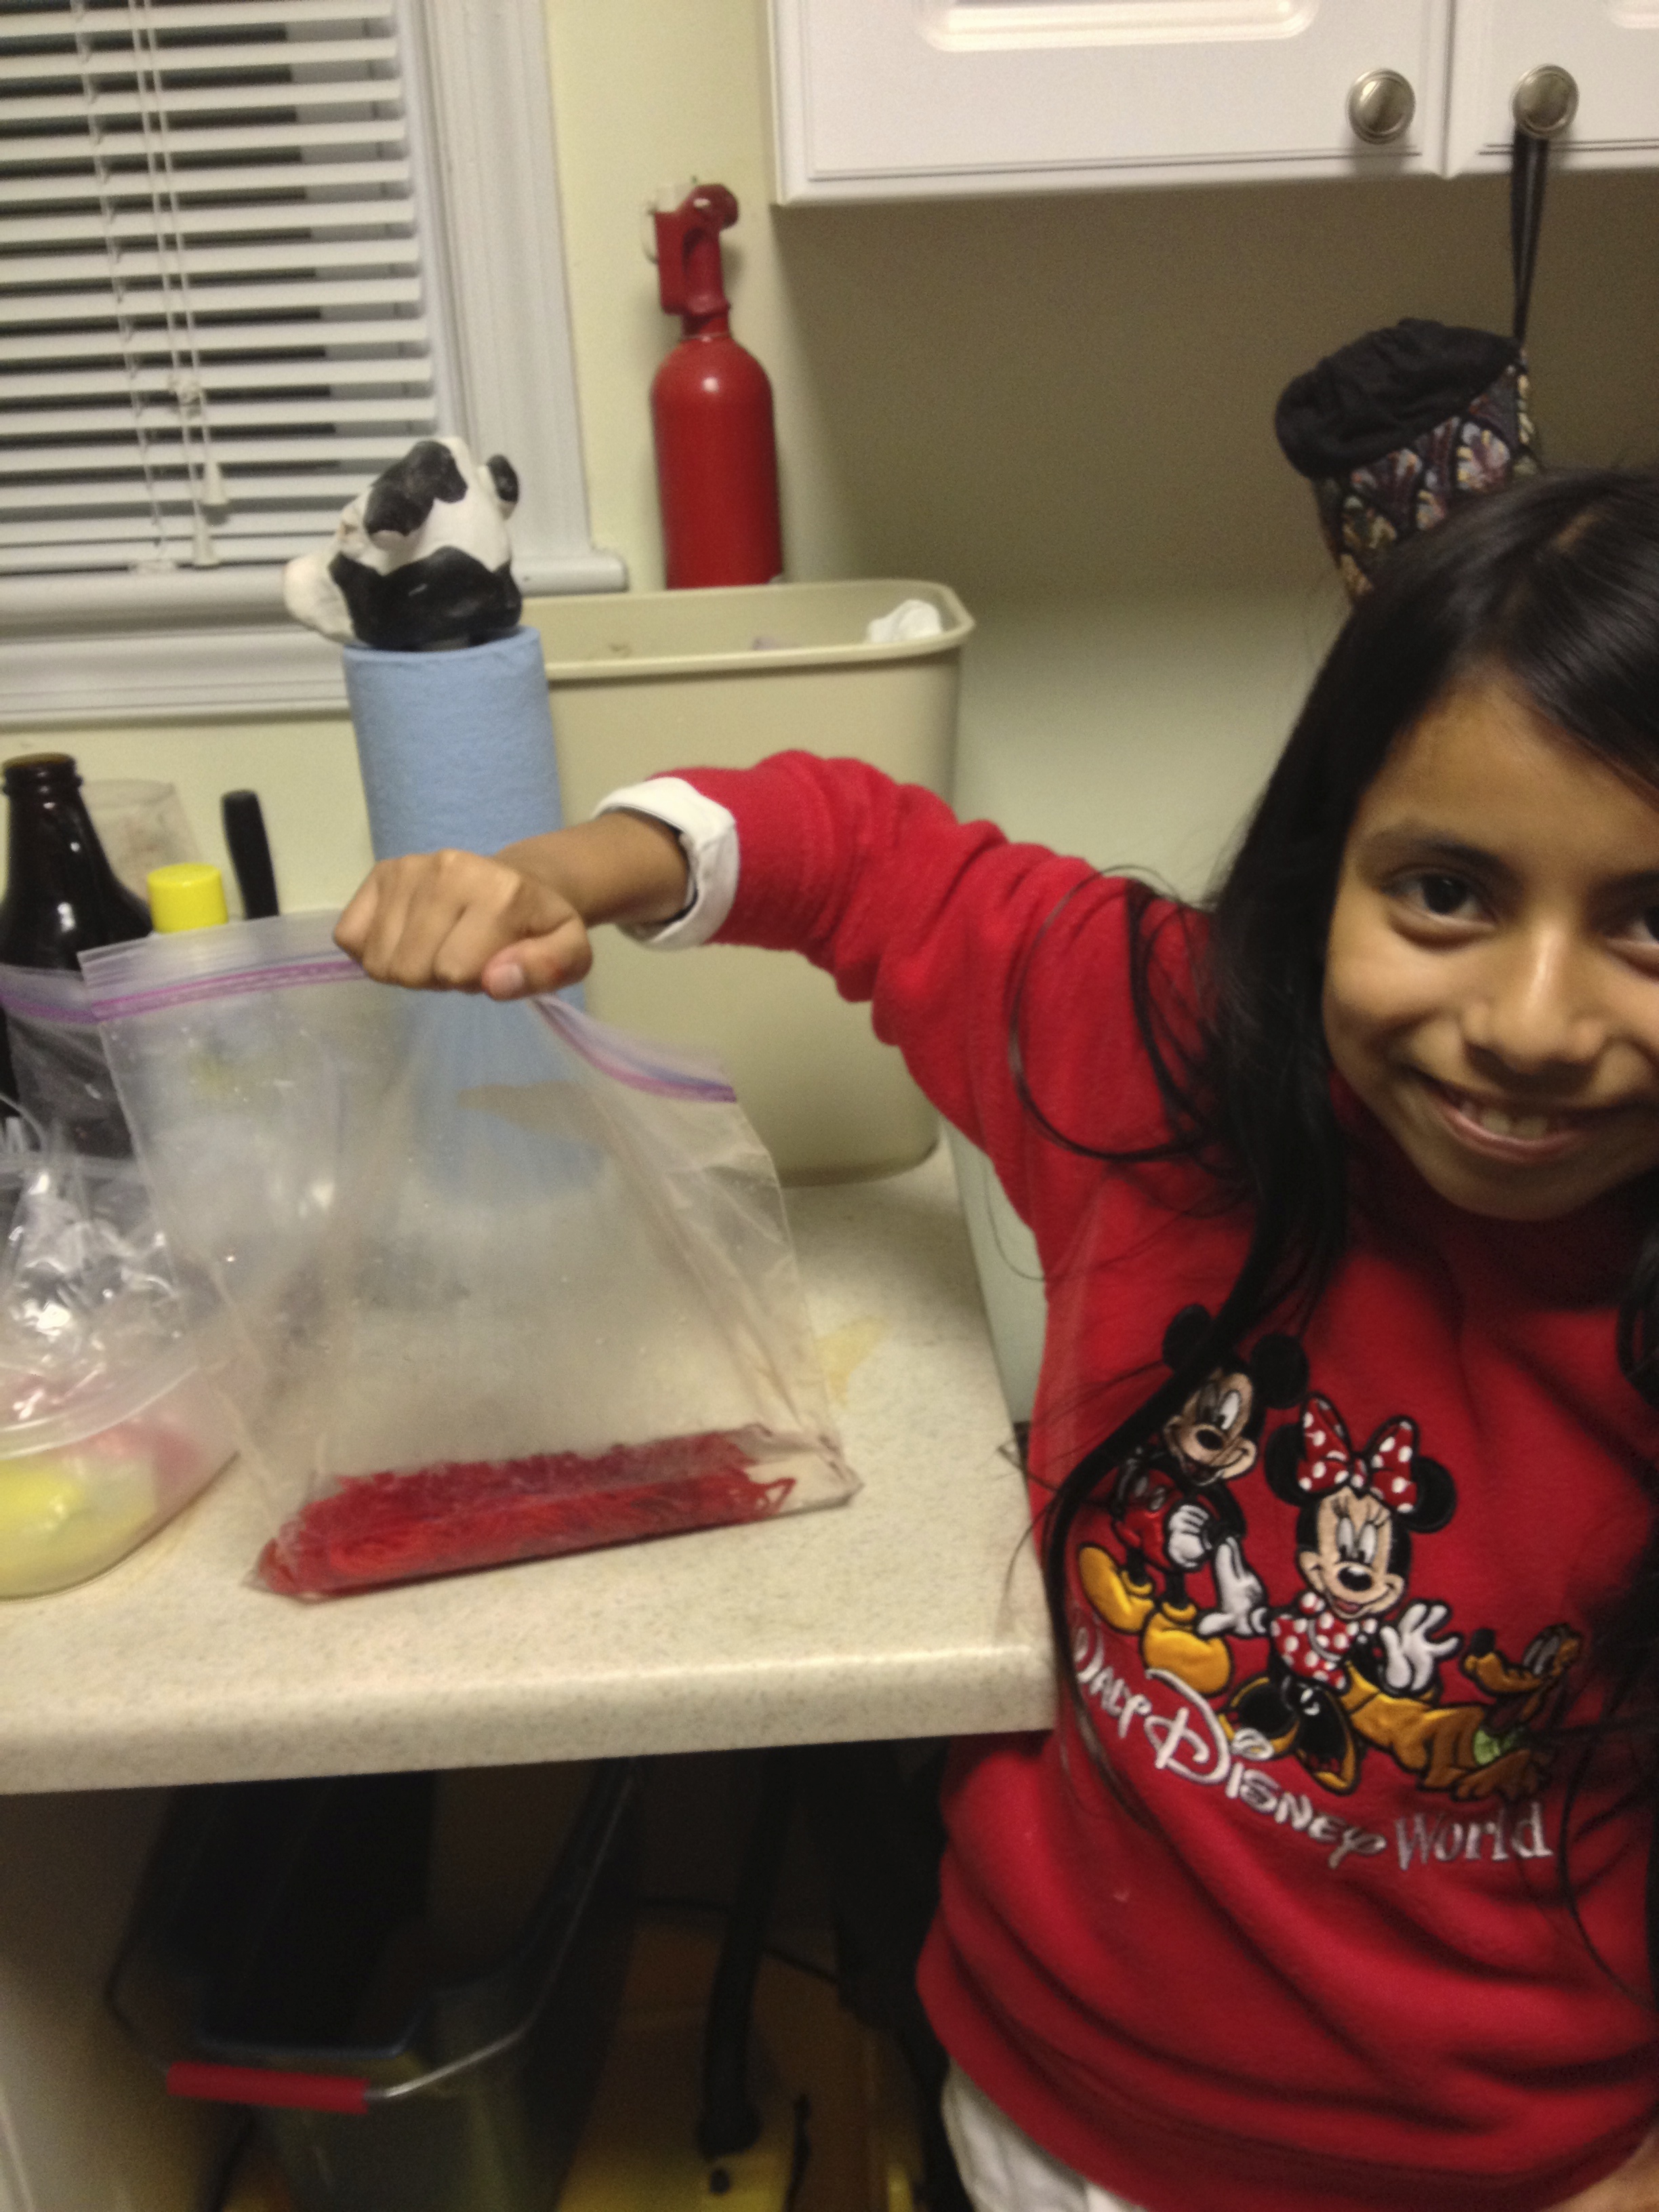
Maya showing cooled bag before removing the dyed yarn.

Cool bag – liquid is clear!
At this point the dye has all been absorbed by the wool yarn and the water in the bag is essentially clear. Some flavors left a cloudy liquid. We took the cool yarn out, rinsed it in cool water, wrung it out the best we could by hand, and hung it on a drying rack overnight.

Hung to dry overnight.
The wool yarn is really beautiful and I have read that it is colorfast. It does still have a slight scent of the flavor Kool-Aid used (which Maya loved to smell) but which I’ve also read does disappear with time. There are many online resources for dyeing with Kool-Aid but most of them involve either dyeing in a pot on the stove-top or in a bowl in the microwave – not a bag. The ziplock bag just seemed to make the whole process so much less of a mess risk – especially when doing this with a child. By putting the bag into a bowl we could also avoid touching anything that was very hot if we handled it correctly.

Ready to be wound into a ball.
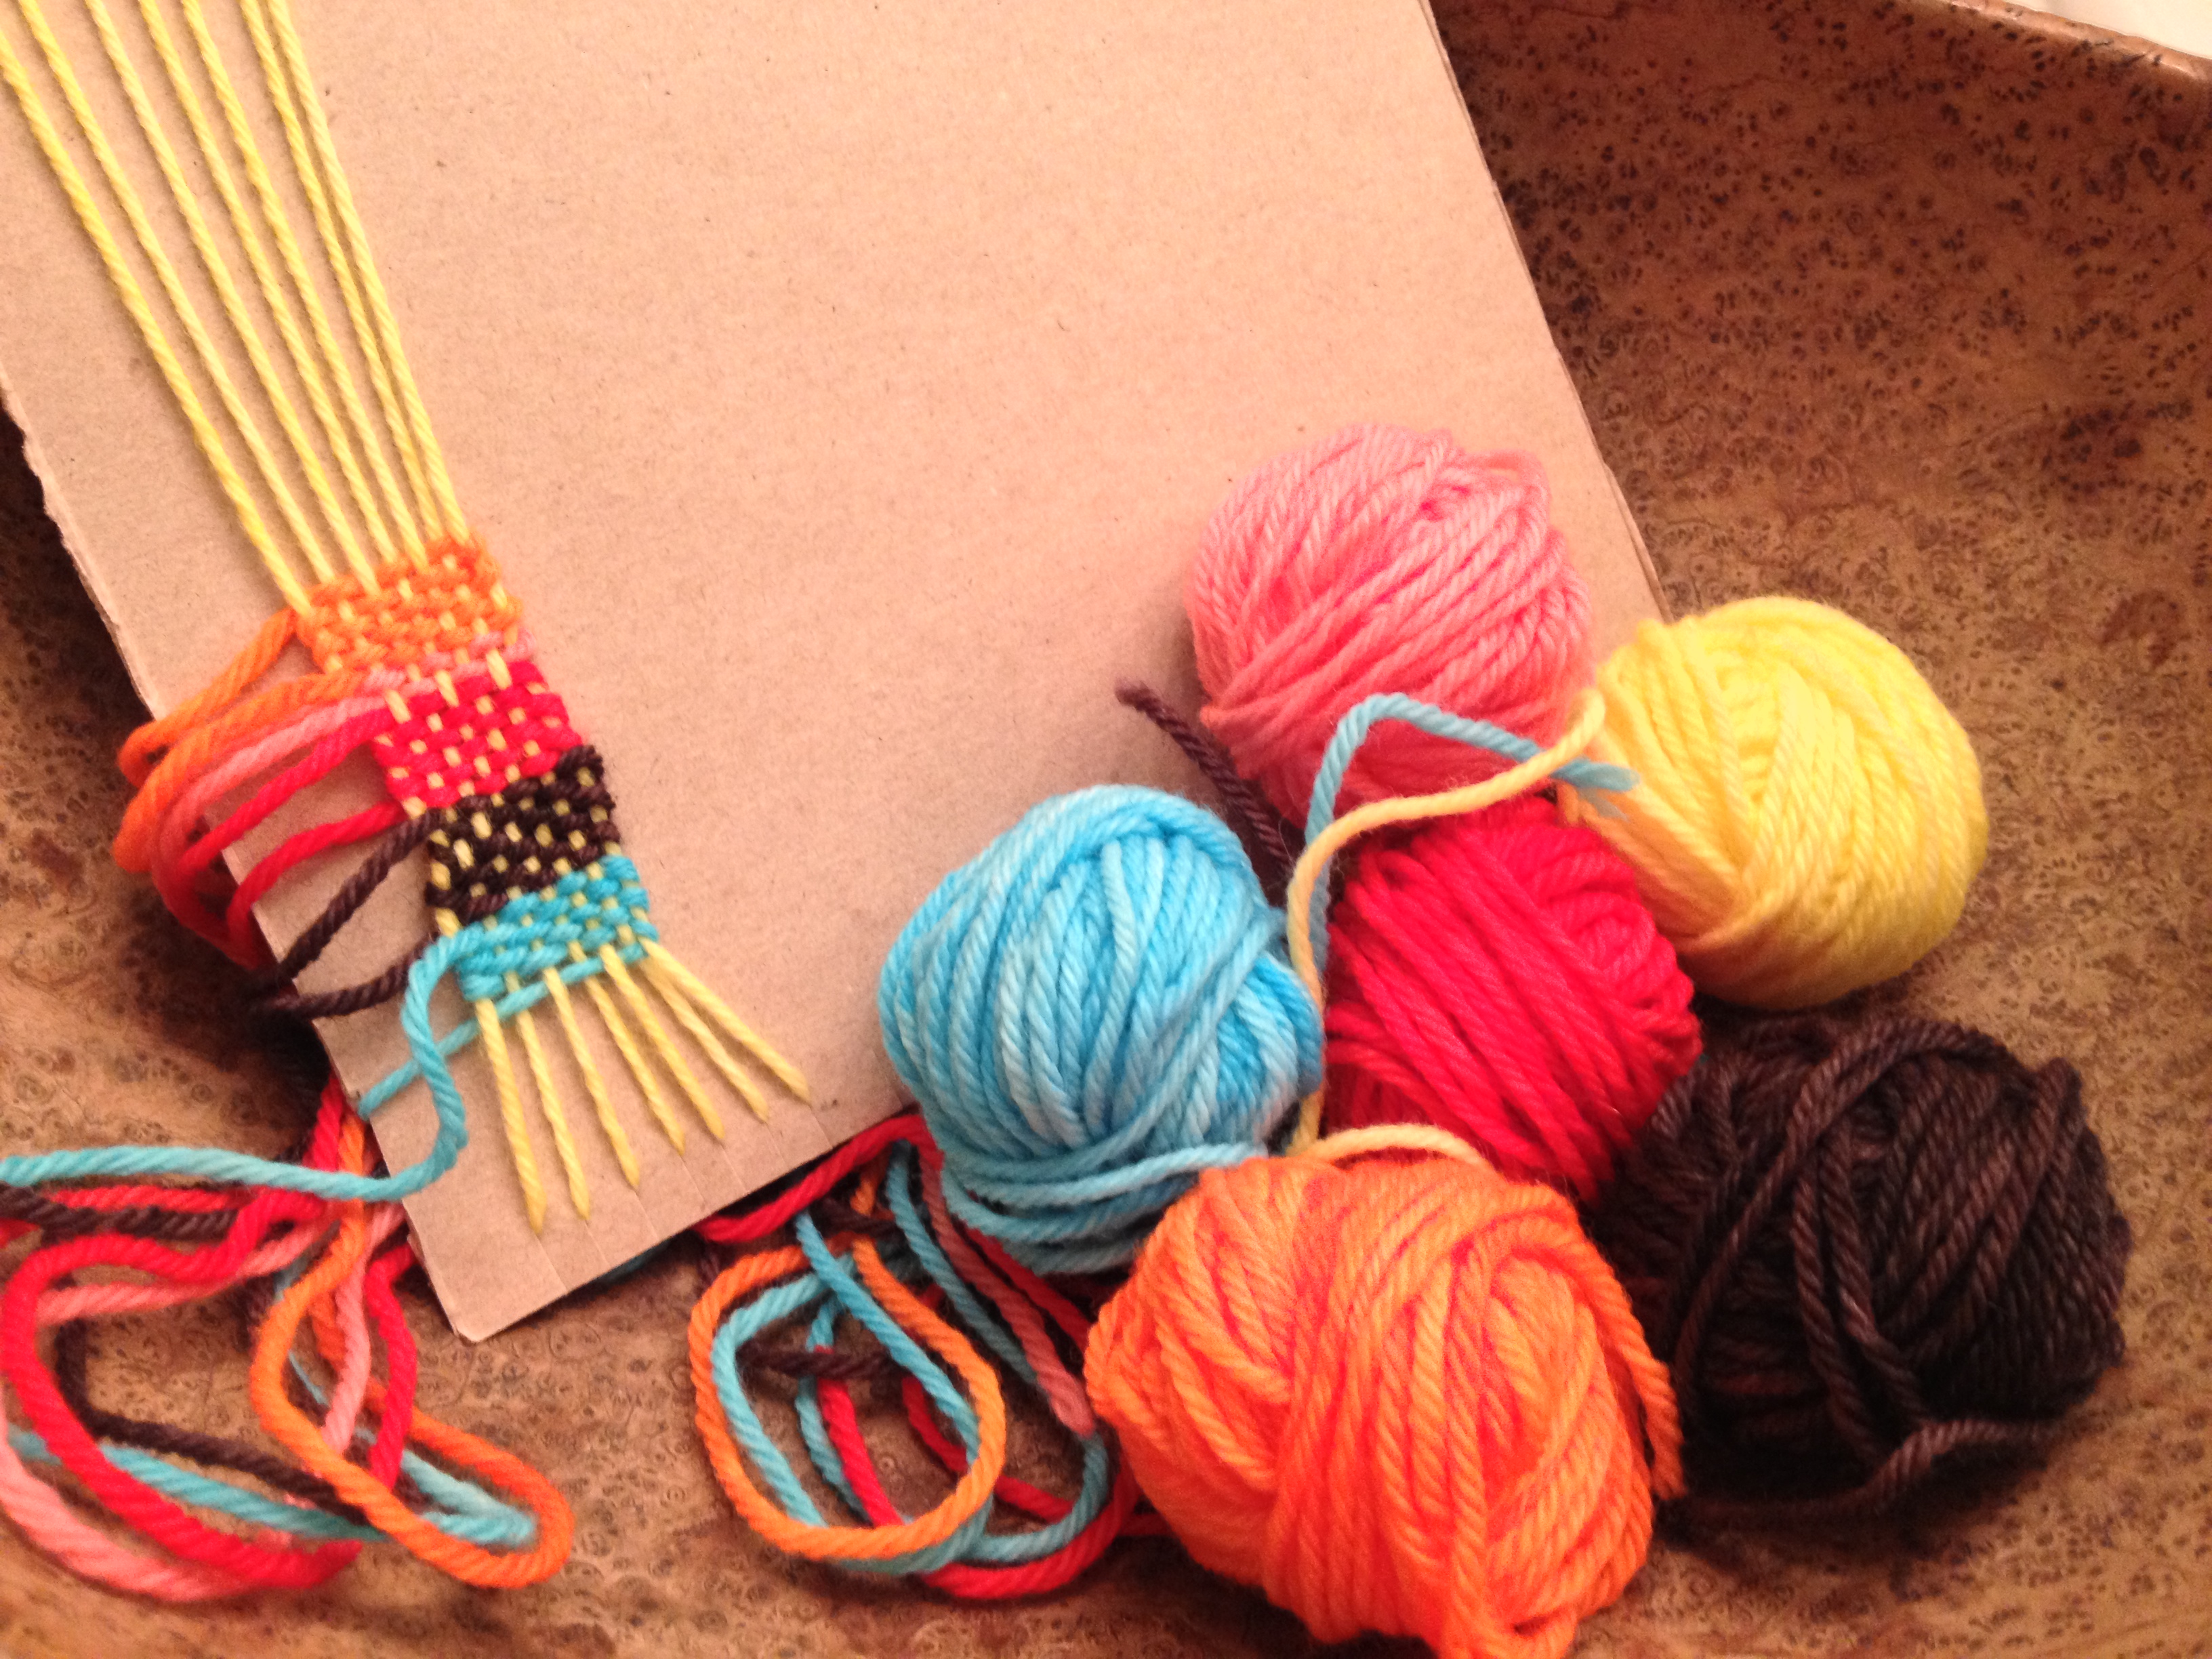
All ready for some fun! Knitting? Weaving? I can’t wait to see what Maya does with it!